Valentine’s Day is so much fun when celebrated with children.
My kids go gaga over the glittery paper hearts, frilly decorations and, of
course, the sweet treats. Their version love is so pure and innocent; it could
melt even the hardest of hearts. To help them celebrate, we’re embracing the
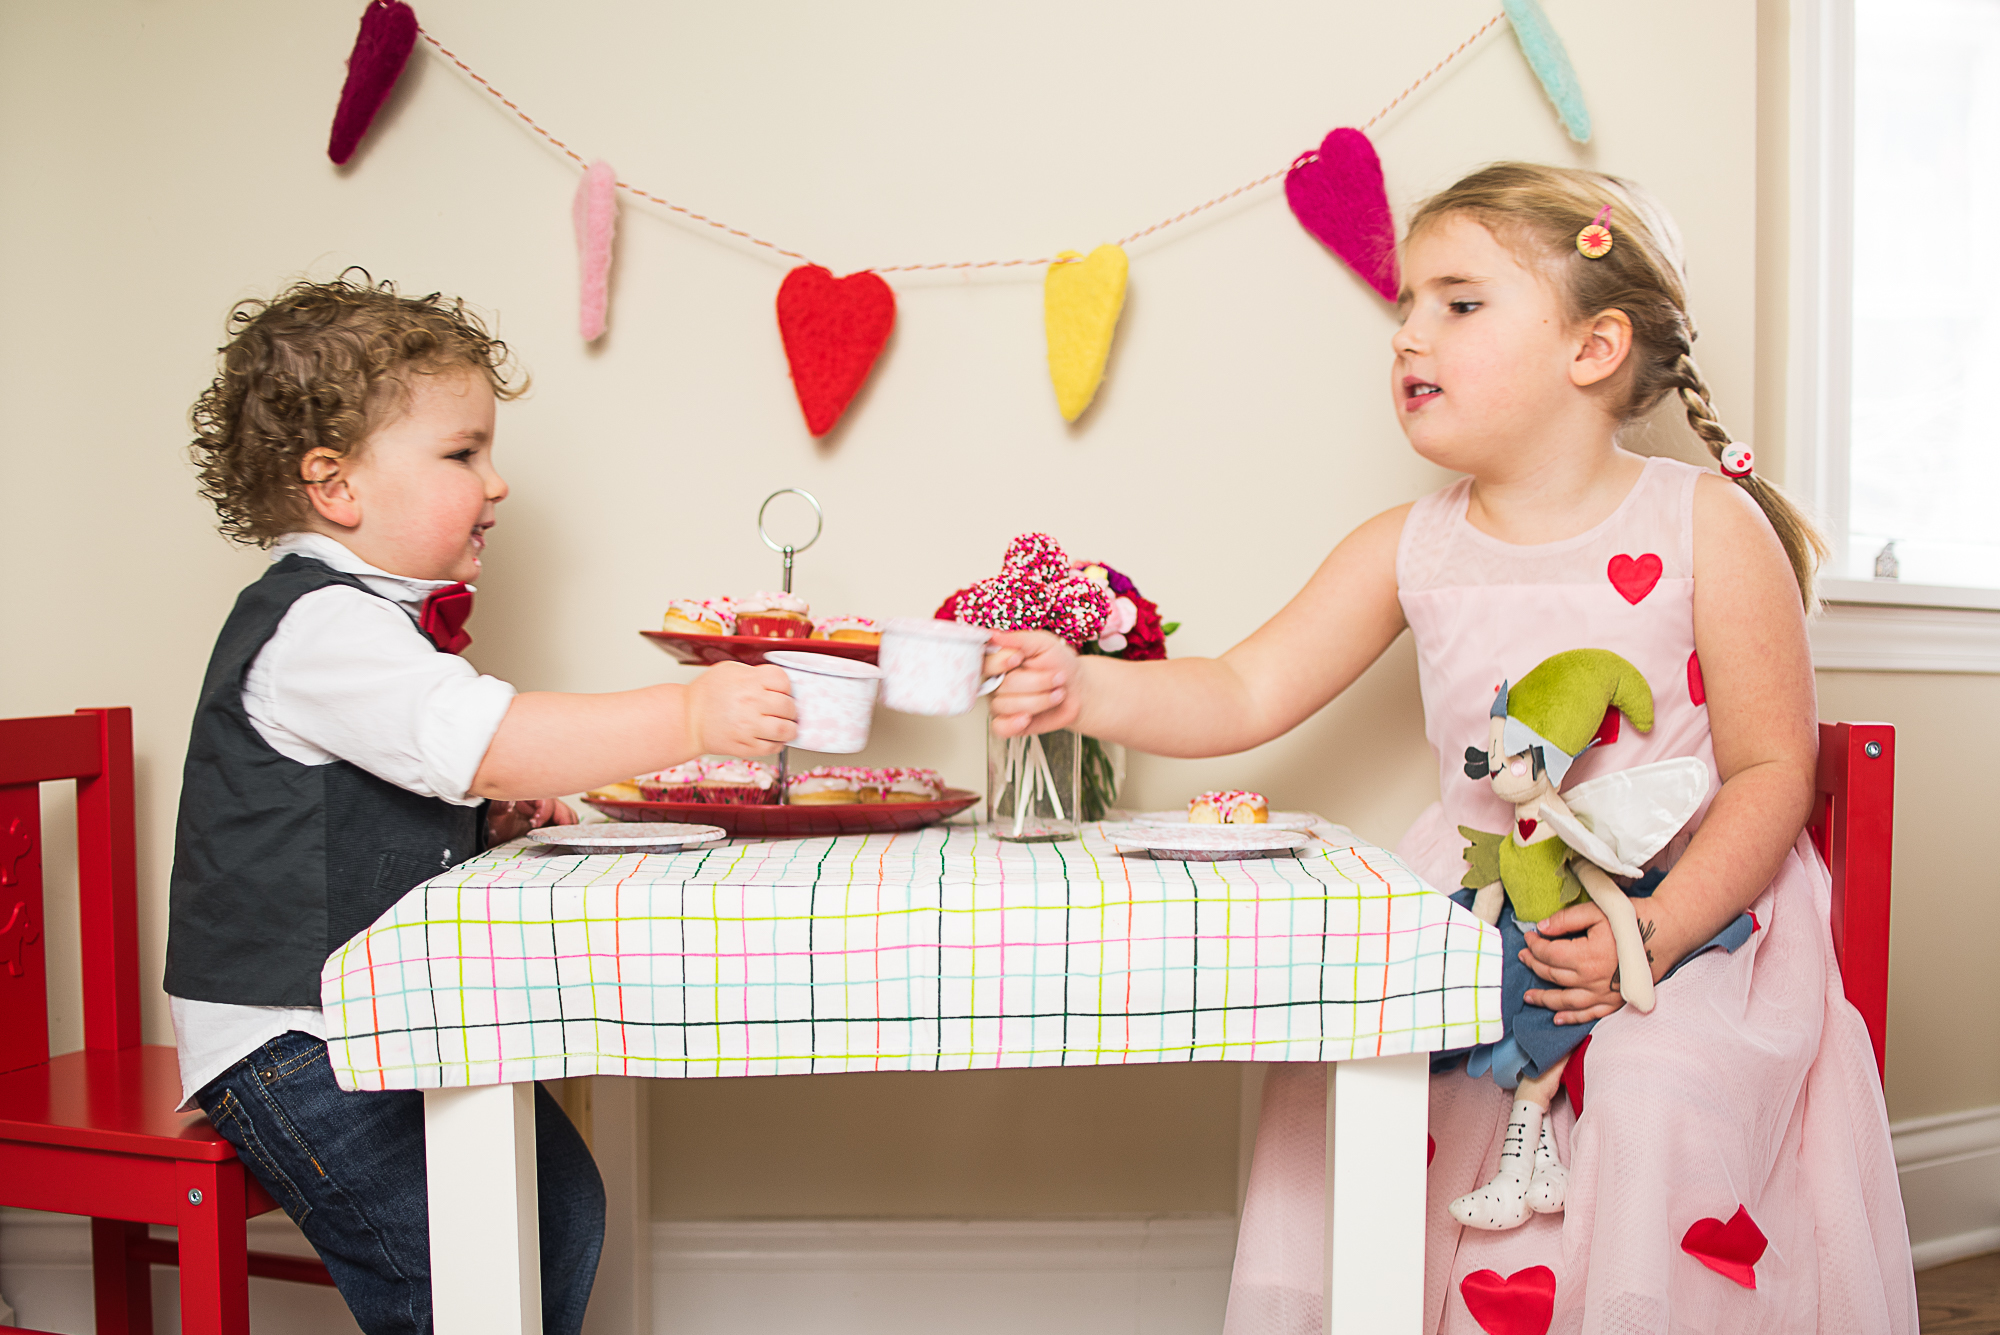
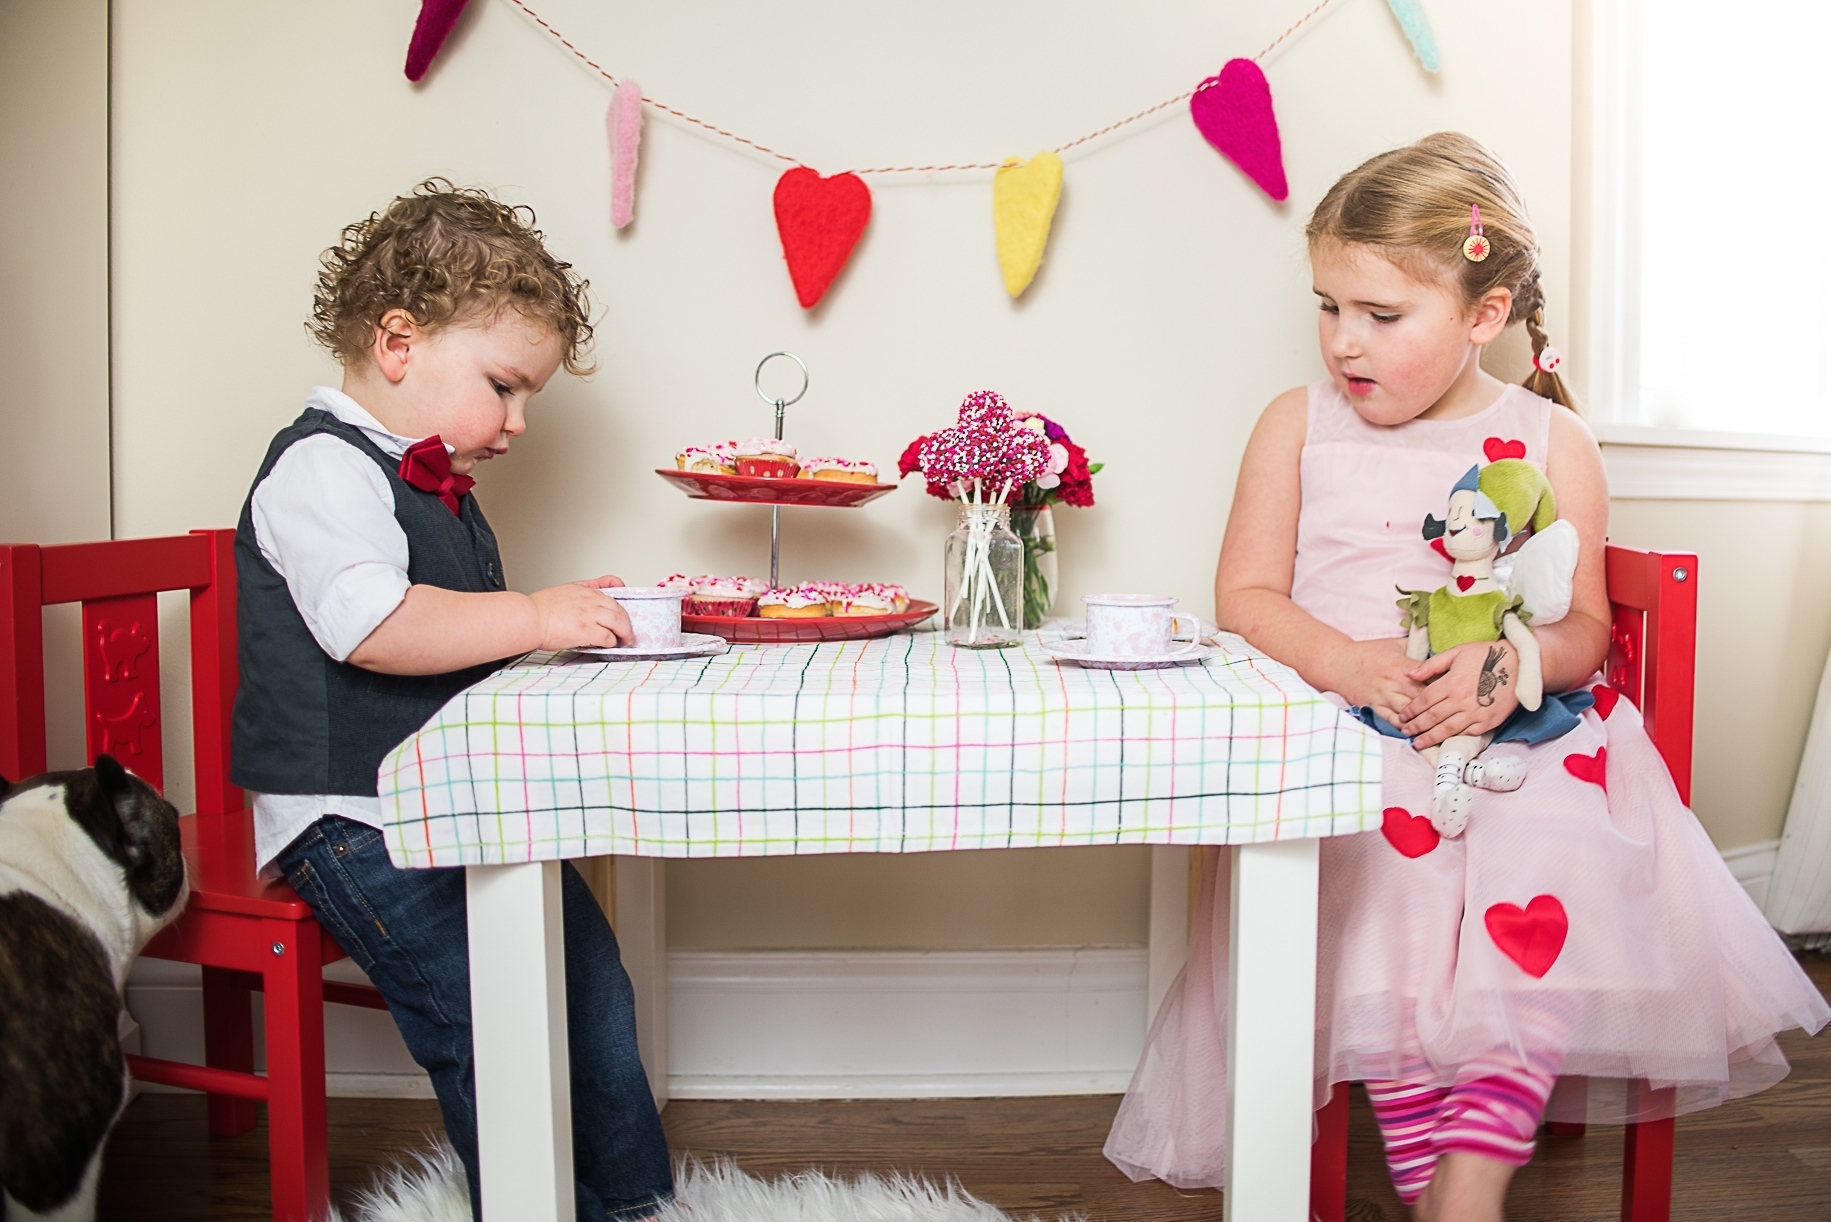
sweeter side of Cupid’s arrow with a pint-sized Valentine’s Day tea party.
Think Small
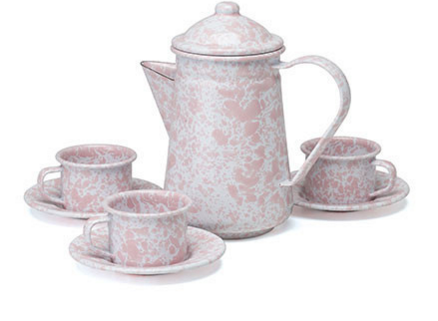
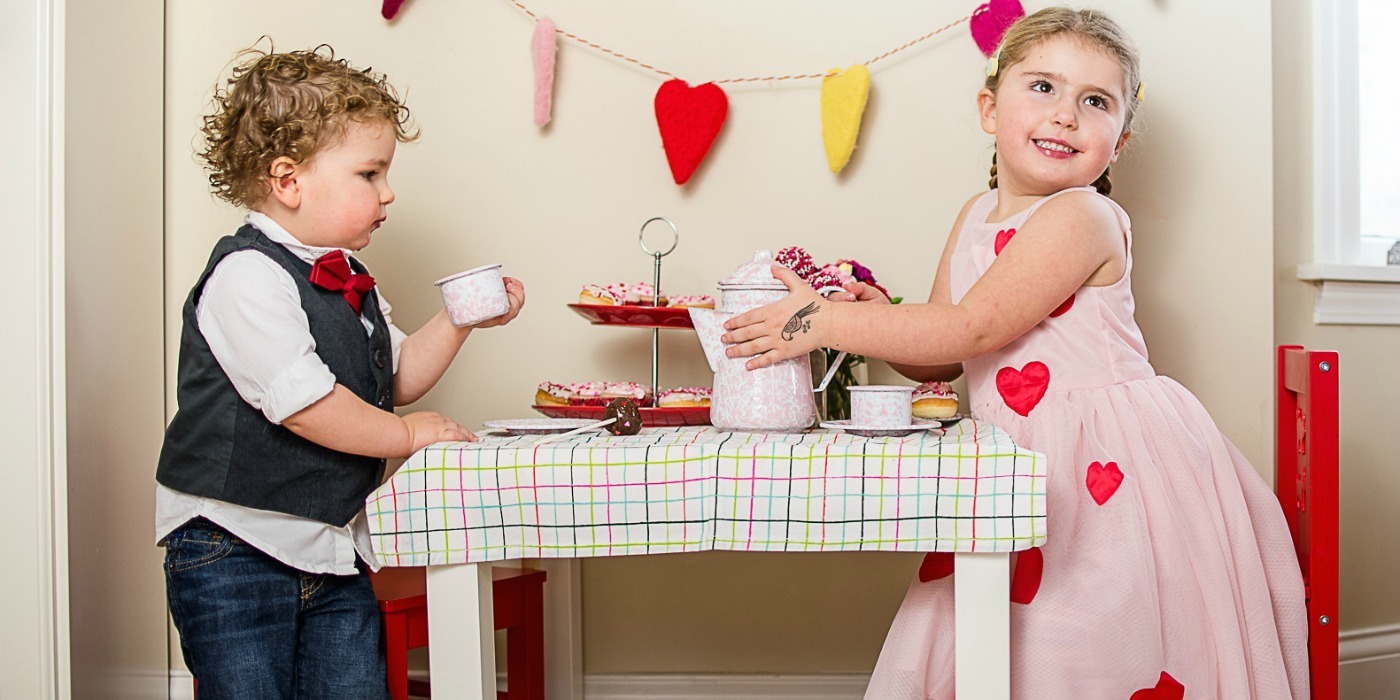
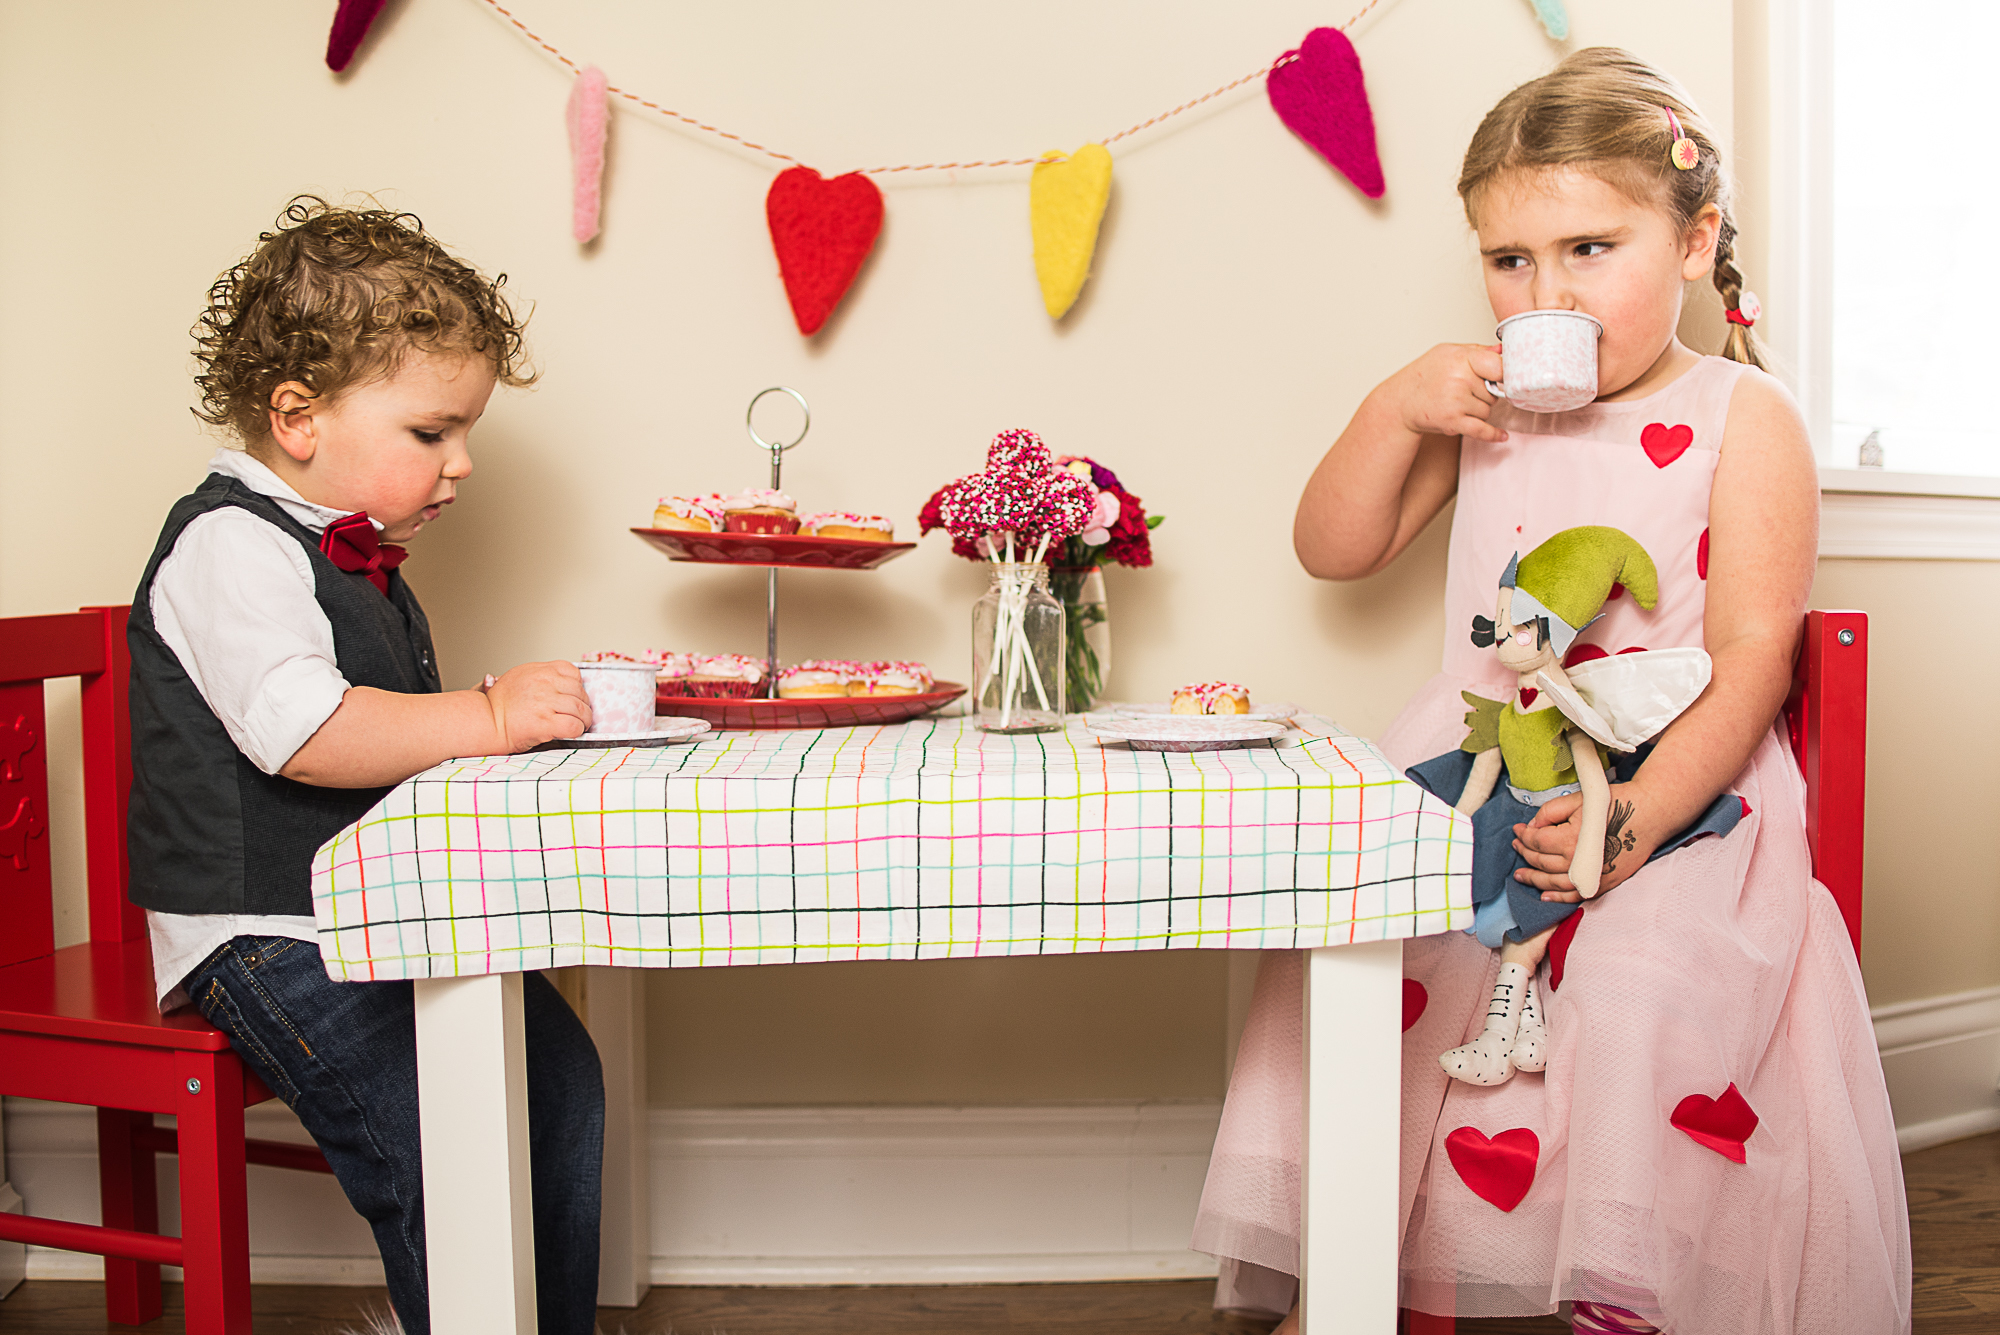
To let the kids know this is a party just for them, start by
scaling down. This adorable
tea set from Crow Canyon Home is perfectly sized for little hands. The kids
love sipping pink lemonade from the tiny cups. Mom loves that the set is made
from durable enamelware that will stand up to years of shatterproof fun.

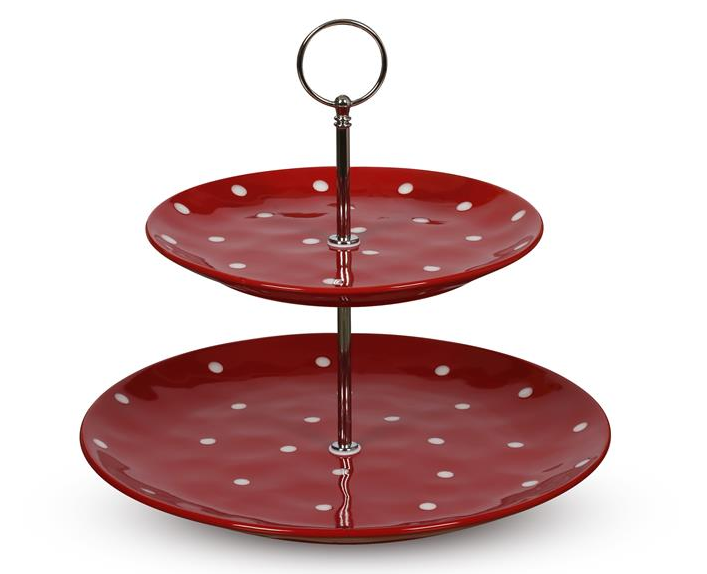
To make things extra fancy, place all your tea party treats
on a cake stand. This 2
Tier Cake Stand by Maxwell & Williams adds the perfect splash of
Valentine’s Day red and white. A little vase filled with inexpensive mini
carnations, a heart garland and a pretty tablecloth finish the look.
Thrice as Nice
Of course, no tea party is complete without some amazing sweet
treats to nibble. My daughter went absolutely wild over the Babycakes Triple Delight Multi-Treat Maker. With a design similar to a waffle iron, the Babycakes Triple Delight
makes mini cupcakes, mini donuts or cake pops in as little as 5 minutes. Since
it’s colorful, quick and easy to use, it’s an absolutely perfect way to bake
with kiddos.
We had so much fun dreaming up new flavor combinations and creating the treats. Frankly, I was a bit skeptical that the little machine would work as promised but every batch came out perfectly and the Babycakes requires almost no clean up or maintenance.
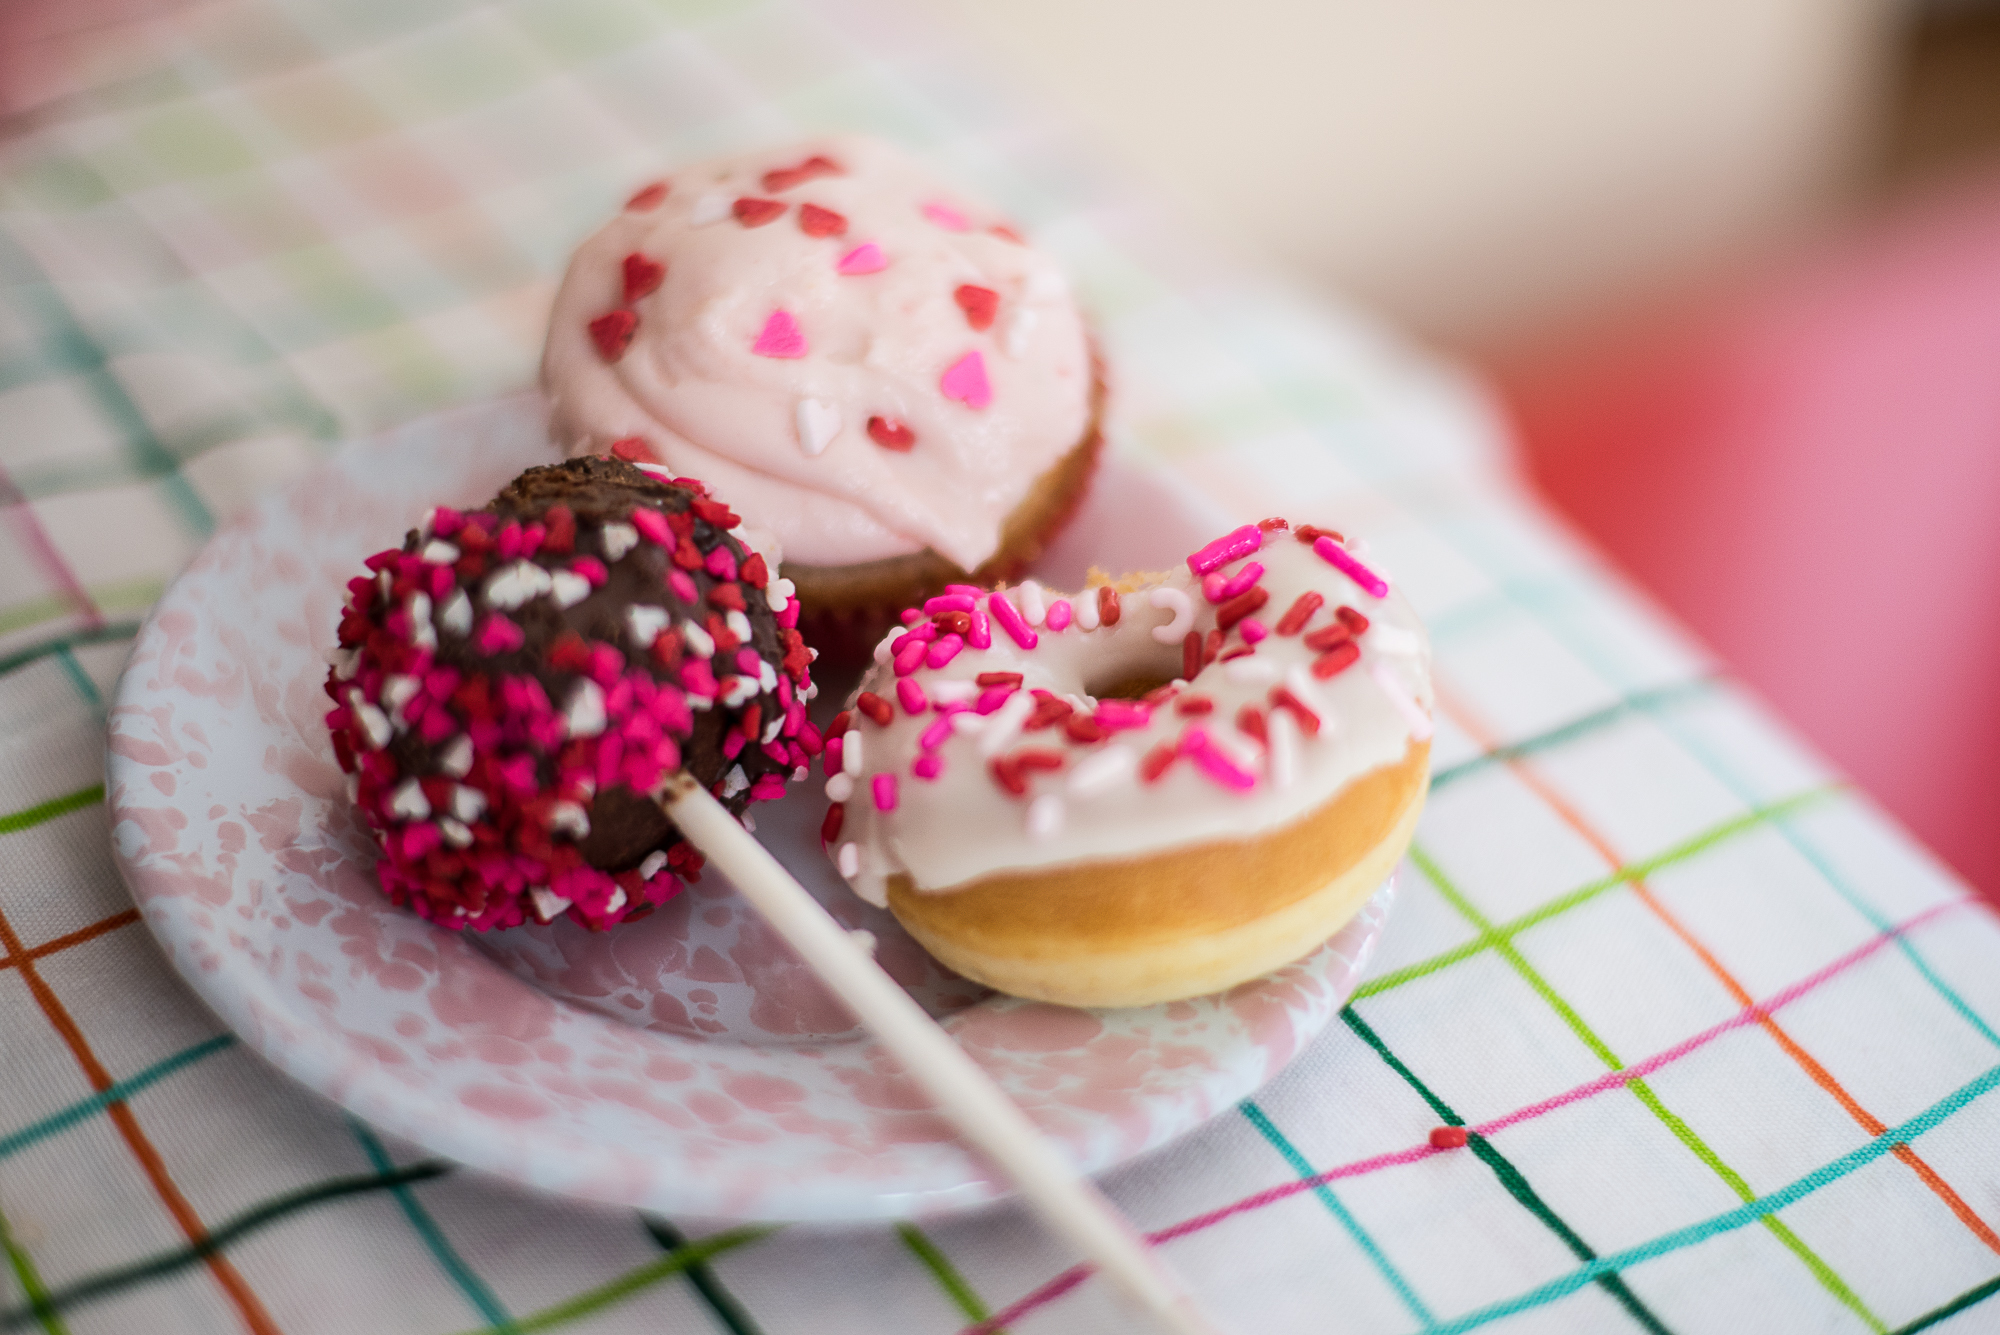
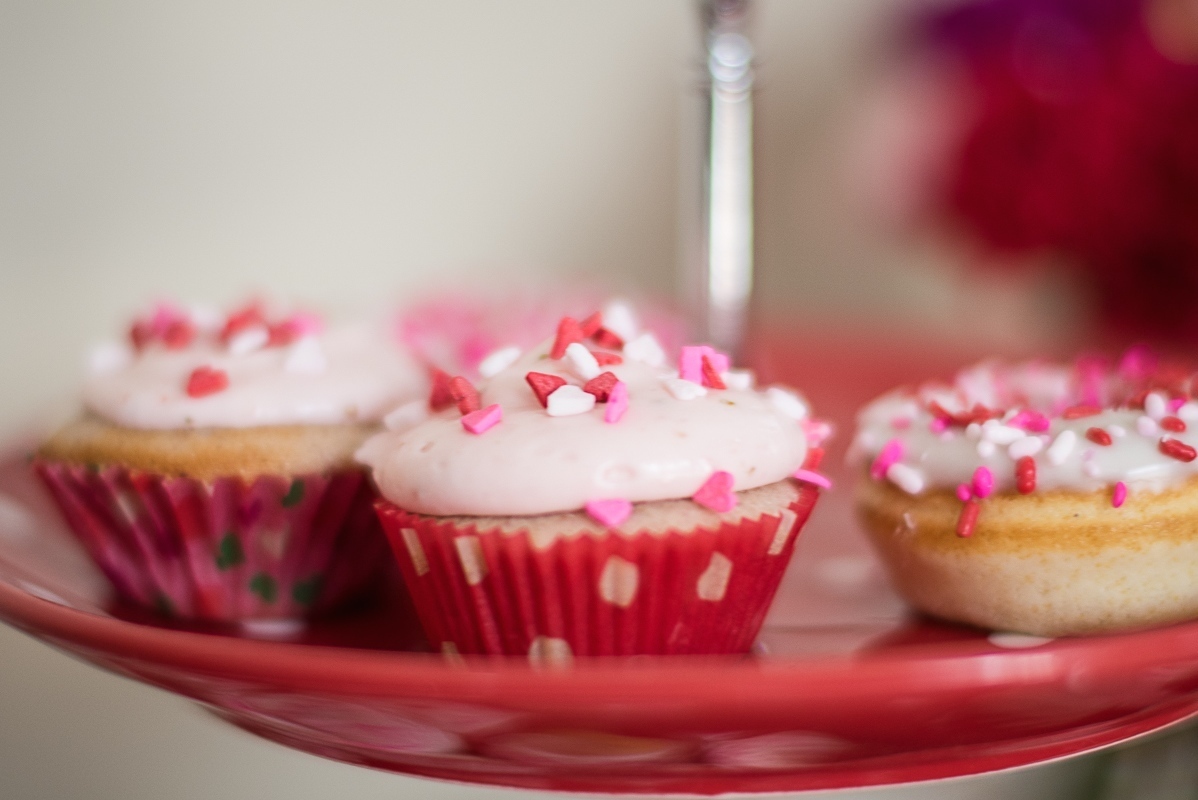
Our tiny tea party treats included decadent Nutella-Dipped Brownie Cake Pops, deliciously light Strawberry Cupcakes with Strawberry Cream Cheese Frosting (check out both recipes below) and Baby Buttermilk Donuts with Vanilla Buttermilk Glaze (visit my blog for the donut recipe).
Wishing you and your Little Loves a Valentine’s Day made even sweeter by spending it together!
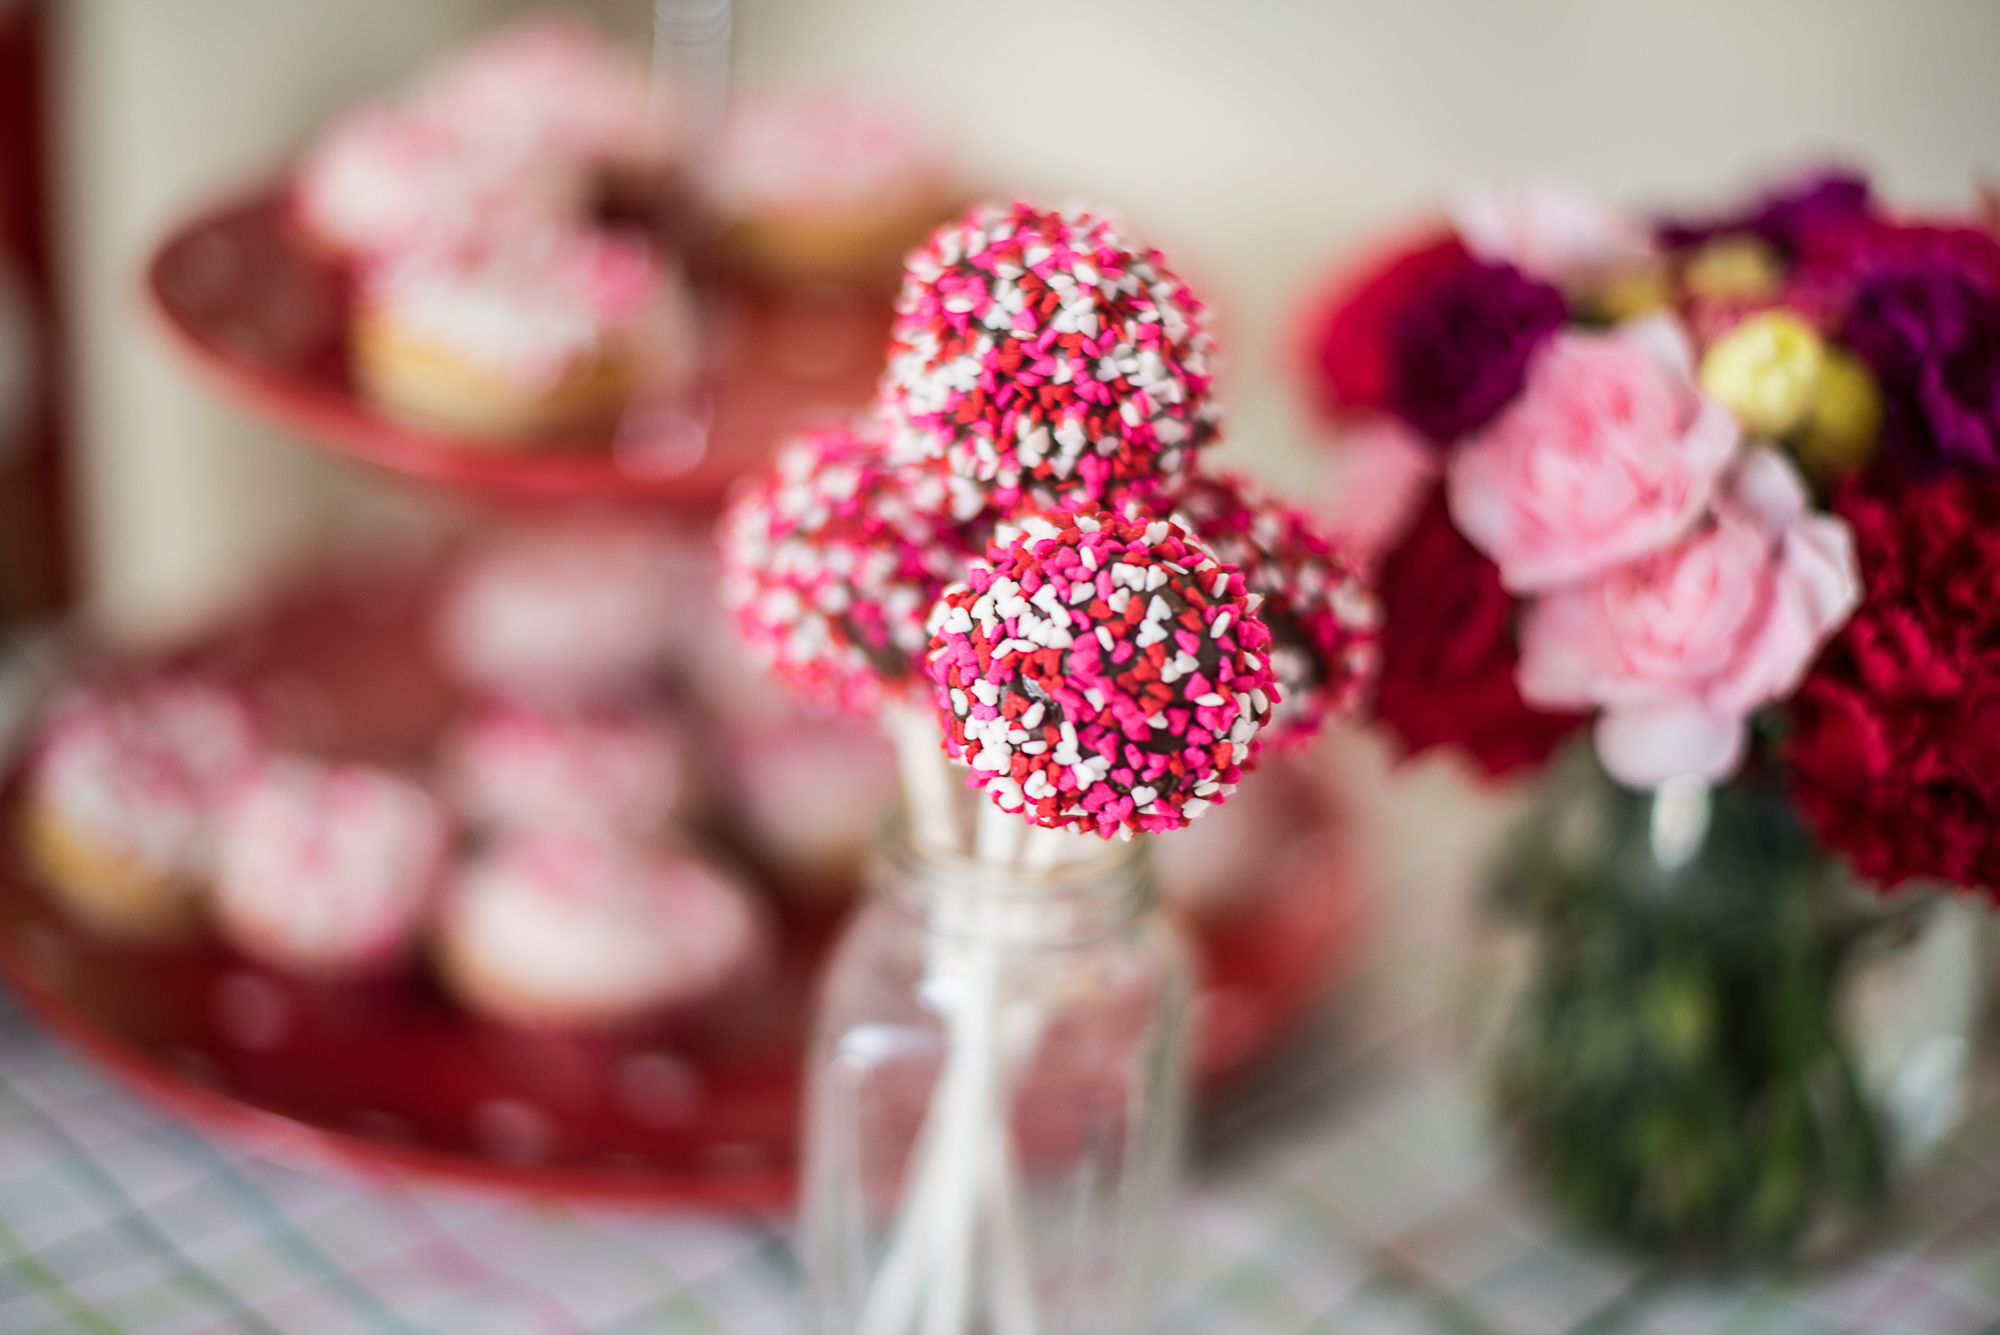
Nutella-Dipped Brownie Cake Pops

INGREDIENTS
- 1 box brownie mix (such as Ghirardelli Double Chocolate)
- ¼ cup water
- 1/3 cup vegetable oil
- 1 egg
- 1 cup semi-sweet chocolate chips
- 3 Tablespoons Nutella
- 18 lollipop sticks
- Sprinkles (optional)
INSTRUCTIONS
- Combine brownie mix, water, oil and egg in a large bowl and mix accordingly to package directions. Set aside.
- Insert cake pop plates into Babycakes Triple Delight Multi-Treat Maker, plug in and preheat according to manufacturer’s instructions.
- When green “ready” light switches on, open treat maker and fill cake pop molds completely until level with top. This is more than manufacturer recommends for standard cake because brownies don’t rise as much.
- Close lid and bake until a toothpick inserted in cake pops comes out clean, about 8 – 10 minutes (again, this is longer than manufacturer’s instructions).
- Carefully remove cake pops using a rubber spatula and place in a cake pop mold or empty egg carton. Allow cake pops to cool completely.
- Meanwhile, combine chocolate chips and Nutella in a microwave safe bowl. Microwave for 1 minute then stir with a rubber spatula until mixture is smooth.
- Dip the end of each lollipop stick into chocolate before inserting into cooled cake pops. Set on a stand (or use an inverted colander) and allow to dry for 10 minutes.
- When sticks are securely dried, drizzle each cake pop with melted chocolate mixture until evenly coated. Decorate with sprinkles if desired. Place each cake pop back on cake pop stand or inverted colander and allow to dry completely.
- Cake pops can be stored in an airtight container for up to 2 days.

Strawberry Mini Cupcakes with Strawberry Cream Cheese Frosting
INGREDIENTS
- 2 Tablespoons freeze dried strawberries
- ¾ cup cake flour
- 7 Tablespoons sugar
- 1 ¼ teaspoons baking powder
- ¼ teaspoon salt
- ½ cup unsalted butter, softened
- ½ teaspoon vanilla extract
- 3 Tablespoons pureed fresh strawberries
- ¼ cup whole strawberries, hulled
- 4 Tablespoons unsalted butter, softened
- 4 ounces cream cheese, softened
- ¼ teaspoon vanilla extract
- 2 cups confectioner’s sugar
INSTRUCTIONS
- Place freeze-dried strawberries in a food processor and pulse until they reach a fine powder.
- Add flour, sugar, baking powder and salt and pulse until the mixture is evenly combined. Add butter and vanilla and pulse, adding the strawberry puree through the funnel until the mixture becomes a smooth batter. Set batter aside.
- Insert cupcake plates into Babycakes Multi-treat maker, close machine and plug it in. Wait until the green light switches on, then line each well with a cupcake paper.
- Fill each cupcake paper about 2/3rds full (about 2 Tablespoons) and bake for about 4 minutes or until a toothpick inserted into the center of each cupcake comes out clean.
- Use a spatula to carefully move cupcakes to a rack to cool. Repeat using remaining batter.
- When cupcakes have cooled frost using Strawberry Cream Cheese frosting (see below) and decorate as desired.
- Place strawberries in a food processor and puree until smooth. Set aside.
- In the bowl of an electric mixer combine butter and cream cheese and beet with the paddle attachment until light and fluffy.
- Reduce speed and slowly add the confectioner’s sugar. Beat to combine.
- Add vanilla and 1 ½ tablespoons of strawberry puree and beat just until smooth. Place frosting in the refrigerator until slightly firm before frosting cupcakes.