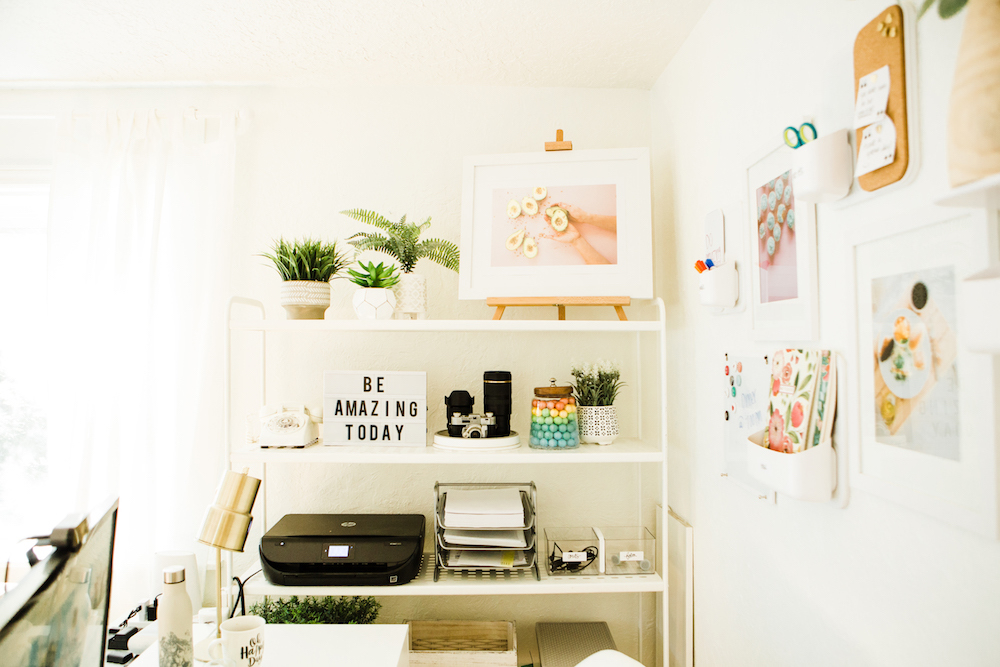

I am a firm believer that the state of our environment affects our mood and productivity. Whenever my home is tidy and organized, I feel calm and ready to accomplish all of the tasks on my to-do list; however, when my house gets cluttered and messy, I become stressed and anxious. This is especially true now that I spend most of my days working from home.
Baskets and jars have become a few of my absolute favorite things to declutter my home with, and I am always on the lookout for cute, simple ways to organize spaces. Using my tips for staying organized and closet organizing ideas, I am able to give everything in my house a “home”, and I know exactly where miscellaneous odds and ends belong.
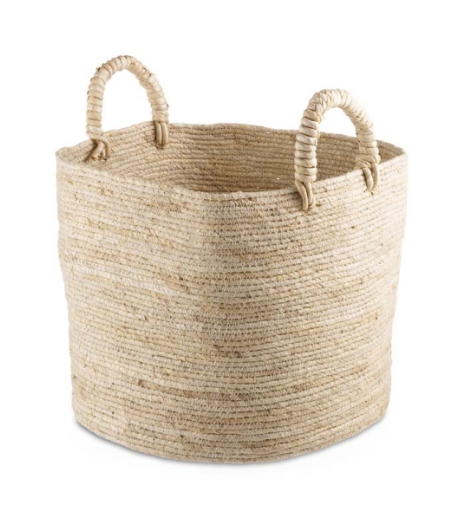
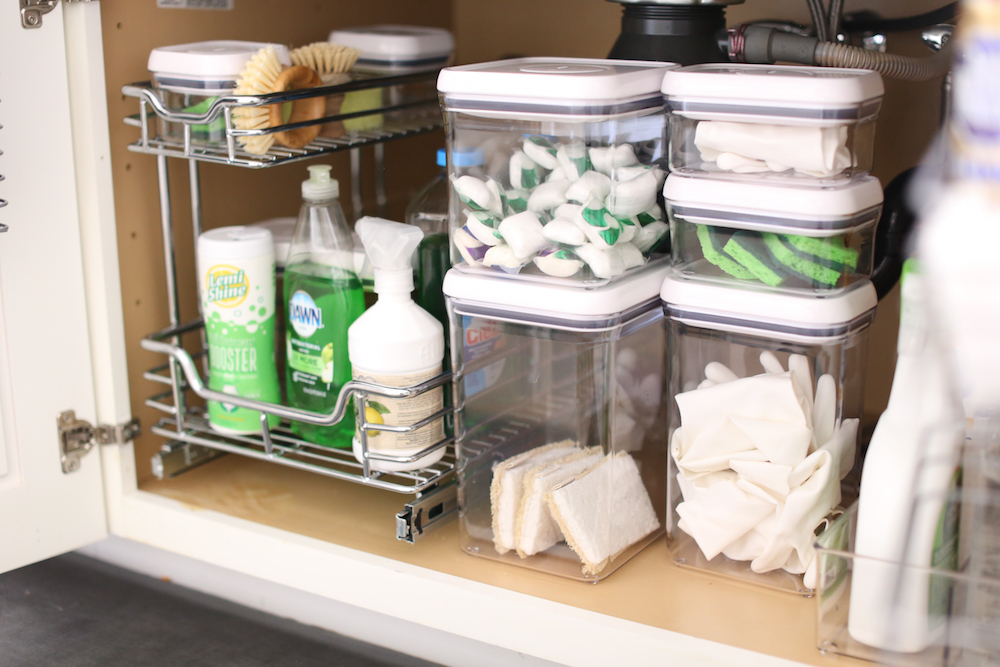
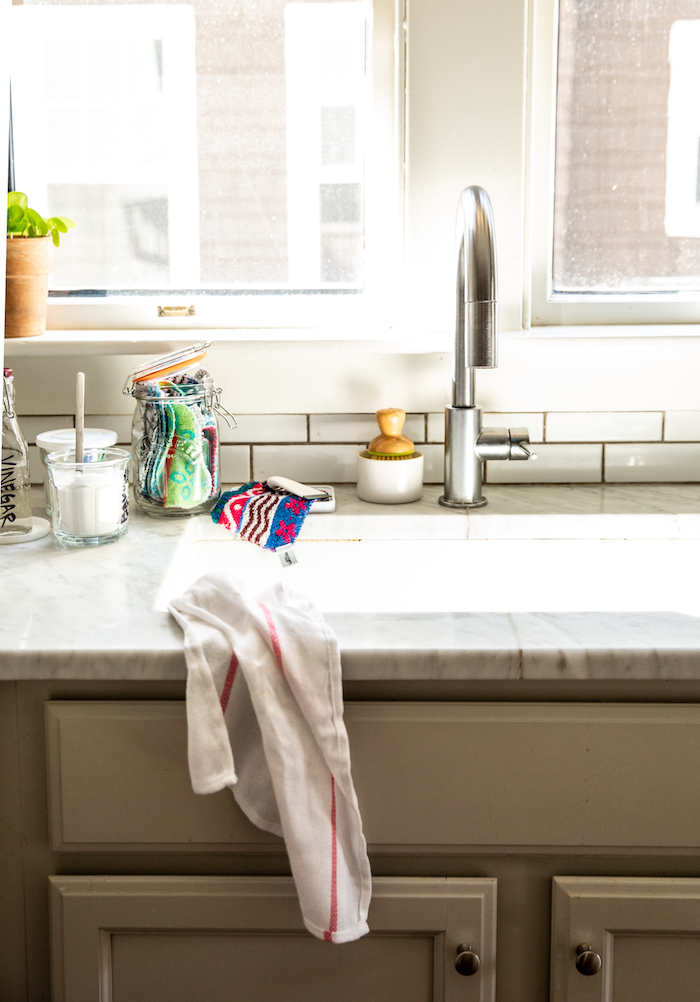
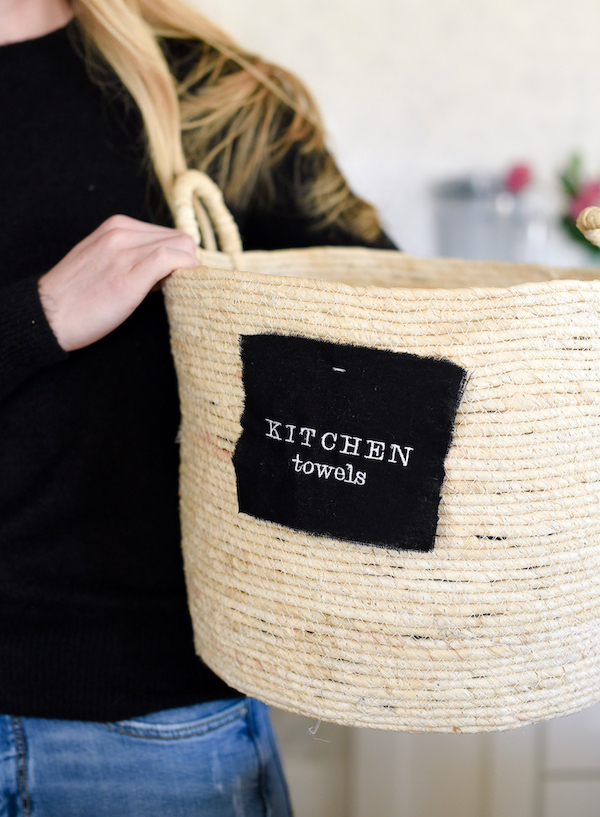
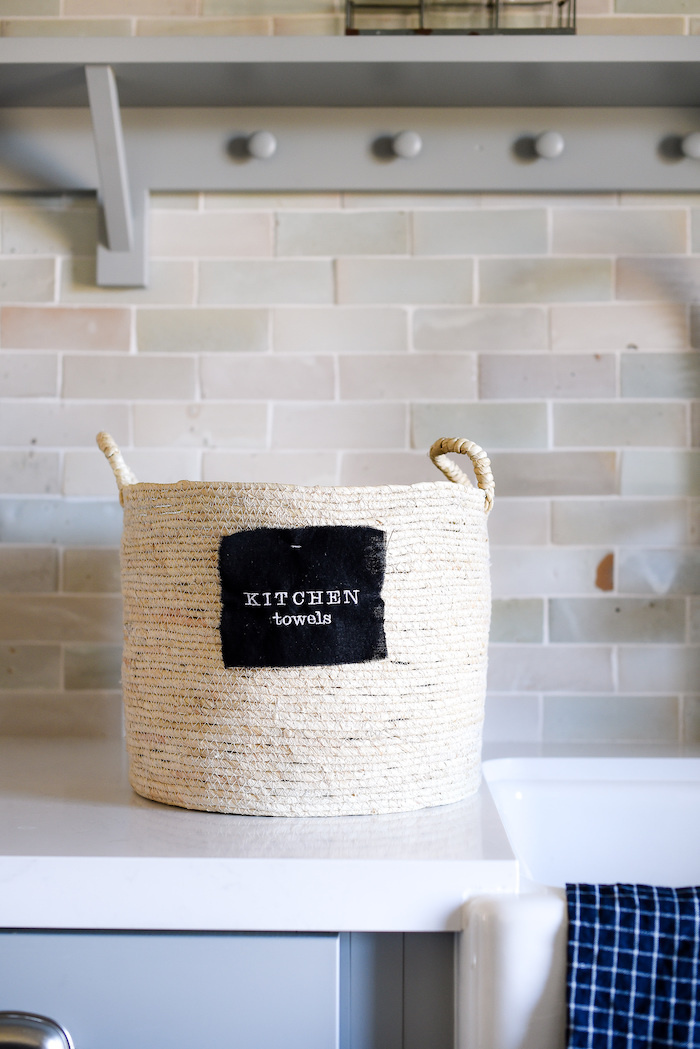
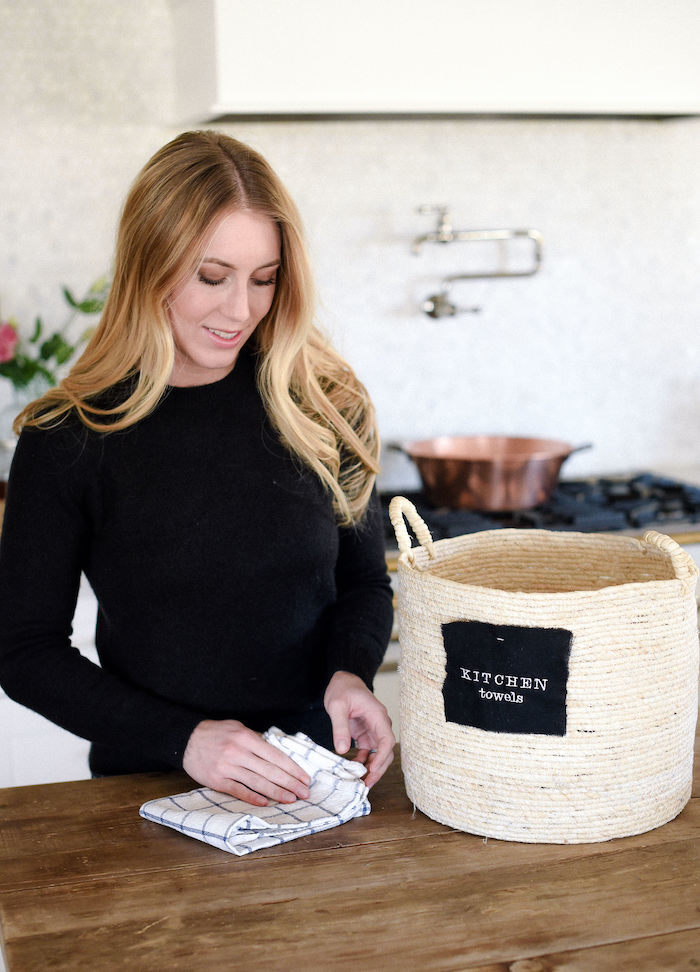
These embroidered labels are a quick and simple way to organize and add a touch of style to your home! Using basket labels will help you streamline your cleaning routine and daily tidying, plus it makes it easy for the kiddos to help out!
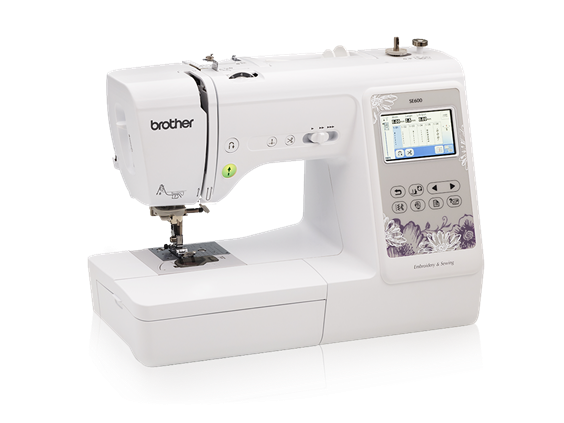
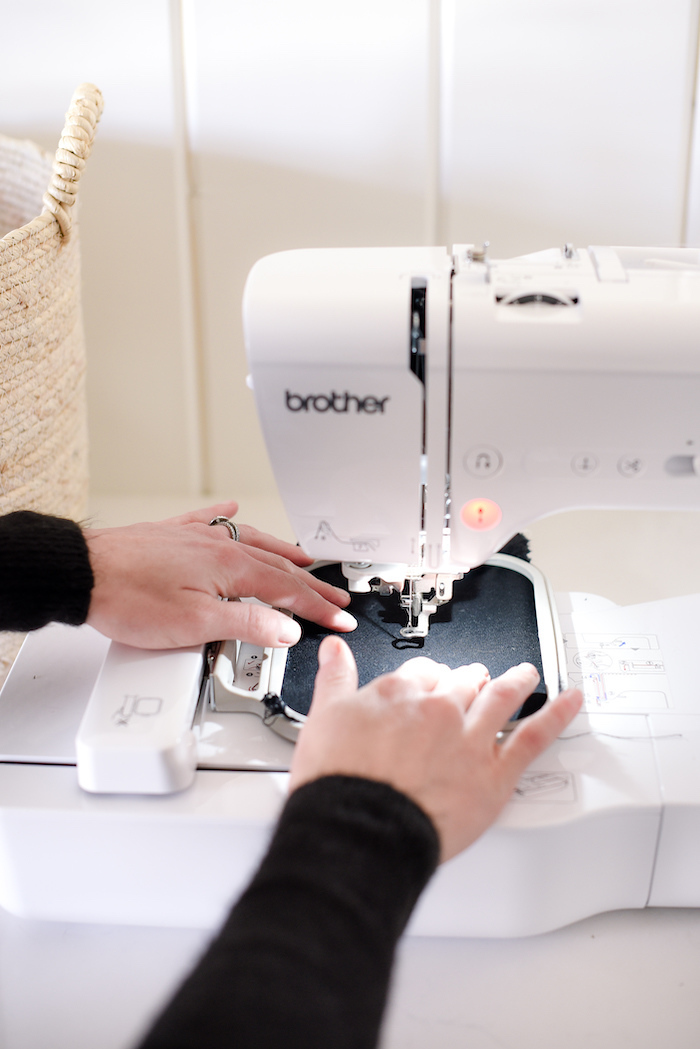
A few months ago, I added a Brother SE600 Sewing & Embroidery Machine to my collection and I am in love! I’ve used it to embroider towels and napkins and it does such an amazing job. As I was brainstorming ways to spice up these woven baskets, the embroidery machine caught my eye! I thought it would be fun to sew some cloth labels onto the baskets.
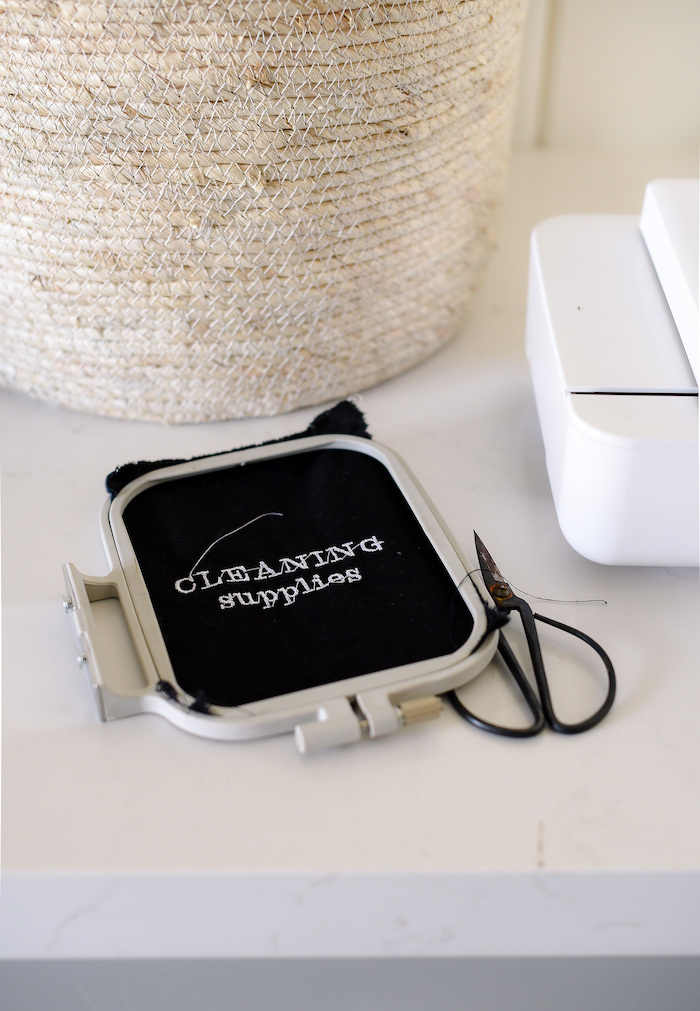
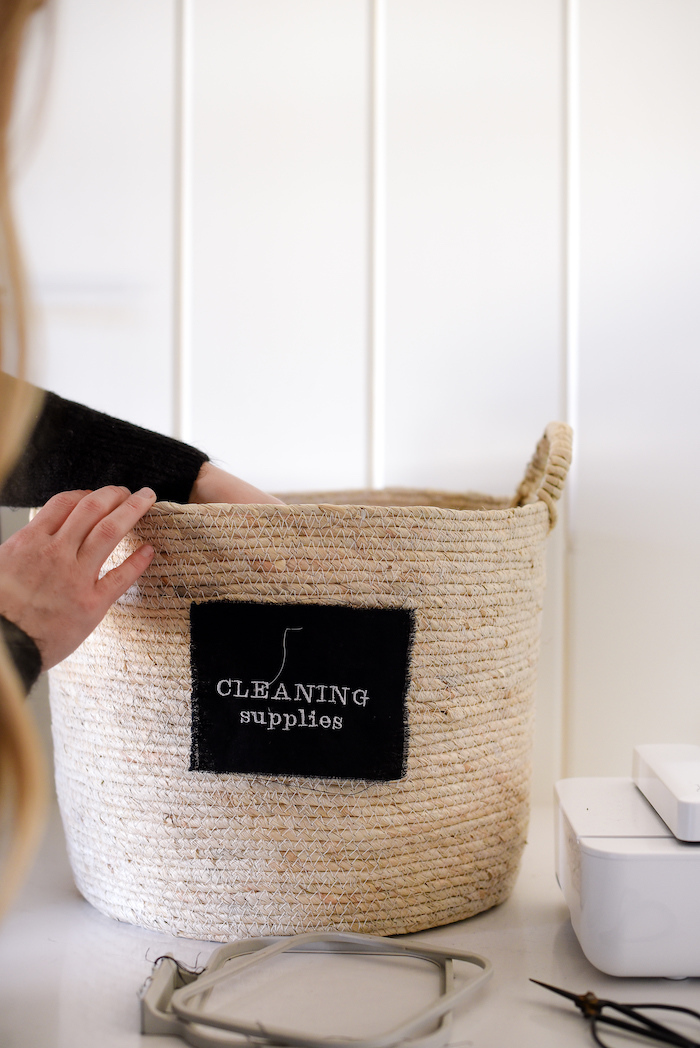
For my embroidered labels, I chose to make one that says “cleaning supplies” and one that says “kitchen towels,” but the wonderful thing about an embroidery machine is that you can customize these however you want to fit your family’s needs!
Maybe you’d like to embroider your children’s names on them, so that they have a place to drop toys and books, the possibilities are endless!
This project is incredibly simple, and adds a touch of farmhouse charm to the baskets! If you’re just beginning to learn how to use your embroidery machine, this project is a great place to start!
How to Make Embroidered Basket Labels:
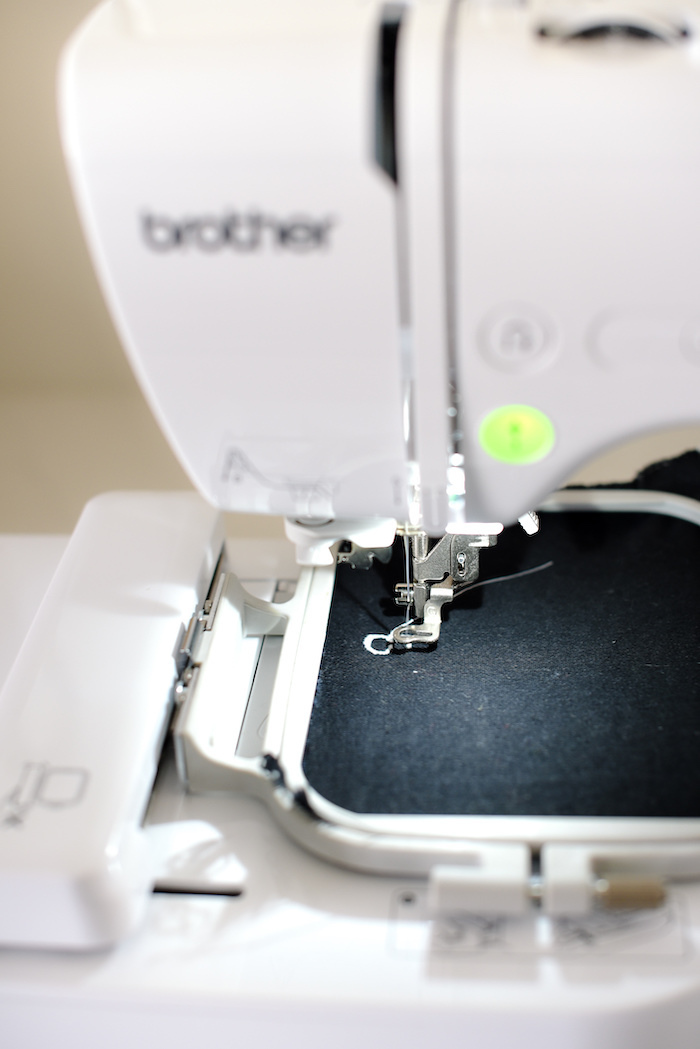
- Cut a small piece of scrap fabric to fit into the embroidery hoop. Place the fabric inside the embroidery hoop.
- Program your embroidering machine to say whatever you’d like your machine to embroider.
- Press start, and let the machine work its magic!
- Once finished, use sharp scissors to snip away any unwanted thread.
- Cut or tear your square of fabric down to your desired size.
- Use a needle and thread to attach to a woven basket.
I hope these simple embroidered basket labels help you conquer that organization project you’ve been meaning to finish! Comment below with your favorite DIY organization hacks, I’d love to hear from you! For more organization ideas, visit me at boxwoodavenue.com!