There’s nothing more genuine than
a homemade birthday cake. The fact that
someone has gone to the trouble of dragging out several bowls, measuring
spoons, and cups to celebrate the day of your birth, well in my book, is the
sincerest form of love.
But nowadays thanks to Instagram and Pinterest the stakes are insanely high for a “homemade” birthday cake. It appears that a cake just isn’t a cake unless it’s six layers high, draped with pastel fondant and dotted with gum paste peonies.
I say, let’s get back to basics, people, because this type of pressure can strike terror in the hearts and minds of any novice baker and frankly can take all the fun out of a homemade cake.
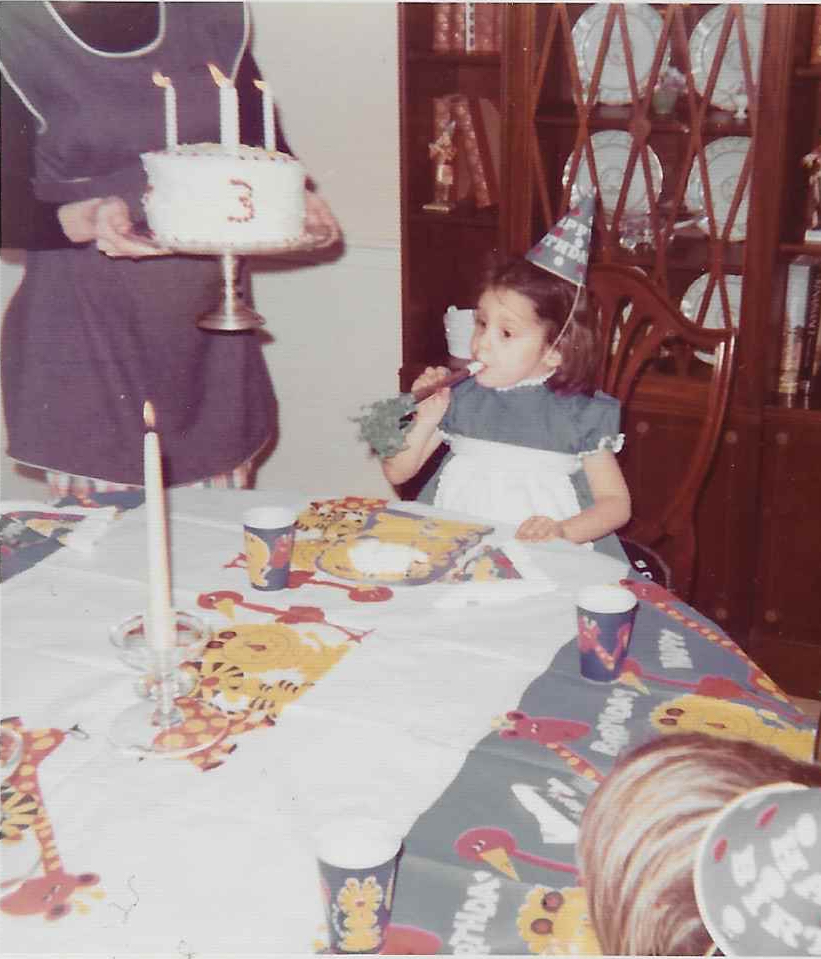
As a child, I was lucky enough to grow up in a home that treasured homemade birthday cakes. By today’s standards, these cakes were not “Pin-worthy” or “Instagrammable” but they were made with so much love that looking back on them now, there’s a great charm in these cakes. Sometimes they were several layers high and sometimes they were just one layer, but they were always “handsomely decorated” in a lets-put-some-effort-into-this kind of way. In fact, the decorations were the best part; an amusing detail of my childhood I like to rib my parents about now.
For example, there were always lots of jellybeans gracing the top of my cakes. Ironically, my birthday is in January, which is quite a stretch from Easter. This always makes me laugh as I pepper my mom with questions about where these jellybeans actually came from. Have you ever tried to buy a jellybean in January?
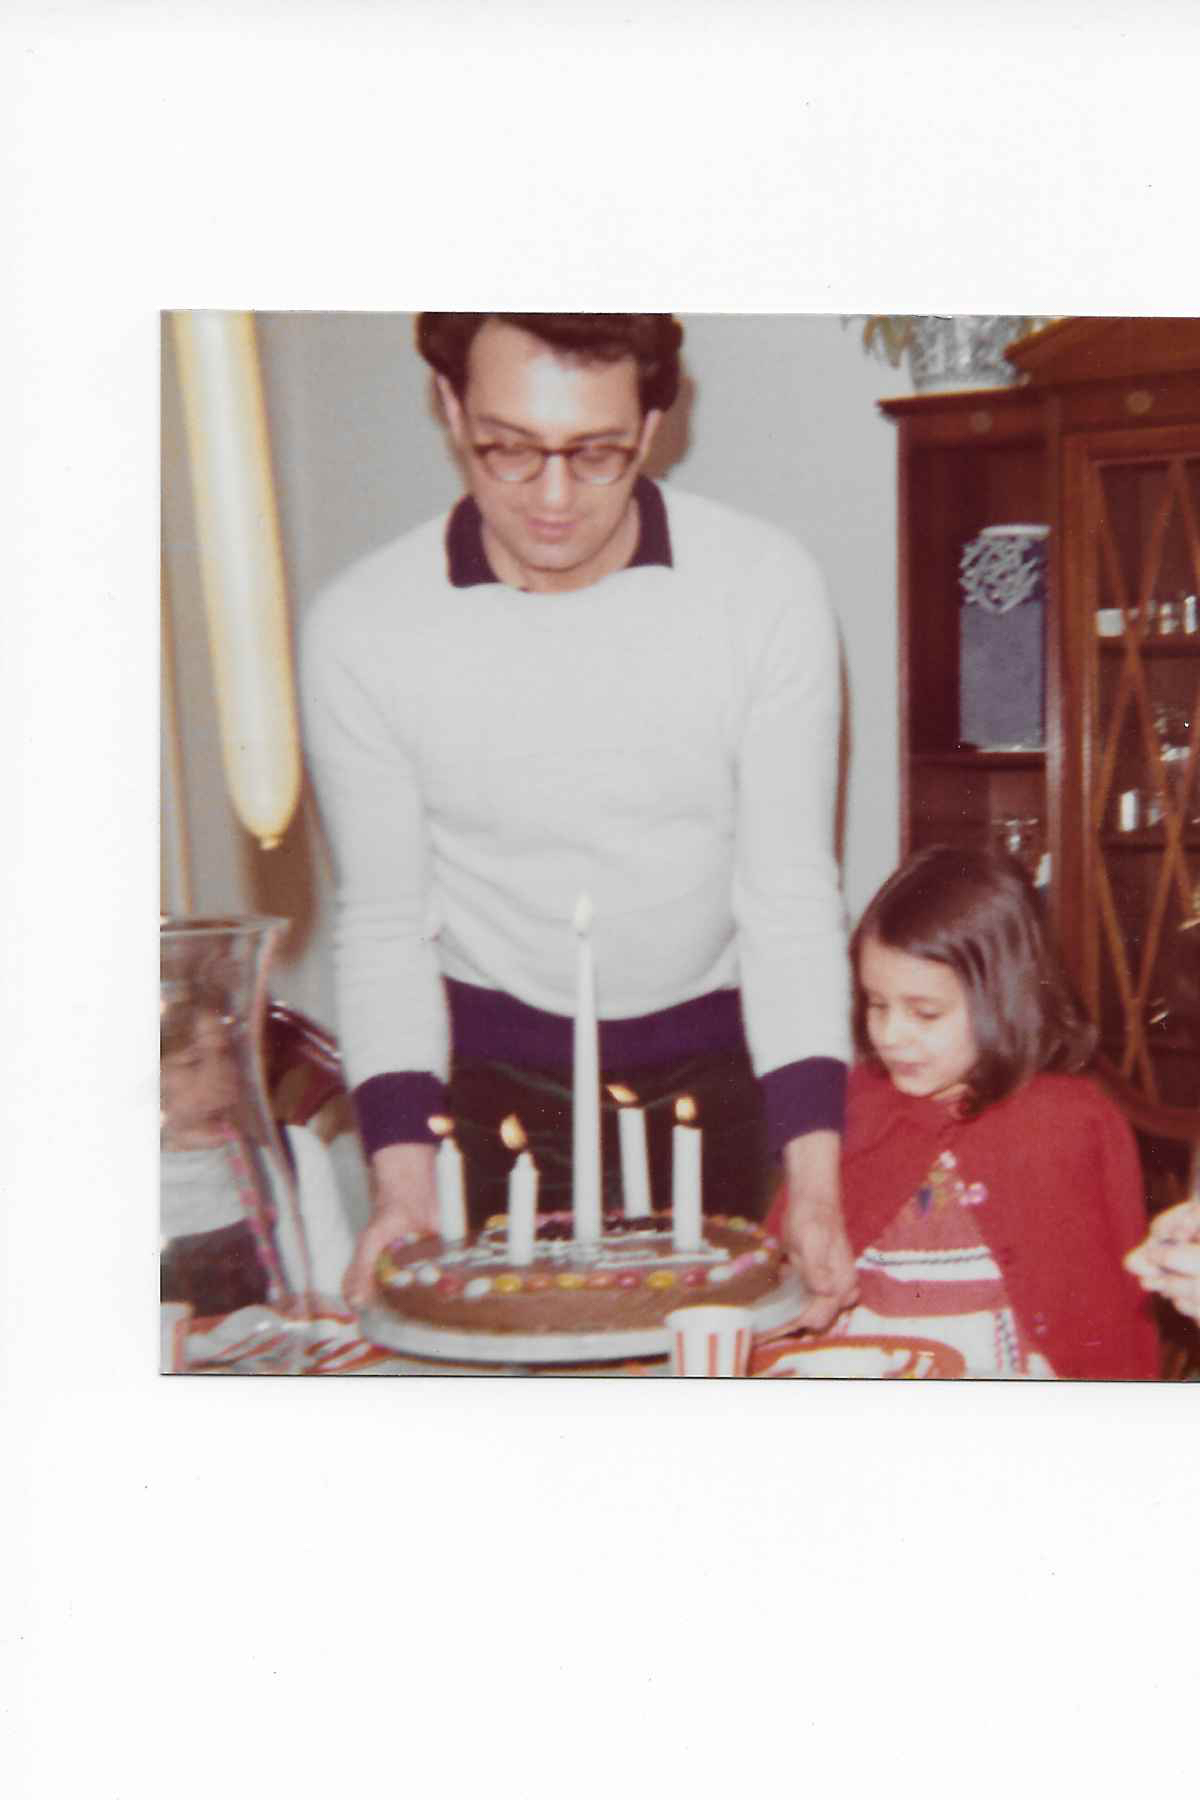
Or there was the year that little red hot candies dotted the side of my cake spelling out the number three. Looking back, I have to admire the boldness of my parents to offer up such “candy heat” to a 3-year-old? Could this be the reason why I like Sriracha so much?
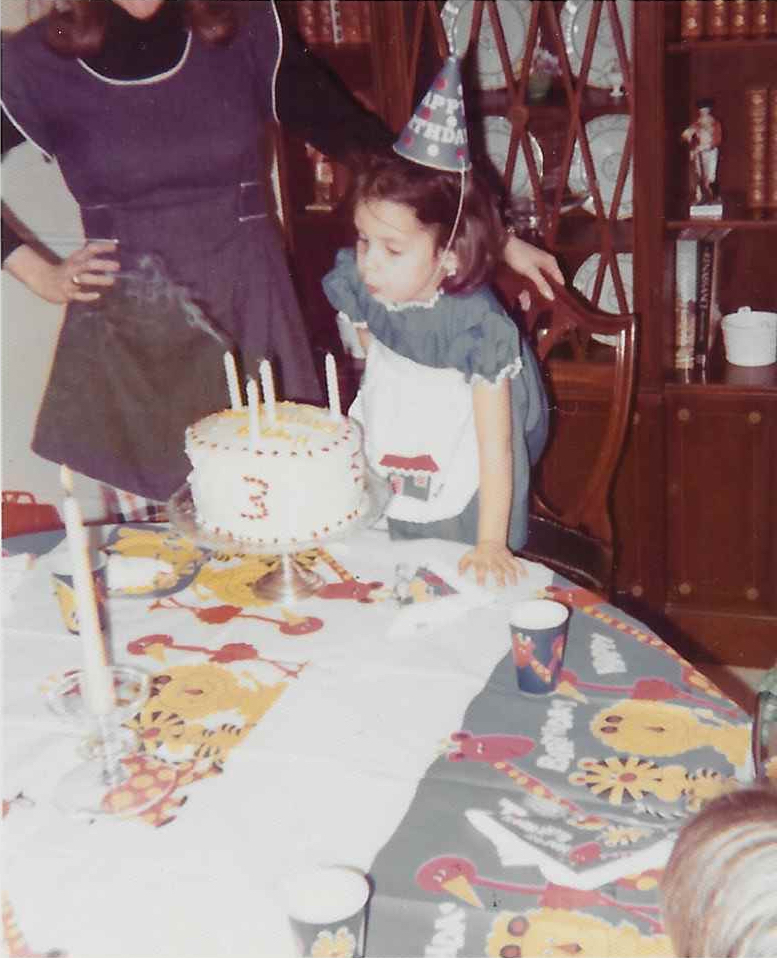
And of course, there were “The Candles.” These candles were not exactly of the “birthday candle variety” but rather the “dinner table variety” or those emergency candles you typically see in disaster relief kits.
You should know something about my parents. They are “resourceful types” who always taught me to make something from nothing. So it’s no surprise that these curious candles should appear. I can just imagine my mother saying “Oh darn I forgot to buy the birthday candles again” only for my Dad to reply, “Oh please, we’ve got these candles, these are great! And they’re more elegant too. OK, dim the lights”.
So if you have someone special in your life whose birthday is approaching, consider making them a homemade cake. My Classic Chocolate Birthday Cake Recipe is as easy as it gets. It’s a flopsy mopsy, “imperfectly perfect” sort of cake that you can dress up or down. Heck, you can even skip the layering all together and bake it in a 9×14 Pyrex casserole dish, smear the frosting on top and call it a day. It’s so divinely delicious no one will even care about the presentation. And remember that’s not what a homemade cake is all about anyway. Its sole purpose is to remind those we care about most that they are truly loved, cherished and cared for, in a way that no store-bought cake can convey. And besides nothing says “I love You” more than a homemade baked good.
So drag out the bowls, measuring cups and spoons and embrace the homemade cake with all its homemade imperfections. It’s never the presentation that counts but the gesture that remains (jellybeans optional).
Share your #ImperfectlyPerfect birthday cake with us on Instagram @IHAInspiredHome + @EntertainingwithBeth and we’ll re-gram our favorites.
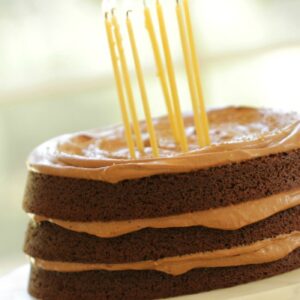
Beth's Chocolate Birthday Cake
INGREDIENTS
For the Cake:
- 2 oz (56 g) bittersweet chocolate, chopped
- 1 cup (100g) unsweetened Cocoa powder
- 1 cup (240 ml) hot water
- 2 ¼ cups (450g) of sugar
- 1 cup (240 ml) vegetable oil
- 4 eggs
- 1 tbsp (15 ml) vanilla
- 1 ¼ cup (150g) of flour
- 1 ½ (7.5 ml) tsp salt
- 1 tsp (5 ml) baking soda
For the Frosting:
- 2 cups (480 ml) heavy cream or whipping cream
- 1 cup (100 g) powdered sugar
- ½ cup (50 g) unsweetened cocoa powder
- 1 ½ tsp (7.5 ml) vanilla
- ¼-½ cup (60ml-120ml) of milk
Garnish:
- Gold sprinkles
- Birthday Candles
INSTRUCTIONS
- Preheat oven to 350F (175 C) degrees.
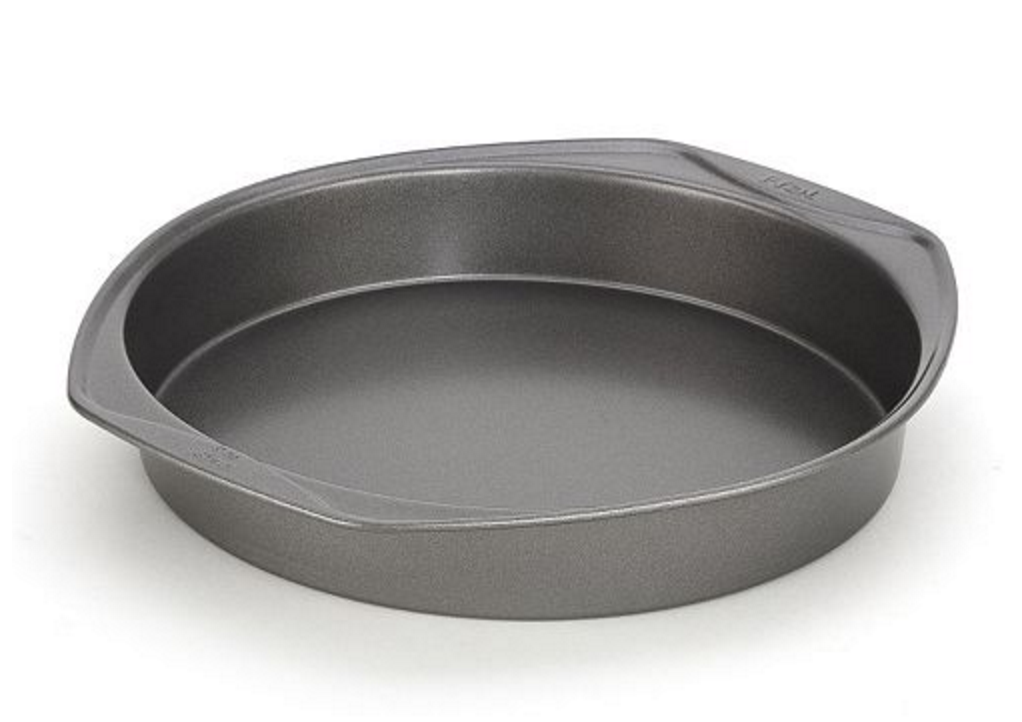
- Spray three 9” (23 cm) cake pans with cooking spray for baking.
- In a large heat safe bowl, add the 2 oz (56 g) of chocolate. Add the cocoa powder and then the hot boiling water, whisk to combine. Chocolate will melt as you whisk.
- Add the sugar, whisk to combine. Then add the oil, whisk to combine. At this point the batter is cool enough to add the eggs without scrambling. Add eggs one at a time and whisk until smooth. Add the vanilla and set aside.
- In a smaller bowl whisk together the flour, baking soda and salt. Add flour mixture in thirds to the chocolate mixture, stirring gently with a wire whisk until combined.
- Pour batter into the pans. Filling each one 1/3 of the way full. Tap on counter to release air bubbles.
- Bake for 22-25 mins, or until a long toothpick or skewer comes out clean.
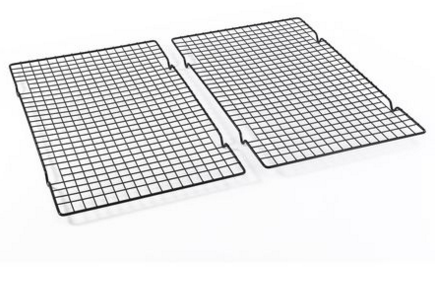
- Allow cakes to cool and then release them from the pans onto cooling racks.
- To make frosting whip all ingredients (EXCEPT MILK) with an electric mixer on high speed until frosting forms soft but slightly stiff peaks. Then thin with milk ¼ cup at a time until desired consistency.
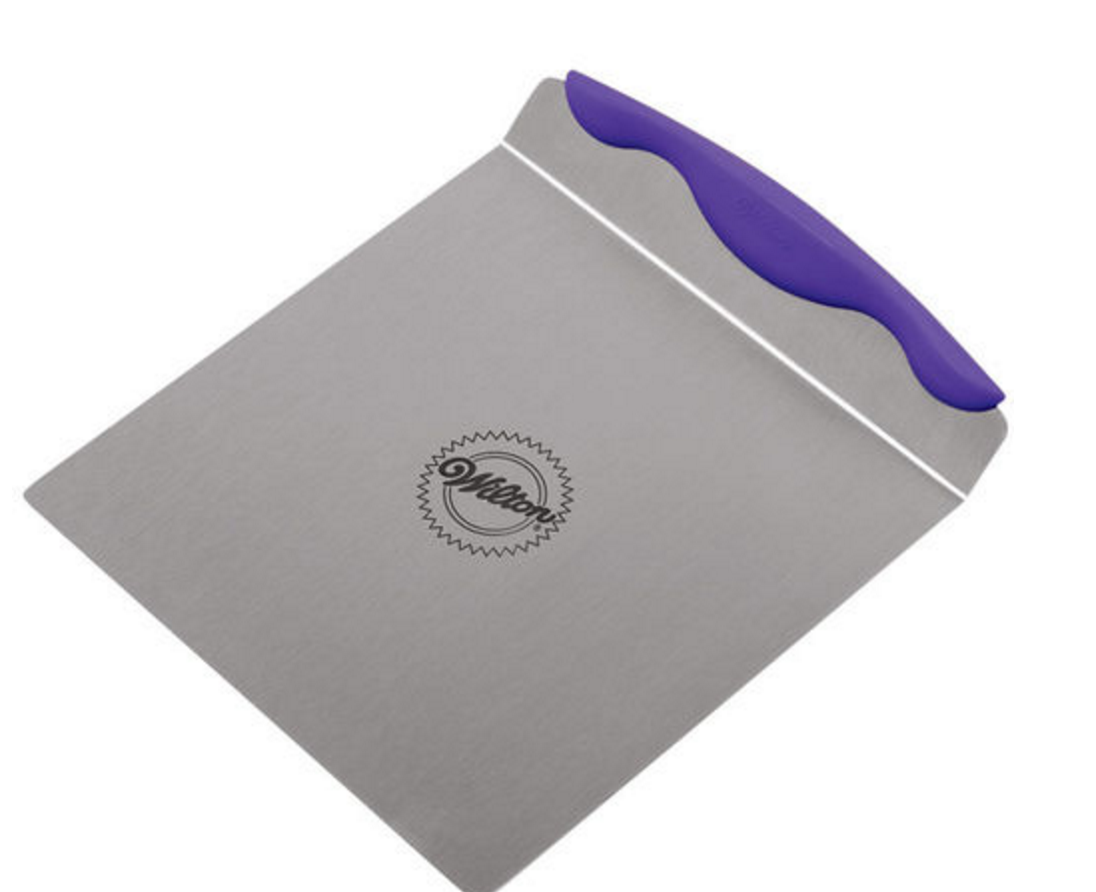
- Transfer first layer to cake stand with a cake lifter or large spatula.
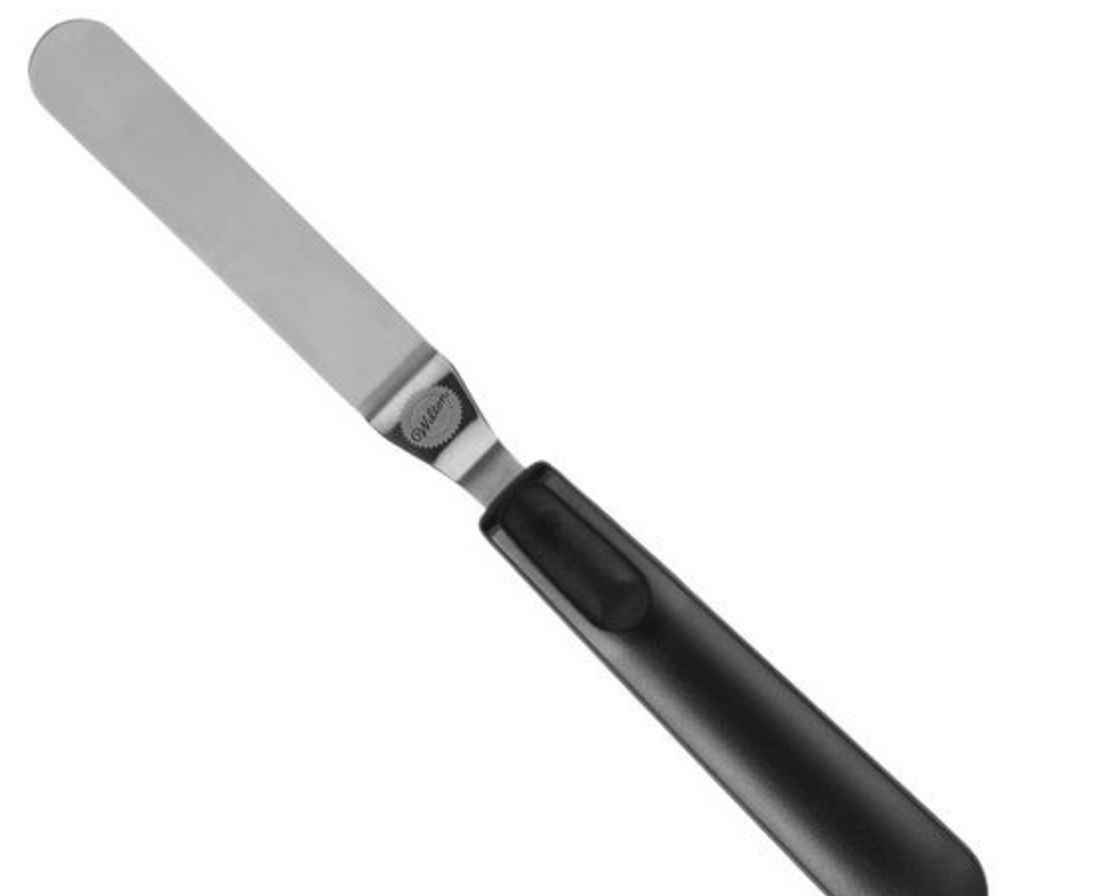
- Dollop ¾ cup of frosting in the center and smooth with an offset spatula just to the edge.
- Place second layer on top and repeat, and then third and final layer and repeat. Create nice swirls with the offsets spatula for a decorative finish.
- Sprinkle top with gold sprinkles and top with birthday candles.