
Fellow beer enthusiasts, I raise my glass to you. When your love for beer begs of you to better understand the art of crafting brew, a small batch home-brewing kit is the easiest and most economical way to get started. I’m happy to report that I gave it a try myself and after a few short weeks (and a little patience), I have my very own batch of truly enjoyable BEER that tastes great!
I’ll admit that I first thought I had bitten off more than I could “brew” and I had my doubts about actually making a beer that would rival any of my favorites. To my surprise, it’s really quite easy and fun! So if you’re inspired to get started, my pointers and recommendations will have you on your journey to becoming a brew master in no time.
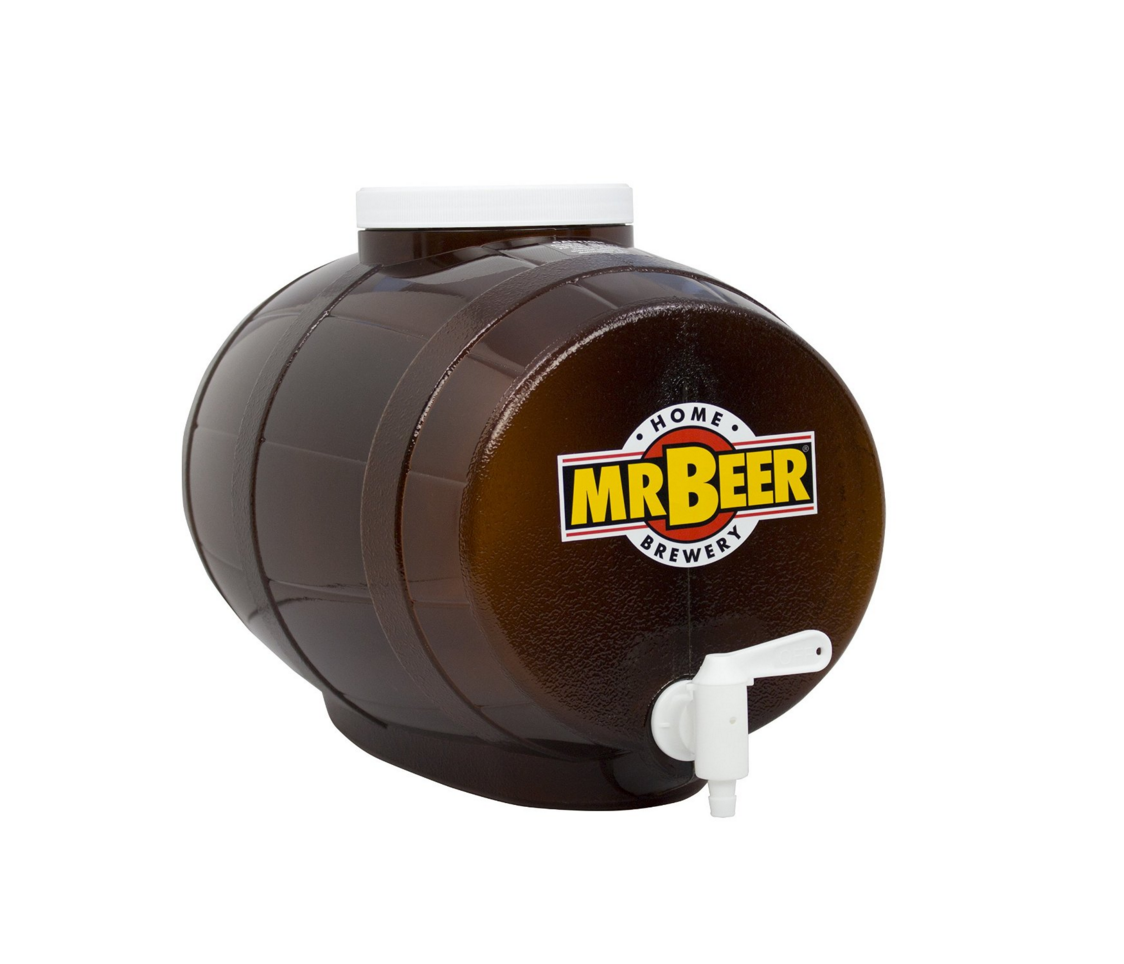
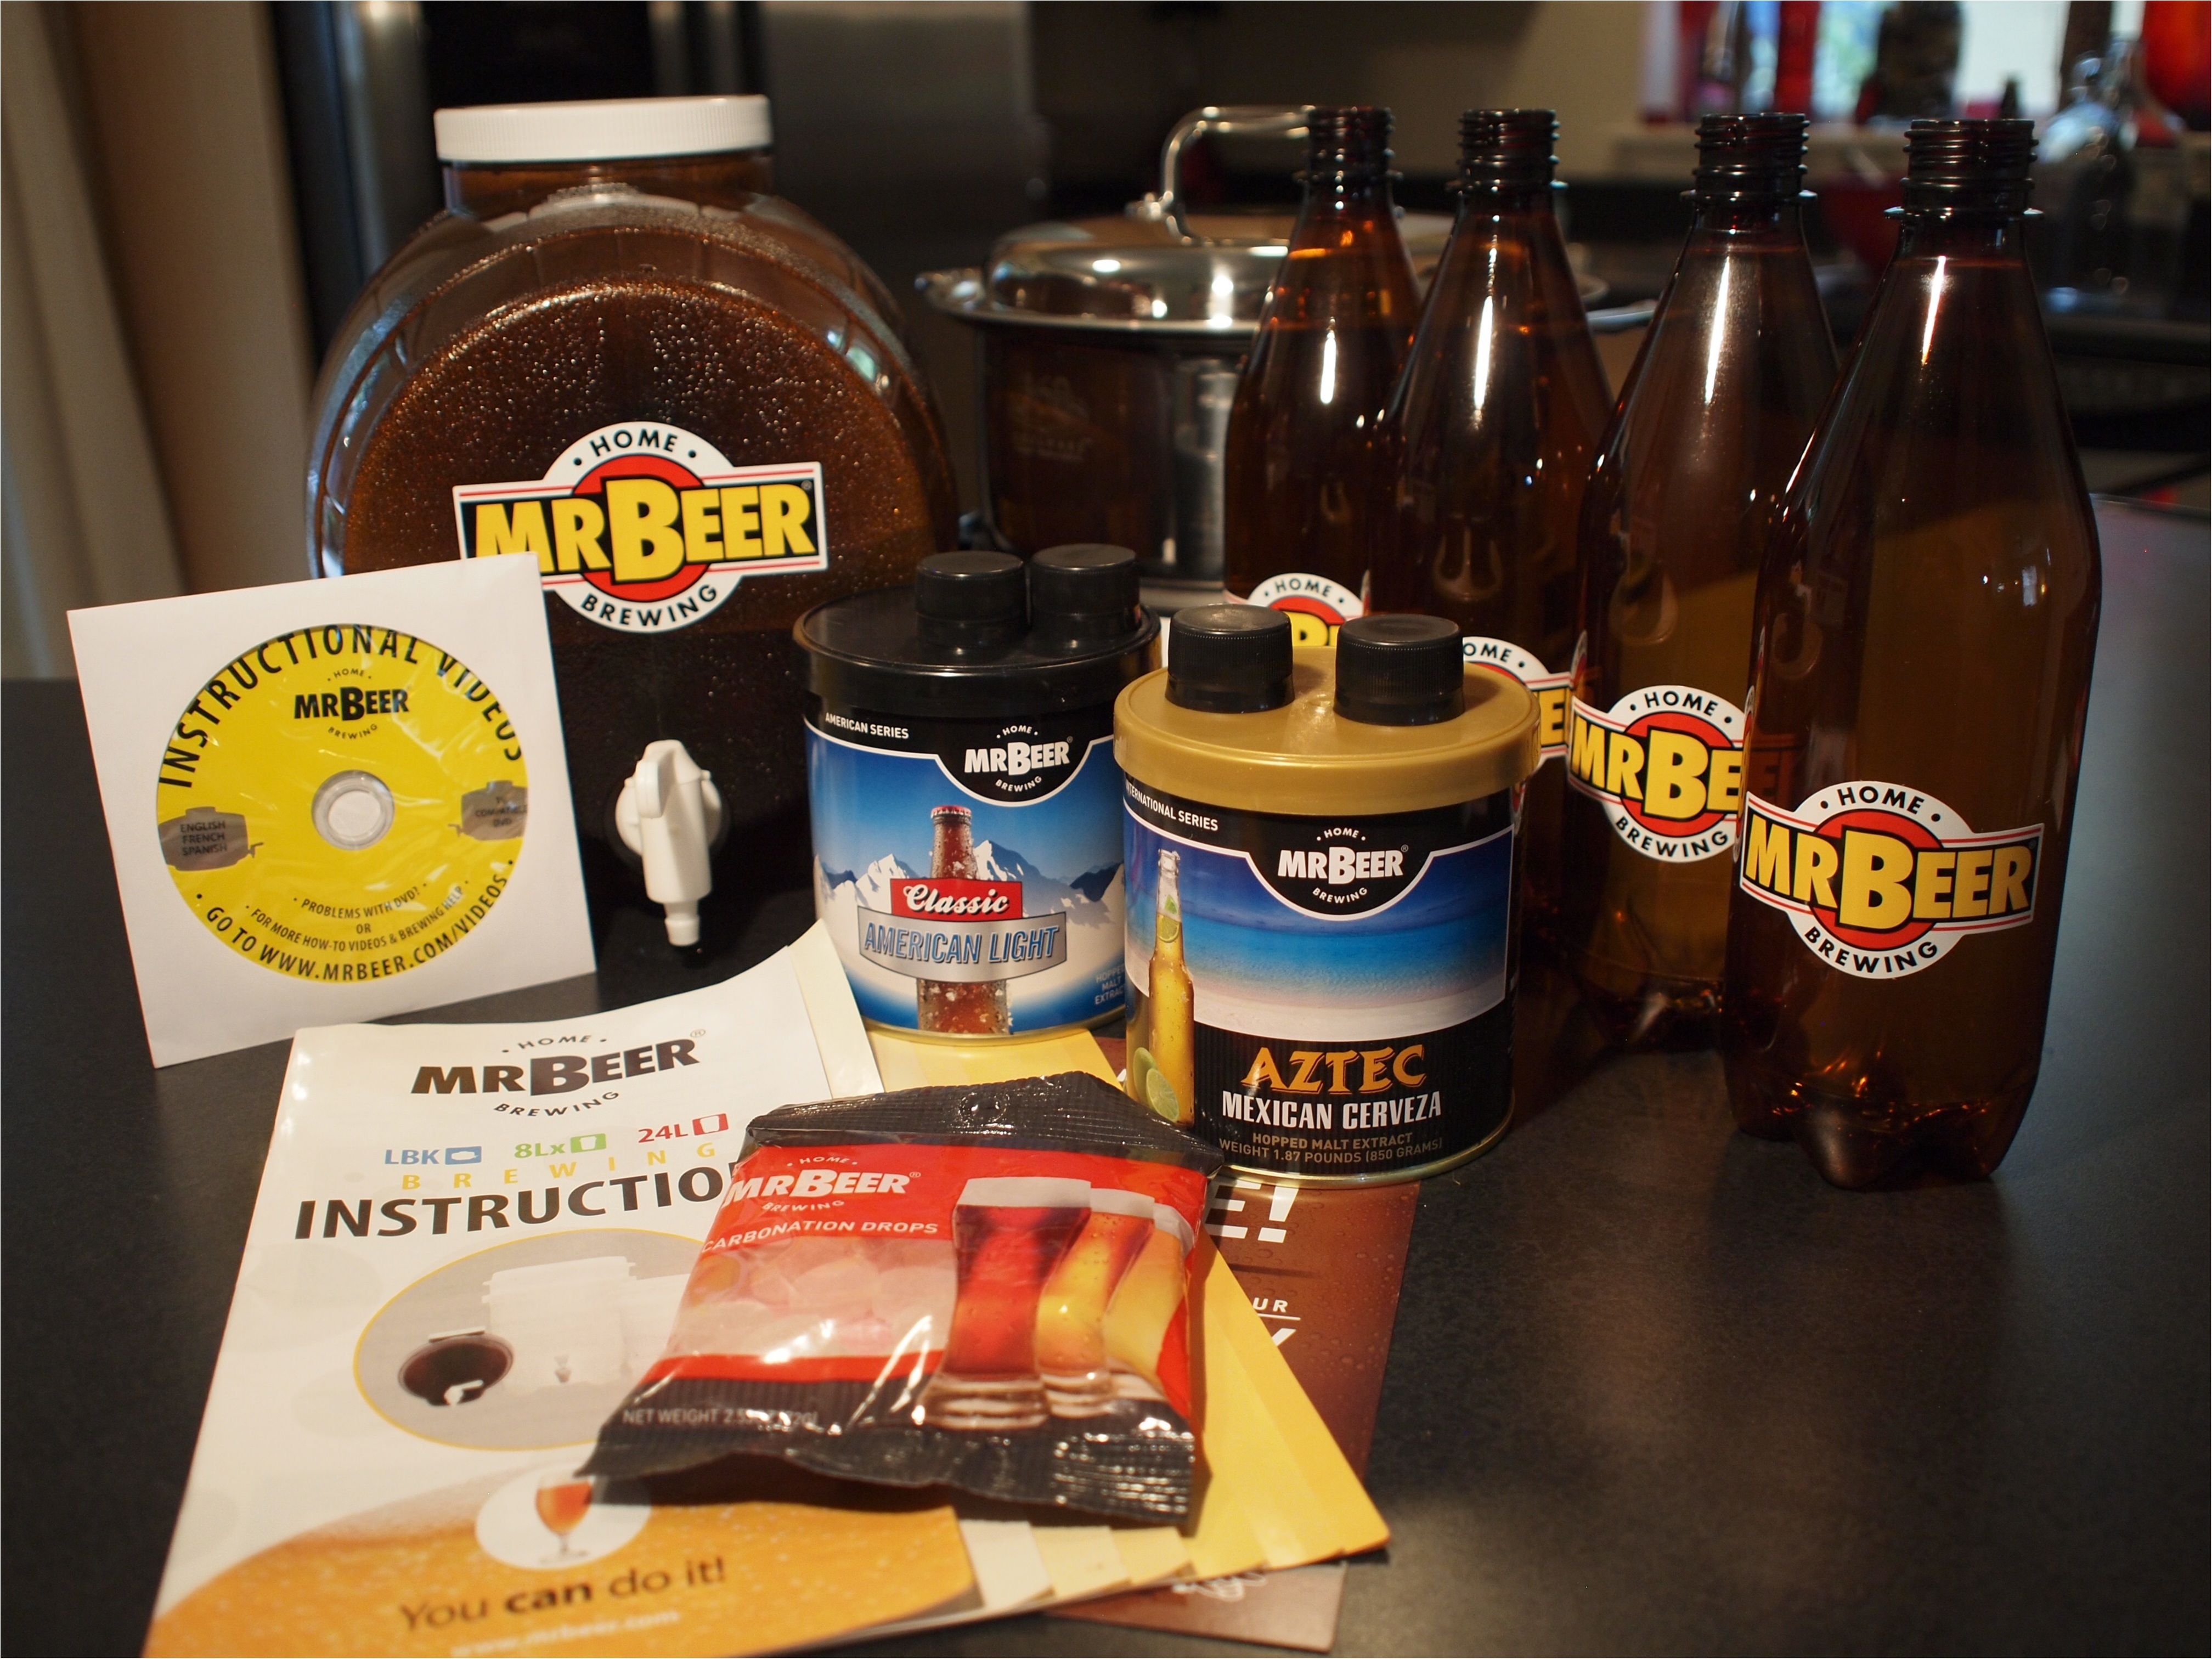
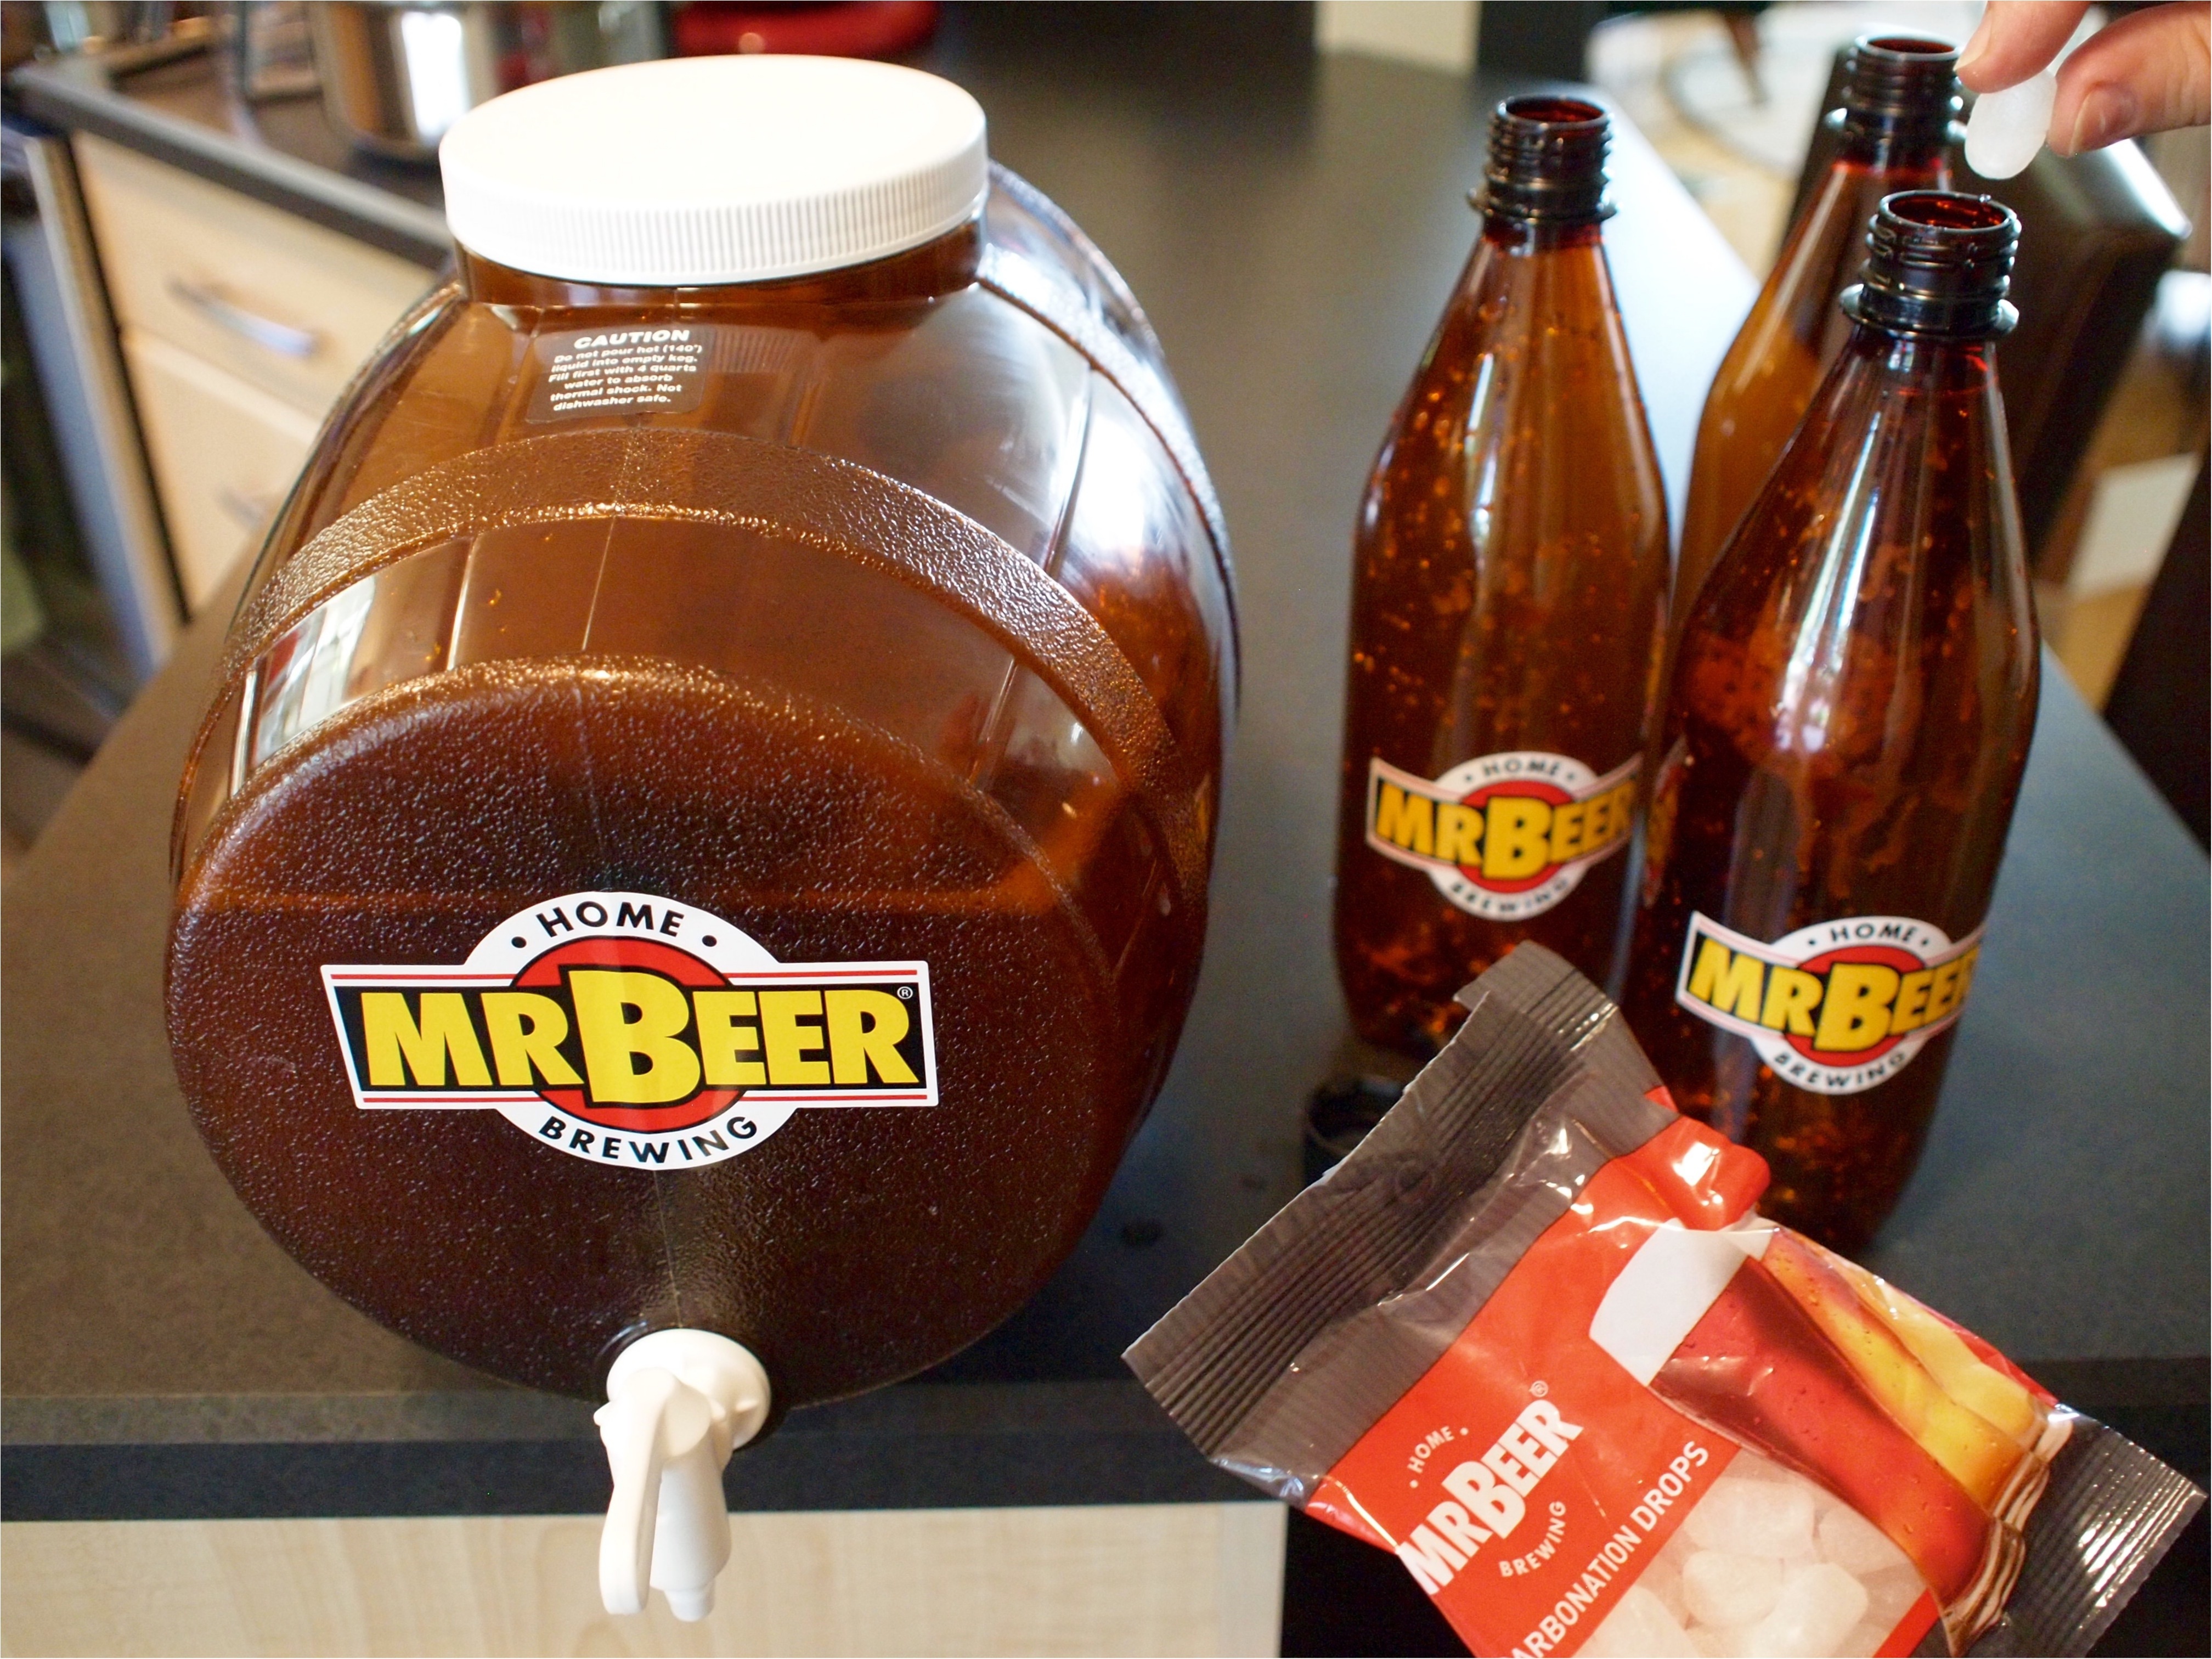
Of course, I was looking for something affordable to make my first batch, and this lead me right to the Mr. Beer Craft Home Brew Premium Gold Kit. This kit couldn’t be more user-friendly. I was immediately impressed with the clearly written instruction manual and instructional DVD. As I unpacked the contents of the box, everything was labeled so nicely that I couldn’t wait to get started. This had me thinking about how cool a gift this could be for some of my friends and family.
#1 Sanitize! Sanitize! Sanitize!
Well, the first thing I learned from my Mr. Beer Home Brewing Kit is that sanitation is extremely important. It’s “the most crucial step in the brewing process” according to the manual, which jokingly refers to brewers as “glorified janitors because of how important cleaning and sanitation is in order to make a clean, fresh tasting beer.” With the included No Rinse Cleaner packet, you have everything you need to sanitize the provided keg, bottles and your utensils. You just follow along with the instructions on your DVD.
#2 Keep it simple!
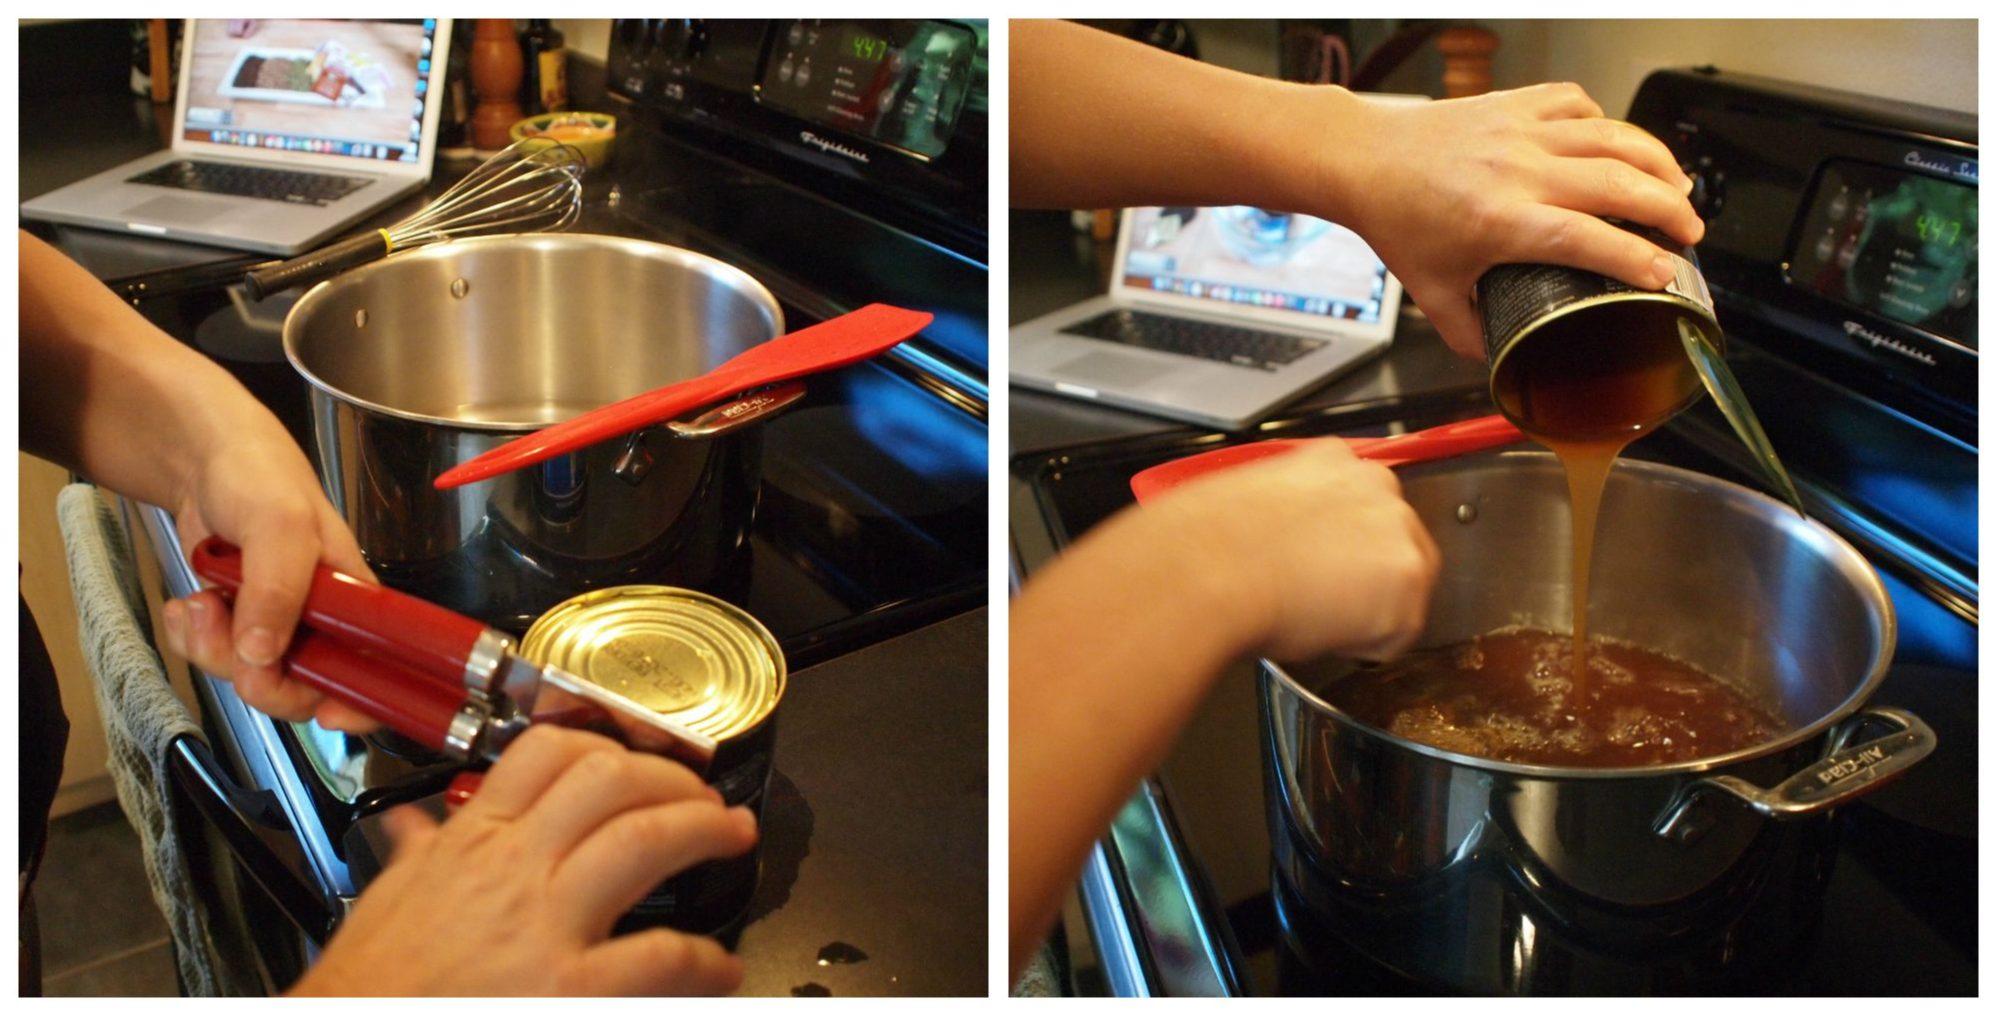
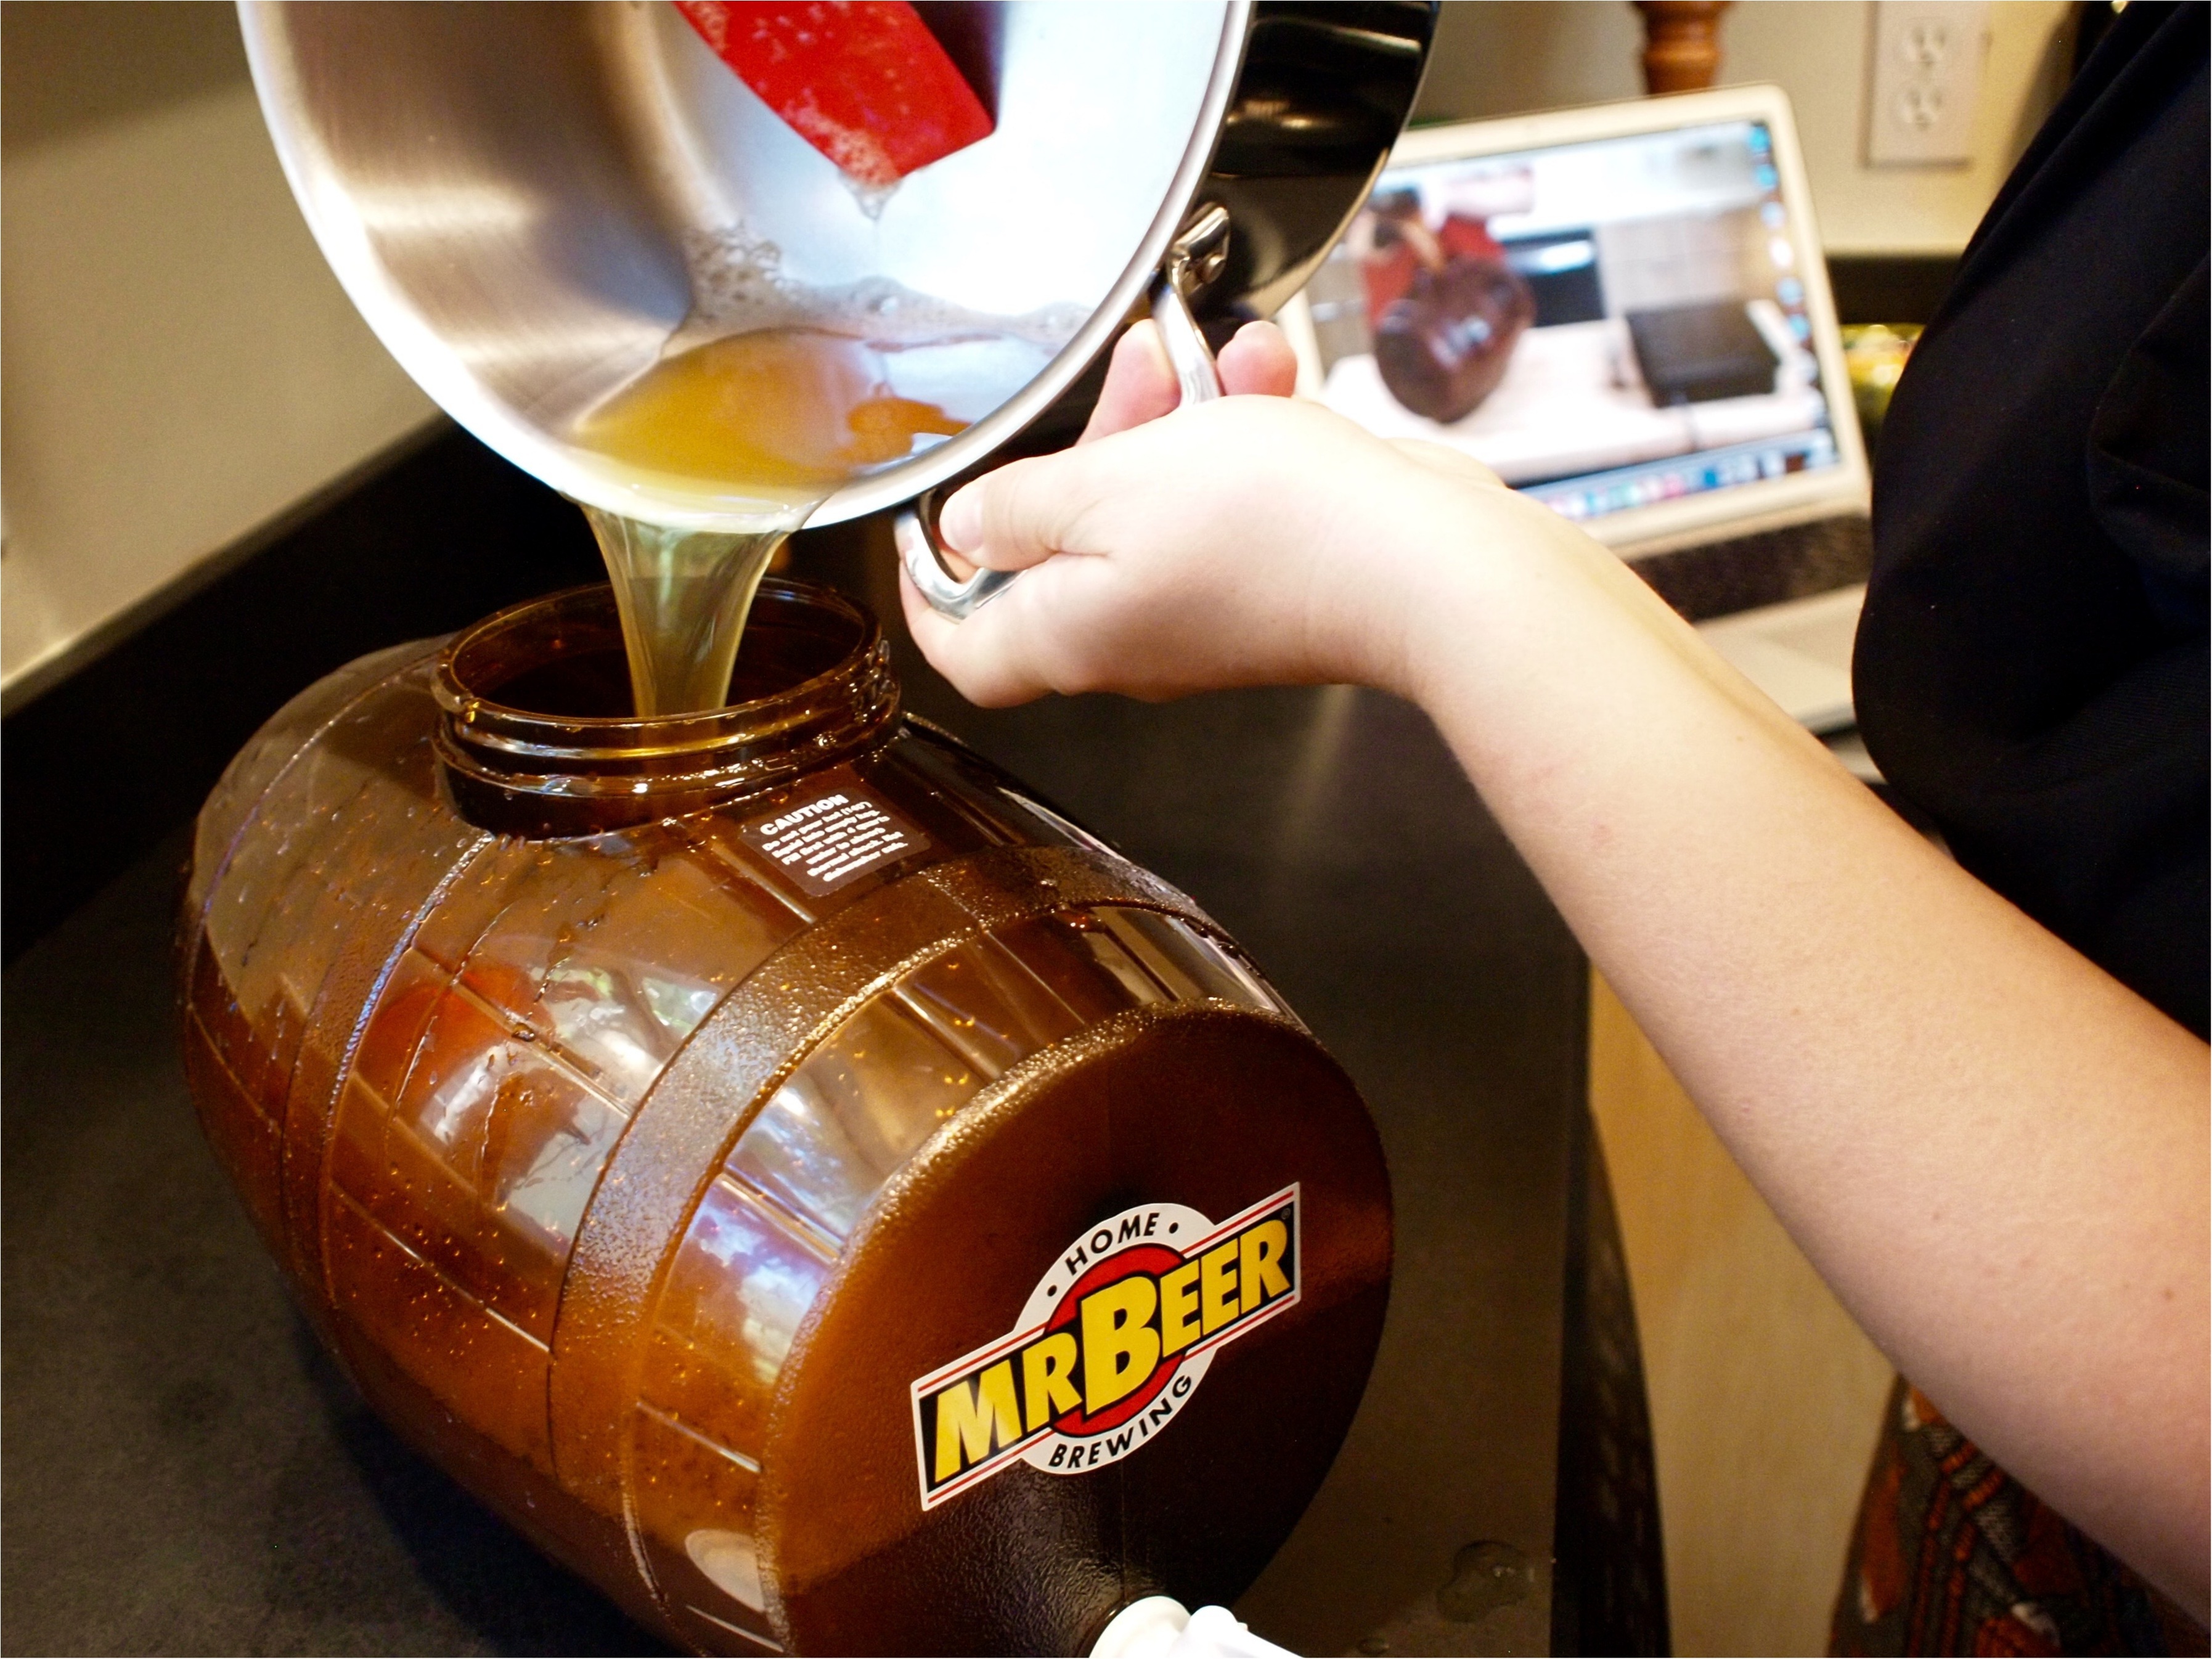
It actually takes only four ingredients to produce beer. Malted barley, hops, and water are first combined to produce “wort.” This becomes the food for the yeast that’s added next which, in turn, produces beer as a bi-product. Once you prep your equipment and decide on a suitable place for your keg, combining the ingredients takes very little time. Mr. Beer’s included Hopped Malt Extract (a highly concentrated wort, crafted by Coopers Brewery LTD) saves you a few steps and cuts down the process to about 30 minutes. Then the magic begins.
#3 Keep it Cool!
While you wait for the yeast to do its work, it’s important to keep your keg cool and away from light. For proper fermentation, you’ll need to maintain a steady temperature between 68¬∞ F and 76¬∞F. Instructions in the kit boldly highlight “Too cold and the yeast will go dormant. Too warm and the yeast will produce off-flavors.” I found keeping my keg in a plastic camping cooler was the perfect place to regulate temperature and avoid light. This is also a great choice to capture any unexpected leakage.
#4 Be Patient!
Now, you must wait for the fermentation process to complete. Throughout this time, the liquid in your keg will take on many forms. First, you’ll see a cloudy, foamy liquid with a lacy scum on top. Then, as the fermentation process begins, the liquid comes alive with small bubbles rising to the top. Eventually you’ll see that the bubbles stop and the beer begin to clear.
This is all normal! Resist the urge to “check on it” by opening the fermenter because you’ll risk the beer becoming contaminated. There’s no need to sniff or stir it. Give it about two weeks to ensure the process is complete and the beer is ready for bottling.
#5 Don’t let the bubbles go to your head!
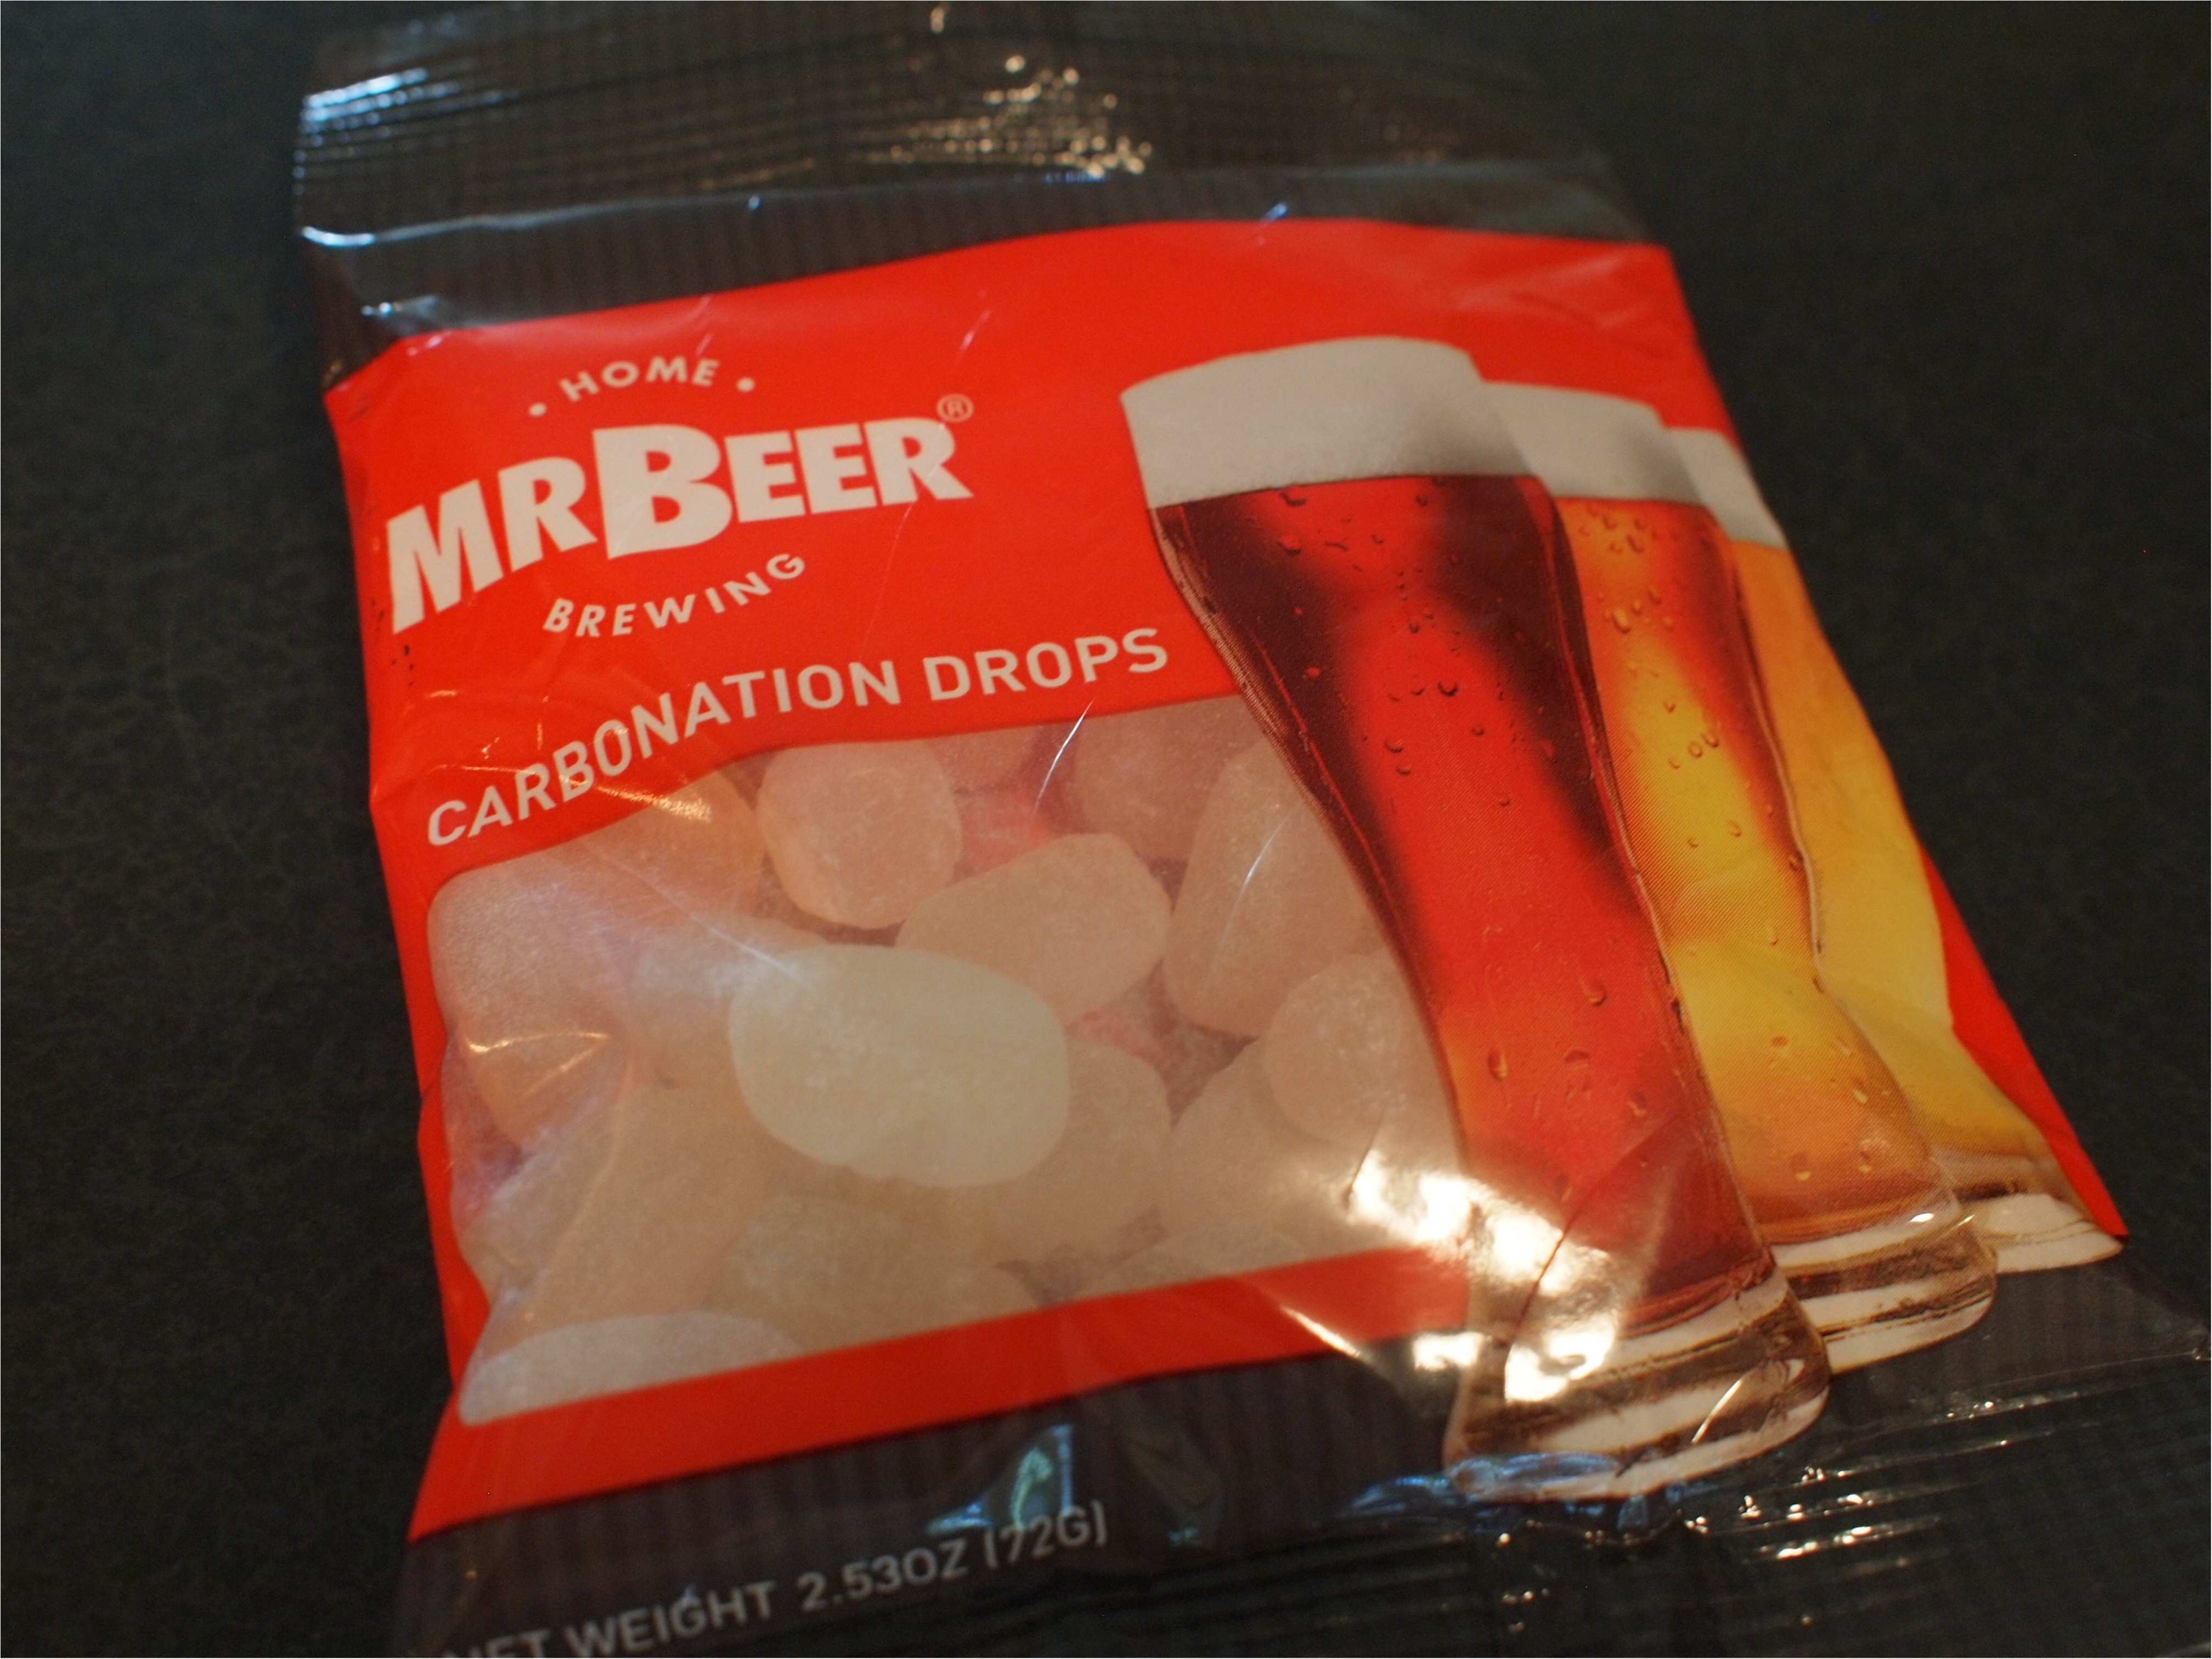
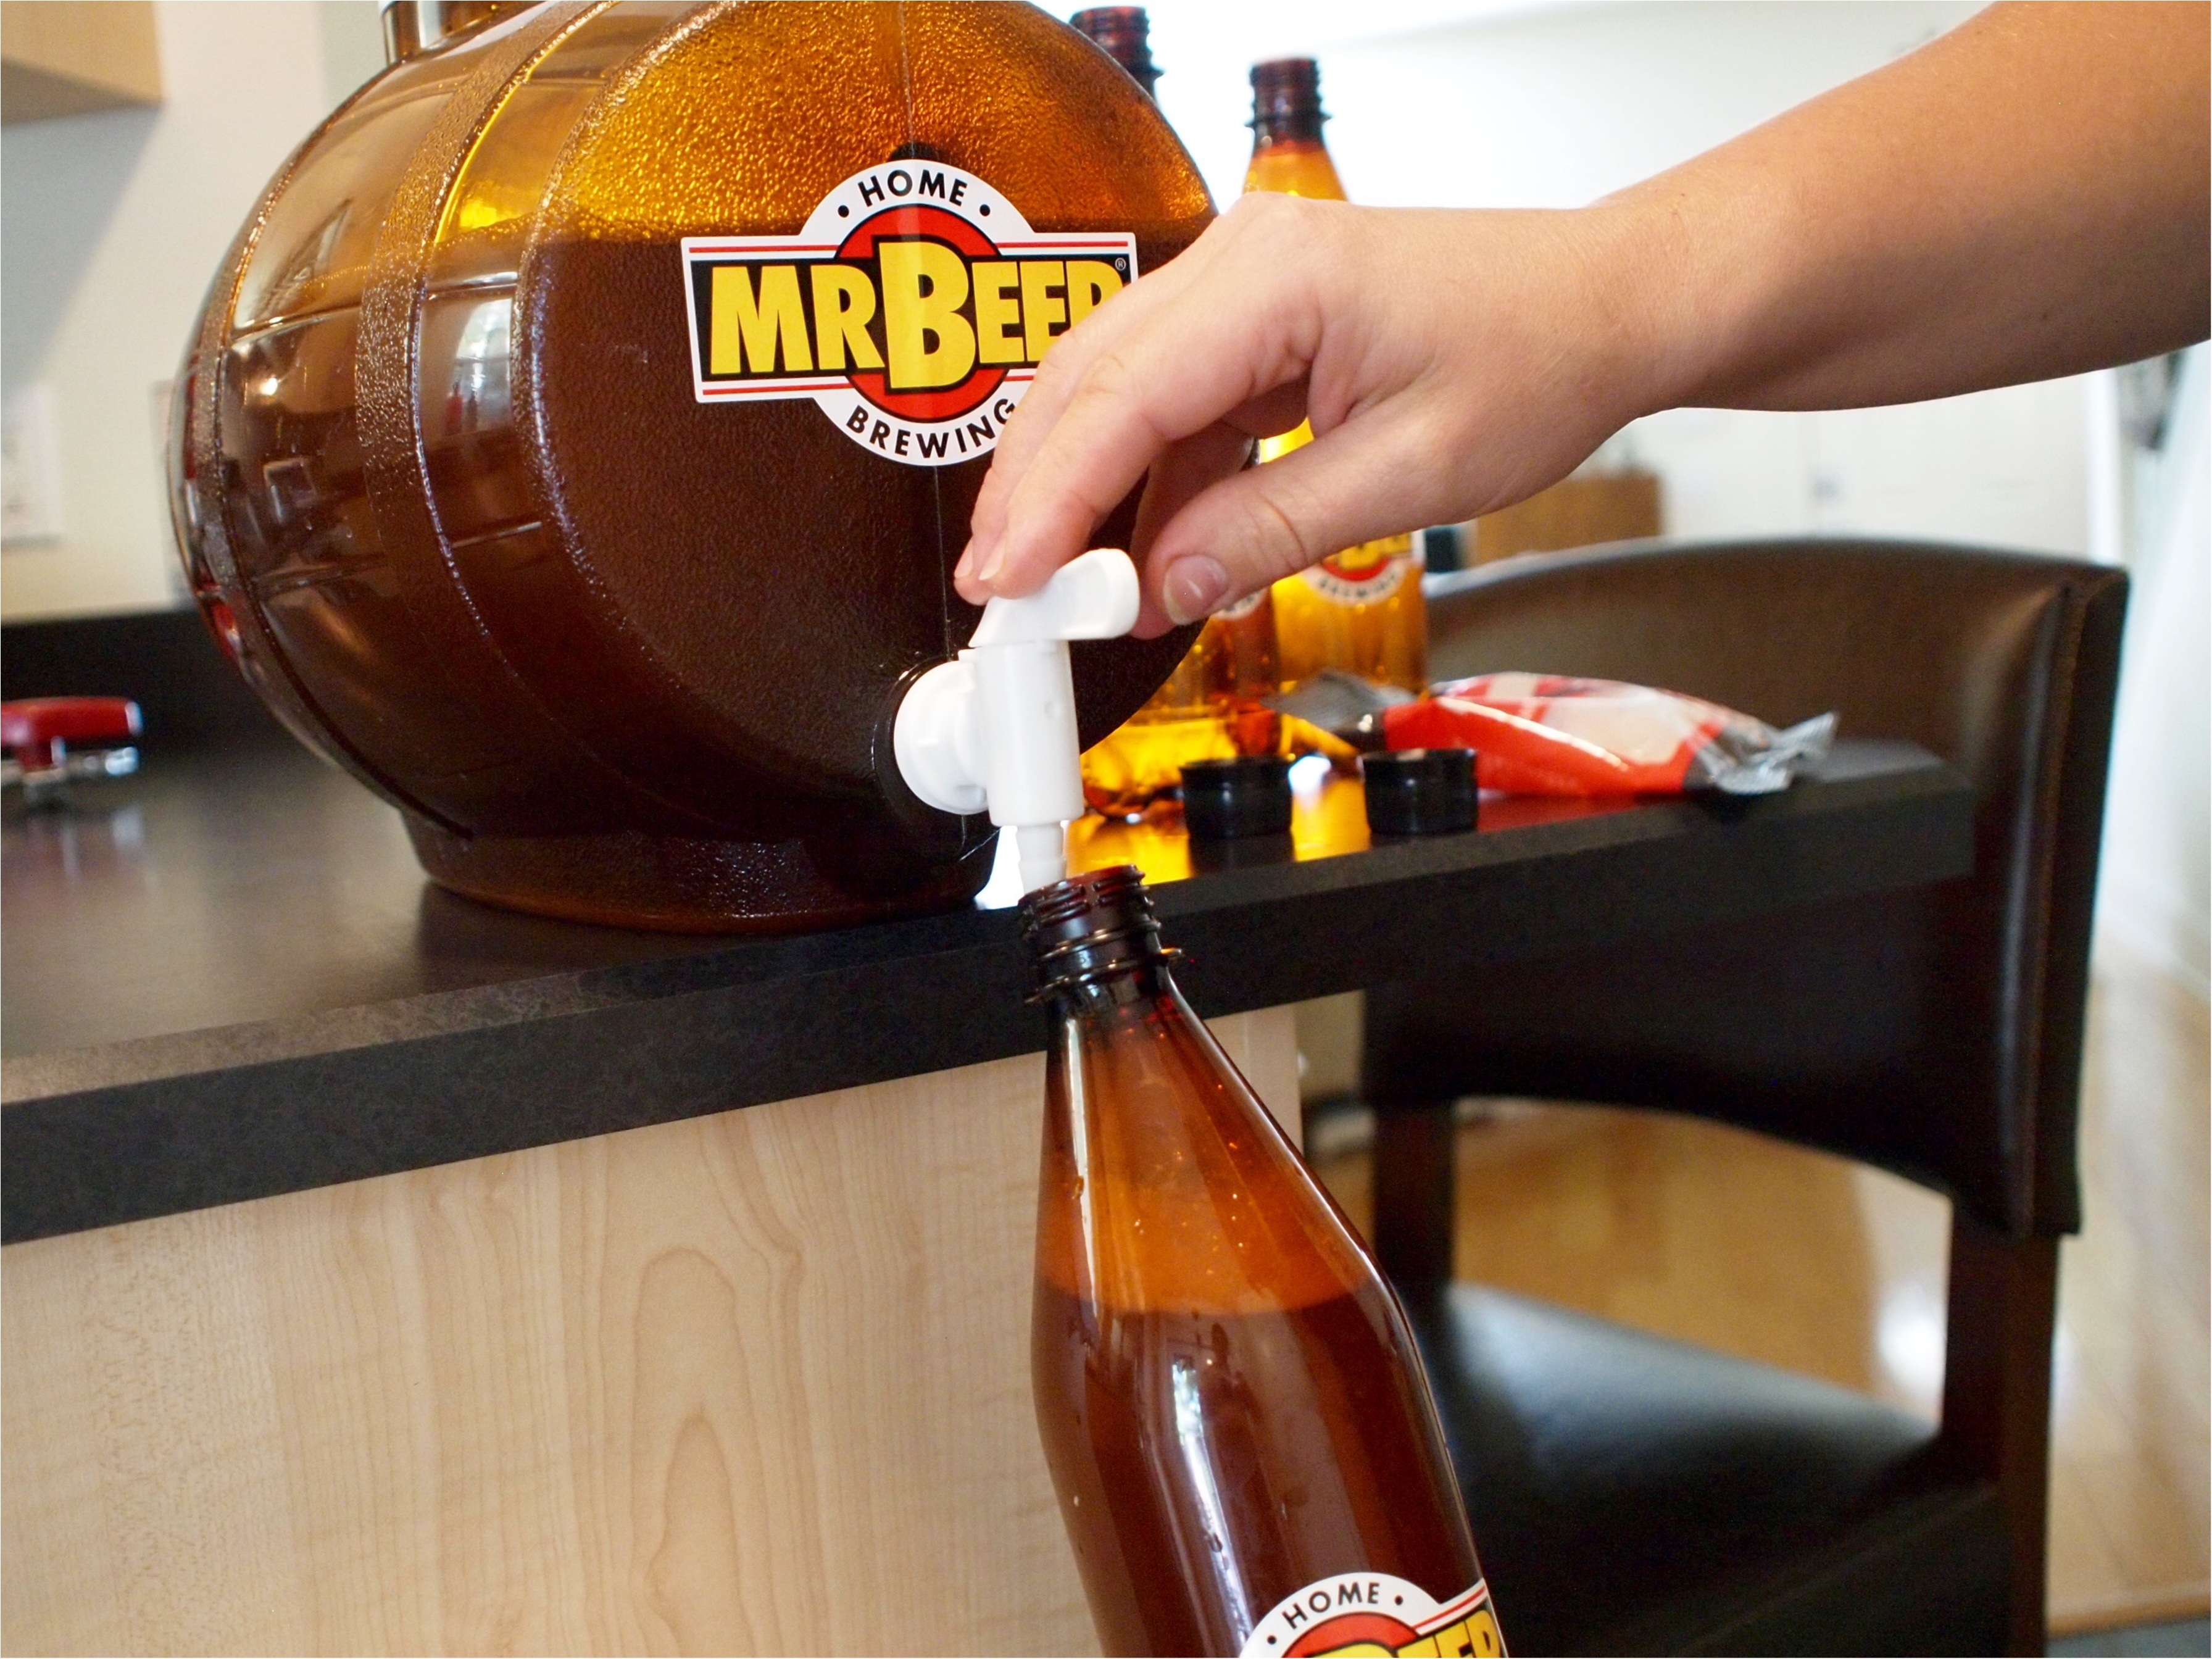
I really thought at this point that I was ready to drink the beer I had made. Surprisingly, however, you must feed the yeast one more time to create carbonation. Along with the provided bottles and caps, Mr. Beer provides the perfectly measured drops of priming sugar you’ll need to produce your carbonation. Once you seal your bottles, it’s back to patiently waiting.
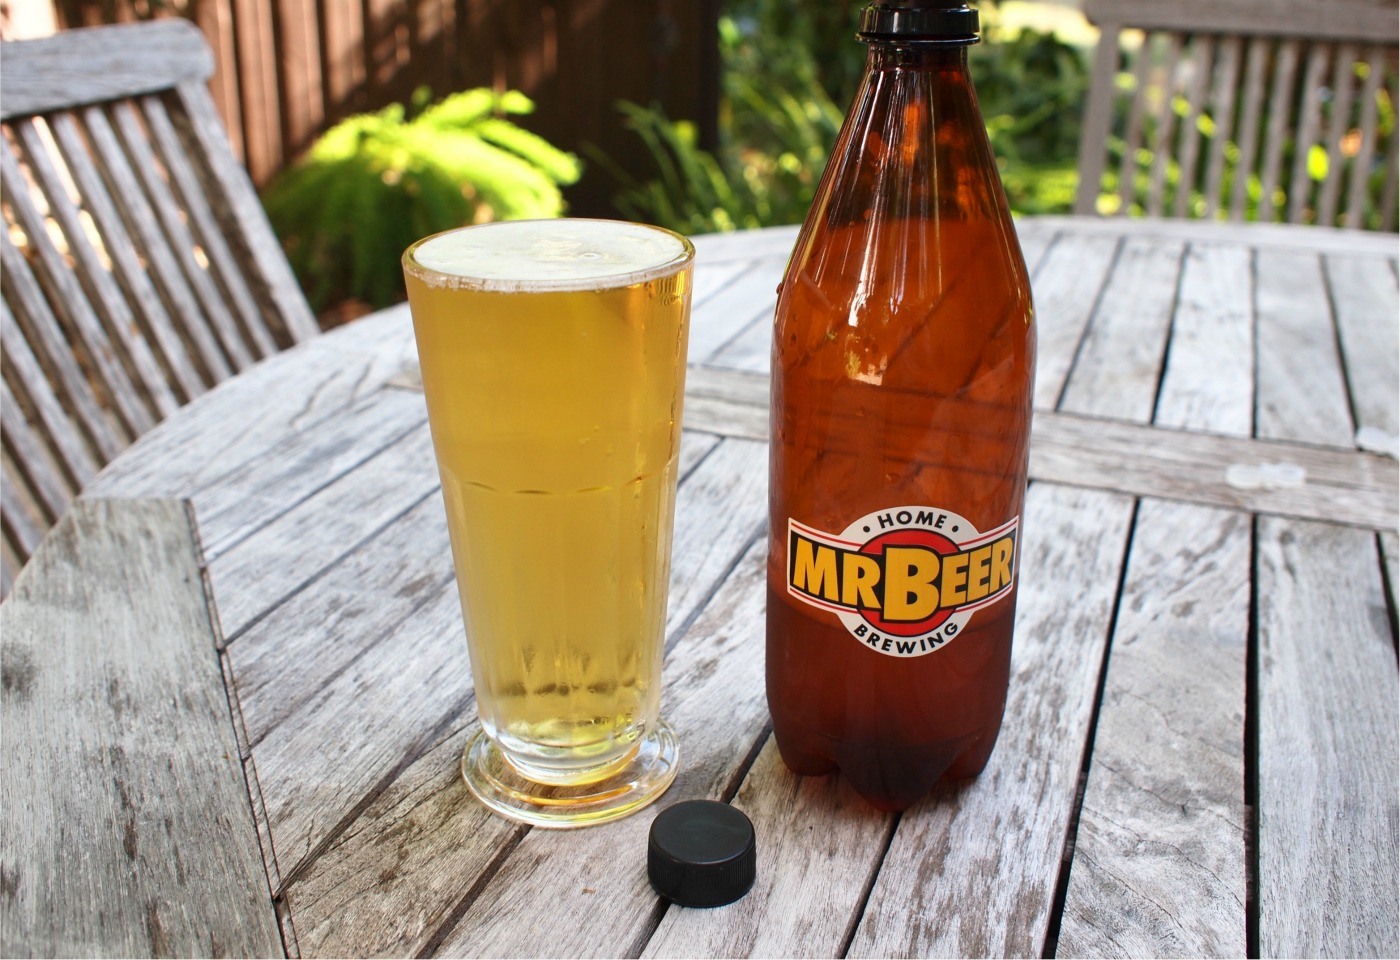
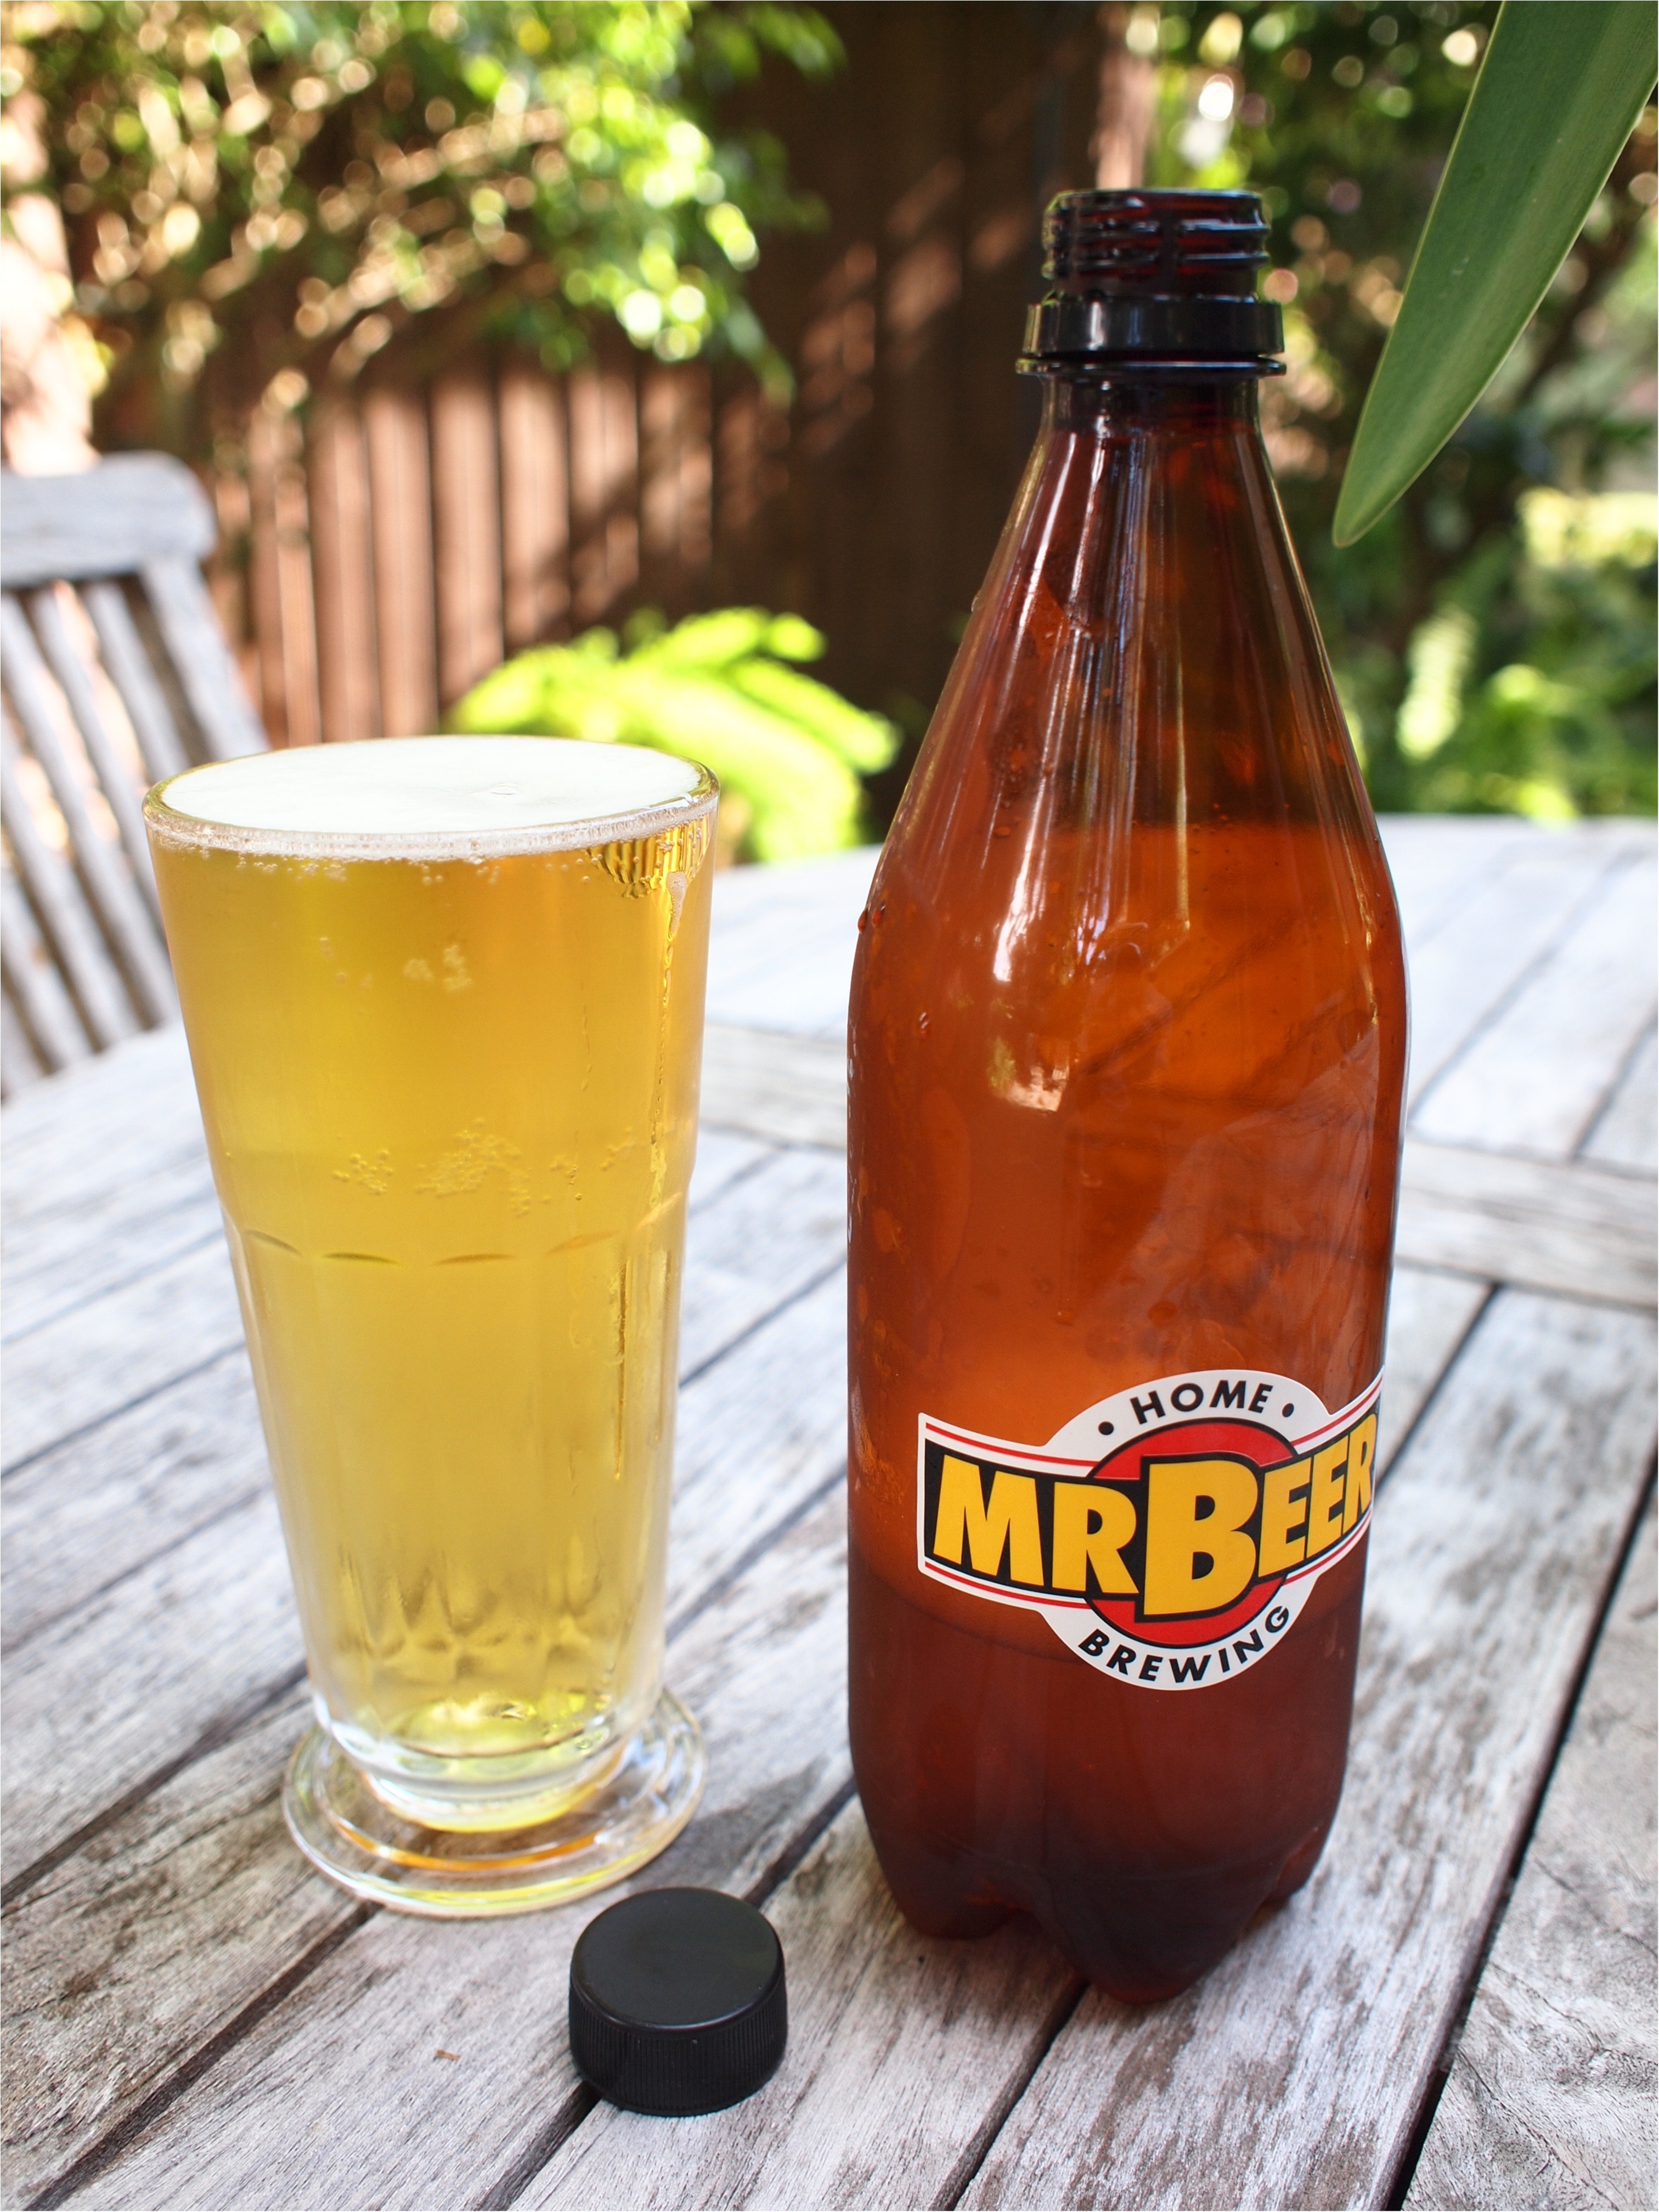
The kit notes that you should allow the bottles “to sit for a minimum of 14 — 21 days to allow full carbonation.” You know your beer is fully carbonated when you squeeze the bottles and “they are hard as a rock.” Thankfully Mr. Beer provides plastic bottles for your first experience as it would be difficult to squeeze-test for carbonation with glass bottles. Once you’re fully carbonated, chill your bottles for another two days and you’re FINISHED!
#6 Toast your efforts!
Congratulations. Your patience has paid off and now YOU are a home brewer! Enjoy your reward and crack open a cold refreshing beer you can call all your own. What better beverage to proudly serve to your friends! You can also visit Mr. Beer’s community page for more tips and for sharing your own experiences with other enthusiasts at http://community.mrbeer.com/.
I sincerely hope you’re feeling inspired to try it. When contemplating whether to brew or not to brew, demystify the process like I have — And with no further adieu, you brew!
Don’t forget to check out Brew It, BBQ It and Can It For Keeps – Part 2: BBQ Sauce + Canning! I’ll give you my recipe for Brew-B-Q Sauce, my BBQ sauce which is made even better by beer (you can even use some you brewed yourself!), and teach you how to preserve it and “can it for keeps!”
Cheers!