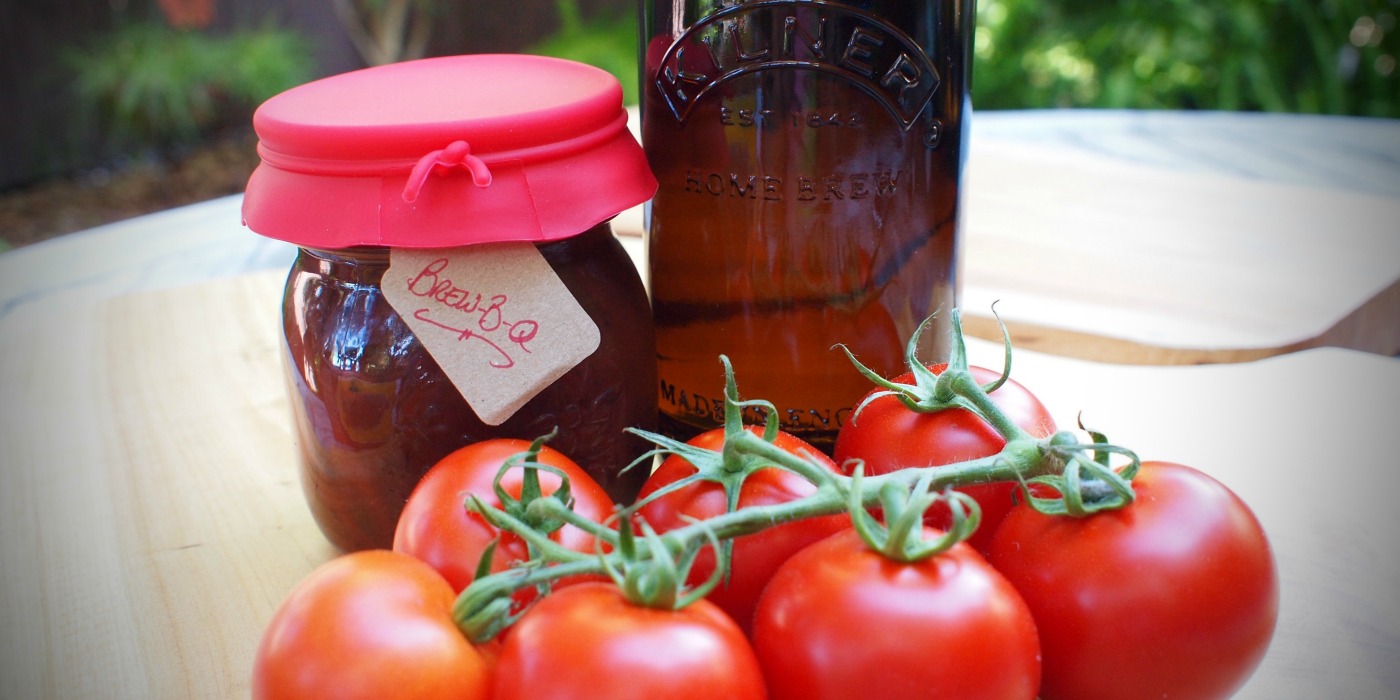

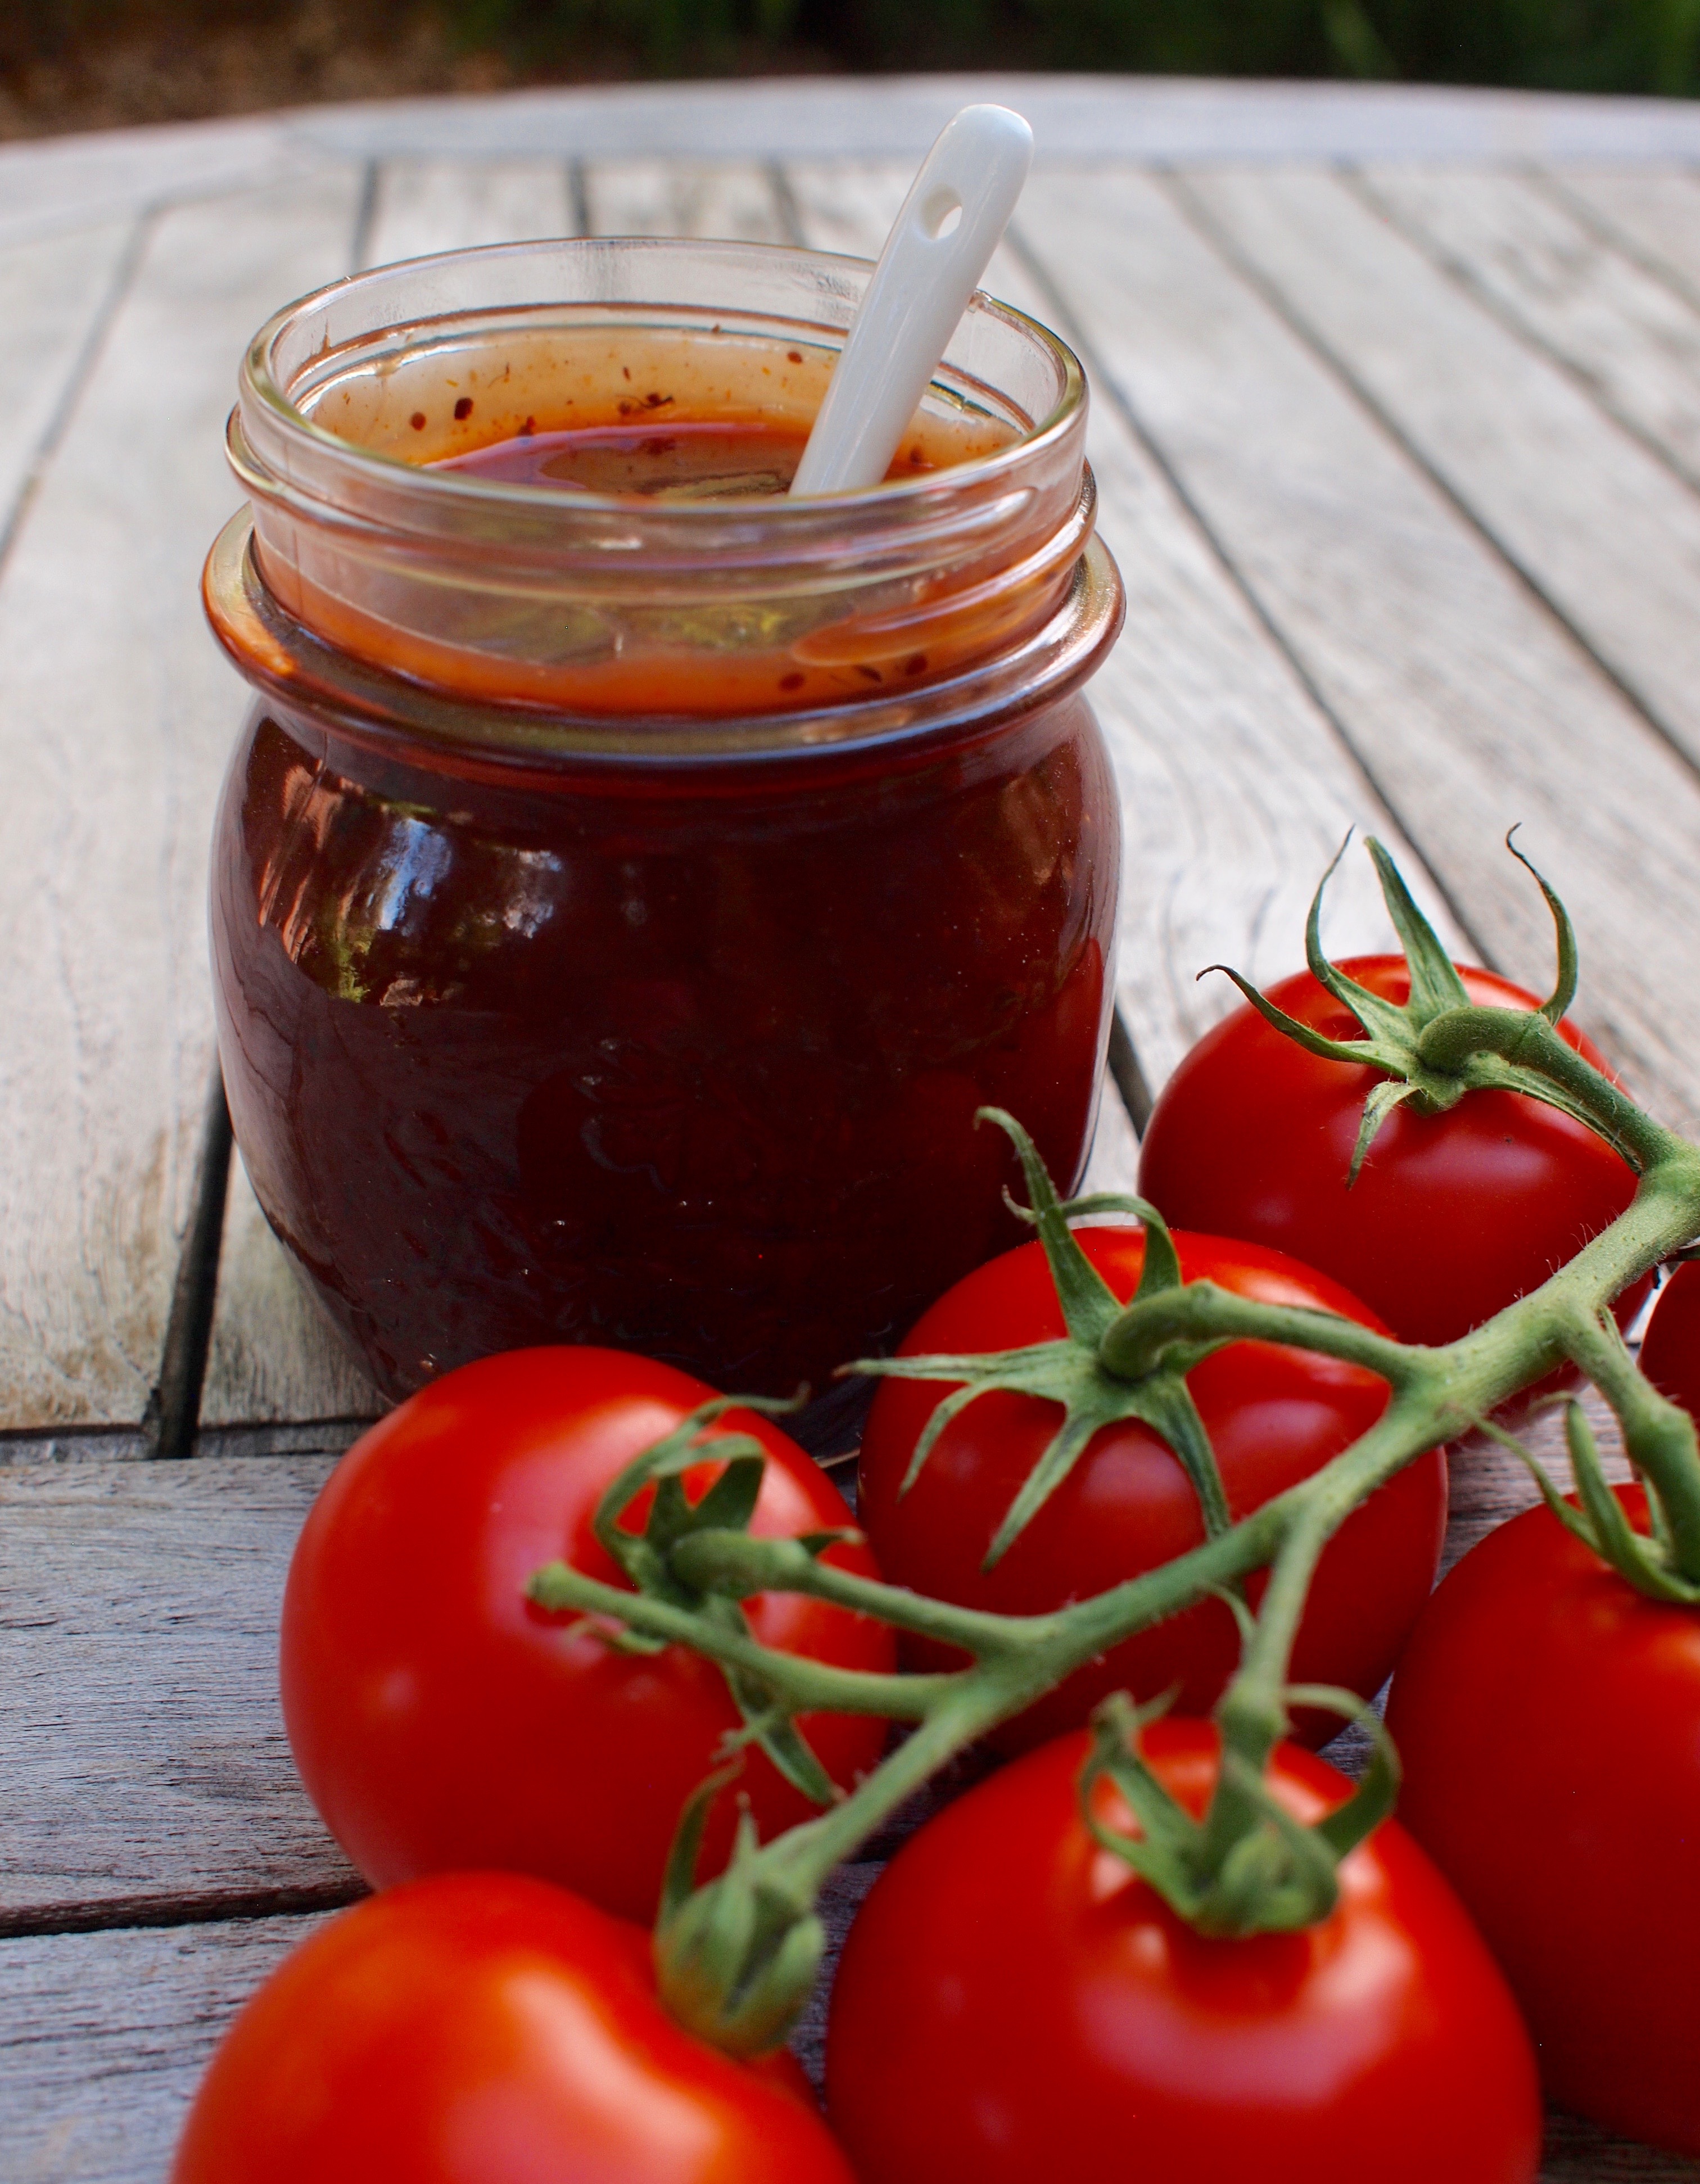
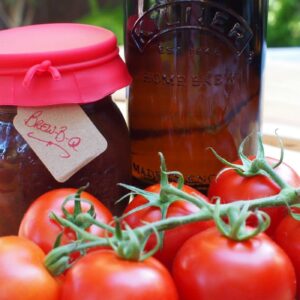
When summertime produce inspires you to use the bounty of your garden or fresh picks from the farmers market, try this tasty Brew-B-Q Sauce. Then preserve your homemade BBQ sauce to enjoy throughout the year.
With microbreweries, gastropubs and home-brewers focused on creating artisan beers, and eateries pairing these new brews with food, it is no wonder that crafting recipes with beer is all the rage. This homemade BBQ sauce is sure to be a new favorite!
BBQ Canning Methods: Preserving the Fruits of Your Labor
As you lick a delicious spoonful of your homemade Brew-B-Q Sauce, you imagine all of its barbecuing possibilities. Soon you find yourself doing the Can Can dance around the kitchen! You’re now ready to can for future meals and gifts.
I often hear from cooks of the “modern” kitchen that canning is a thing of the past. Perhaps, but to be totally frank, it is one of the easiest #retrorad cooking methods you can use to preserve your food right now.
There are two home canning methods — Hot Water Bath Canning and Steam-Pressure Canning. The purpose of either is to disrupt the normal spoilage of foods by destroying bacteria and creating an environment where bacteria cannot grow. Each method is specific to the type of food you’re canning.
Home Canning Methods
Canning Method 1: Water Bath
Water bath canning is used for foods that have a high acid content. This is the method to use when canning fruits, jams, jellies and other fruit spreads, salsas, tomatoes and tomato sauces with added acid, pickles, relishes, chutneys, and condiments.
Canning Method 2: Pressure Canning
When preserving low-acid foods such as vegetables, meats, poultry, seafood, and soups, safety is key. The Steam-Pressure Canning method heats the contents of jarred food to 240º F to eliminate the risk of foodborne bacteria. Please note that if you are mixing high acid foods with low-acid foods, you must use the pressure canning method.
If have any questions about specific types of food, processing times, and temperatures, refer to the “National Center for Home Food Preservation” a publication of the USDA.
Detailed Instructions for Canning
Method 1: Water Bath Canning
Step 1: Prep
Put water in boiling-water canner. It should be 2/3 full if using pint-size jars, ½ full for quart jars. Set rack on pan rim, cover pan, and bring water to a boil over high heat (for pickles, bring water to 180¬∞—185¬∞F).
Step 2: Wash
Meanwhile, for all recipes except jams, wash canning jars, bands, and lids in hot, soapy water, or run jars and bands through the dishwasher and hand-wash lids and drain thoroughly. If making jam (which has a short processing time), sterilize jars. When water in canner is boiling, place jars on rack, lower into water, and boil for 10 minutes (at elevations of 1,000 feet or higher, add 1 minute for each 1,000-foot increase above sea level).
Step 3: Heat
Reduce heat to a simmer and keep jars in water until needed. Nest lids in bands, place in a 2- to 3-quart pan, and cover with water. Set over high heat and bring water to 180°F (do not boil). Remove from heat and cover pan.
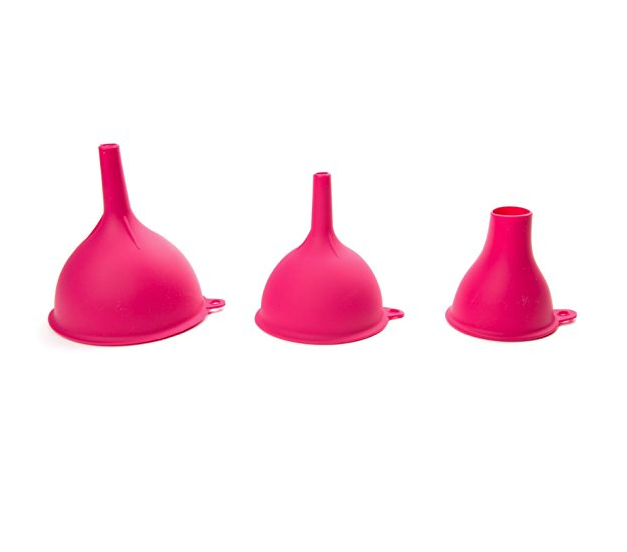
When canning foods that are pourable, such as jam or chutney, quickly ladle hot mixture through a wide funnel into jars, leaving headspace (the distance between top of jar rim and food inside) as recommended. For chunky mixtures, arrange pieces in jars with a spoon, then pour hot liquid through funnel over foods, again leaving headspace as recommended in recipe. (If the last jar isn’t completely full, let cool, then serve or chill; do not process.) To release any air bubbles in chunky mixtures, run a clean rubber spatula around the inside of the jars. Wipe jar rims and outer threads with a clean, damp cloth or paper towel to remove any food particles.
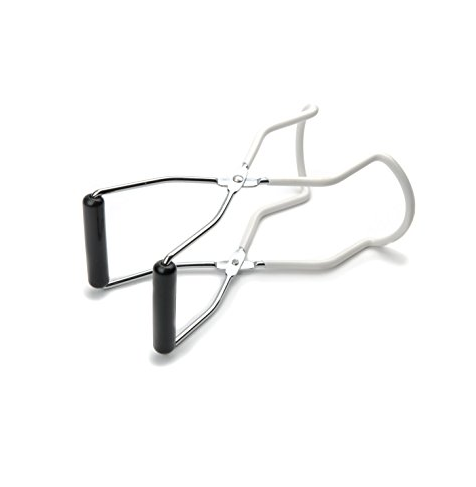
With tongs, lift bands and lids from hot water. Center on jars so the red or gray sealing compound is touching jar rims. Using a hot pad, screw bands on firmly, but don’t force.
Step 4: Can
Place jars on rack in canner and lower into water. The water should cover jars by at least 1 inch. If necessary, add more hot water.
Step 5: Process
Cover canner, return water to a boil, and process for time specified in recipe. If boiling water starts spilling from canner, reduce heat slightly.
Step 6: Remove
Using tongs and a hot pad, lift rack with jars onto edge of canner. With jar lifter, remove jars and set upright on towels on a counter. Do not tighten bands. Let jars cool completely at room temperature. It is best to place jars on towel with at least 1″ distance between jars to allow for optimum cooling.
Step 7: Check
Check lids for seal after 24 hours. Lid should not flex up and down when center is pressed — if lid stays down when pressed, jar is sealed; if it pops up, chill the jar and serve within 2 to 3 weeks (or re-process see above). Remove bands. Wipe jars and lids with a clean, damp cloth. If desired, replace bands, but DO NOT retighten too tightly or you may break the seal.
Step 8: Label
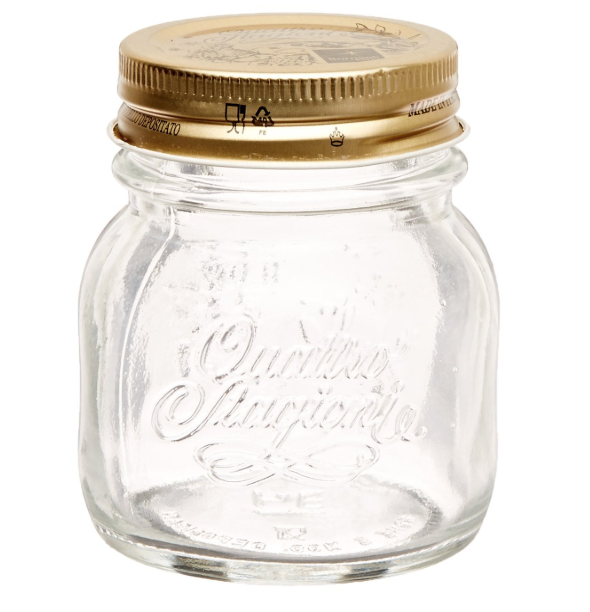
Label jars; store in a cool, dark place for up to 2 years. Once opened, chill. Consume BBQ sauce, jams, chutneys, and relishes within 3 weeks, pickles within 2 months.
5 Canning Tips
1) General guideline for headspace: Leave ¬º inch for jams, jellies, and fruit juices; ½ inch for fruit, pickles, salsa, sauces and tomato based products; 1 inch for vegetables, meats, poultry, and seafood.
2) Add butter to jams and jellies to prevent foam from forming during cooking. If you omit the butter, skim off the foam before ladling jam or jelly into jars. The recipe will yield about ¼ cup less.
3) Measure all the sugar into a bowl before beginning the recipe. Many canning recipes call for a large volume of sugar to be added when a mixture is already boiling; measuring ahead simplifies this step and prevents mistakes.
4) Use a ruler to measure volume. Some recipes call for a mixture to be reduced by a certain amount. To ascertain this easily, insert a clean, wood ruler into the pan before cooking and measure how far up the mixture comes. Then cook as directed until it has reduced by the percentage specified. For example, if uncooked mixture measures 4 inches in pan and recipe says to reduce by half, cook it down to 2 inches.
5) BE CREATIVE! You worked hard to preserve your bountiful harvest, so show off and adorn! My favorite way to decorate my jars is to take cute muffin liners and use as the decorative ruffle on lid. Tighten down with band, label and give as a gift!

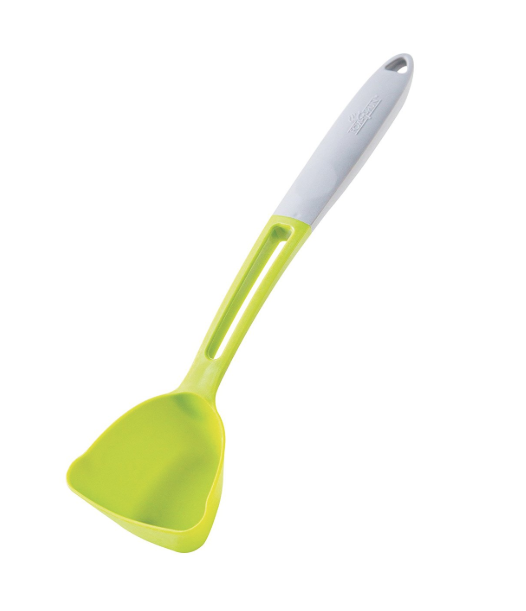
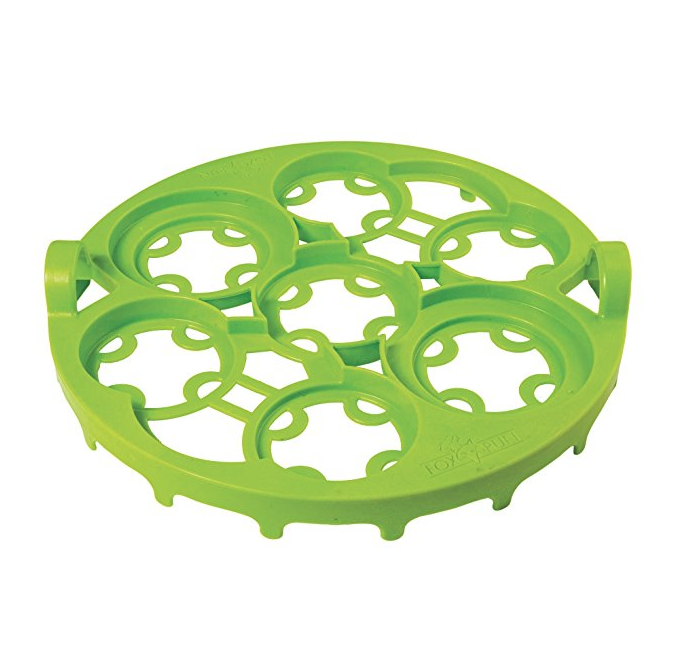
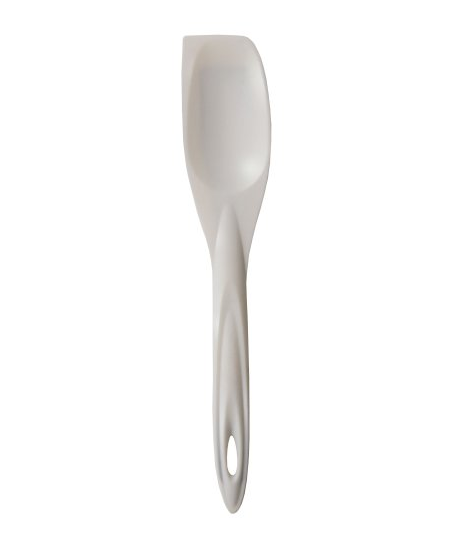
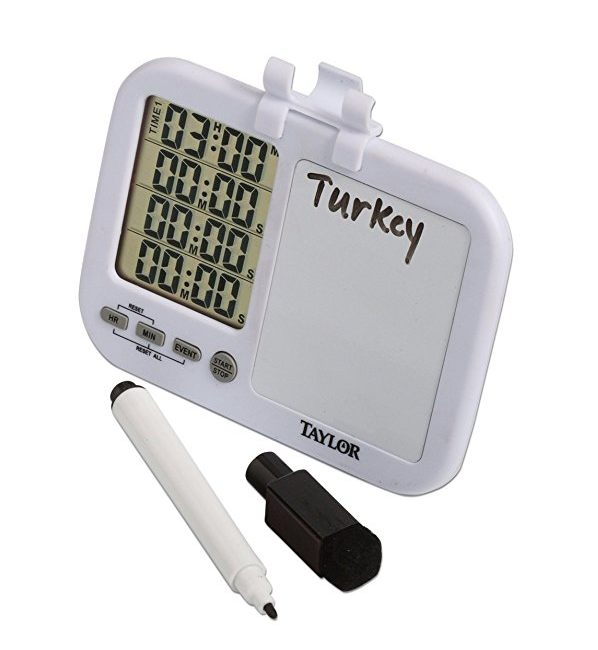
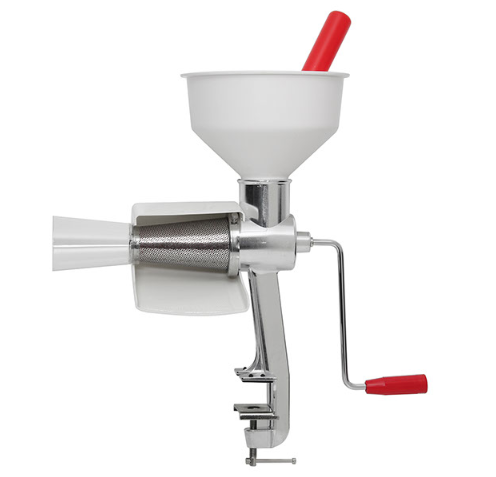
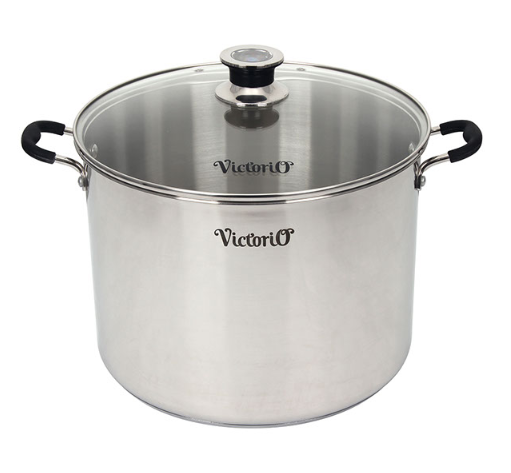
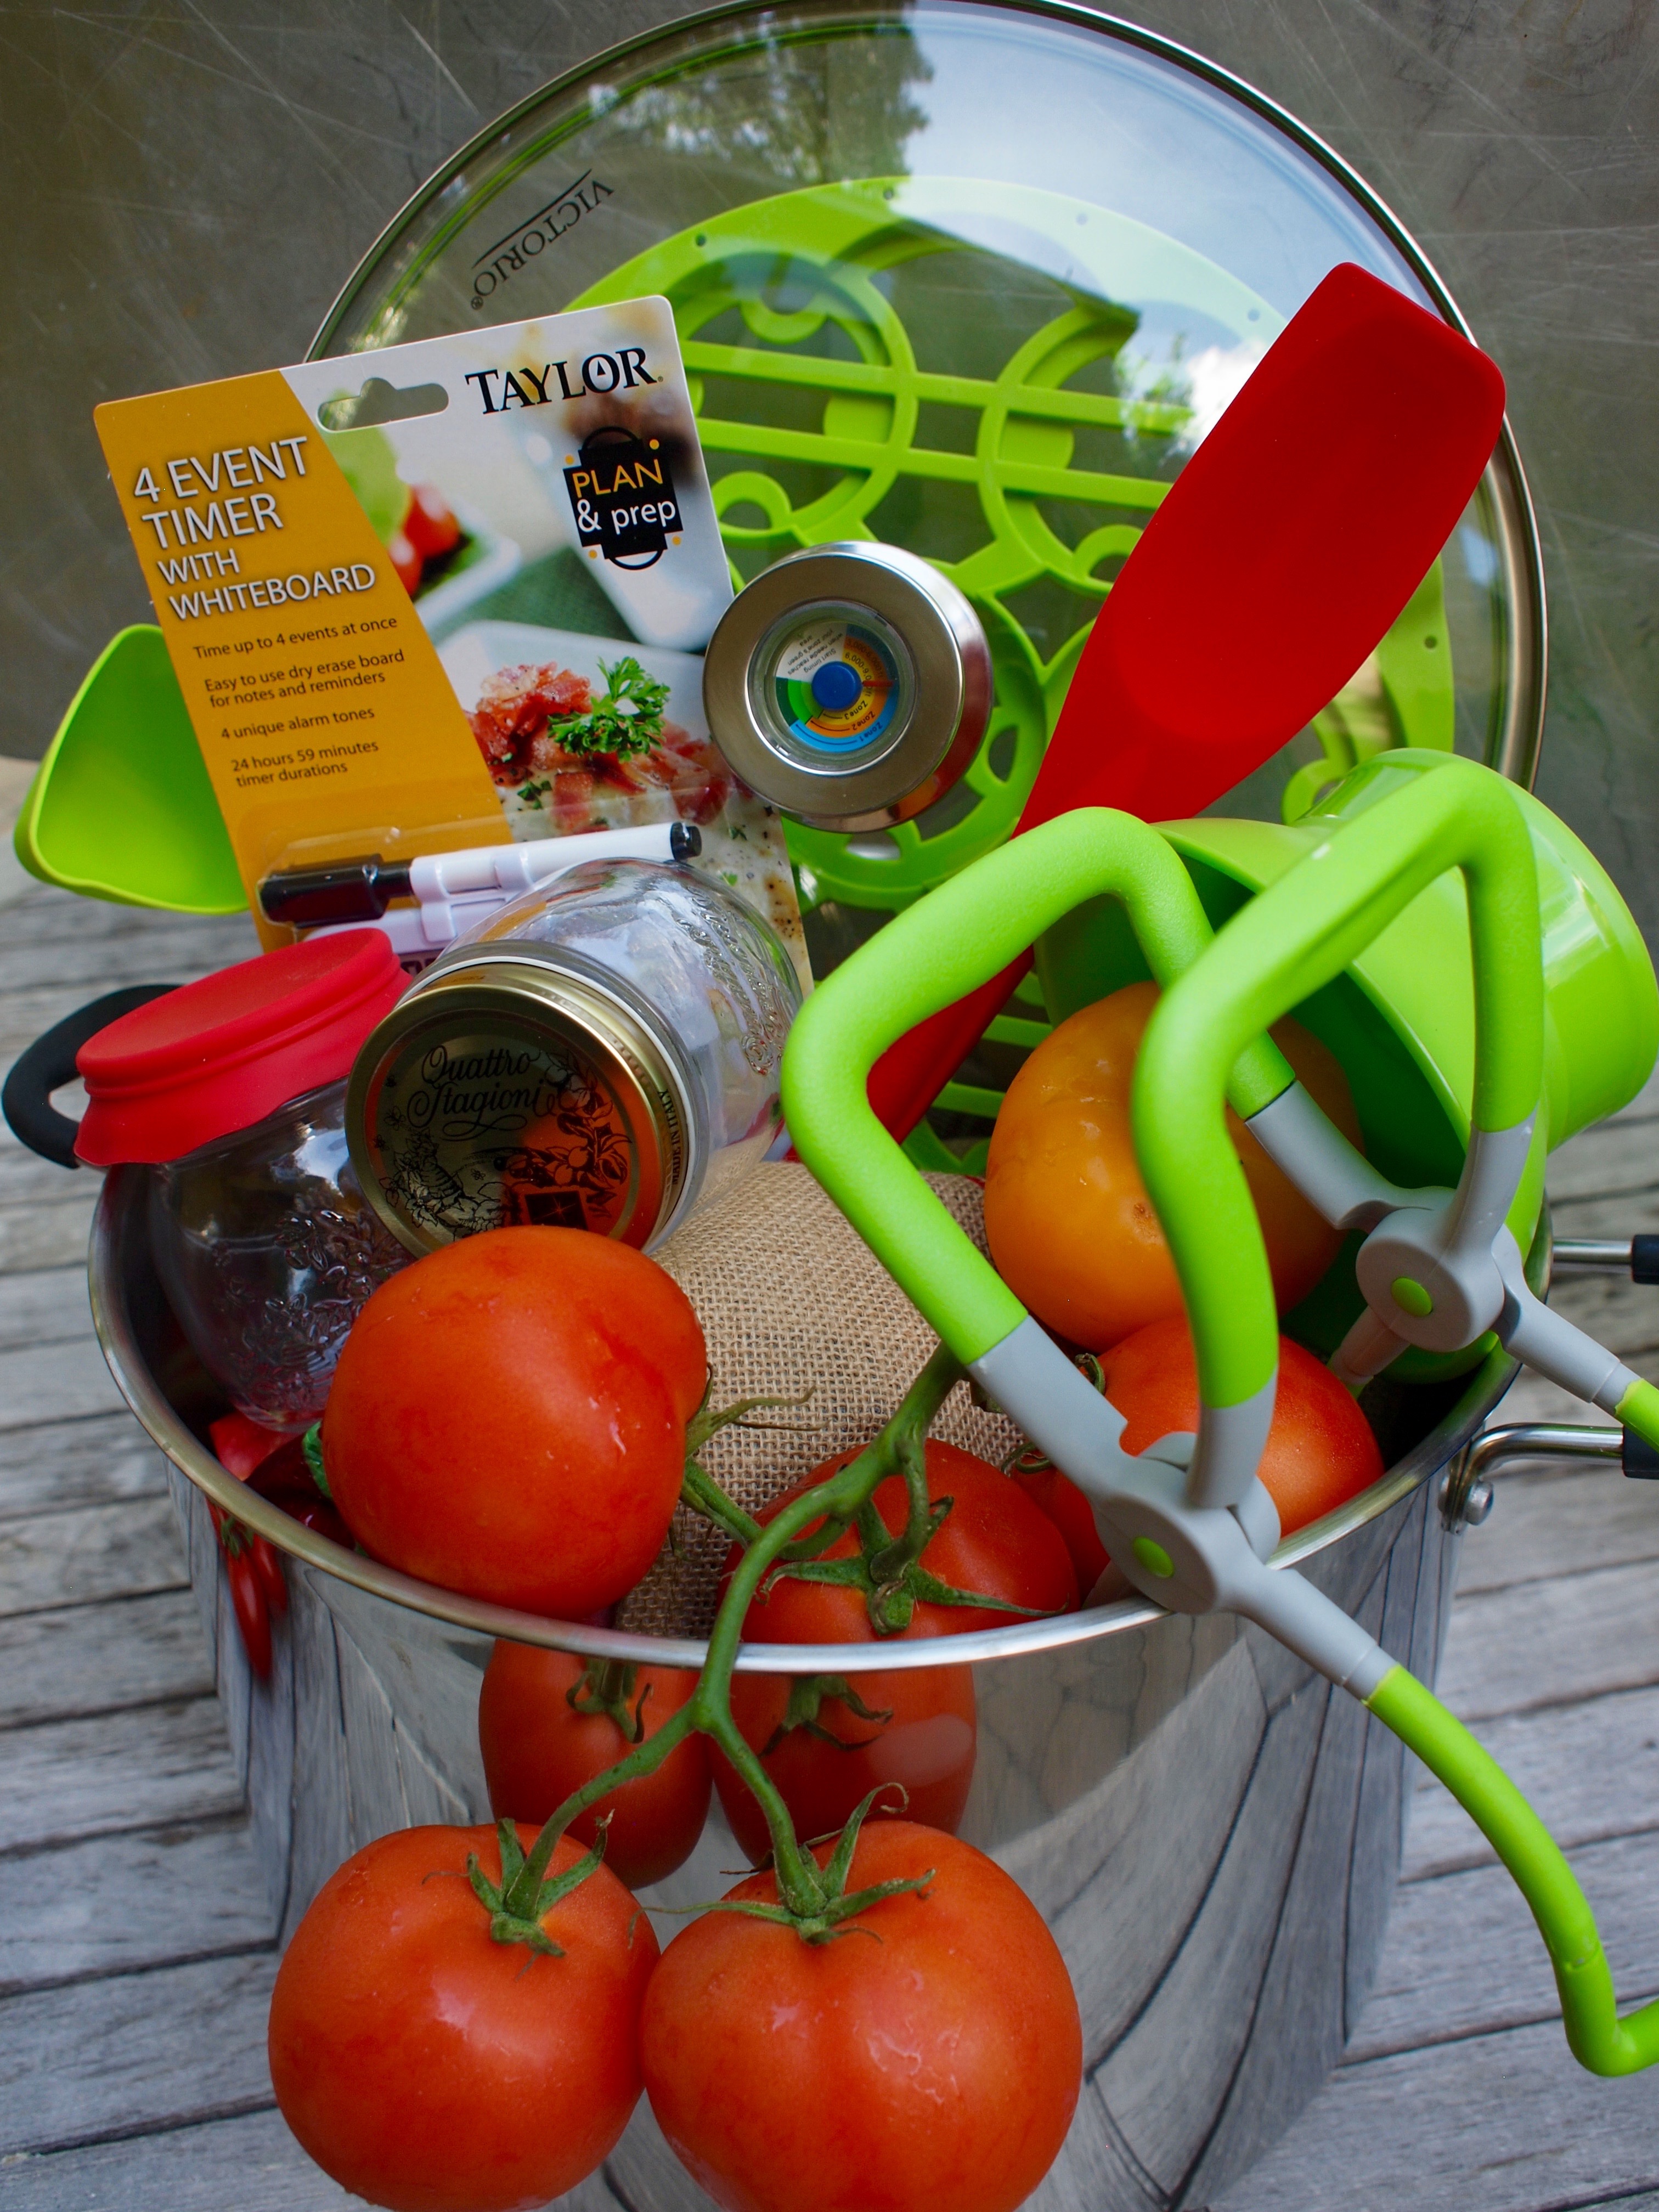
Top Canning Product Picks
Once you’ve learned how to brew and can, you have to have the right gear! Check out the product bar for our top picks.
Homemade BBQ Sauce Recipe
Fresh, sweet, savory, smoky and ever-so-easy; this sauce goes with everything grillable and is totally open to the inspirations waiting in your fridge! Use ale when pulling pork, porter gets poured when cooking beef, grab the beer can when cooking chicken or make this Brew-B-Q with something whole grain like a witbier!
Brew-B-Q Sauce
INGREDIENTS
- 1 (12-ounce) bottle beer (possibly your own home-brewed bottle??)
- 1 tablespoon olive oil
- 4 dry cups of tomatoes, VERY ripe, rough cut
- 6 cloves garlic, rough cut
- 3 sprigs rosemary
- 1 medium onion, small diced
- 3 cups stock (beef or chicken)
- 2 oranges, juice and zest
- ½ cup tomato paste
- ¼ cup brown sugar
- 2 tablespoon prepared whole grain mustard (like dijon)
- 2 tablespoon Worcestershire sauce
- 1 tablespoon smoked paprika
- 1 tablespoon Chinese five spice powder
- ½ tablespoon salt
- ½ tablespoon freshly ground pepper
INSTRUCTIONS
- Preheat outdoor grill or oven to medium-high heat (400°F – 450°F).
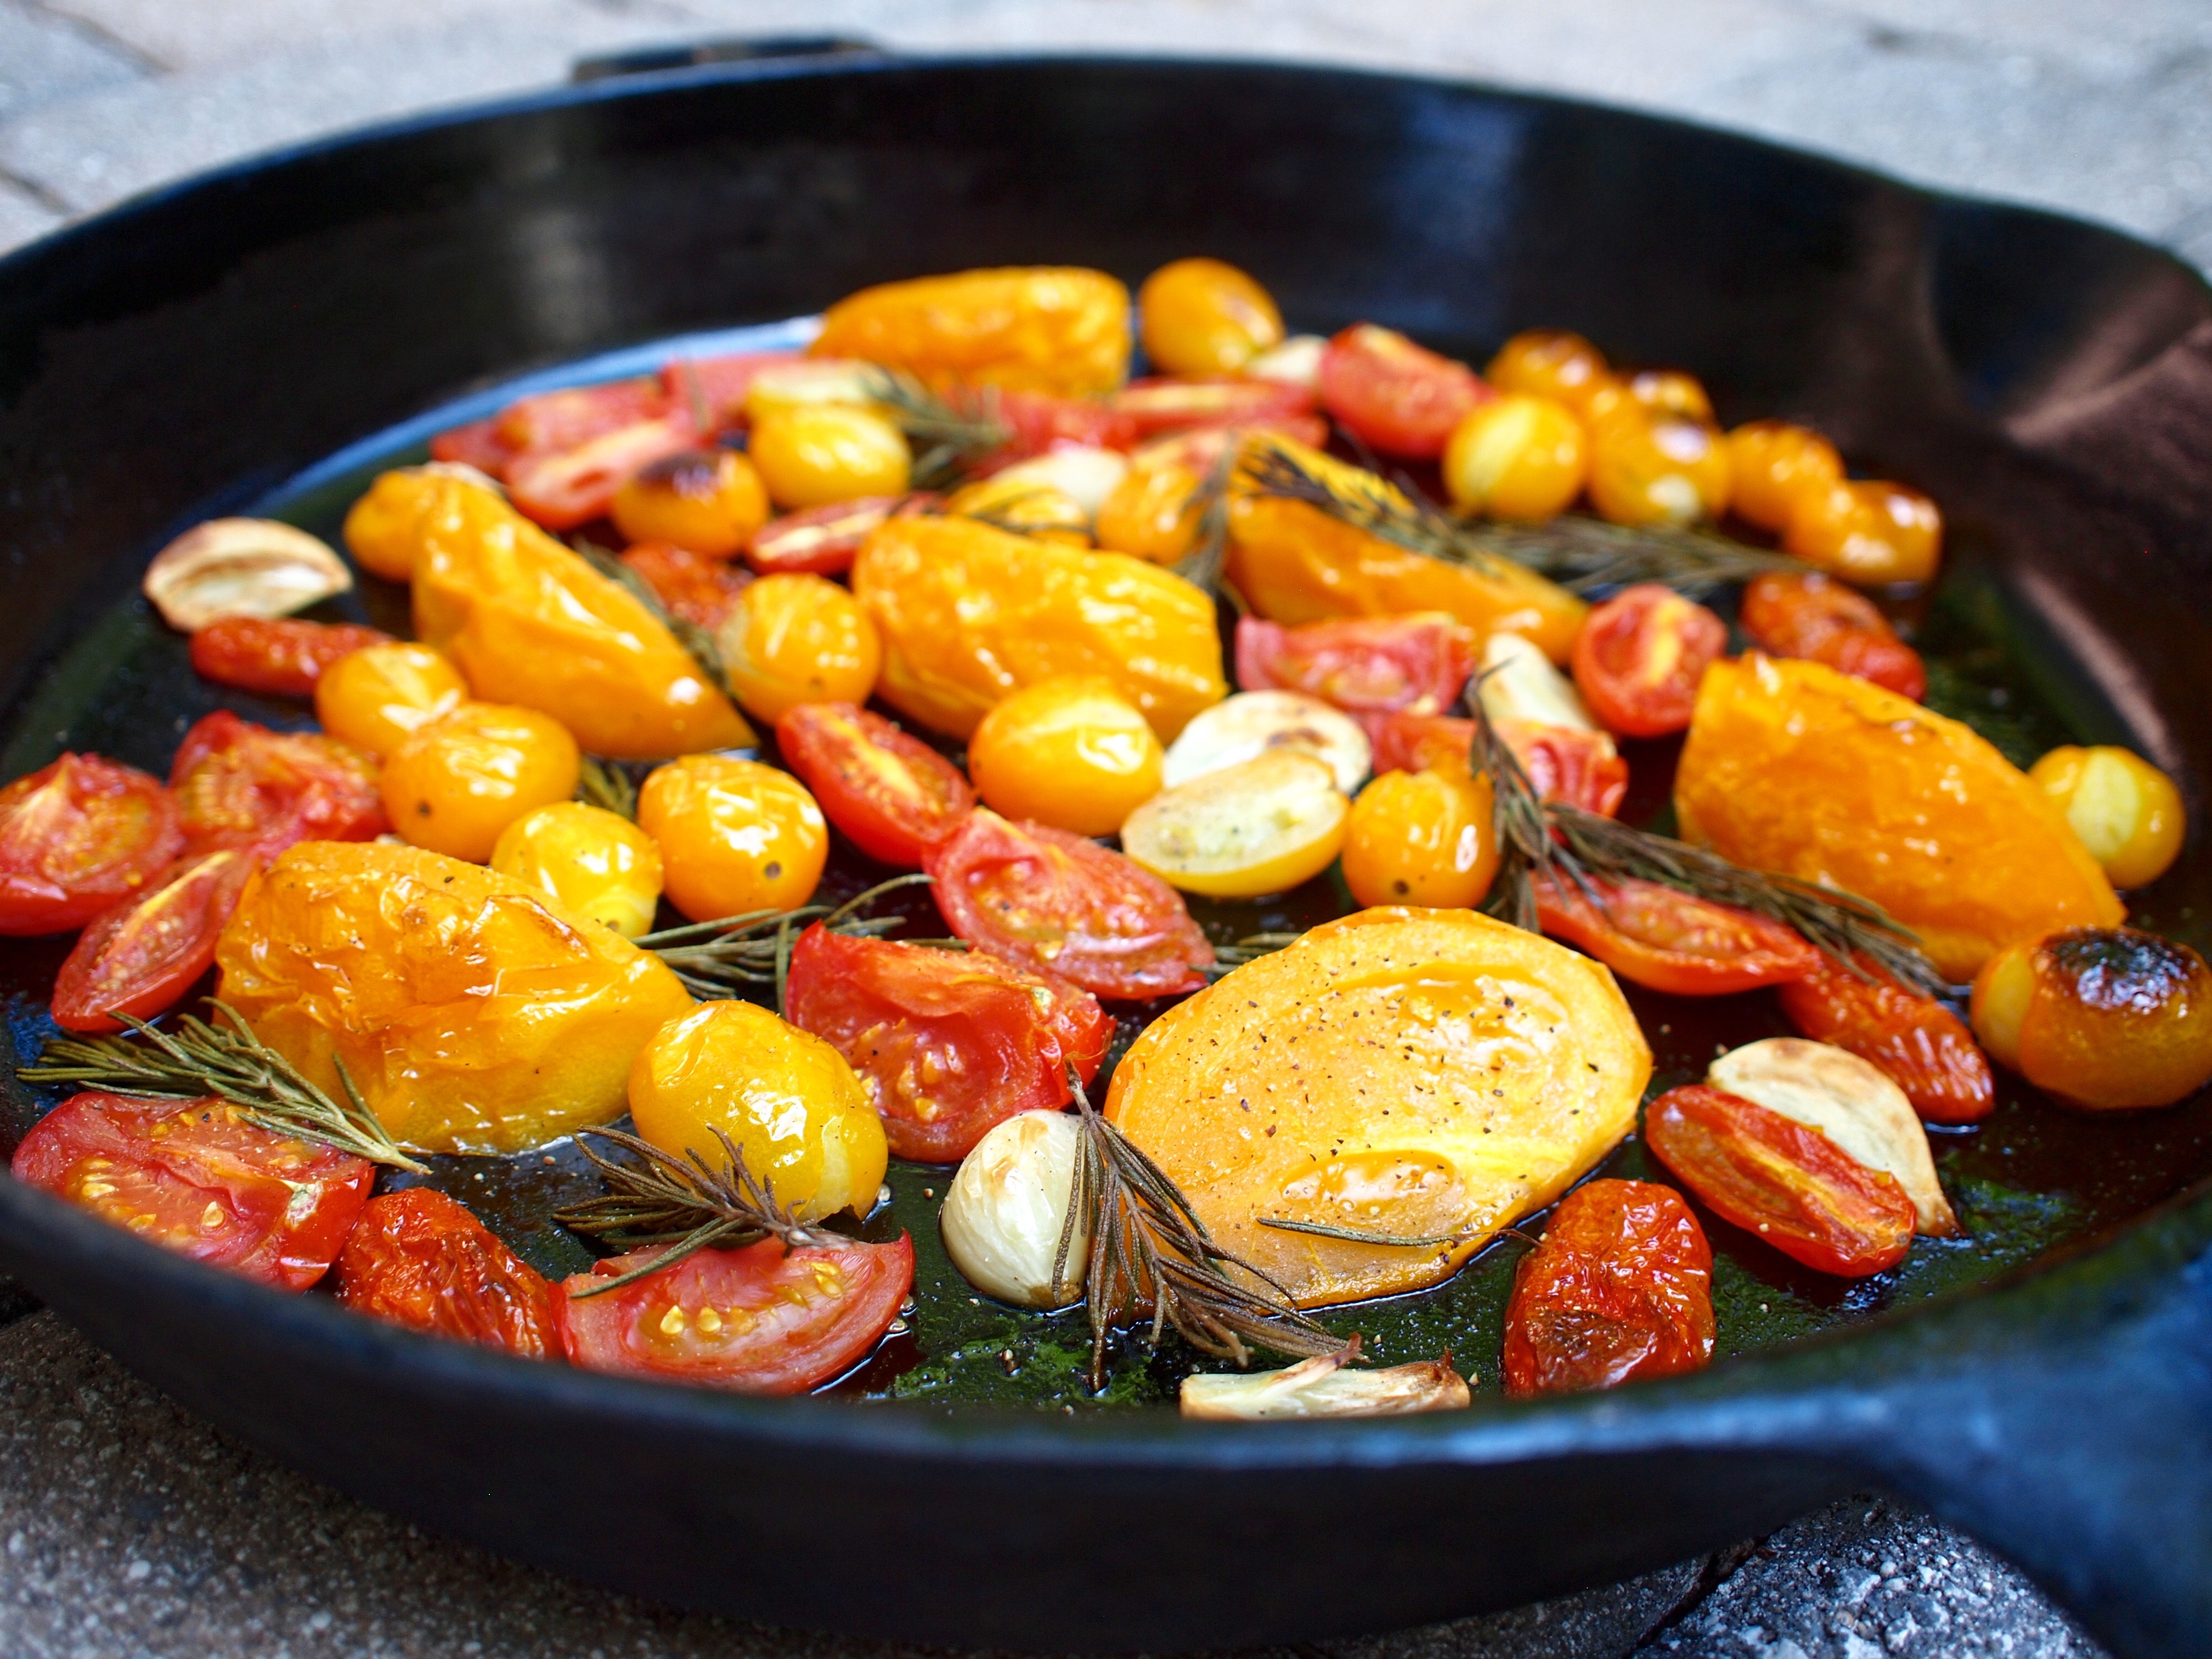
- In a large cast iron skillet, add tomatoes, garlic, and rosemary. Toss in olive oil and season with salt and pepper. Cook on medium-high heat with lid closed until tomatoes are blistered, garlic is fork tender and the backyard smells good enough to eat – about 15 minutes!
- Open grill and work from grill or move skillet to stovetop. First, remove and discard large pieces of rosemary. Next, add tomato paste to skillet, stirring continually until heated through, about 3 minutes. Reduce grill temperature to low and add onions. Sauté for 10 minutes or until onions are translucent. Add stock, orange juice and zest to deglaze the pan, lifting the caramelized tomato bits from the bottom. Add remaining ingredients to pan, stirring to thoroughly incorporate. Then place lid on pan and add top to grill allowing contents to cook until reduced by half, about 15 to 20 minutes.
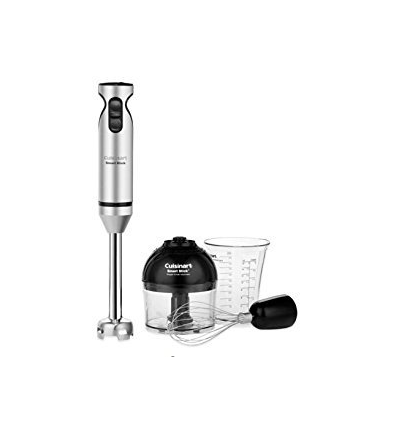
- For smooth sauce, puree with a stick blender or pour into a blender and then add back to skillet.
- Taste, then season accordingly. Serve with your favorite BBQ dishes or preserve per canning instructions below. Please note that the process time for jars in a water canner is 20 minutes, adjusting for altitude.

I wish I could give you a jar of this sauce, but you are just going to have to make it yourself.
Looking forward to hearing about your canning projects!
Stay Rad and Cook On!