
Making yogurt at home is a fun and easy activity. It’s also a great way to use up extra milk surpluses too!
Making yogurt at home is something I have been doing for years. I have tried just about every method out there… from crockpots to oven, hot water bottles in coolers… gelatin or no gelatin… you name it I’ve likely tried it. Why the obsession you might ask?
Well, for starters, I was a nerdy “backyard homesteader” and thought that in order to feed my kids healthy I needed to make everything from scratch. But I also had little babies at home who loved yogurt and were receiving WIC benefits. With gallons upon gallons of milk coming into our home every month I set out to learn how to turn it into all kinds of things. Yogurt, cheese, kefir… you name it I had it culturing away.
And the one thing that I found out about yogurt? It’s horribly finicky when it comes to the temperature at which you ferment it at. Which means that unless you build yourself a DIY fermenter or have another device that manages a stable temperature low enough that you will end up with inconsistent results.
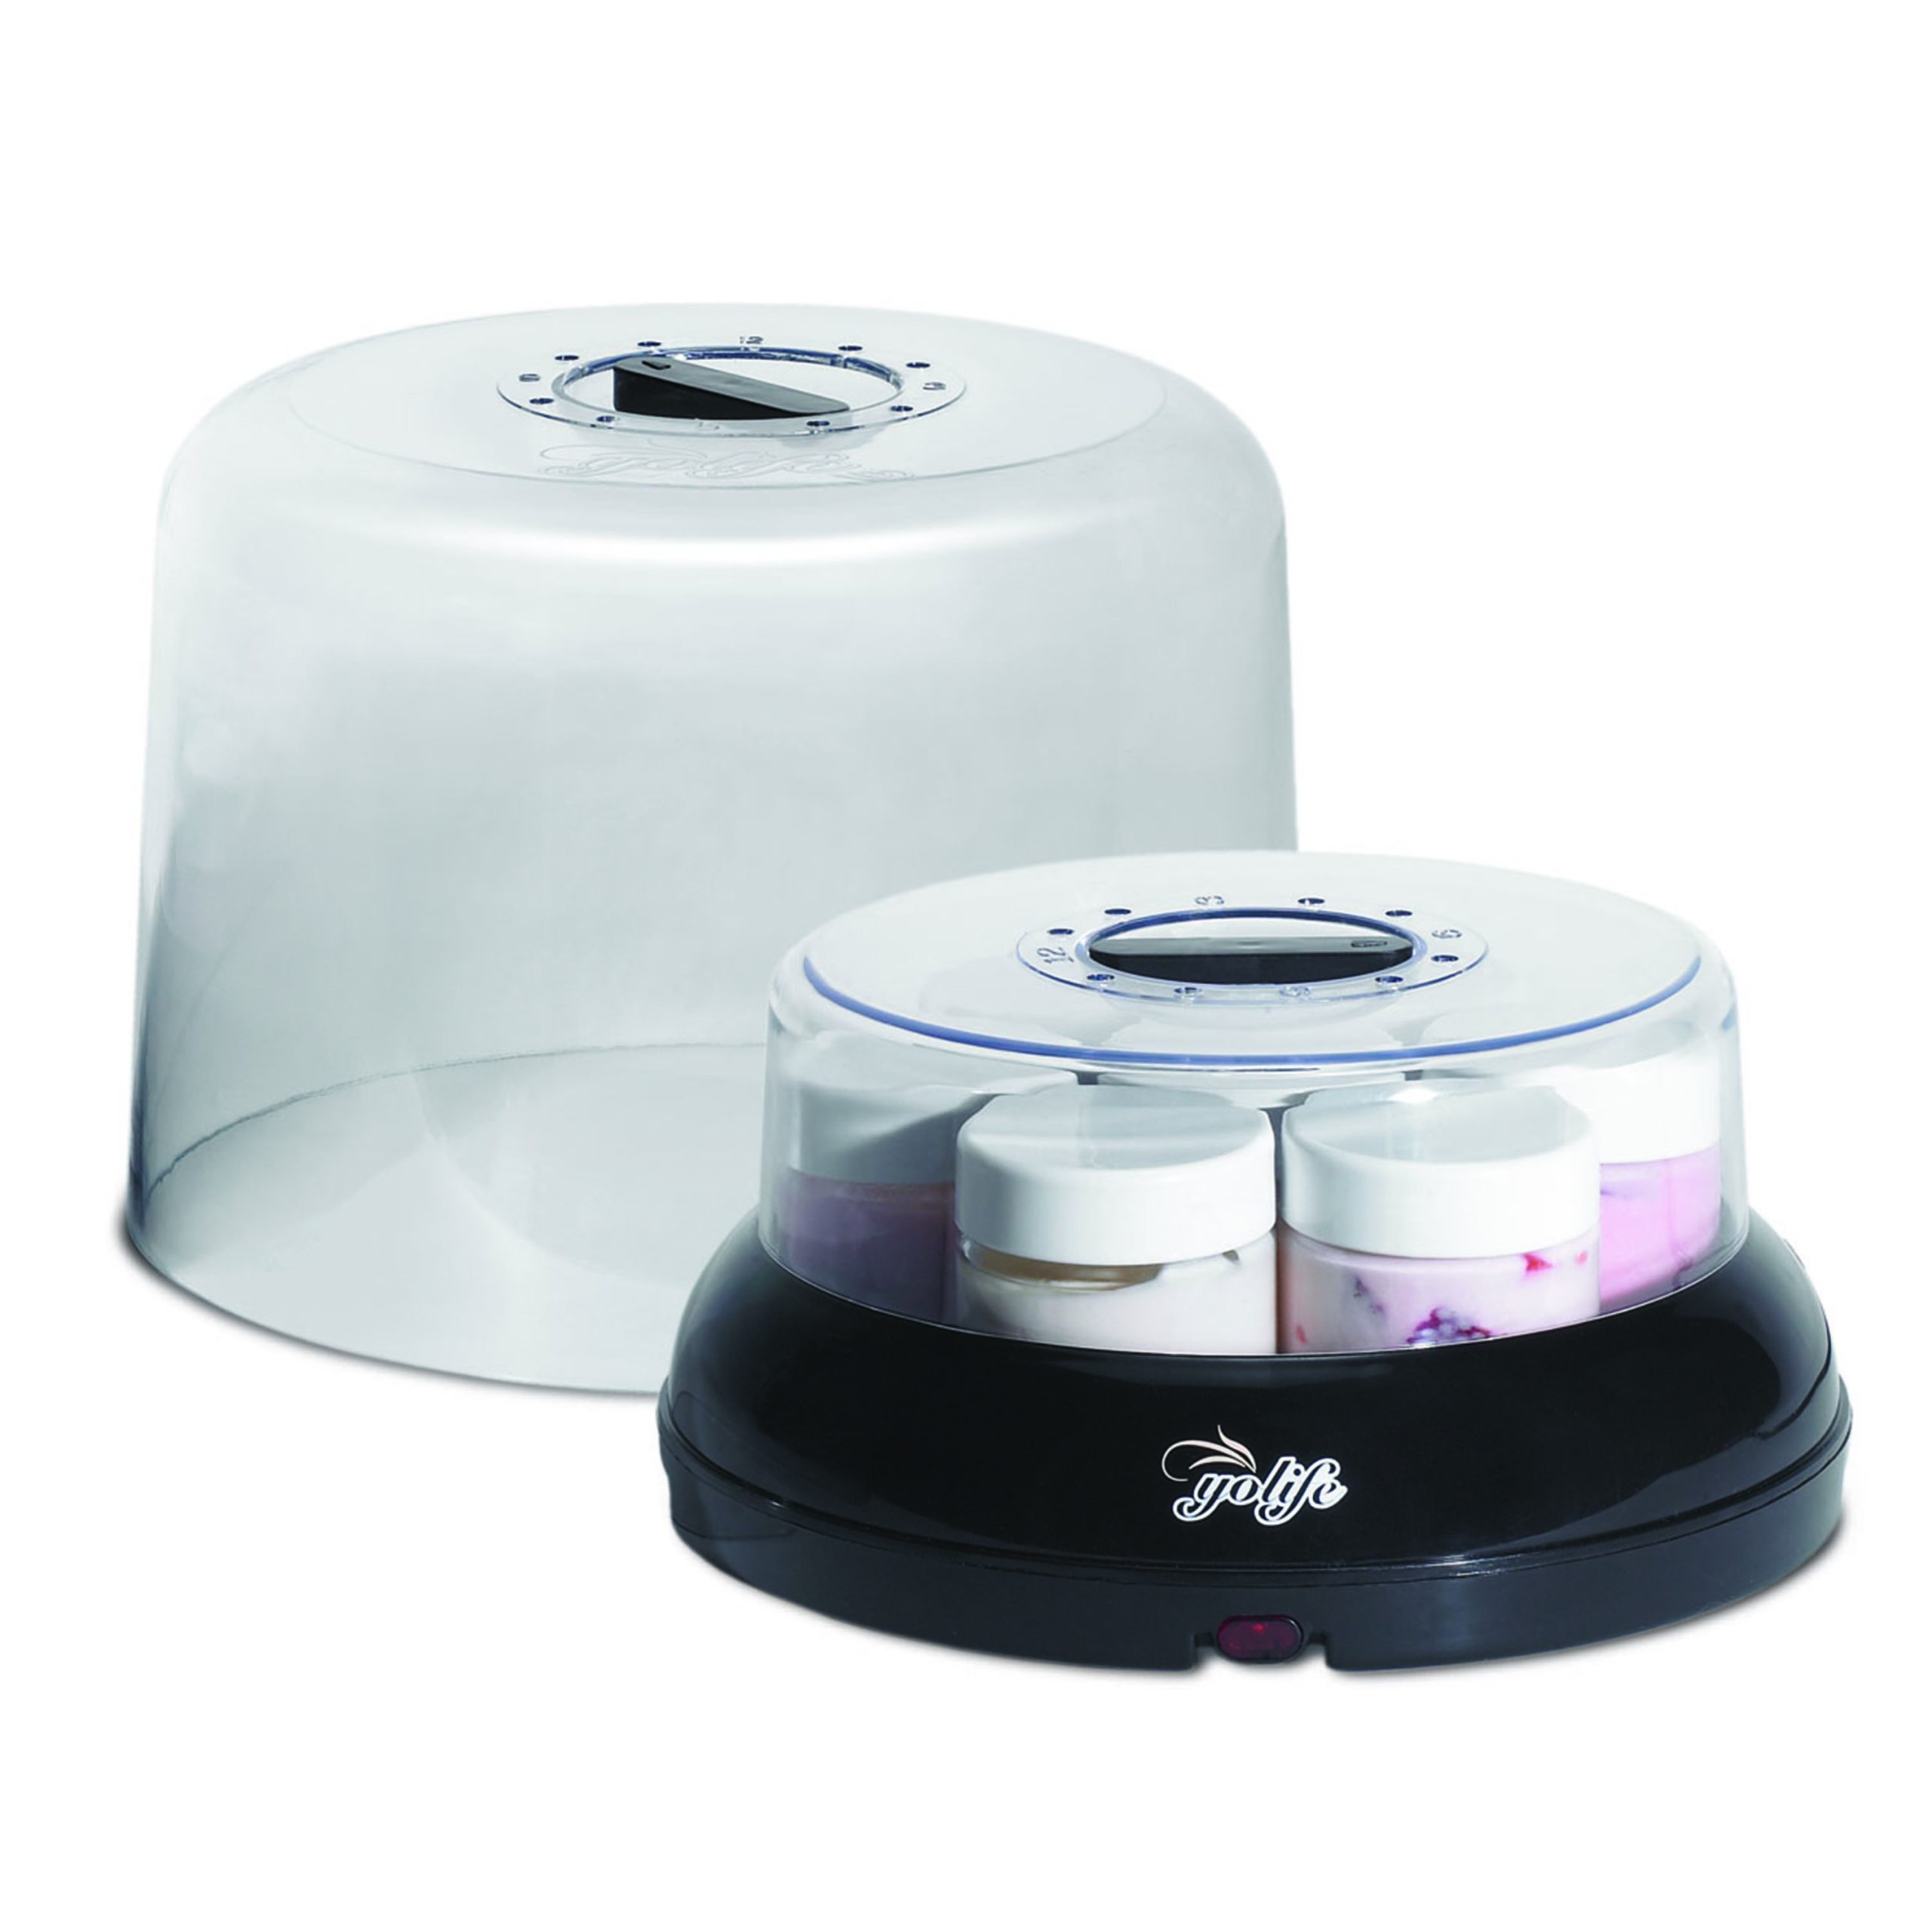
Enter the yogurt maker. It’s simple, fast, and works every time. This YoLife Yogurt Maker has worked quite well for us in testing. The basics of yogurt making are super simple.
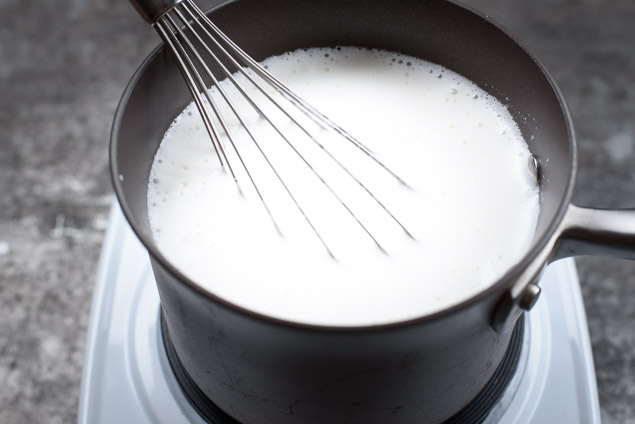
#1 – Heat the milk while stirring to just before it boils (180 degrees to be exact).
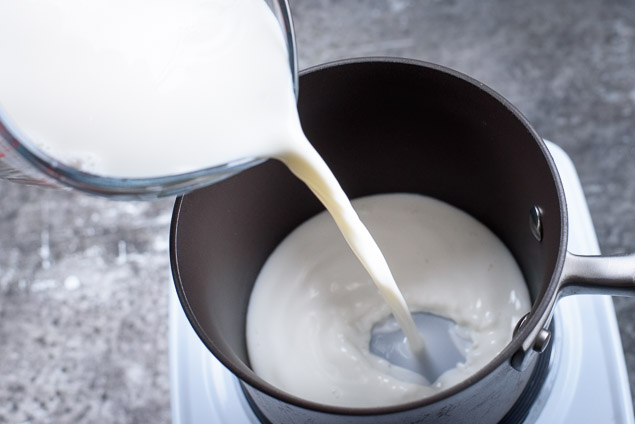
#2 – Cool the milk to 105 degrees.
#3 – Add your culture.
You can use YoLife powdered culture or a probiotic rich yogurt (we like Nancy’s yogurt). You may need to try a few different varieties of yogurt to find one that cultures well for you and is available locally.
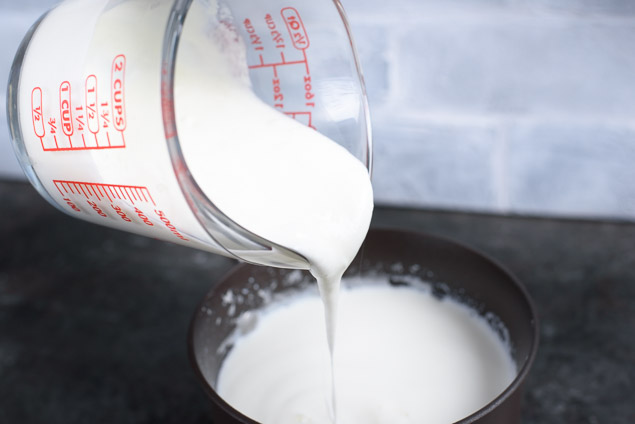
You’ll need to add 1/4 tsp (0.5 g) of Yolife Extra Super Concentrated Formula or 1/2 pouch of Yolife Super Concentrated Formula for every liter of milk or use other yogurt starter cultures according to their specific instructions. Thoroughly mix the starter culture with 2-3 tablespoons of prepared milk until all clots and clumps have been dissolved. Add this solution to the rest of your milk and mix thoroughly with a spoon and be careful not to whip the milk as you would do when whipping cream!
#4 – Pour the mixture into individual glass jars or pour mixture into a larger container.

#5 – Plug it in!

You need about 8-12 hours if you are using small jars and 12-15 hours if you are using bigger jars.
And this is an important step that many people miss… don’t stir it before you put it in the fridge!
You can give it a bit of a jiggle after 8-9 hours and ensure that the top is reasonably set in the jars but never dip a spoon into it or shake vigorously or you risk breaking the set.
Carefully cap the jars and move them to the fridge. Allow it to chill for a full 24 hours.
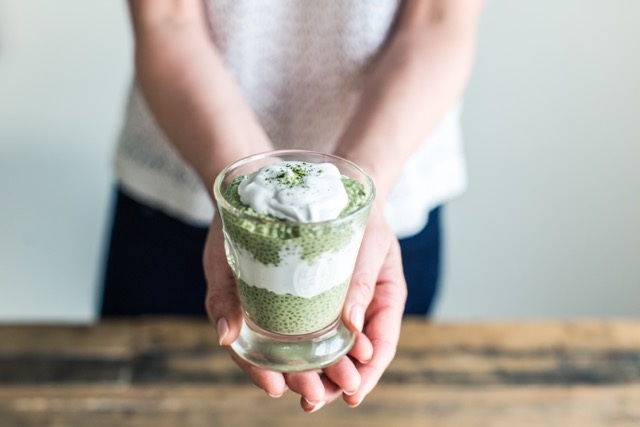
At this point you can eat it straight as is (my favorite) topped with jam and fresh fruit. Or you can strain it through a strainer that you have lined with several layers of cheesecloth (or if you really love greek yogurt invest in a chinois so you don’t have to use so much cheesecloth).