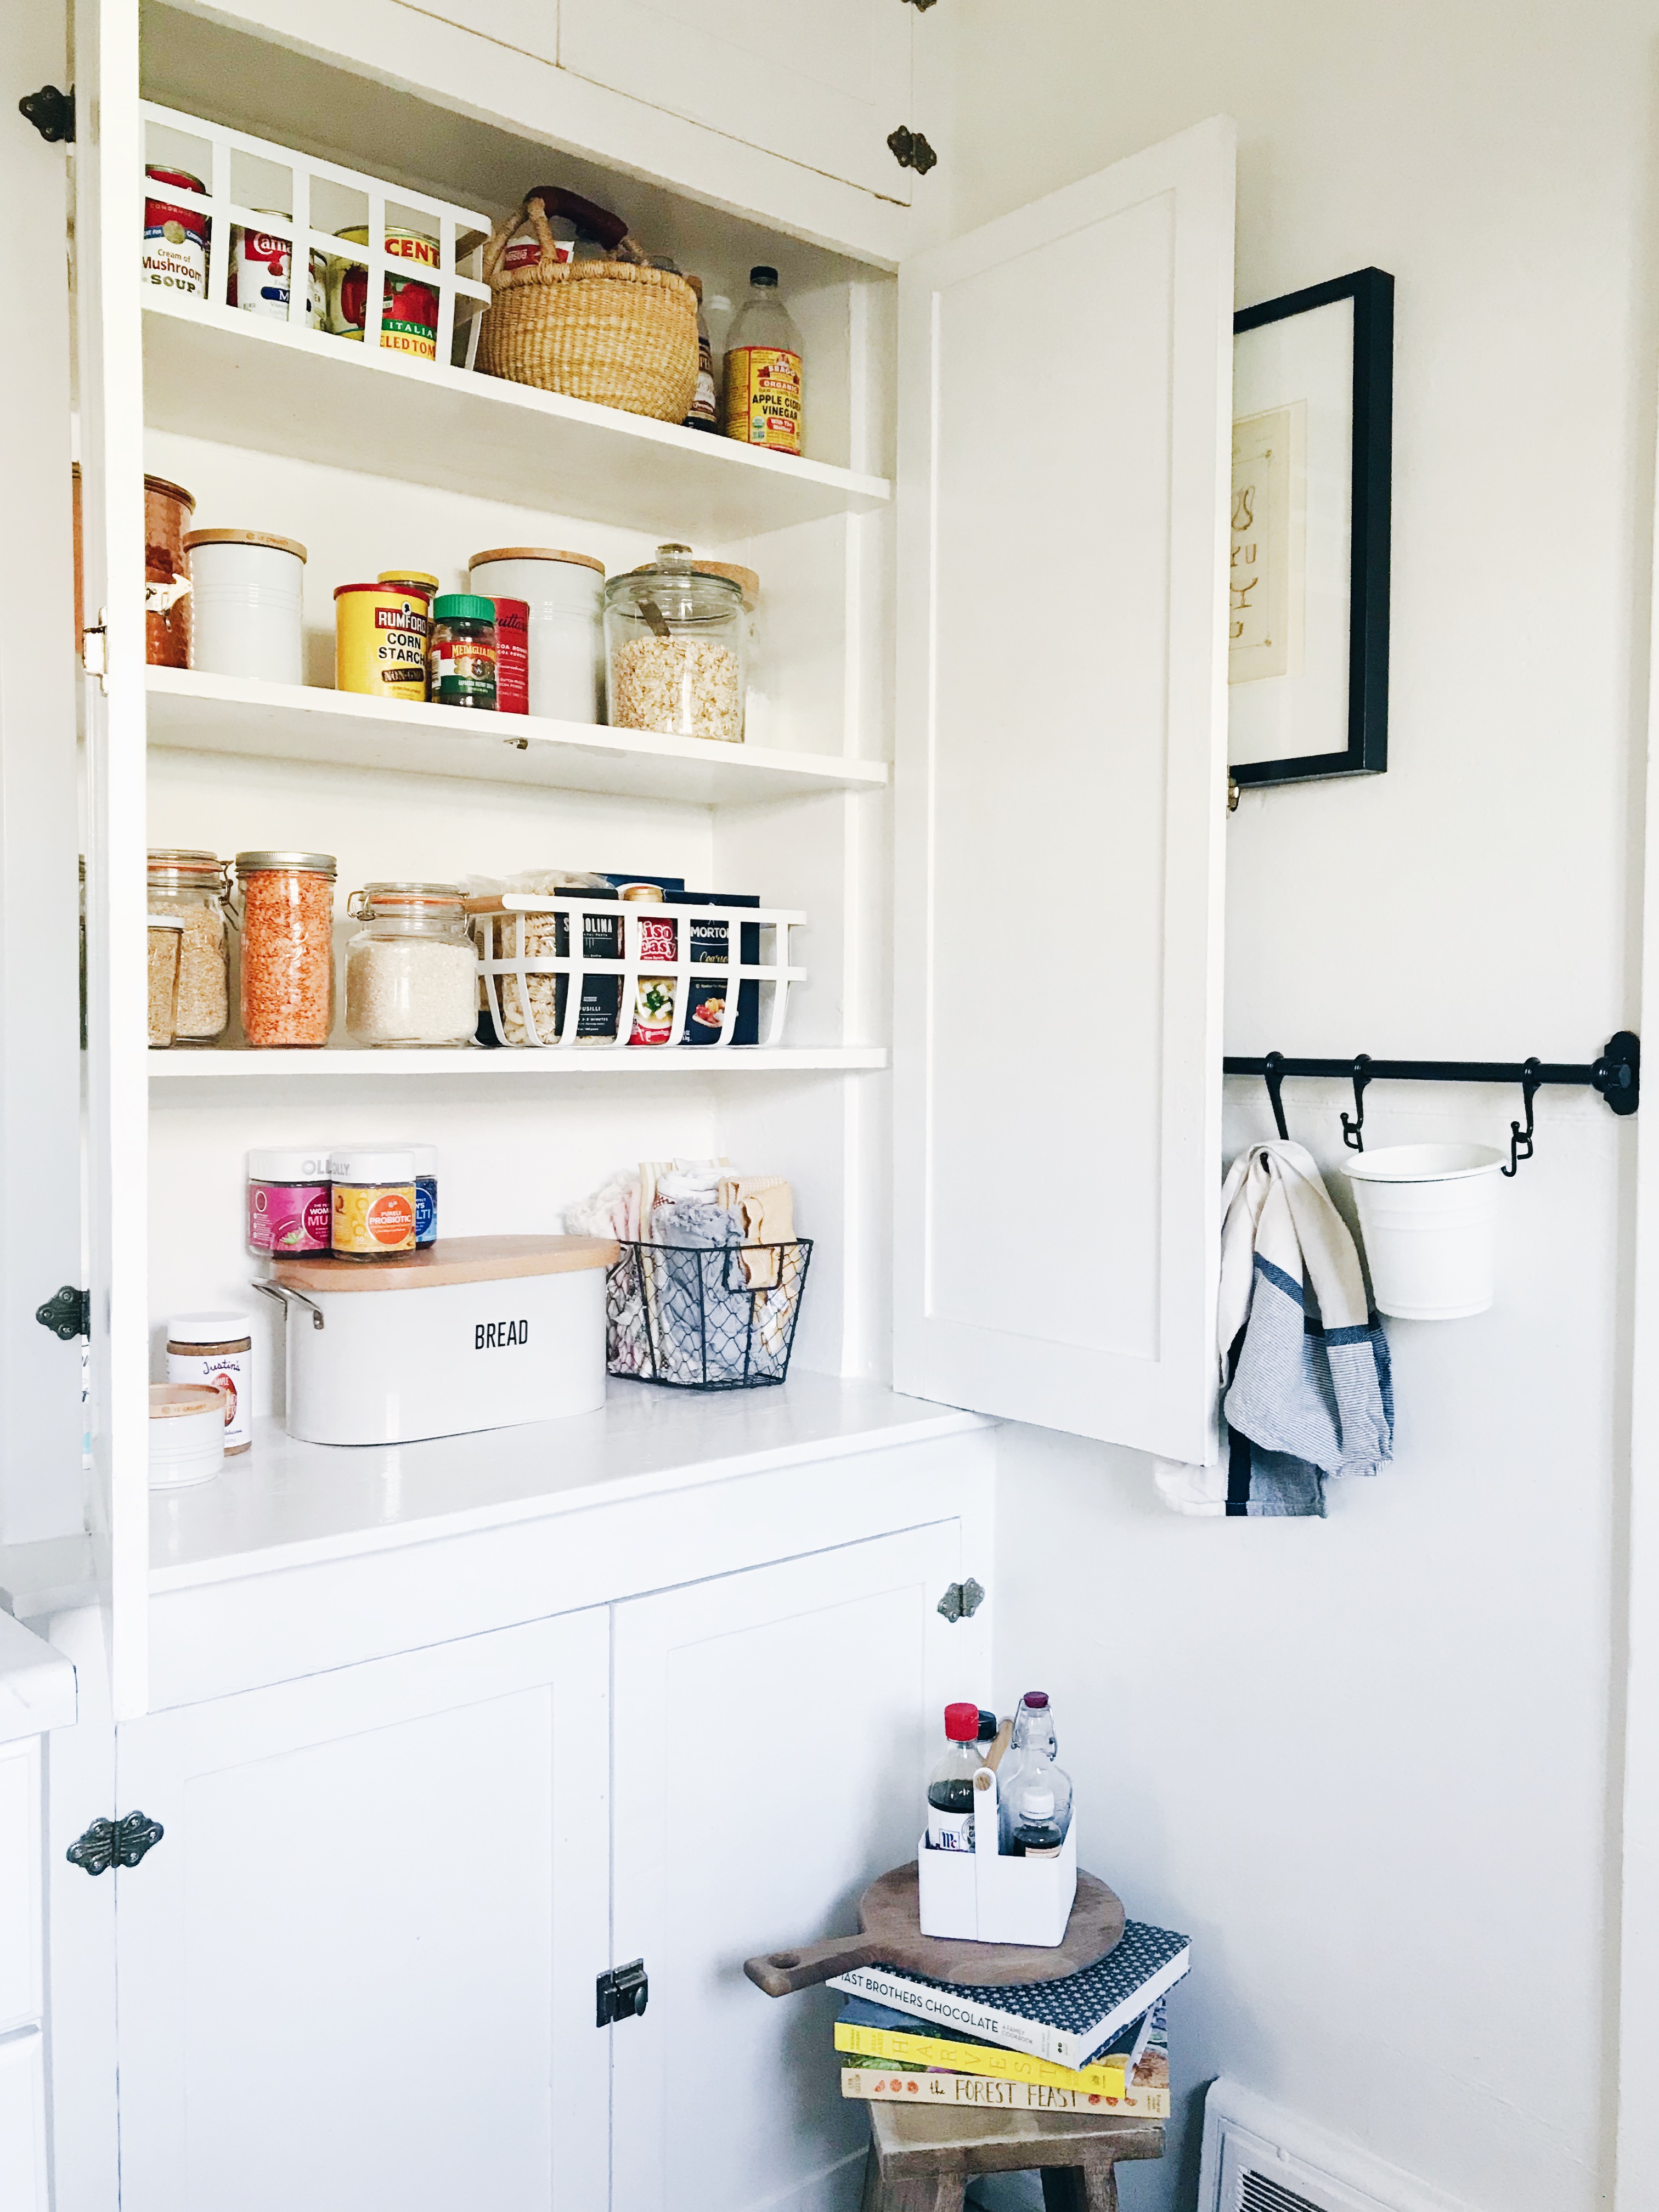
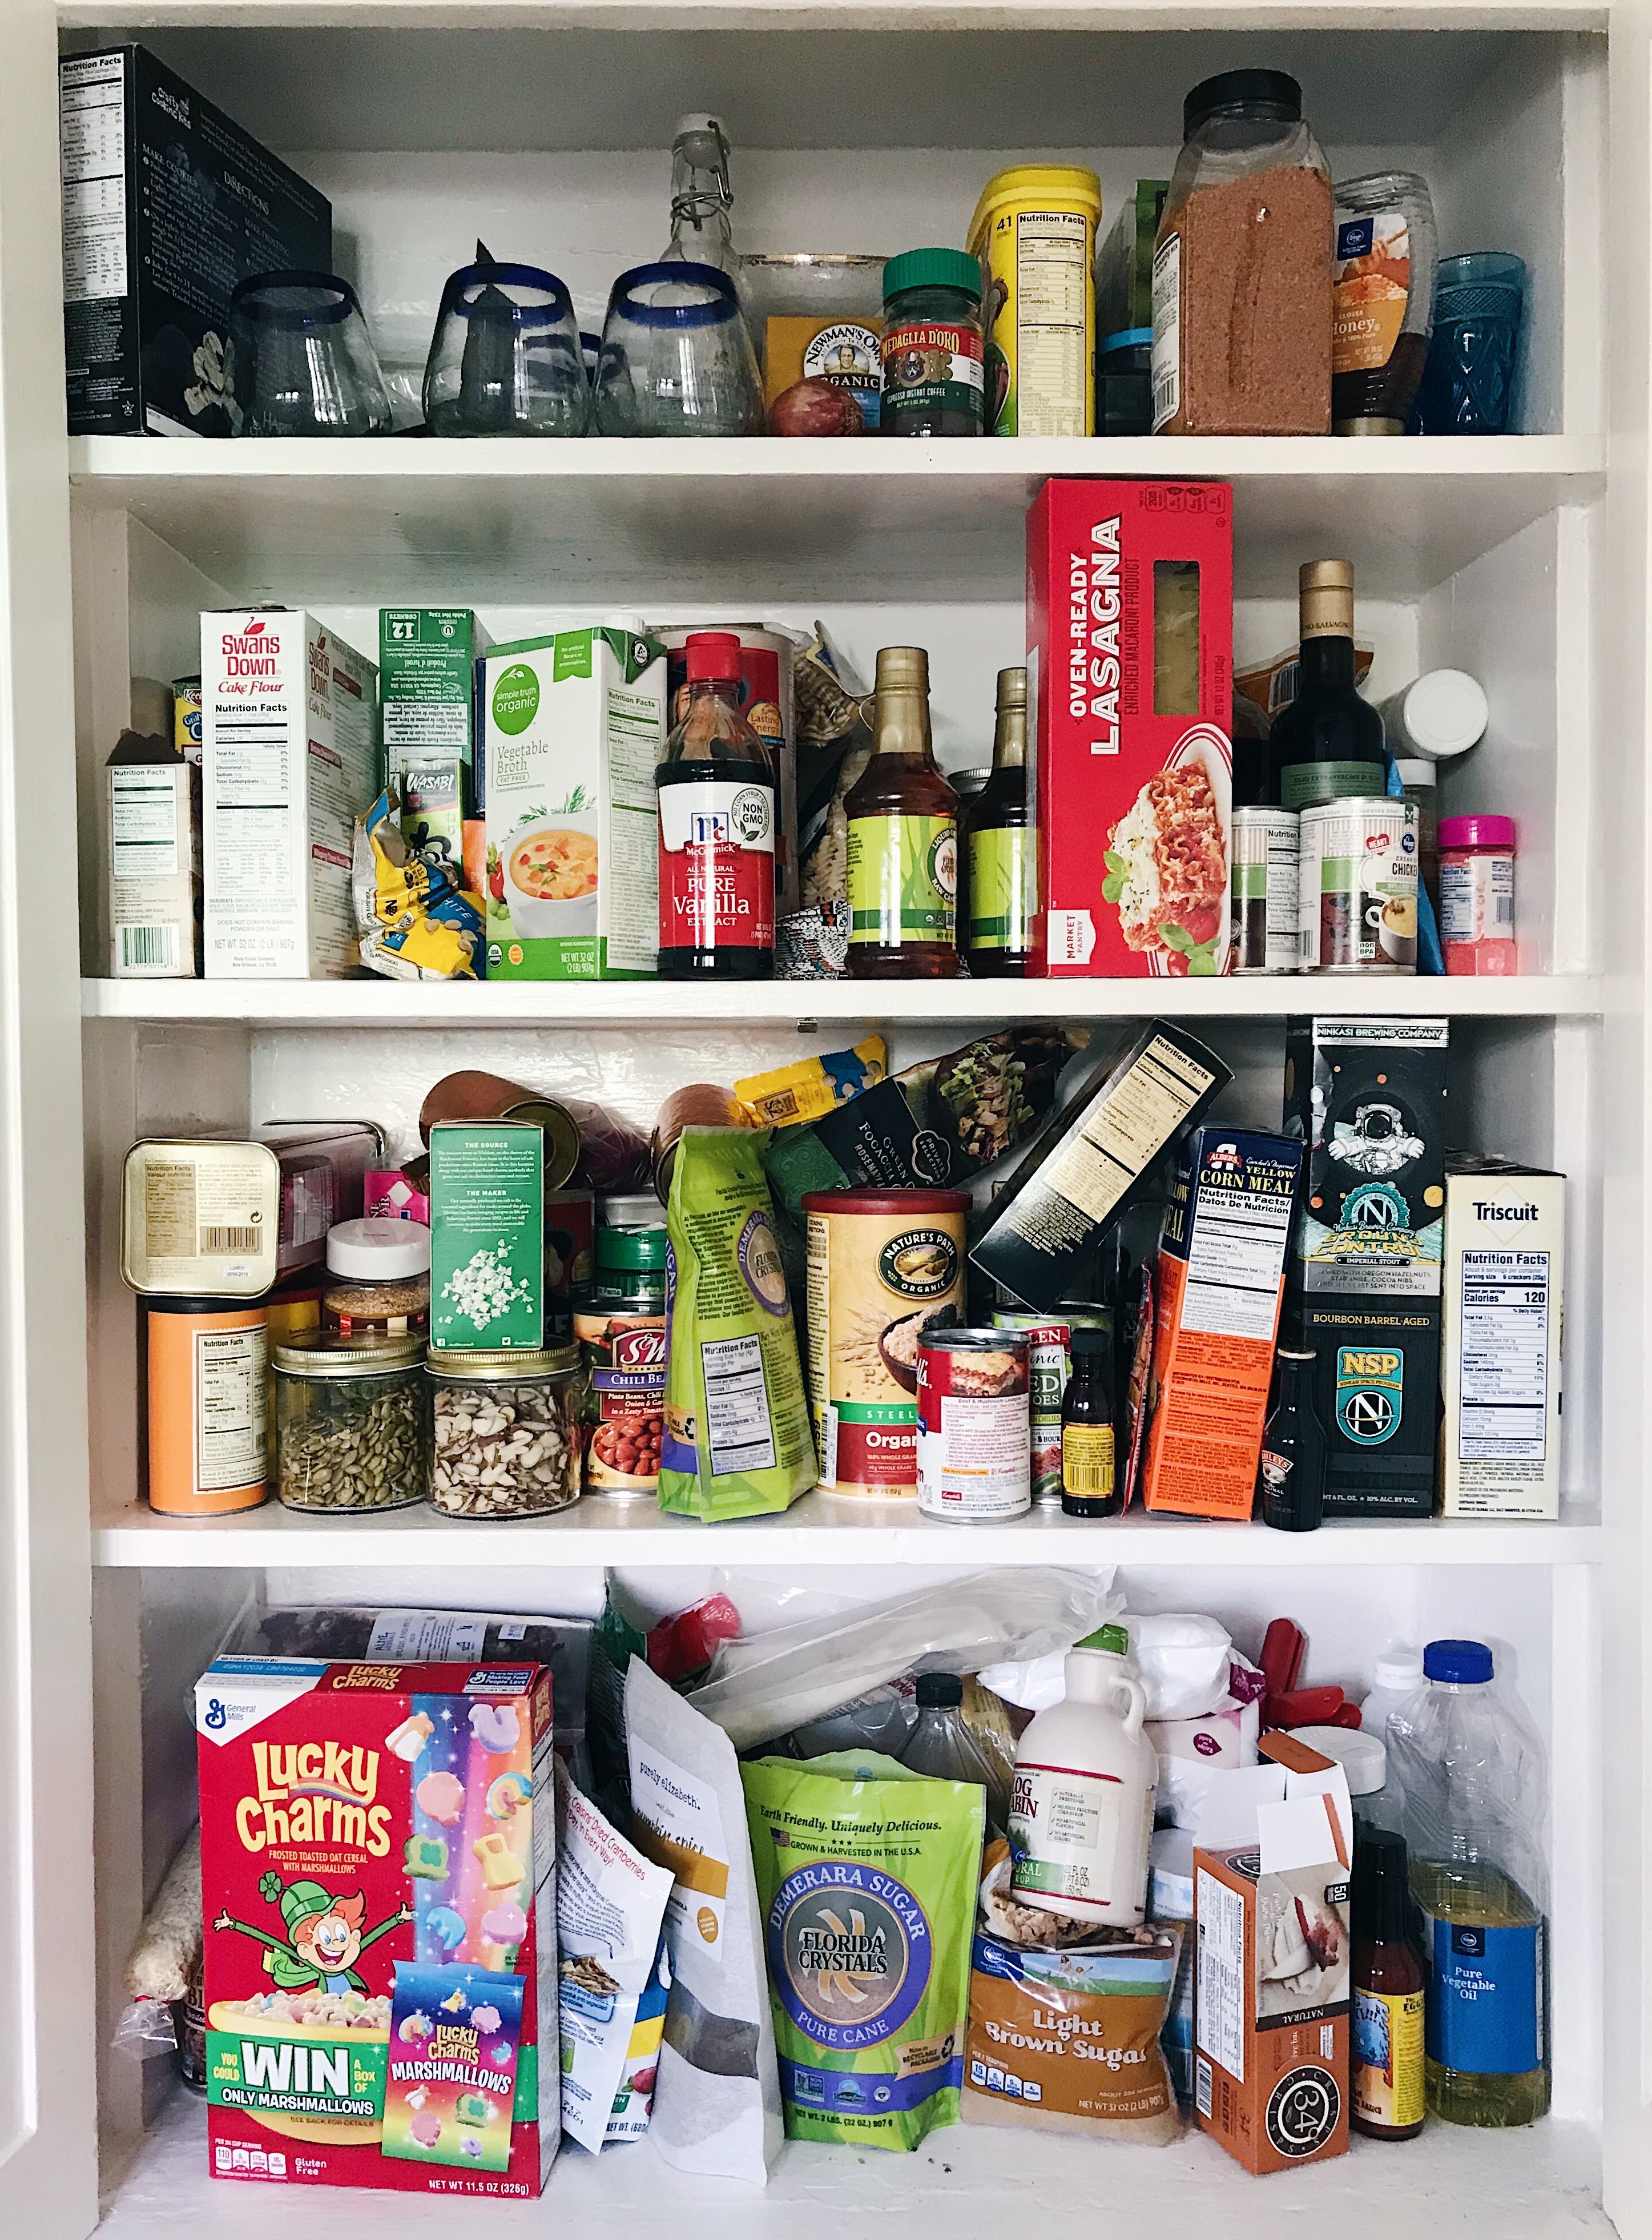
One of my first projects of 2018 was to get my pantry together (see “before” photo). In short terms: it was a hot mess. It’s one of those areas in the home that can get so messy so fast and just in general has no return. The whole project can also seem super daunting!
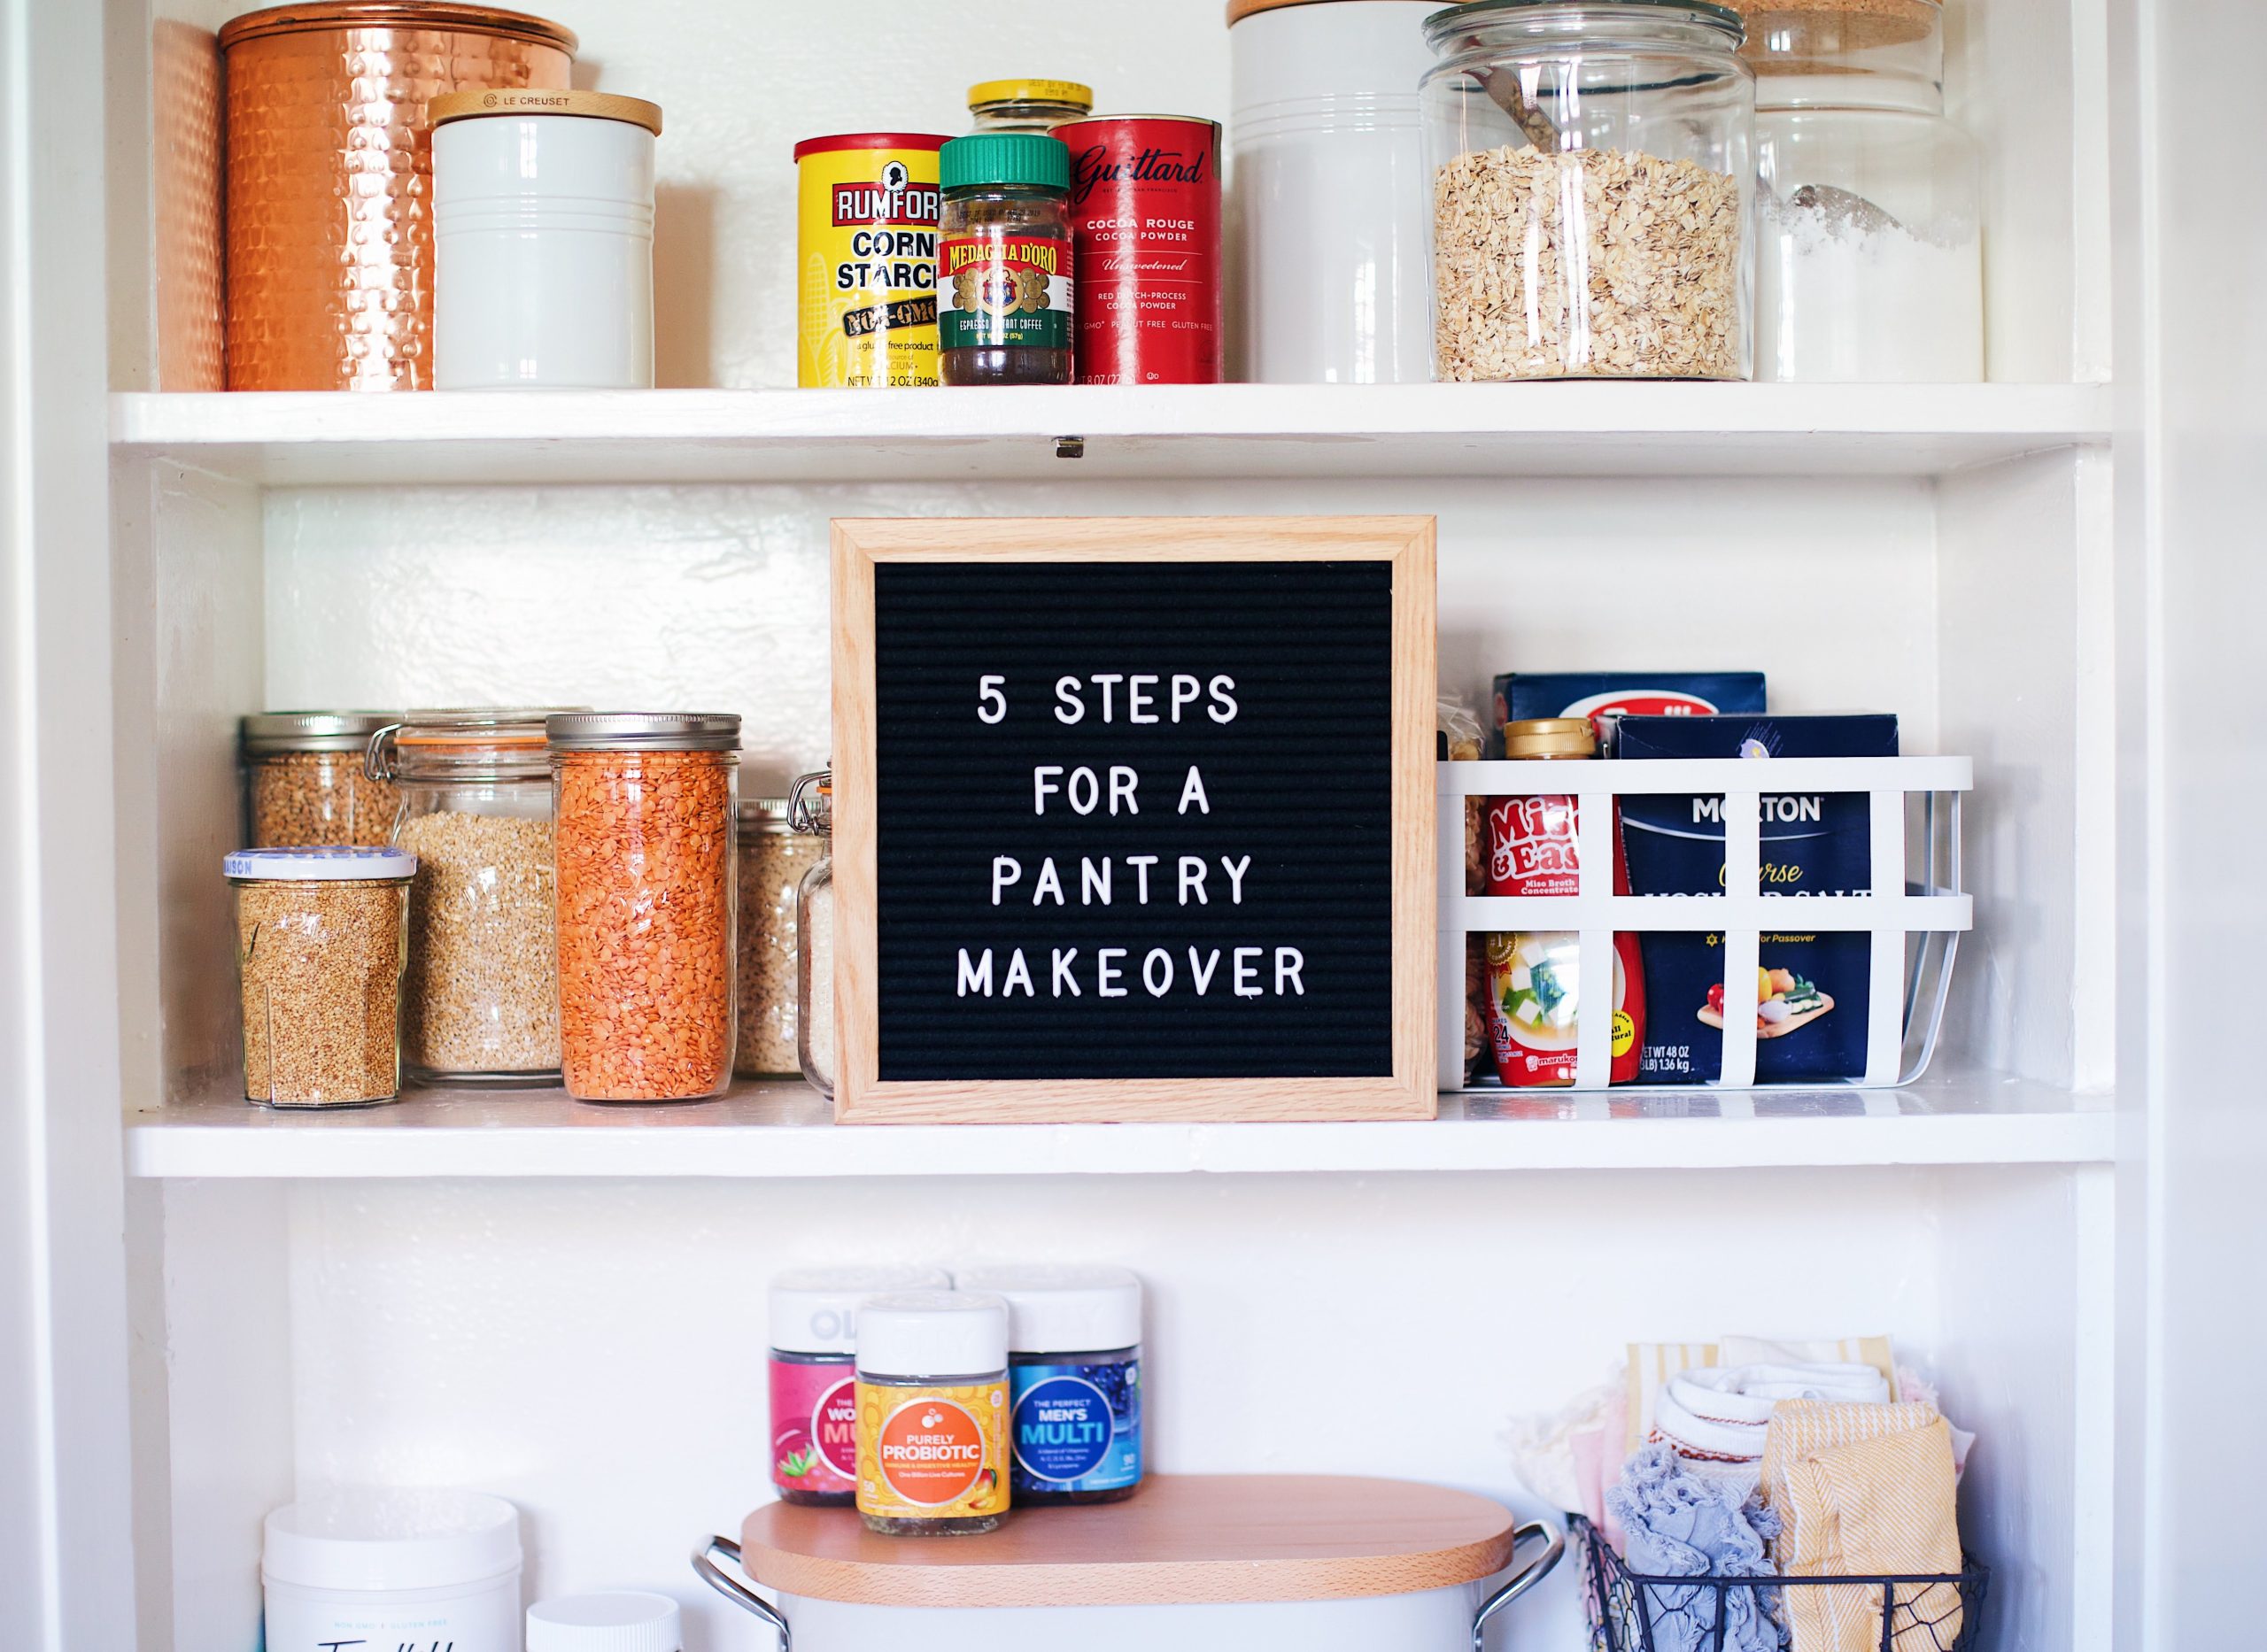
Since I cleaned my pantry our whole kitchen has felt more organized than ever before. I never over-buy ingredients at the store because I can always see what we have in stock at home and it makes cooking meals so much faster! If there is one area in your home to put on your “clean” list, move the pantry to the top! Follow my steps below to ensure your best pantry ever!
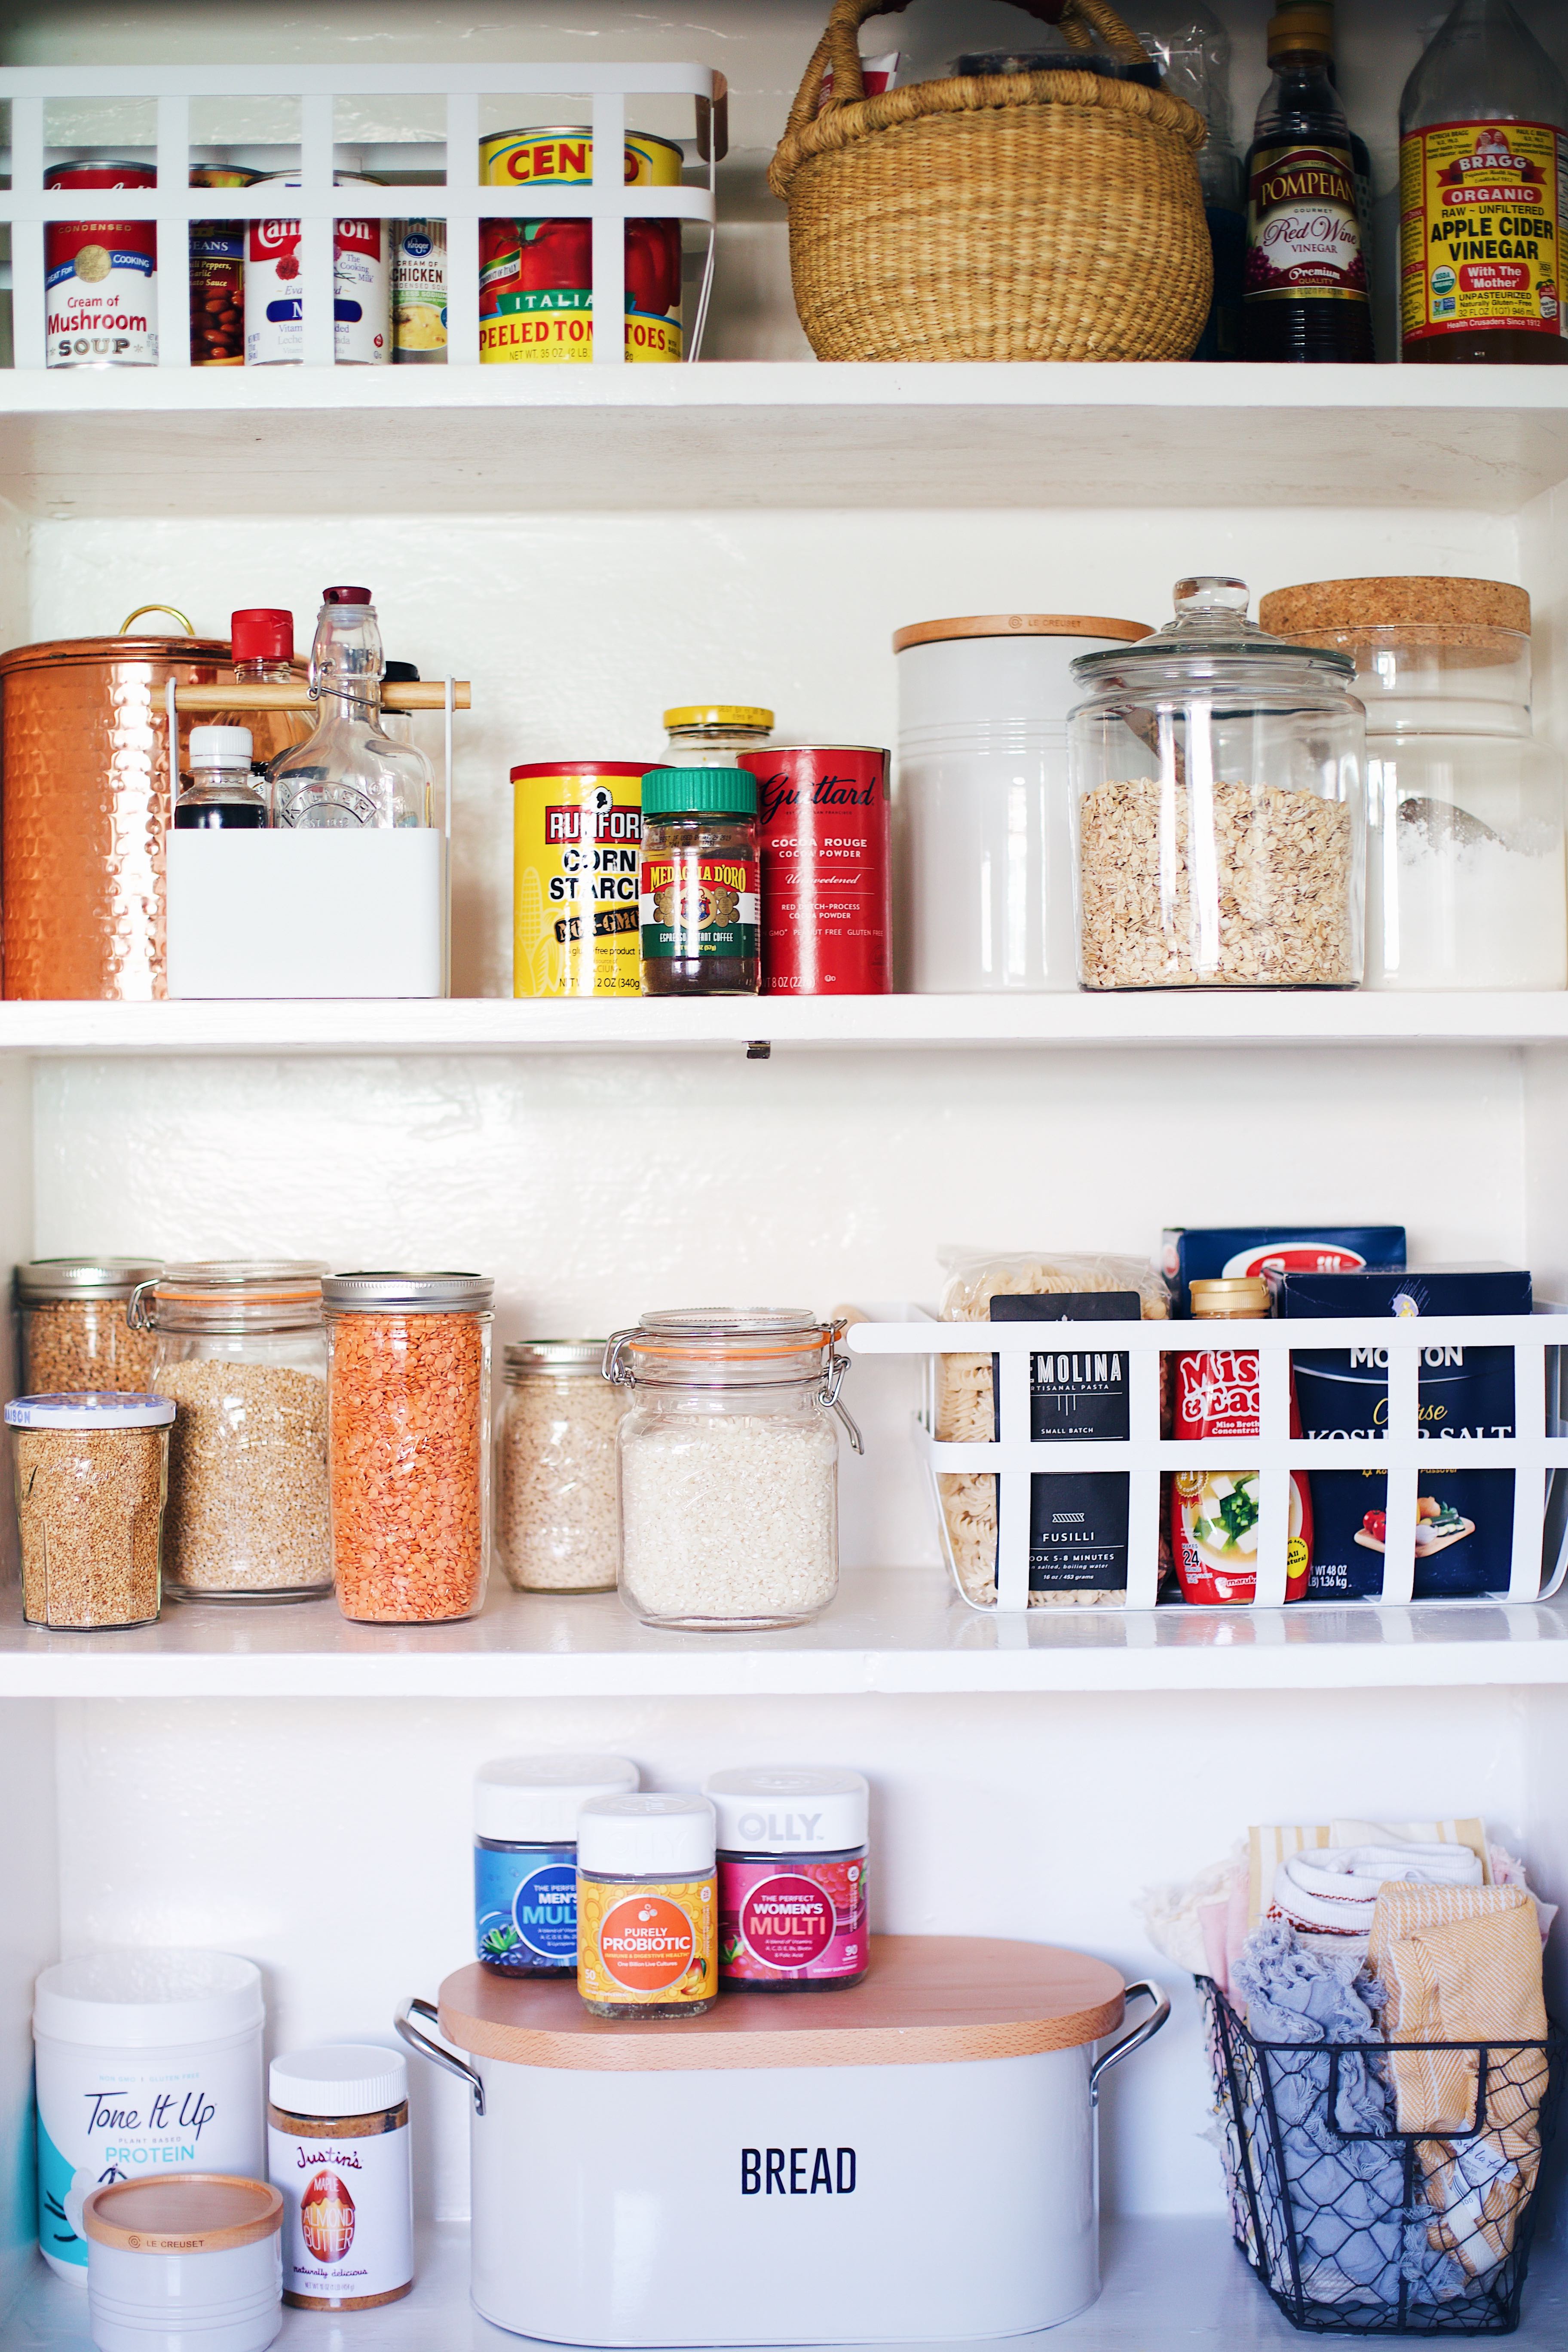
1. Baskets, canisters, containers, oh my!
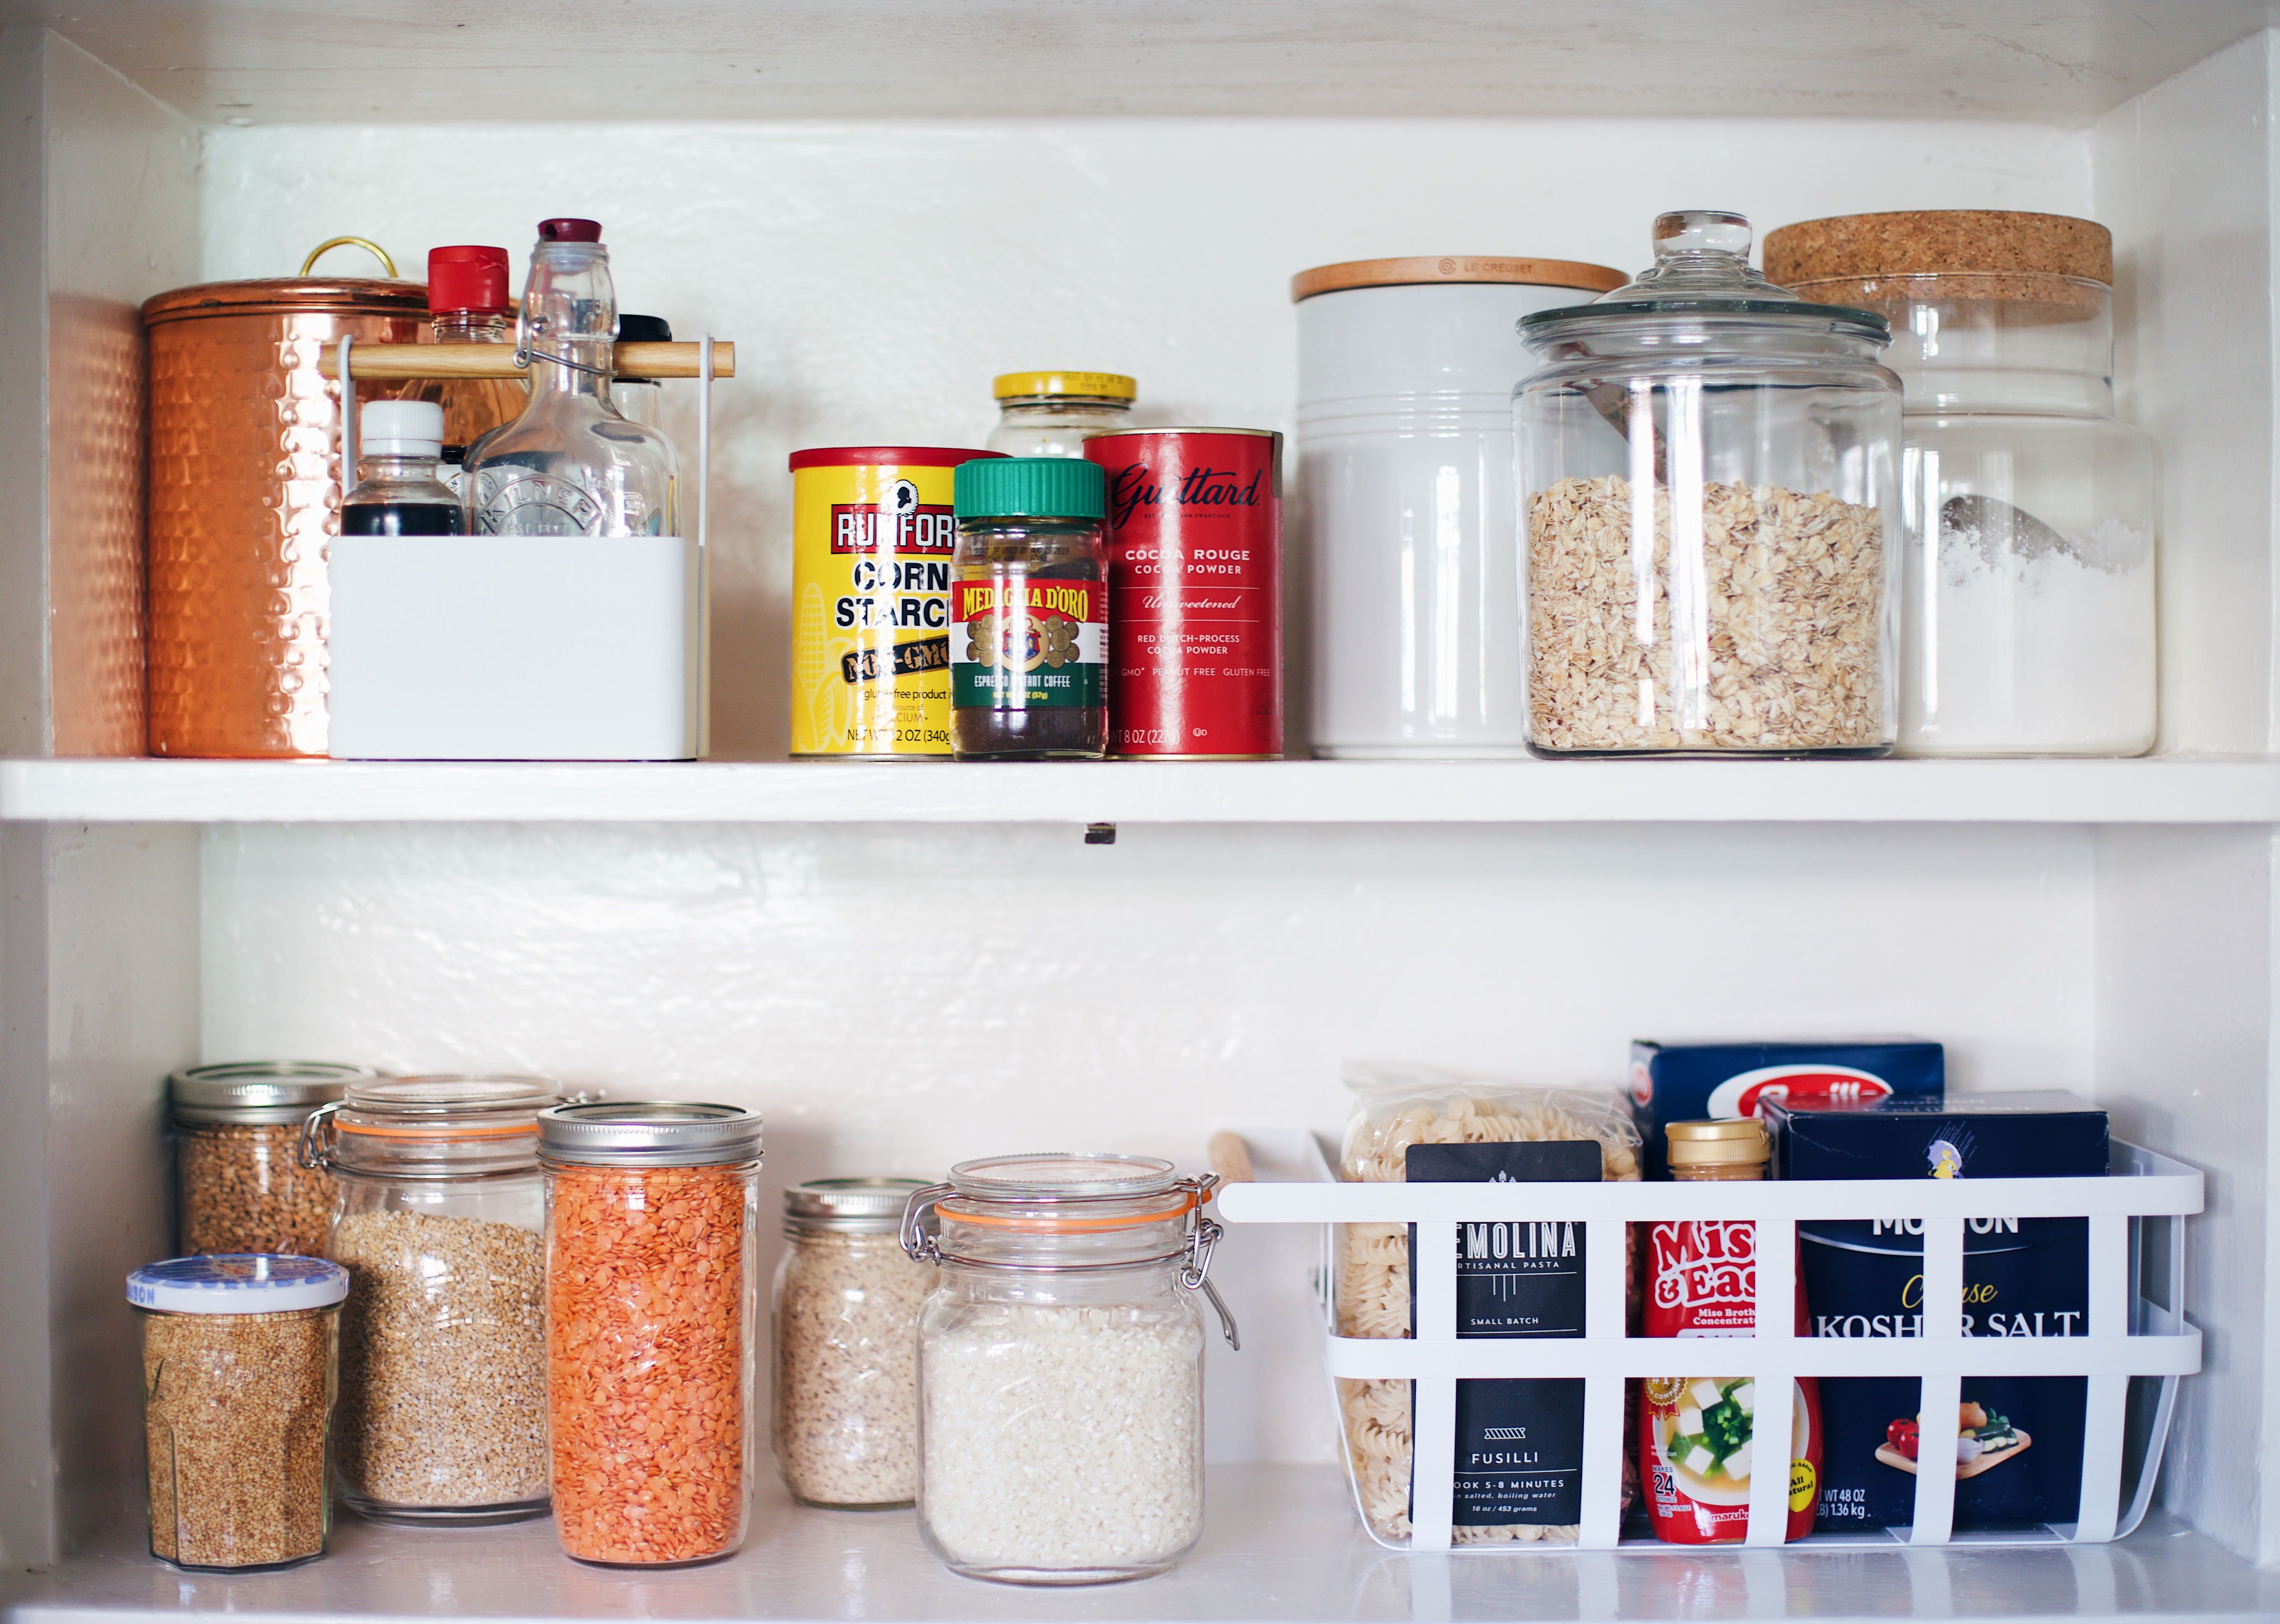
This is the fun part… I know doing a total clean out and organization home project can feel daunting but when you get to buy fun new things, it helps! Whoever said that buying new workout clothes aren’t a good motivator, lied! These are some of my favorite products to use for organizing! I have a super small pantry so they are perfect for tight spaces.
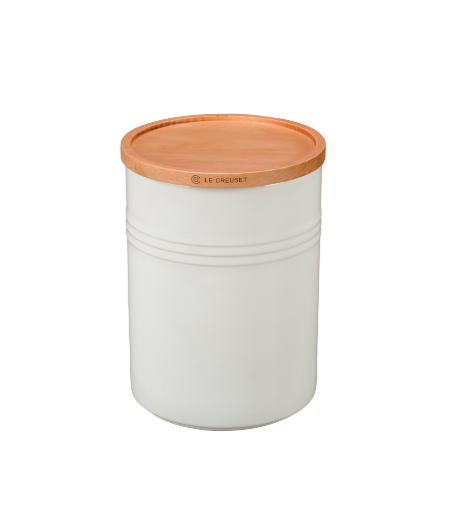
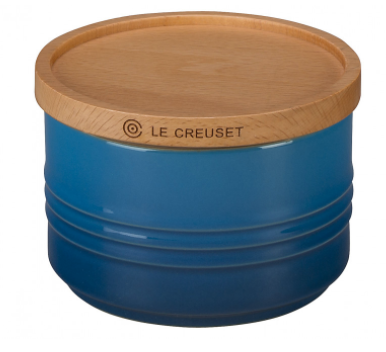
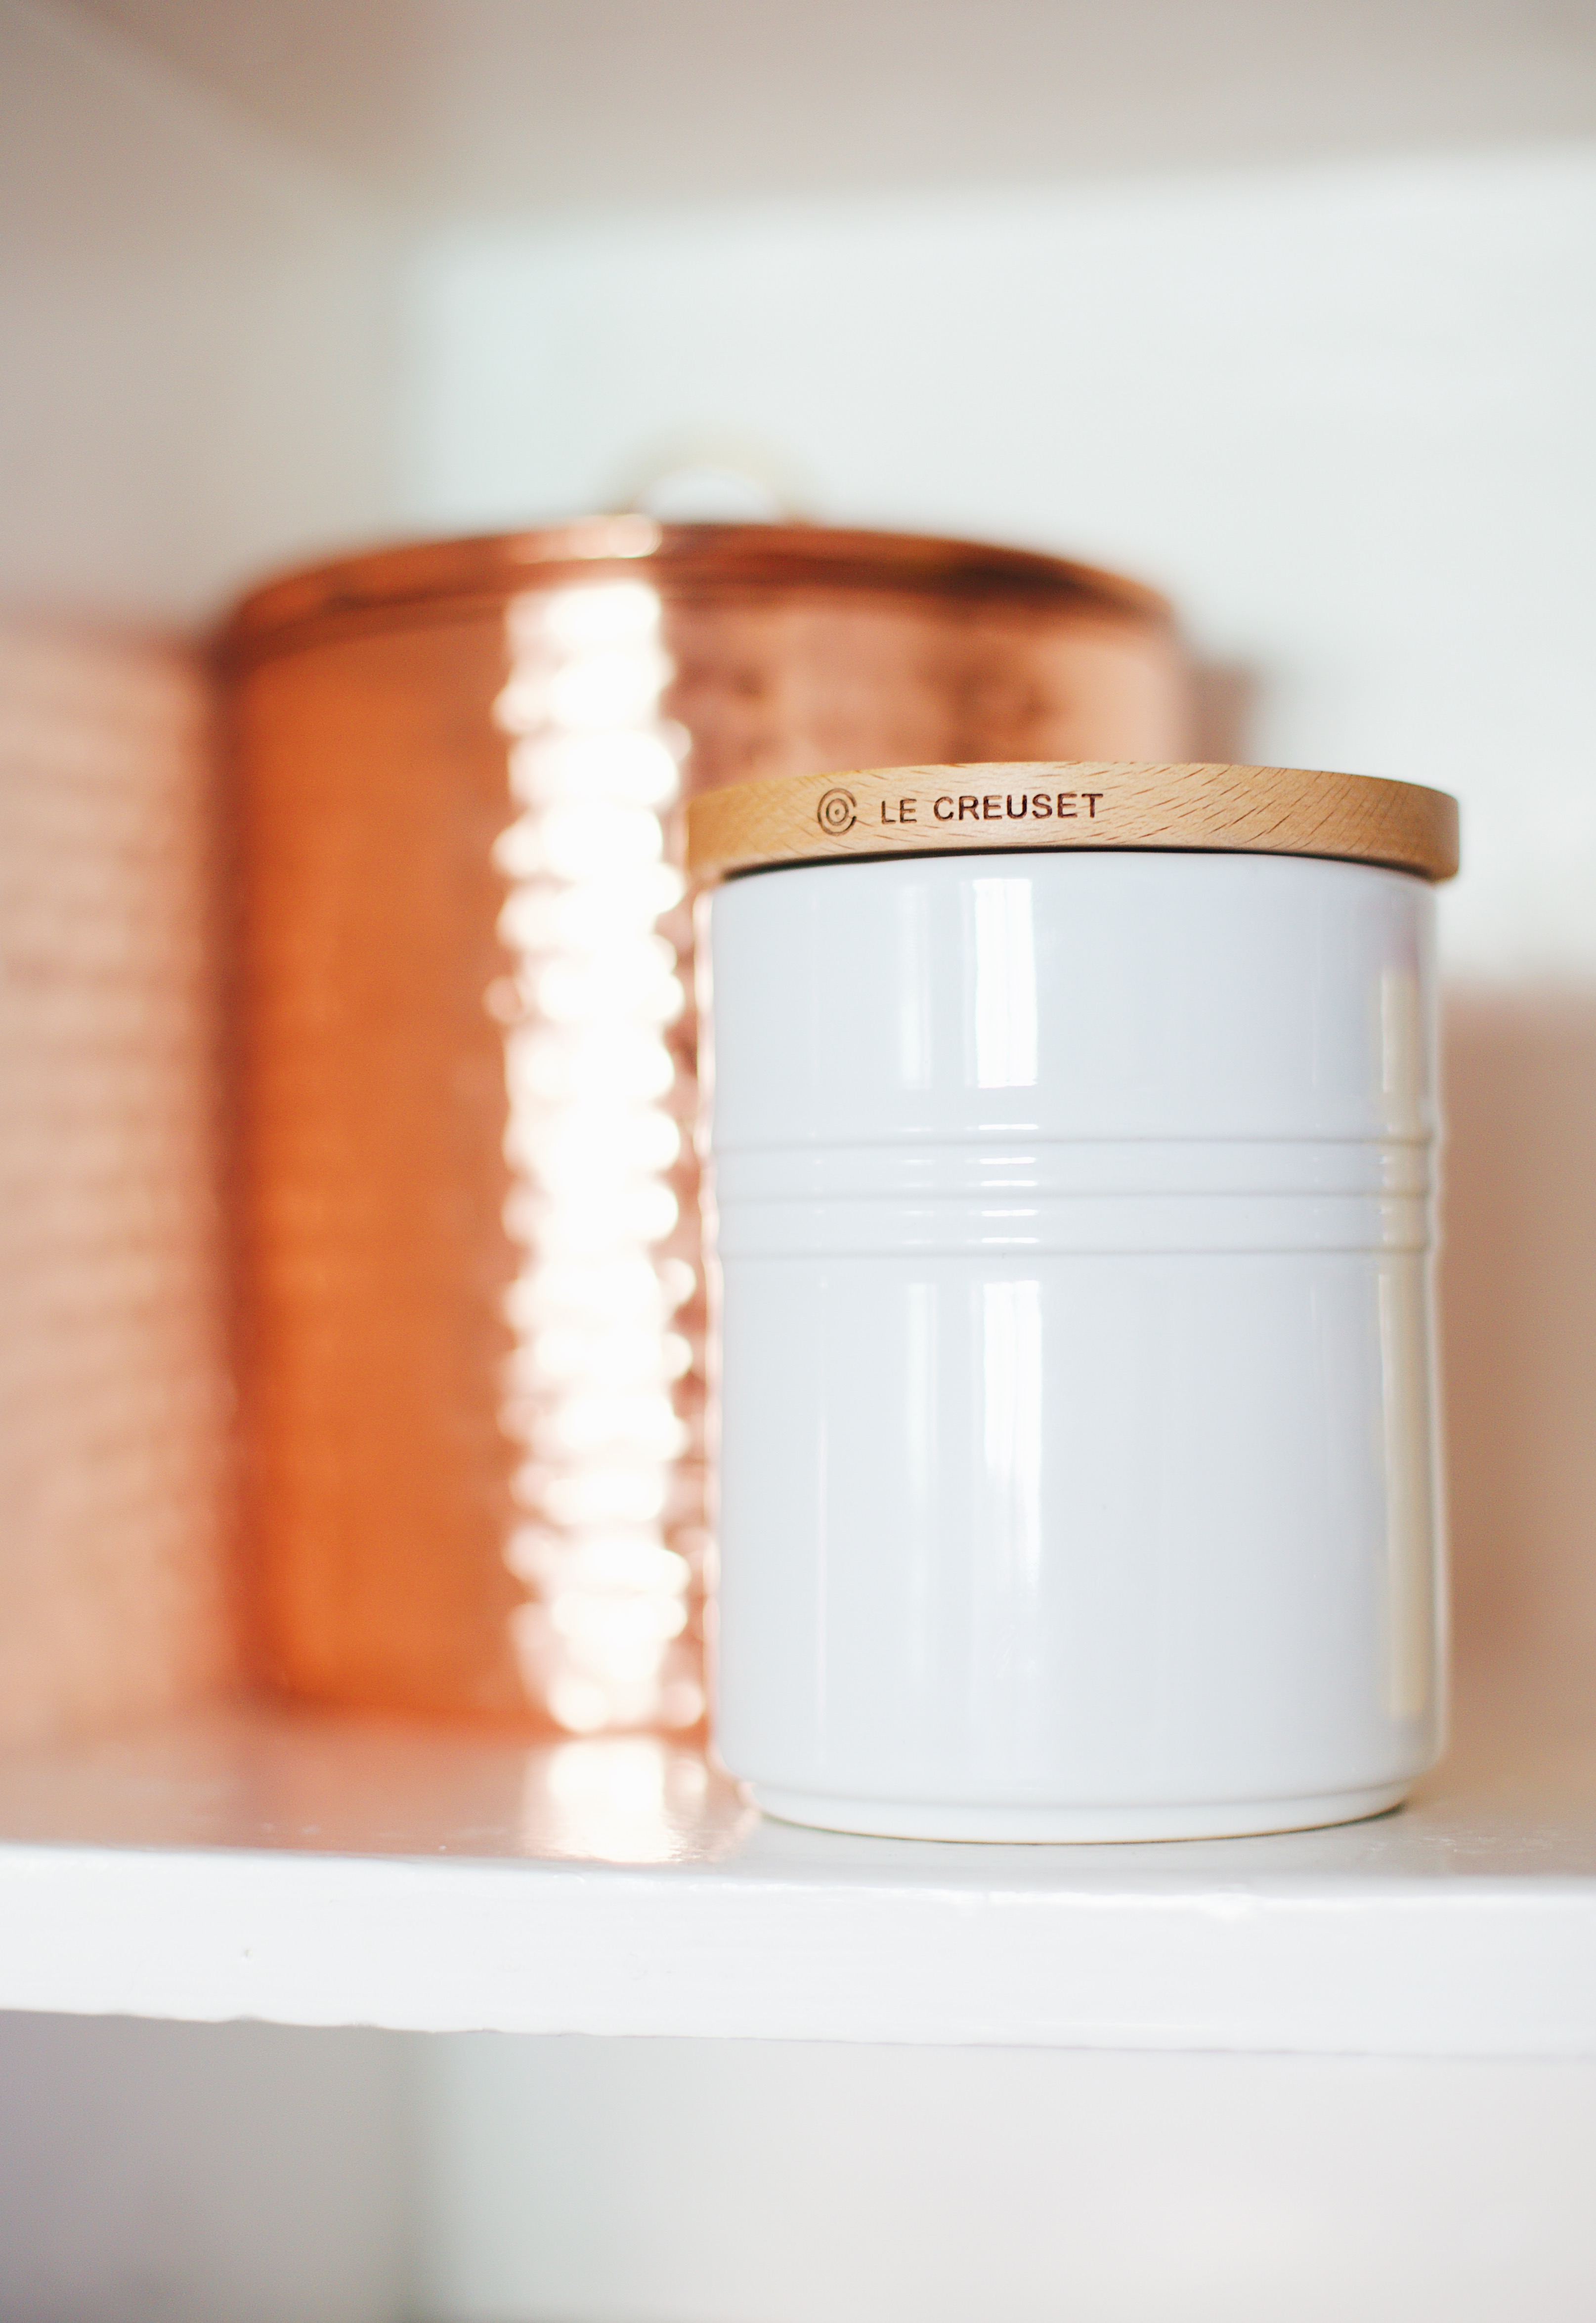
Canisters: I love Le Creuset storage canisters. They are a great investment for your pantry. They are made out of an extra strong ceramic that will lock out all moisture in case of any spills and the lid is super locking to keep all your ingredients fresh. Never have your brown sugar go dry on you again! Did I mention they come in so many fun colors?!
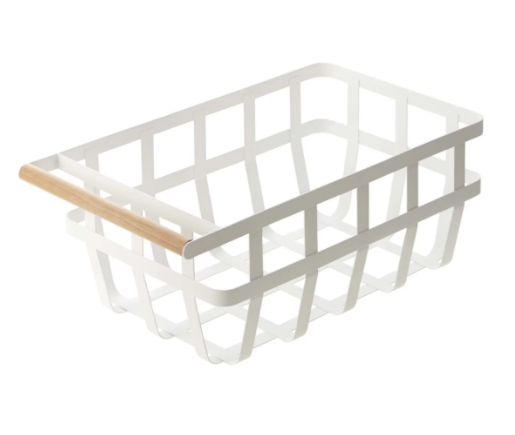
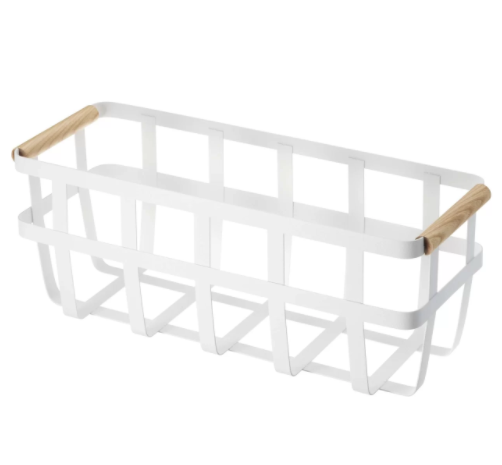
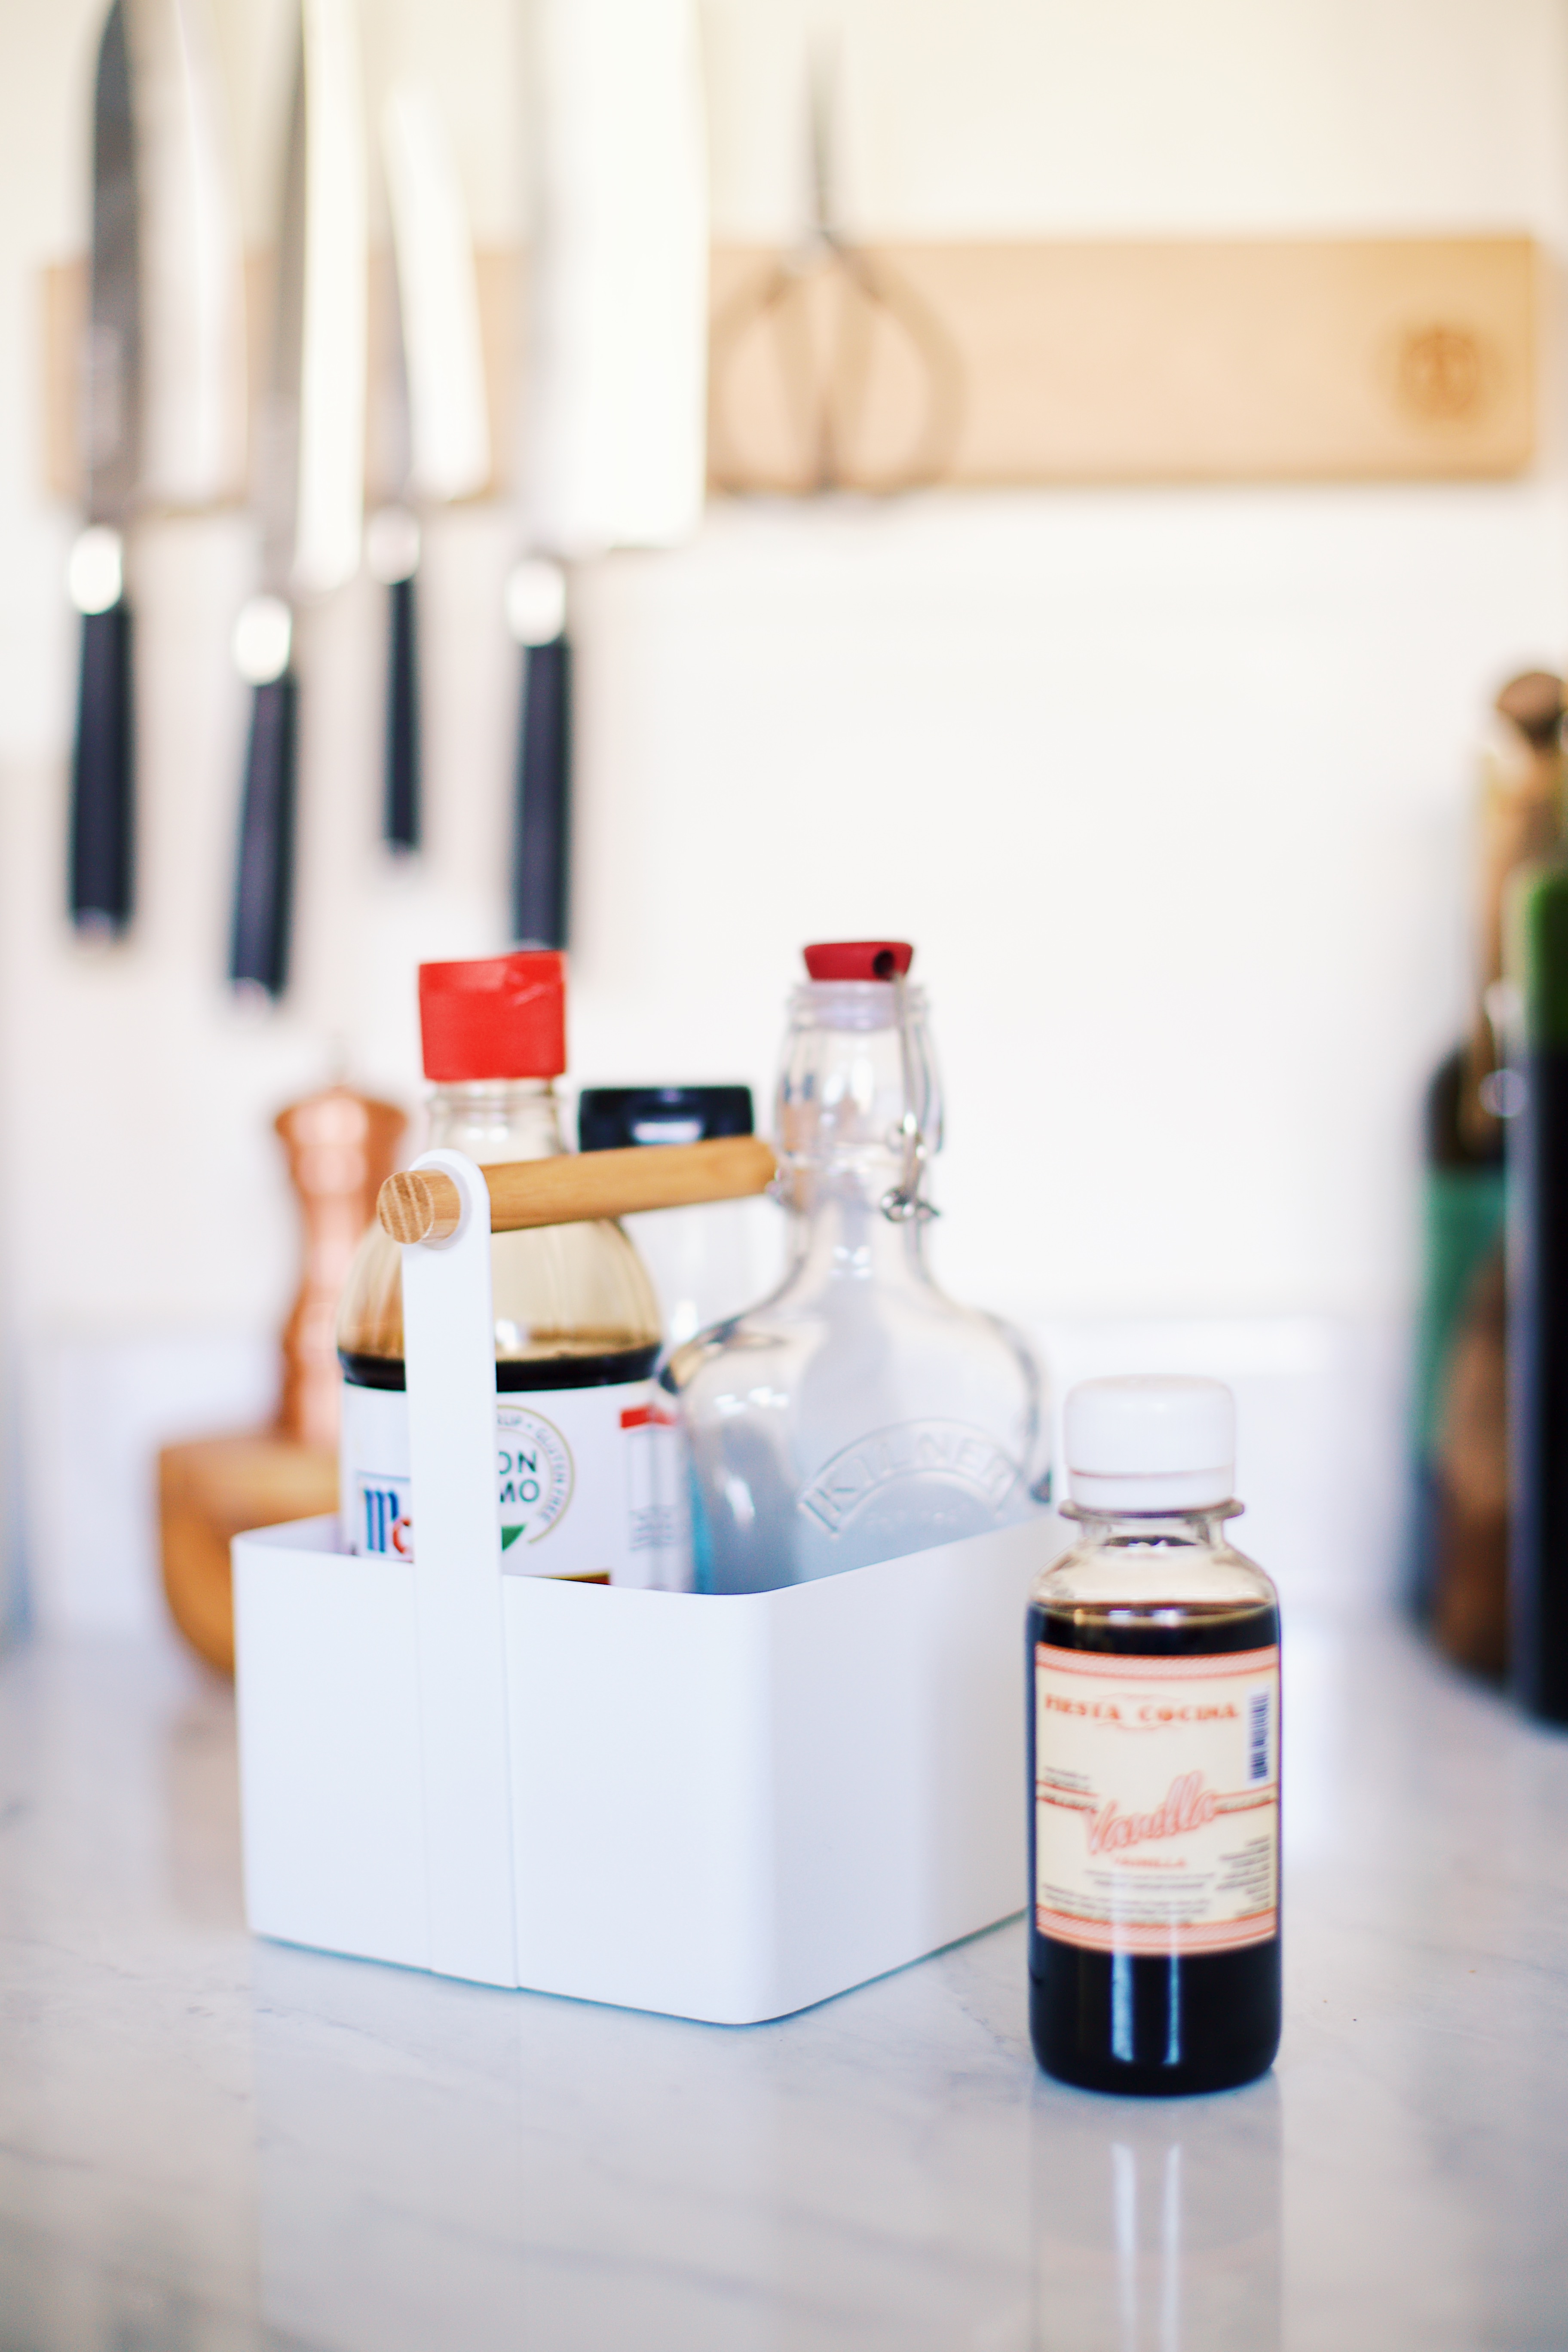
Baskets: Not only are these Yamazaki baskets the cutest darn baskets I have ever seen they are also so strong and durable! They are made out of such a strong metal and have the best little bottom grips that keeps them in place on any surface. Great for seethrough storage and heavy items!
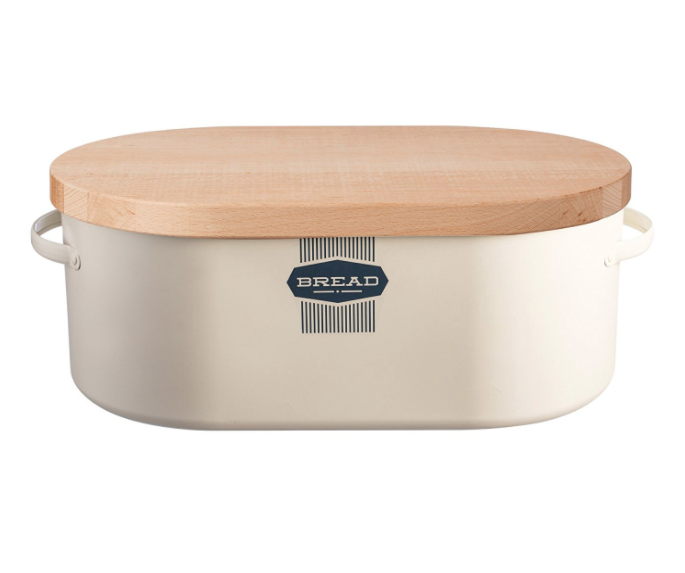
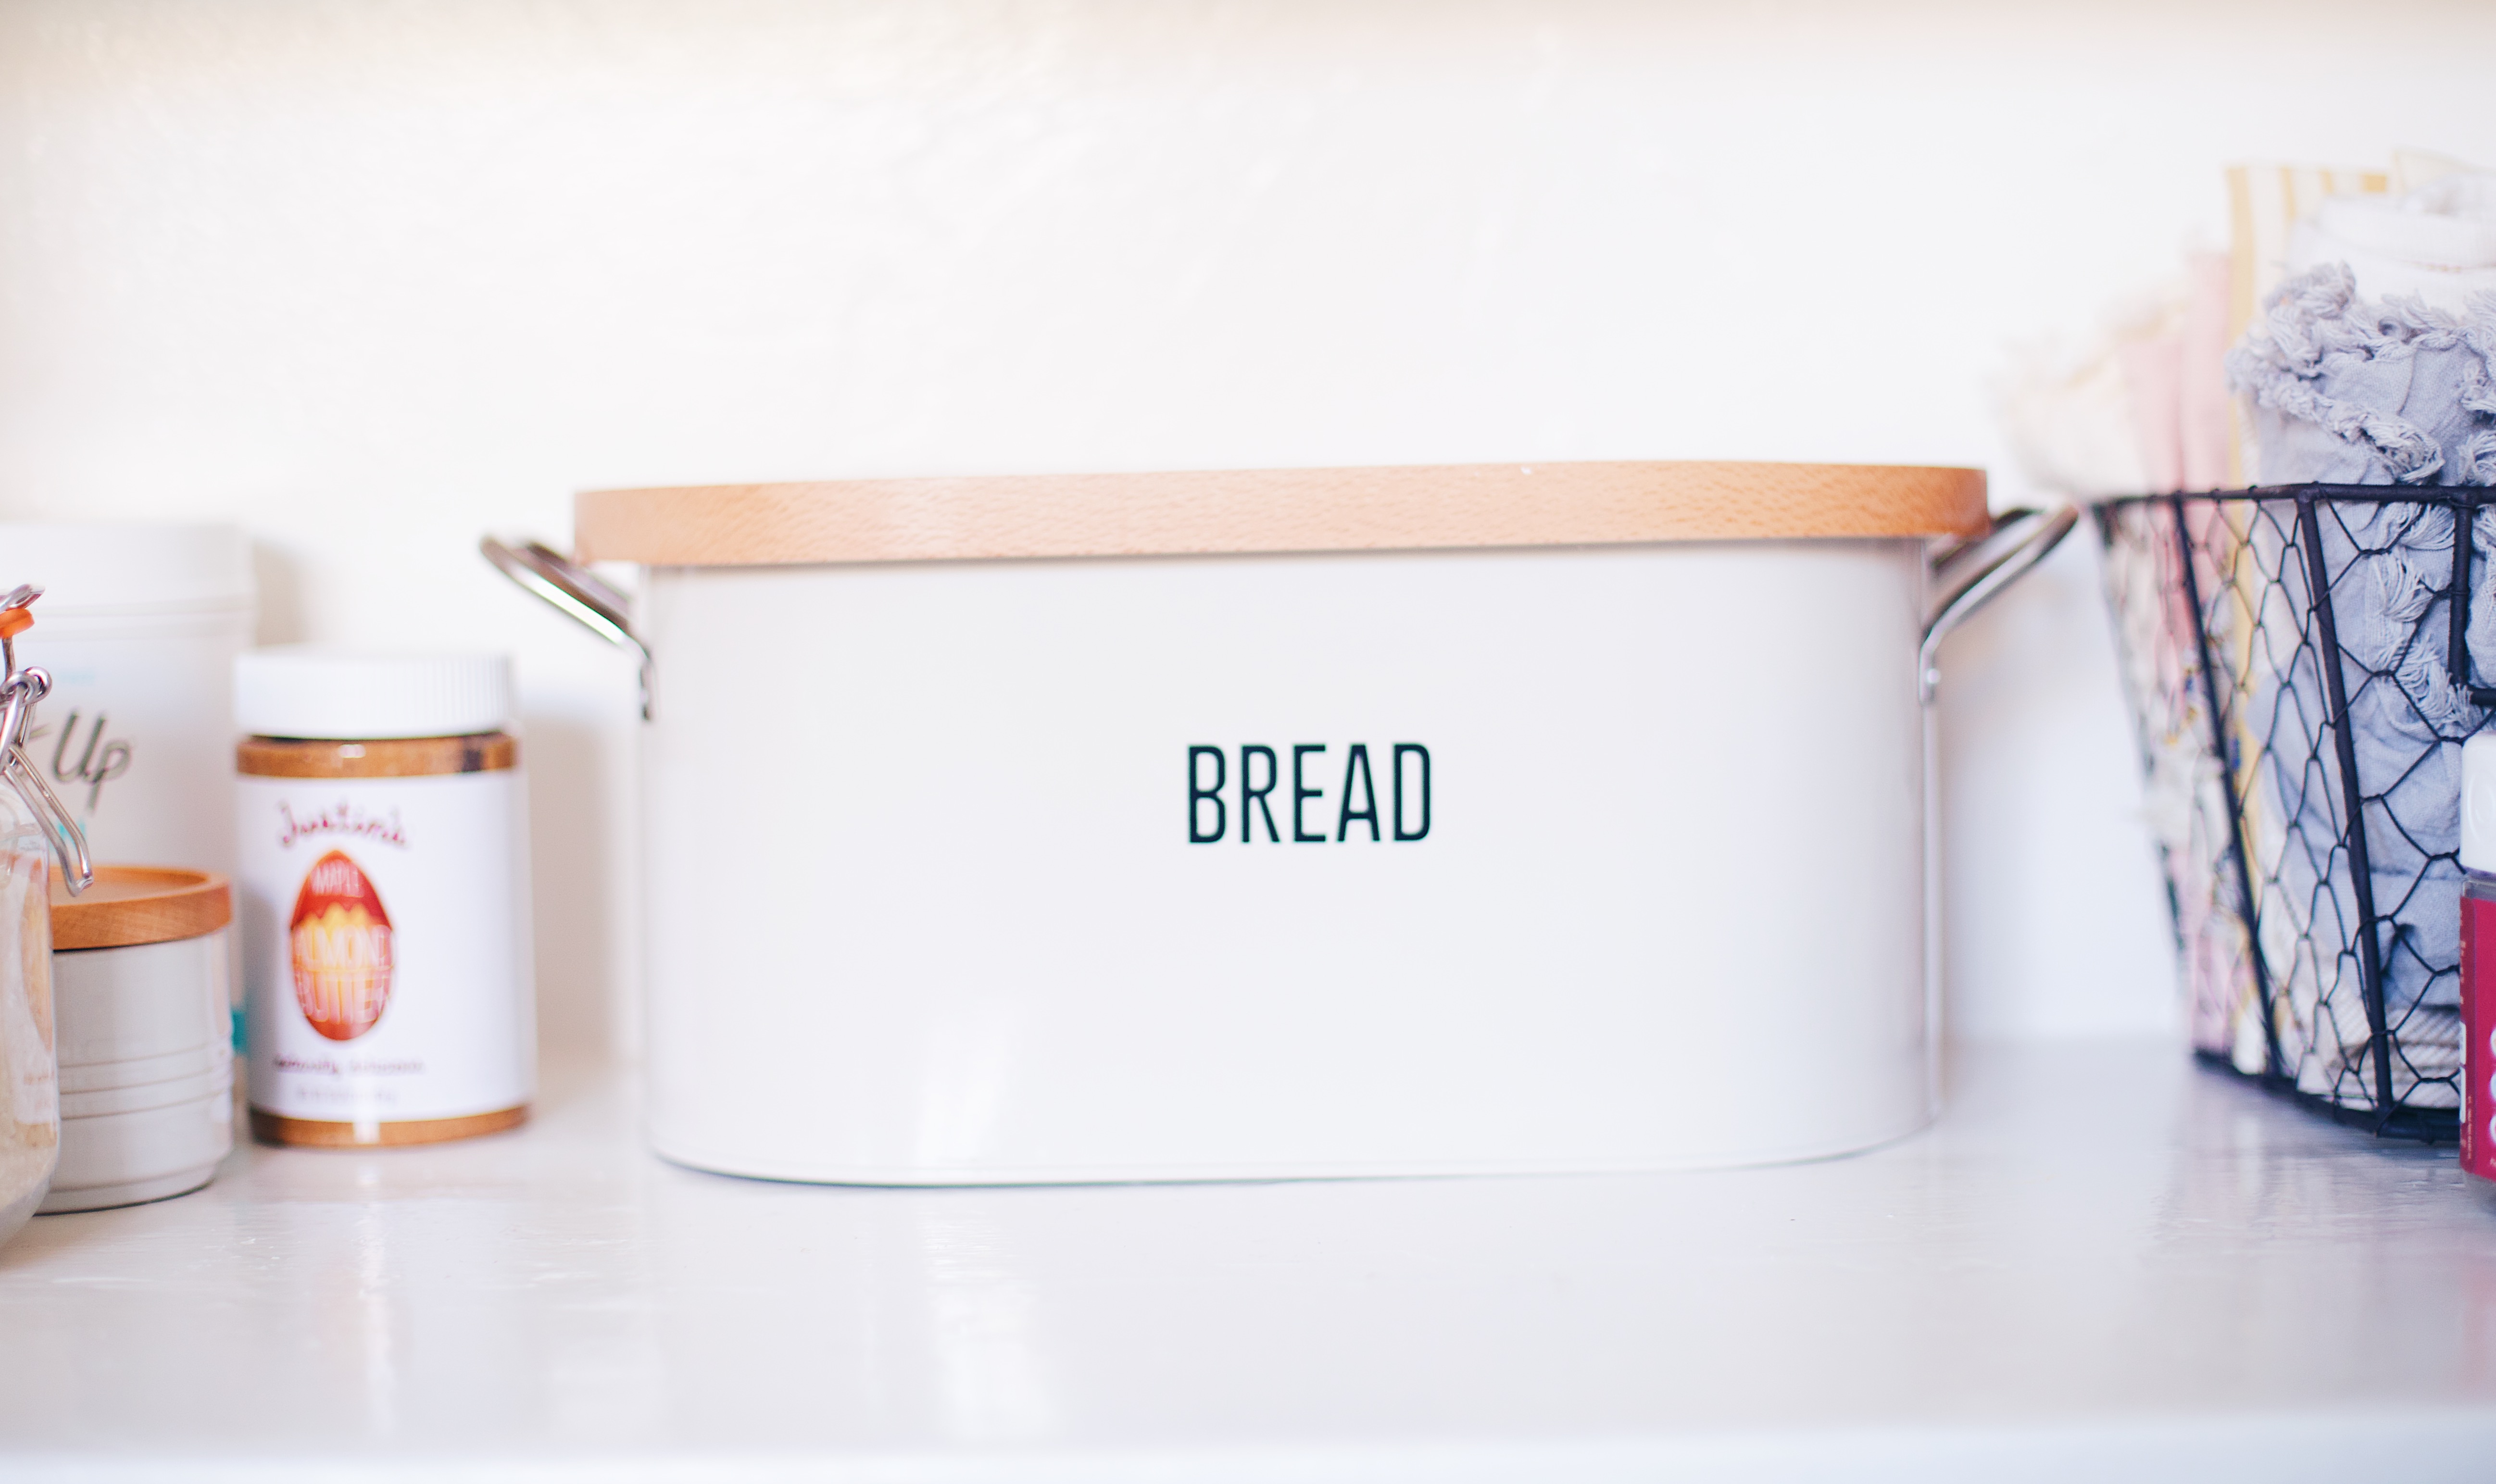
Big bread bin: All right let’s talk carbs! Every pantry needs a cute and efficient bread hideaway. I love that this bread bin is large enough for a loaf of bread but I can usually sneak in a bag of granola and tortillas too!
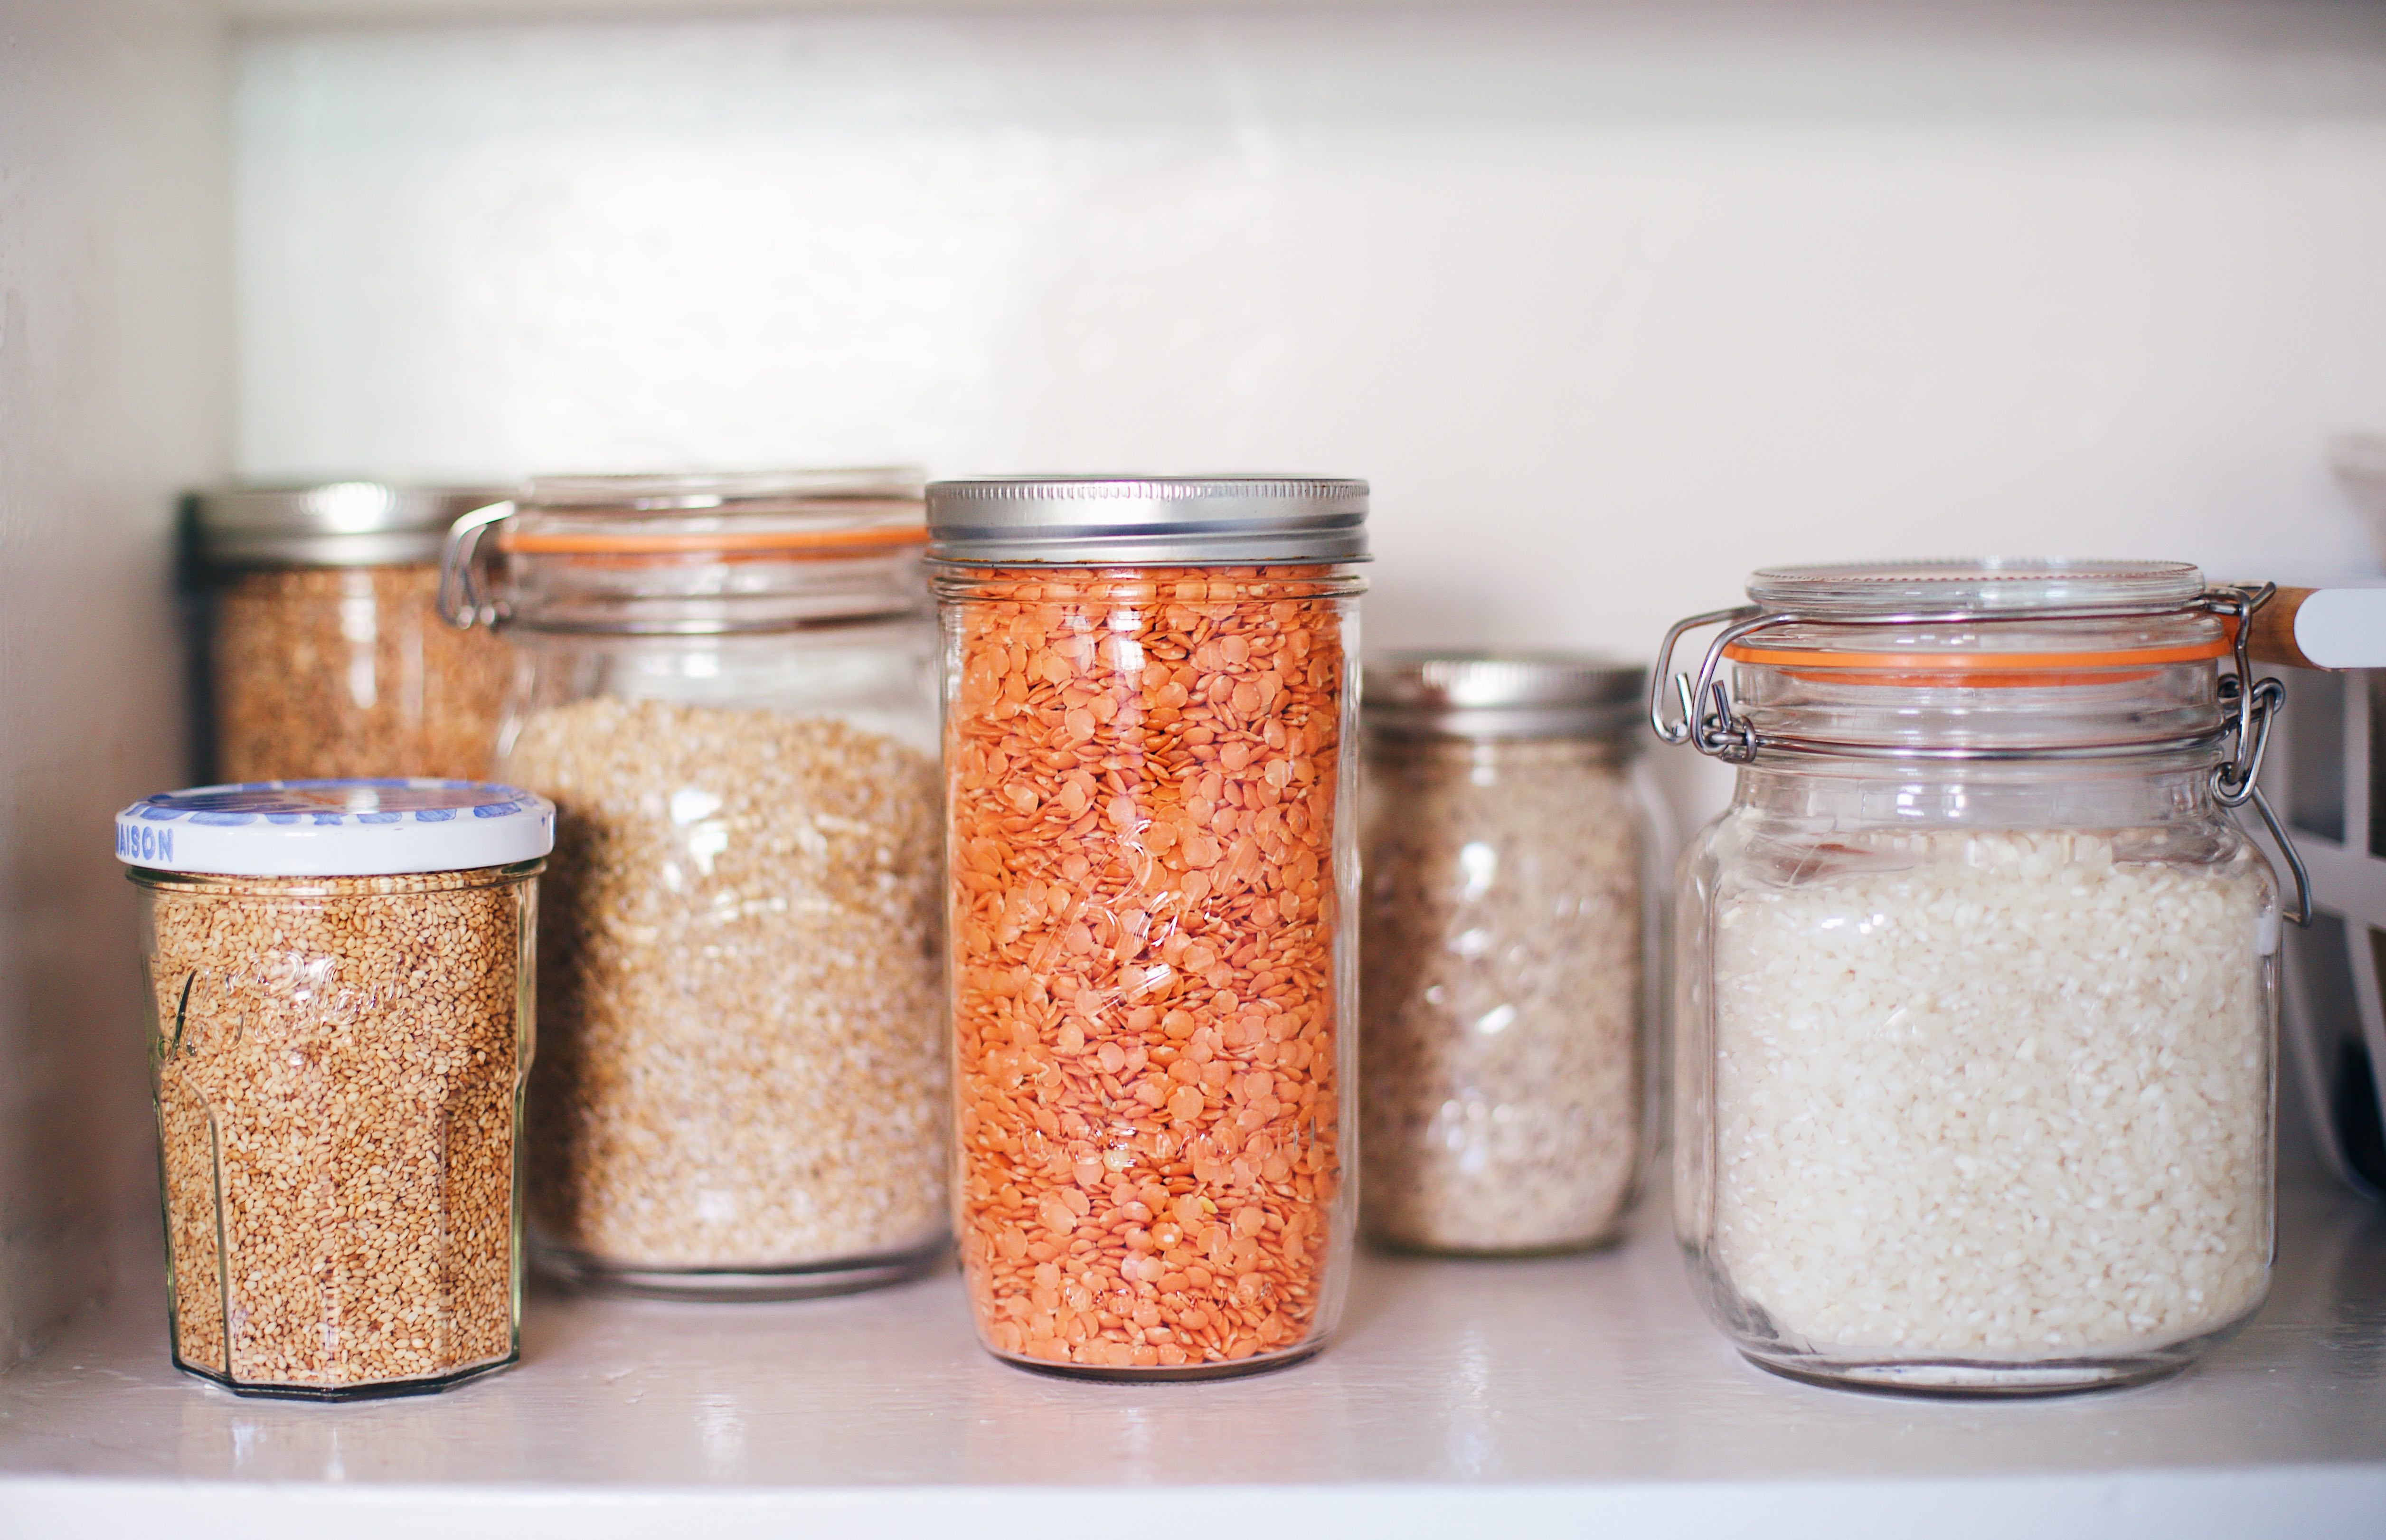
Glass Jars: Before you start your pantry reno be sure to have plenty of glass jars on hand for odds and ends! They help eliminate plastic and storage space as well. Some of my favorites are small Ball Jars and these clip top Kilner jars!
2. Past it’s due date?
The first step to your best pantry ever is taking every single thing out and checking all of the expiration labels. I was astonished at how much was actually expired. I would say a good 35% of everything in the pantry was expired or stale/not edible anymore. The whole process of cleaning your pantry can seem overwhelming but I promise that doing this first step will make it seem less daunting and more manageable!
3. Put some dirt on it!
Kidding! But really, clean that thing. This is the most daunting party but I promise it’s worth it. When I pulled everything out of my pantry there was rice grains, salt granules and a couple of maple syrup spill that I wasn’t so proud of. Grab some great multipurpose cleaner and get rid of all the dust and grime on the shelving before putting ANYTHING back in! I would also recommend cleaning any dirty or dusty canisters as well!
4. Decide what’s important!
I like to arrange my pantry by most used items closest and easiest to grab. Some people like to do it by food groups. This part is totally up to you! Whatever you decide to do just keep it consistent and put all your ingredients into groups before putting them back in your pantry.
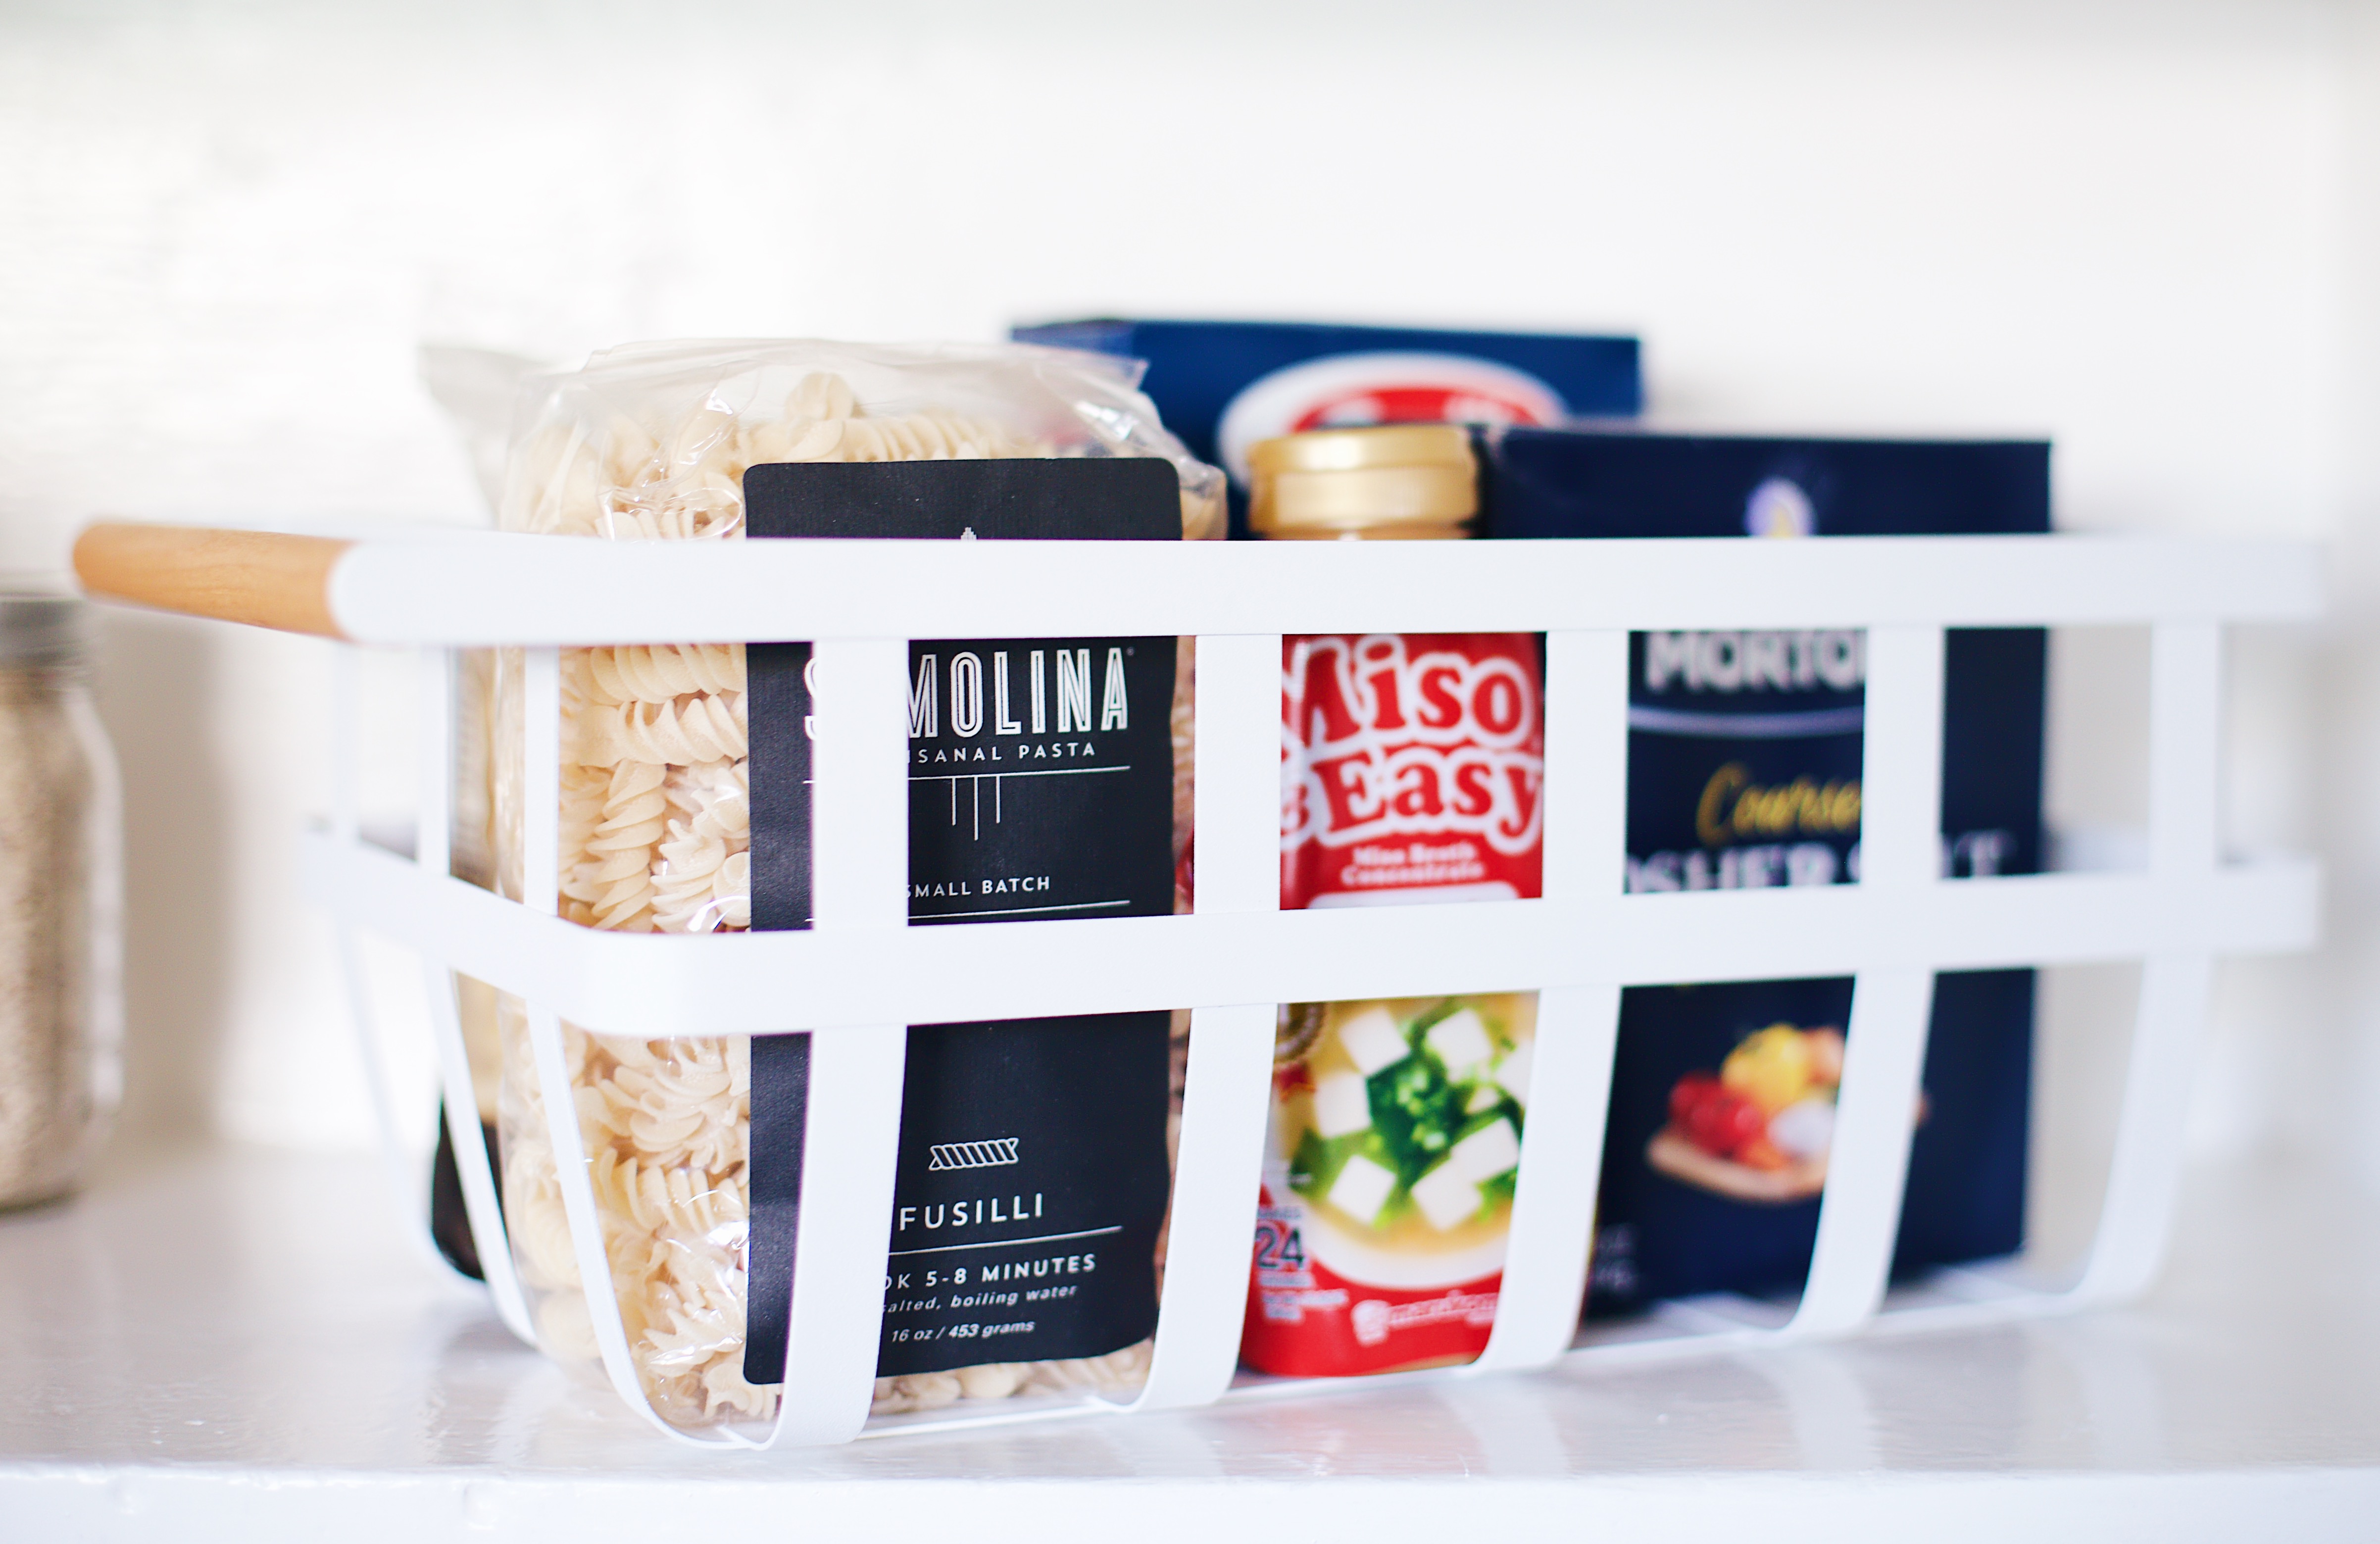
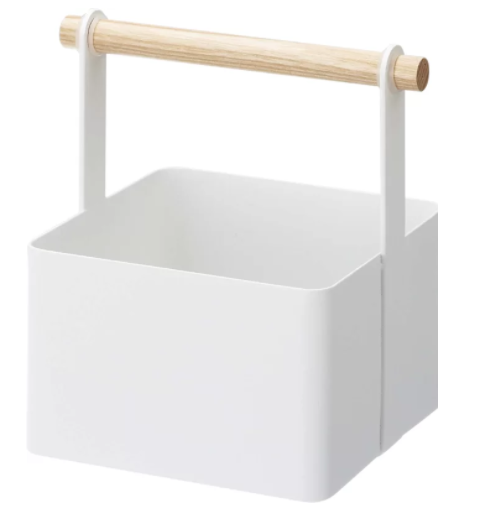
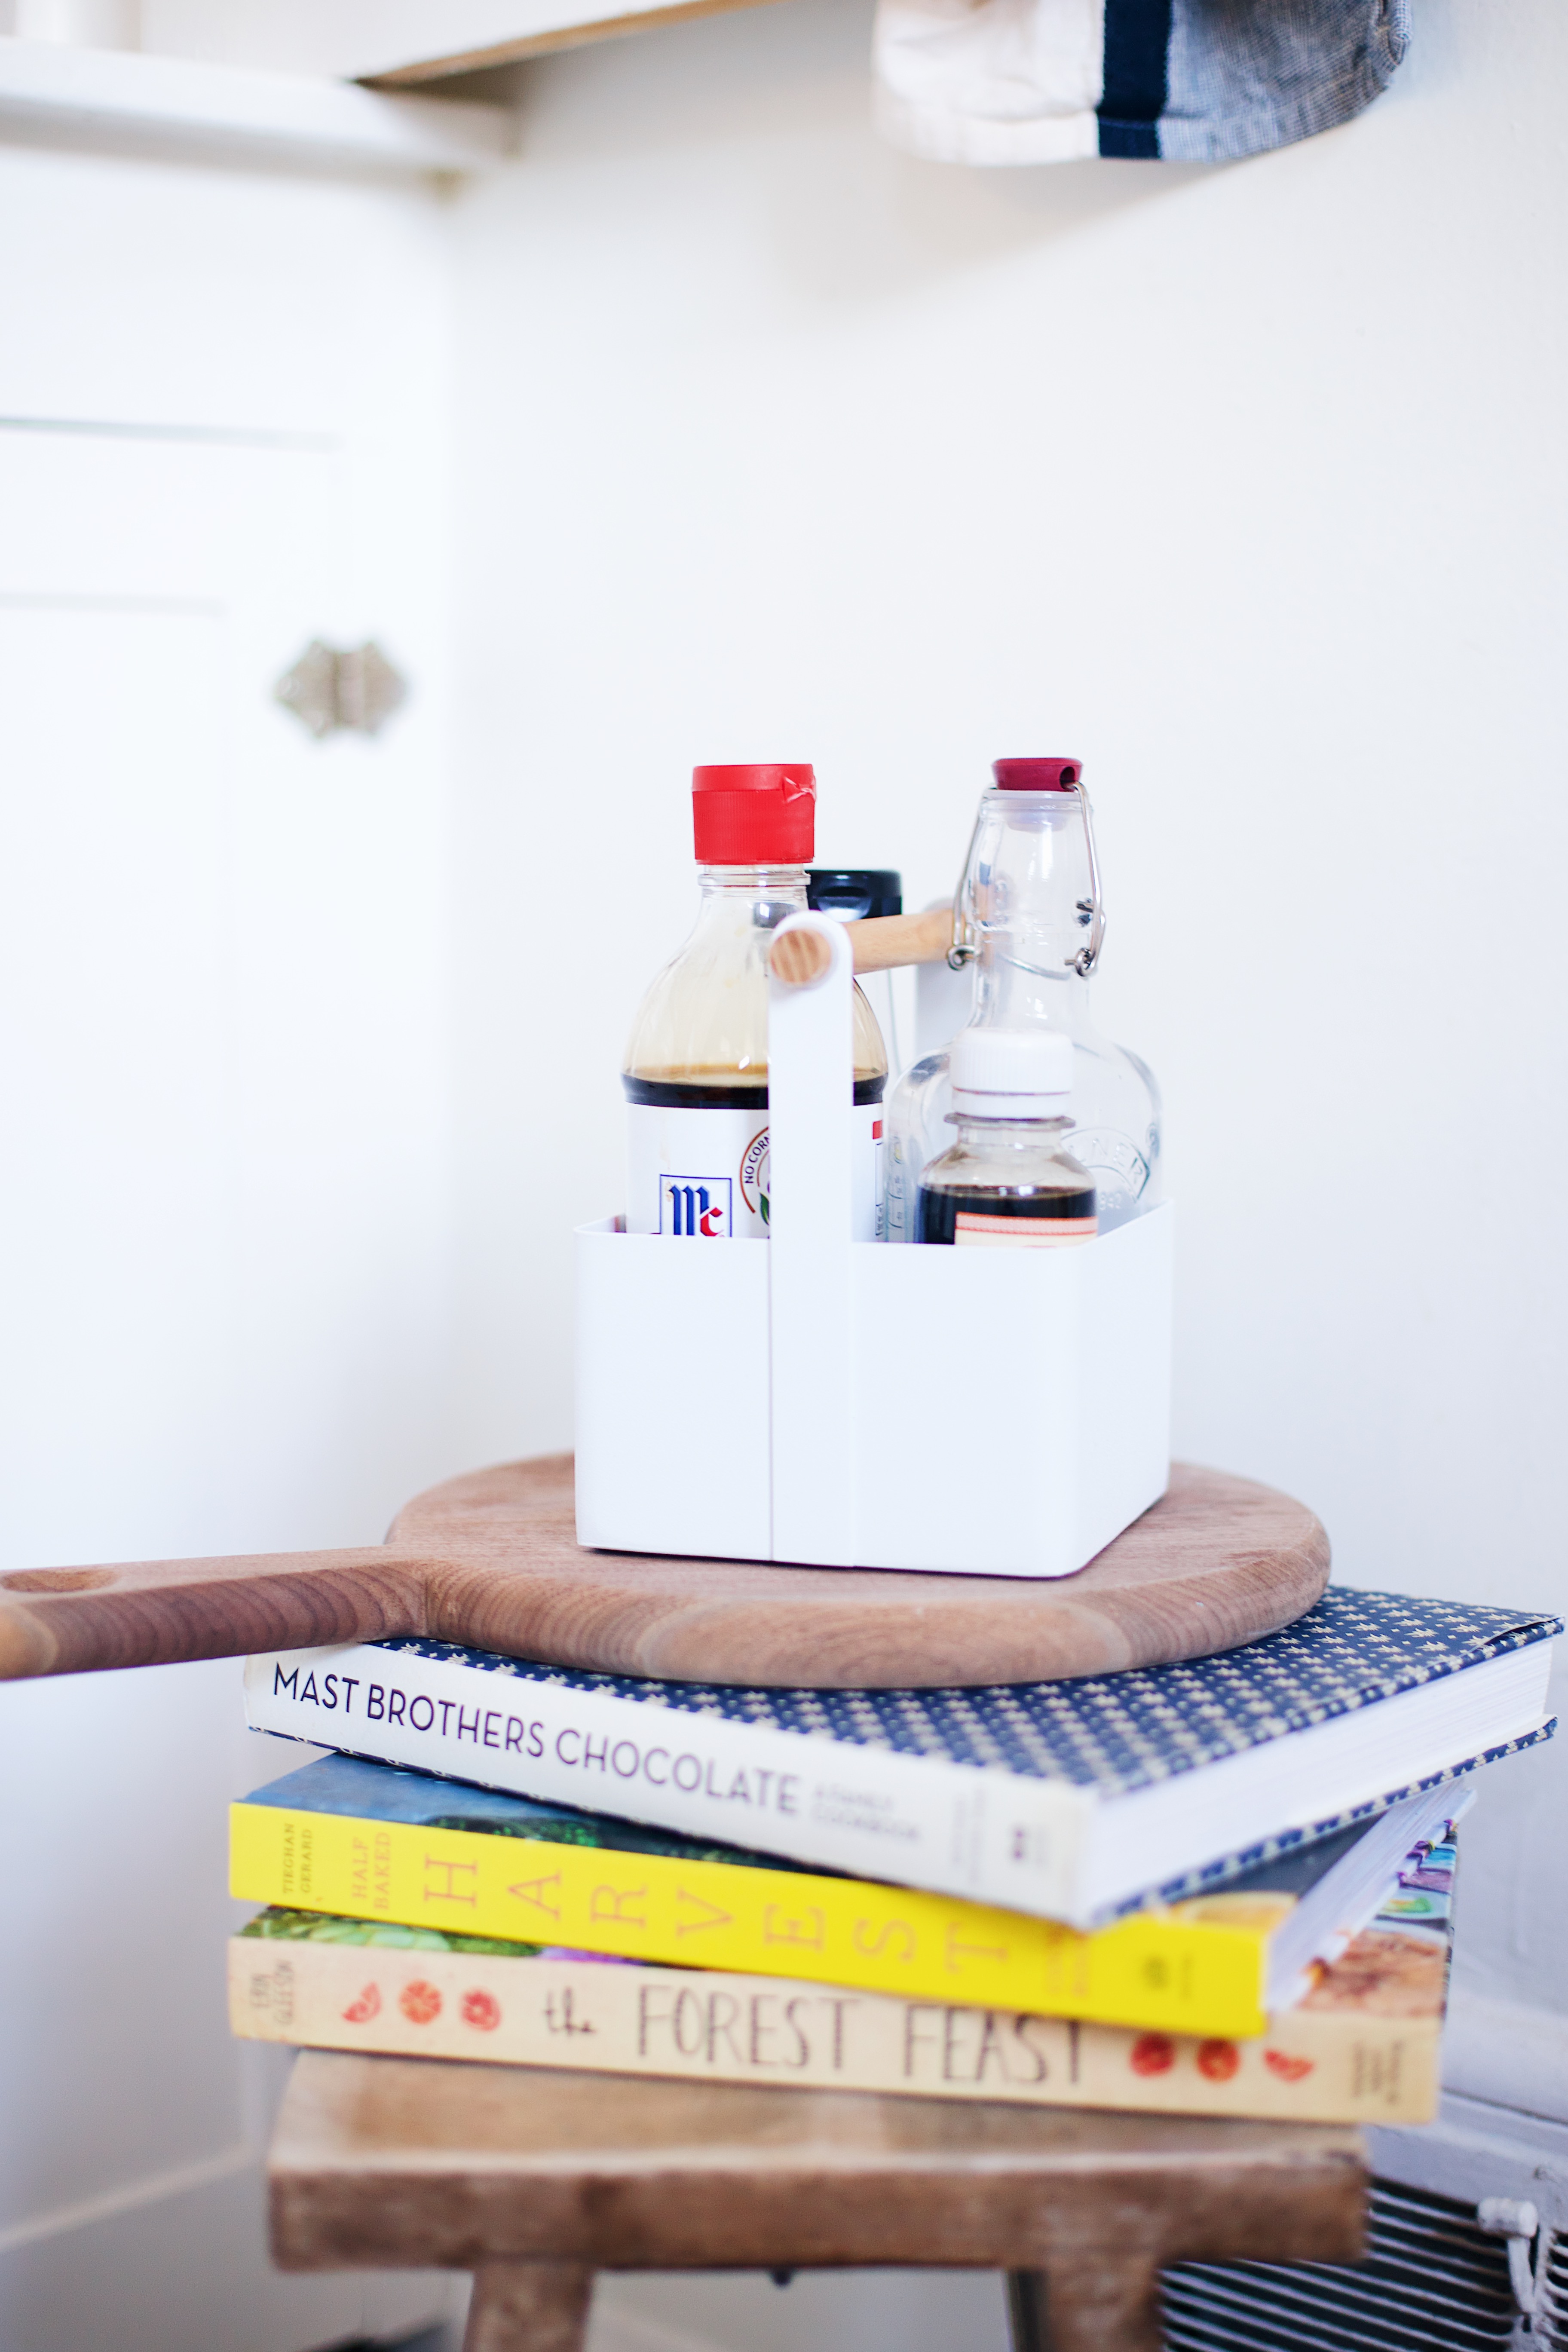
My bottom shelf is easiest to reach and filled with ‘everyday’ items like vitamins, peanut butter, granola bars, etc. My second shelf is filled with classic dinner items like grains, pastas and soup ingredients. My third shelf is totally dedicated to baking. I love to store all of my small extracts and sweeteners in this little Yamazaki multi-purpose basket!
5. Put a label on it.
If you choose to label everything be sure to do it when you’re all finished! While organizing I probably changed things in each canister 2-3 times before they were actually set. My pantry is super small and things are constantly coming in and out so I opted out of labels but there are tons of removable options to choose from!
