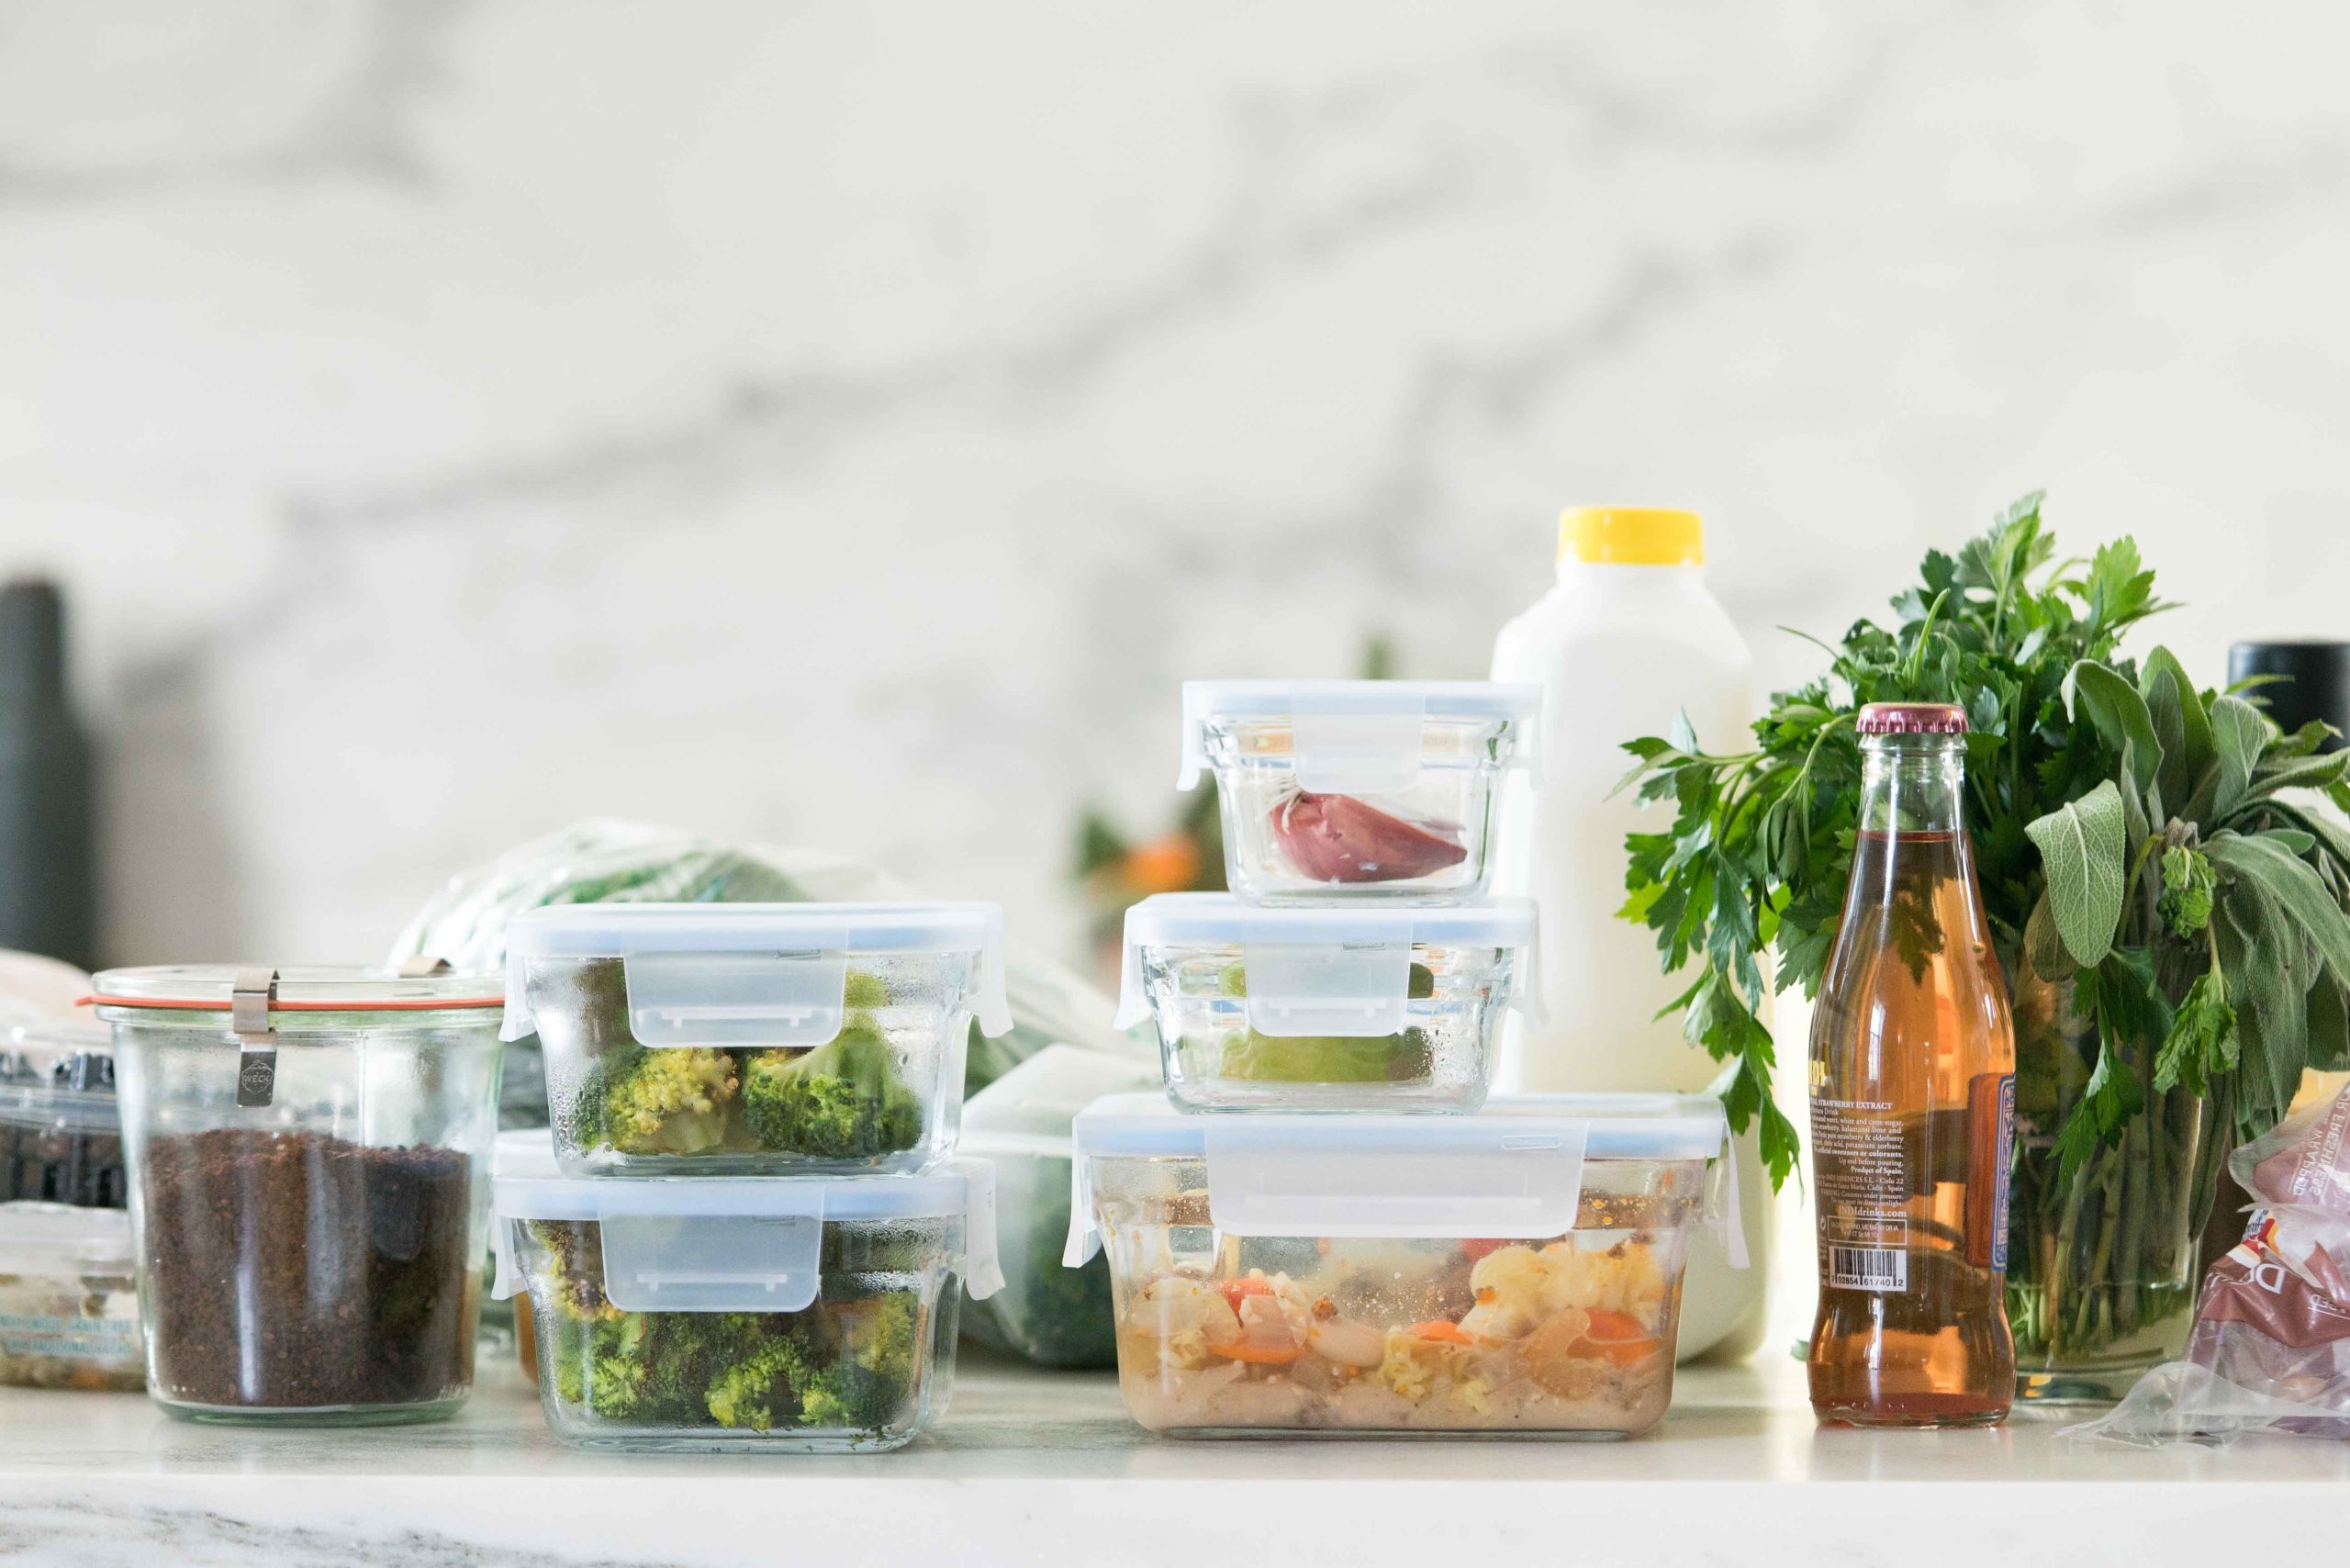
If you’re entertaining a lot, or traveling for the holidays, cleaning out your fridge is probably at the bottom of the to-do list. Maybe it’s not even on your radar. But for me, having my fridge in order makes my life a lot easier. The more I’m stacking or shoving or finding forgotten produce (who knew lettuce would go liquid so quickly??) the more annoyed I get. And personally I need to save my annoyance threshold for joyous family gatherings. You know, holiday things!
1. Remove Everything.
I’m warning you in advance that this requires counter space and sometimes that means cleaning counters first. It’s like the pre-heating the oven of this step by step guide. If your fridge is extra packed you can remove and clean shelf by shelf to keep your sanity, but the best option is to do it all at once. This will help you group things better when you get to steps four and five.
2. Wipe it out, clean up spills, get detailed.
Wipe out the fridge and the items that are going back in. Bottles get sticky. For some reason in my fridge, the only thing that tends to spill is maple syrup and Asian sweet chili sauce and a monsoon of water from a secret cavern of water in a head of lettuce. Ideally, when things spill, you’ll wipe them up immediately before them form a diamond hardness pancake across the entire surface. Cleaning it up ASAP will reduce the growth of Listeria.
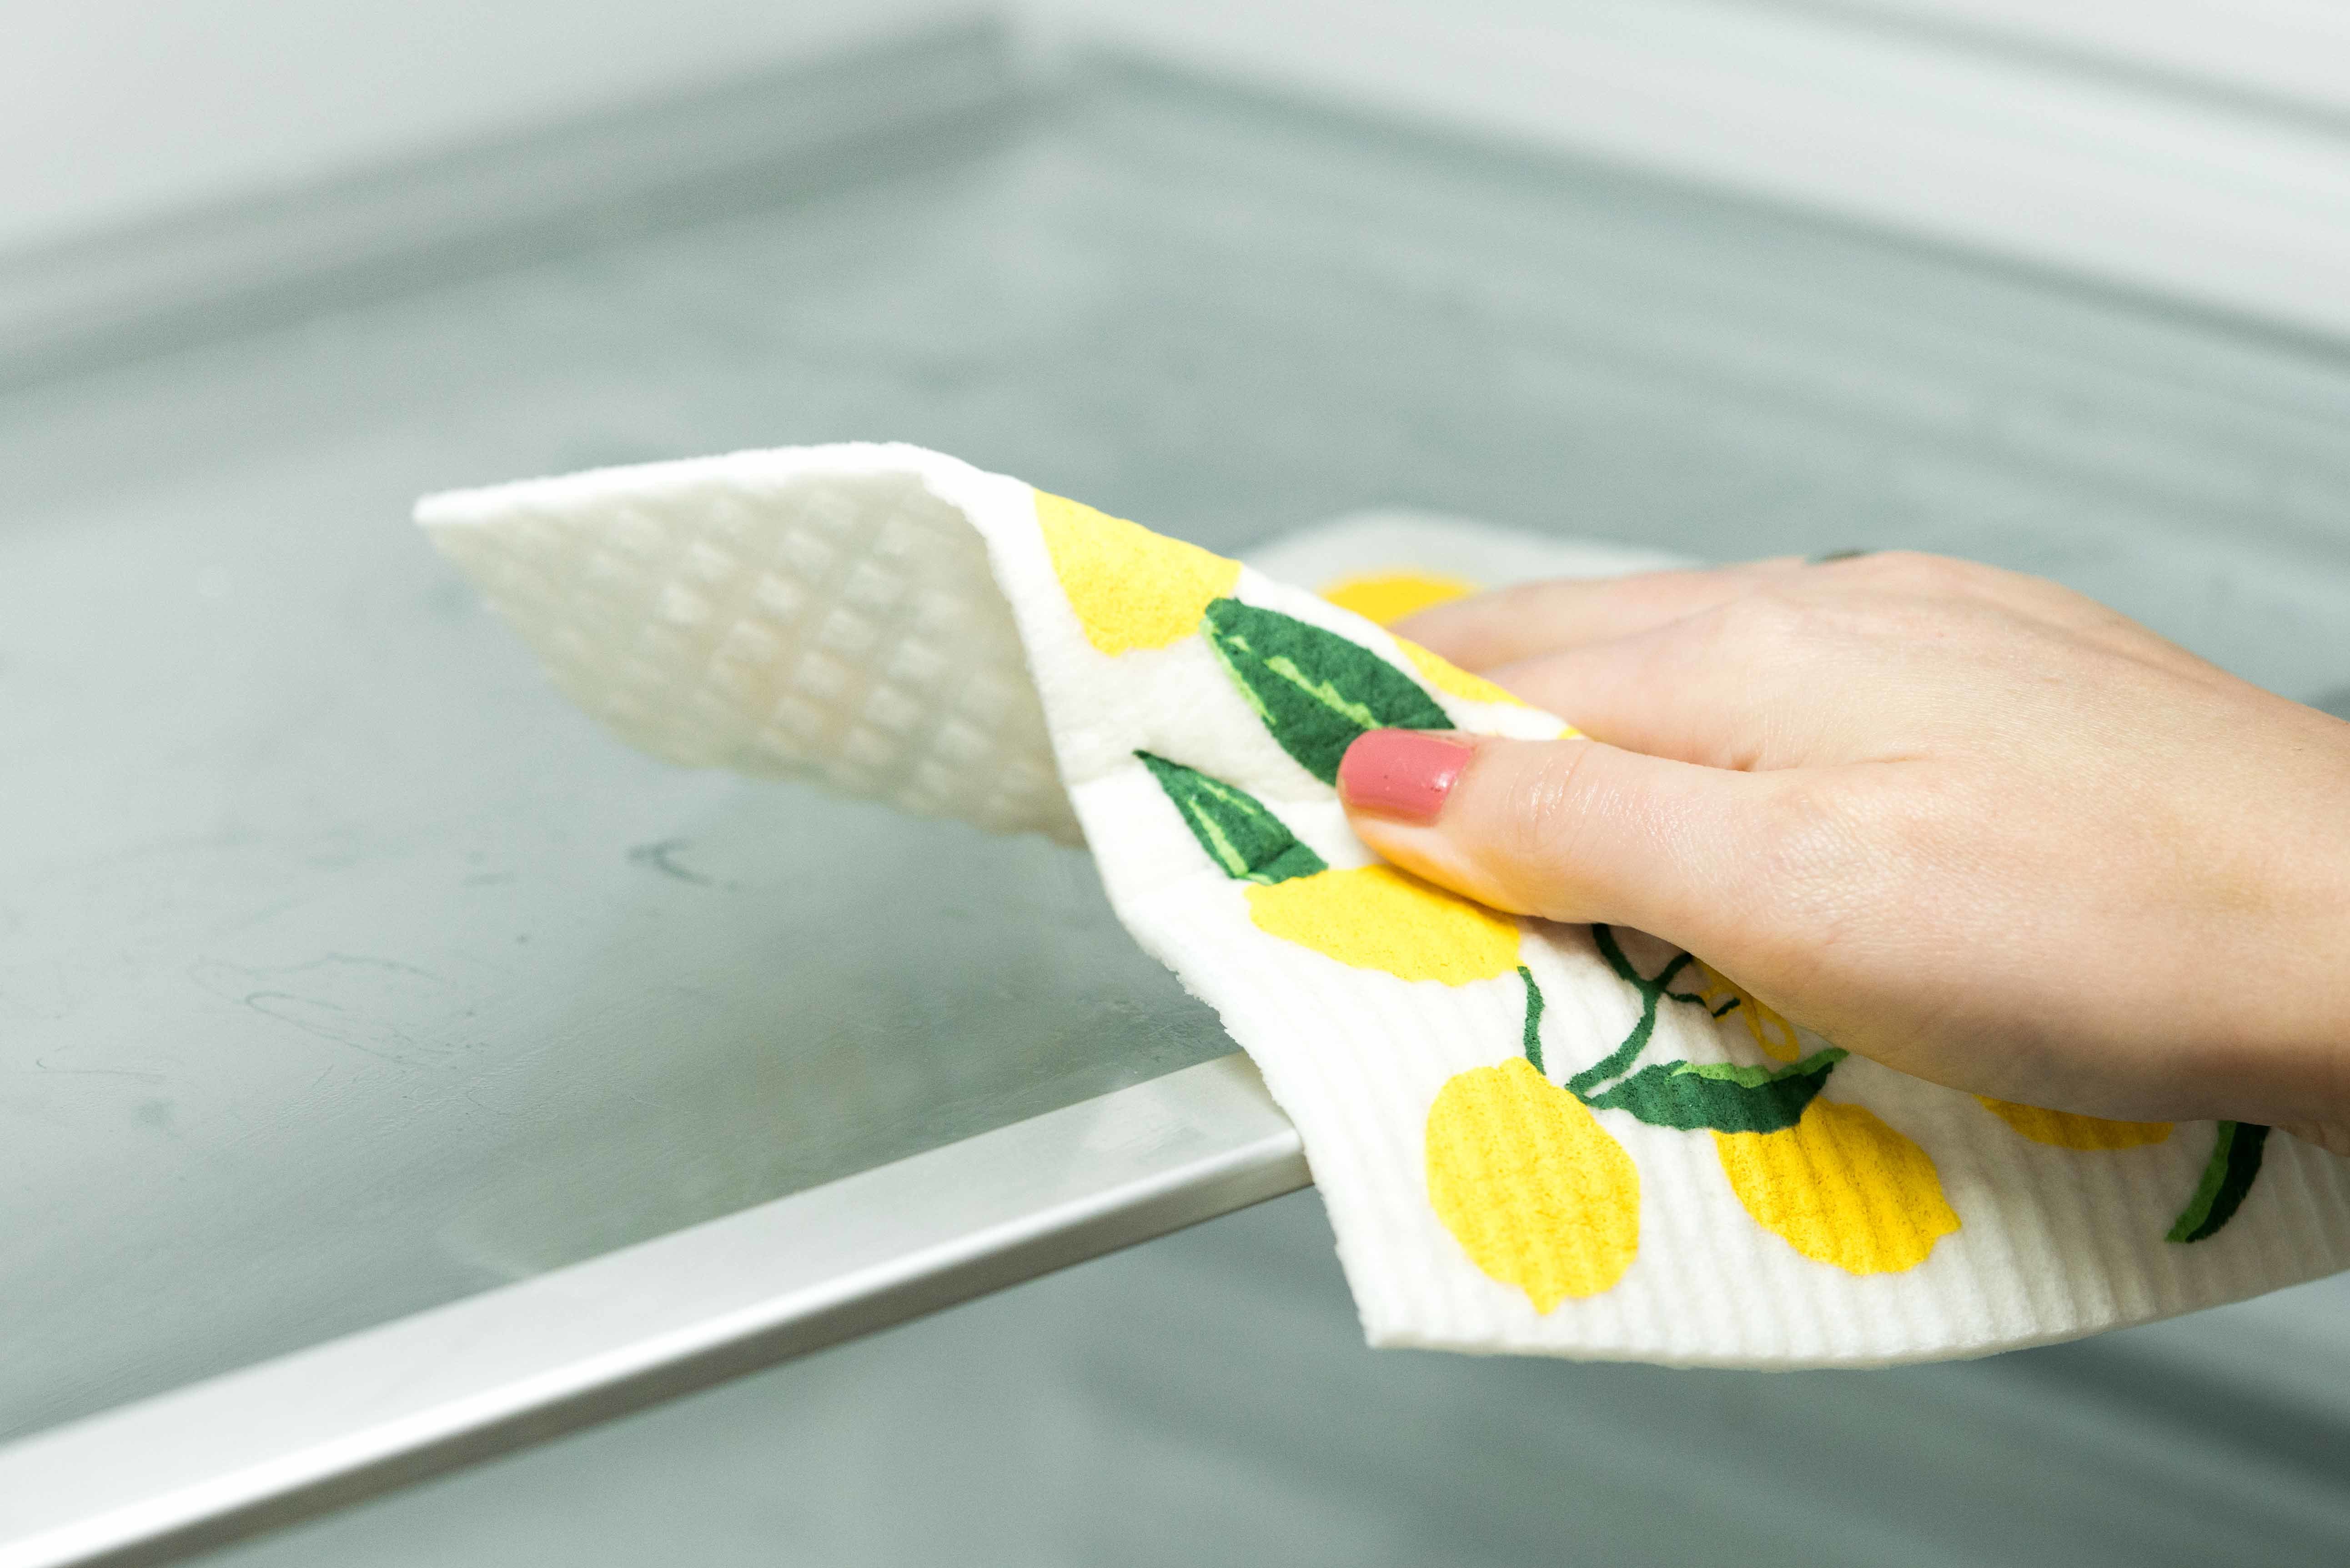
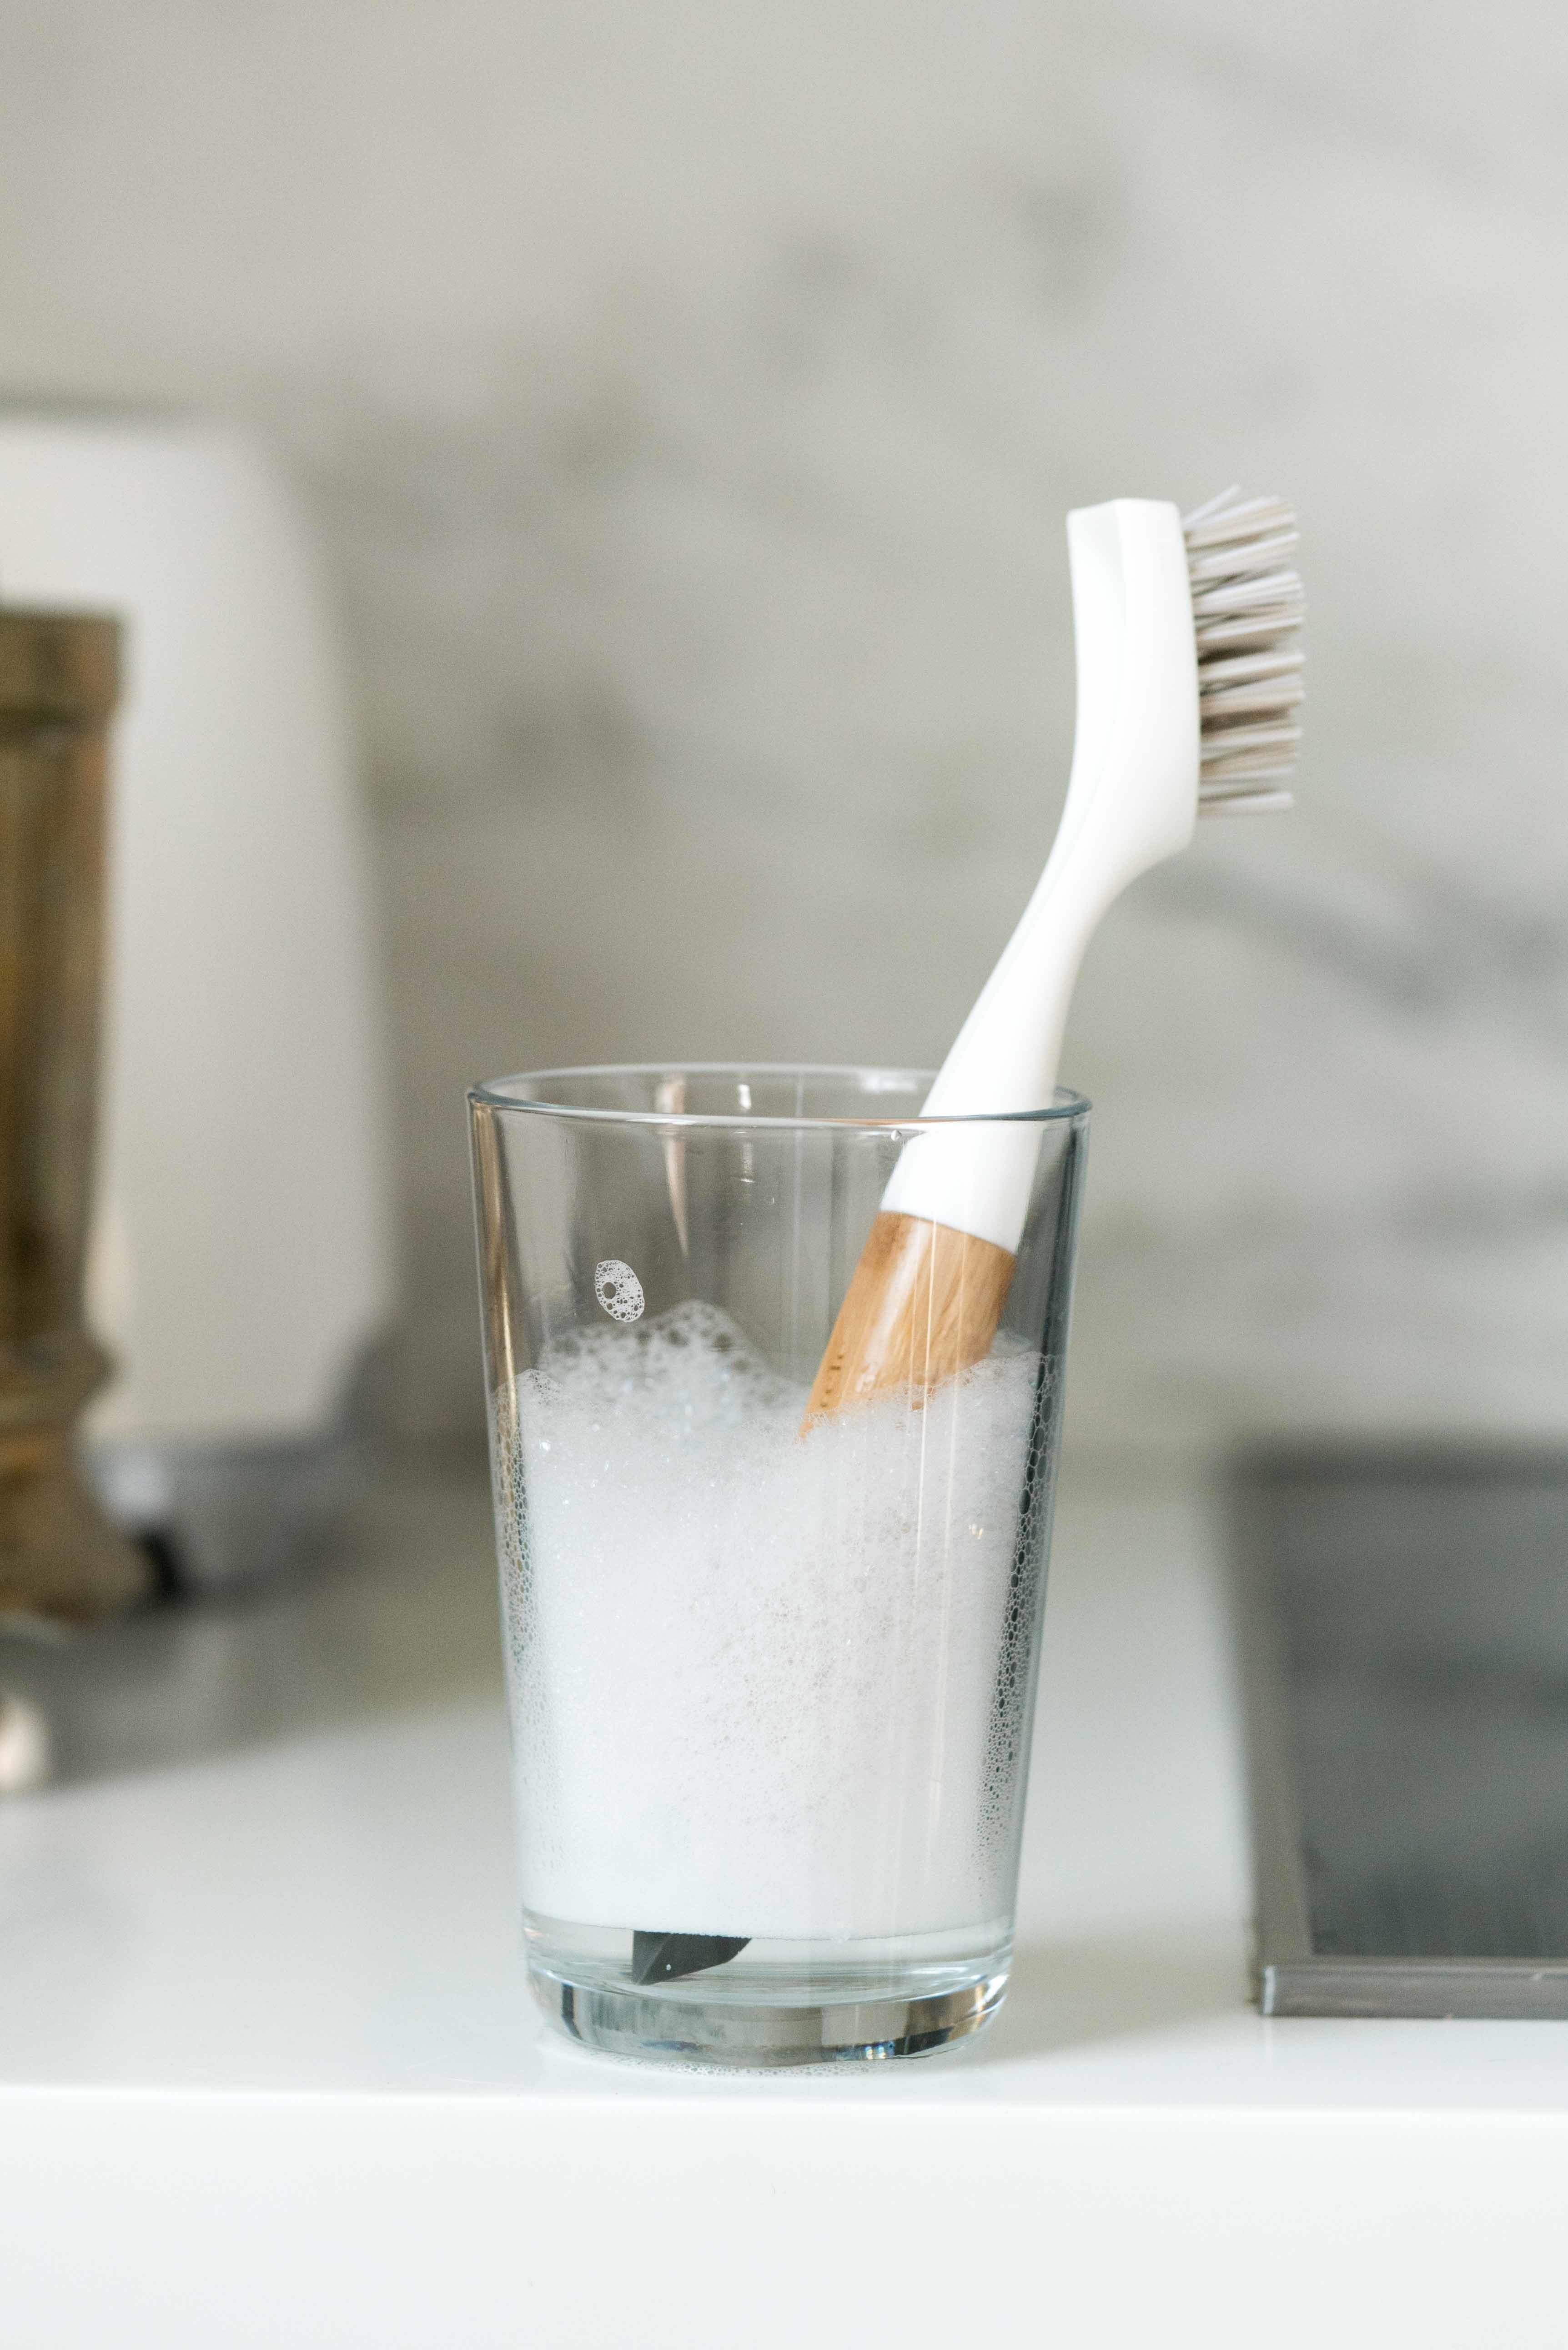
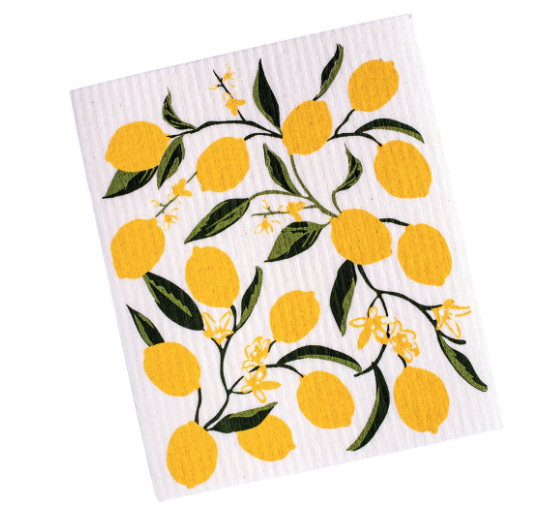
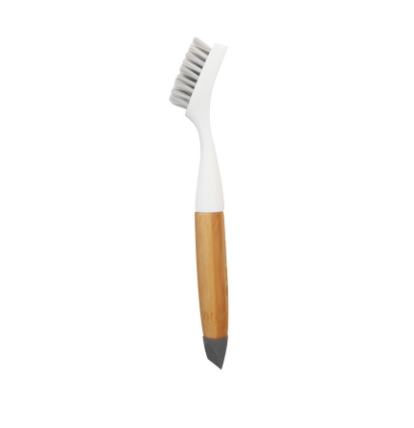
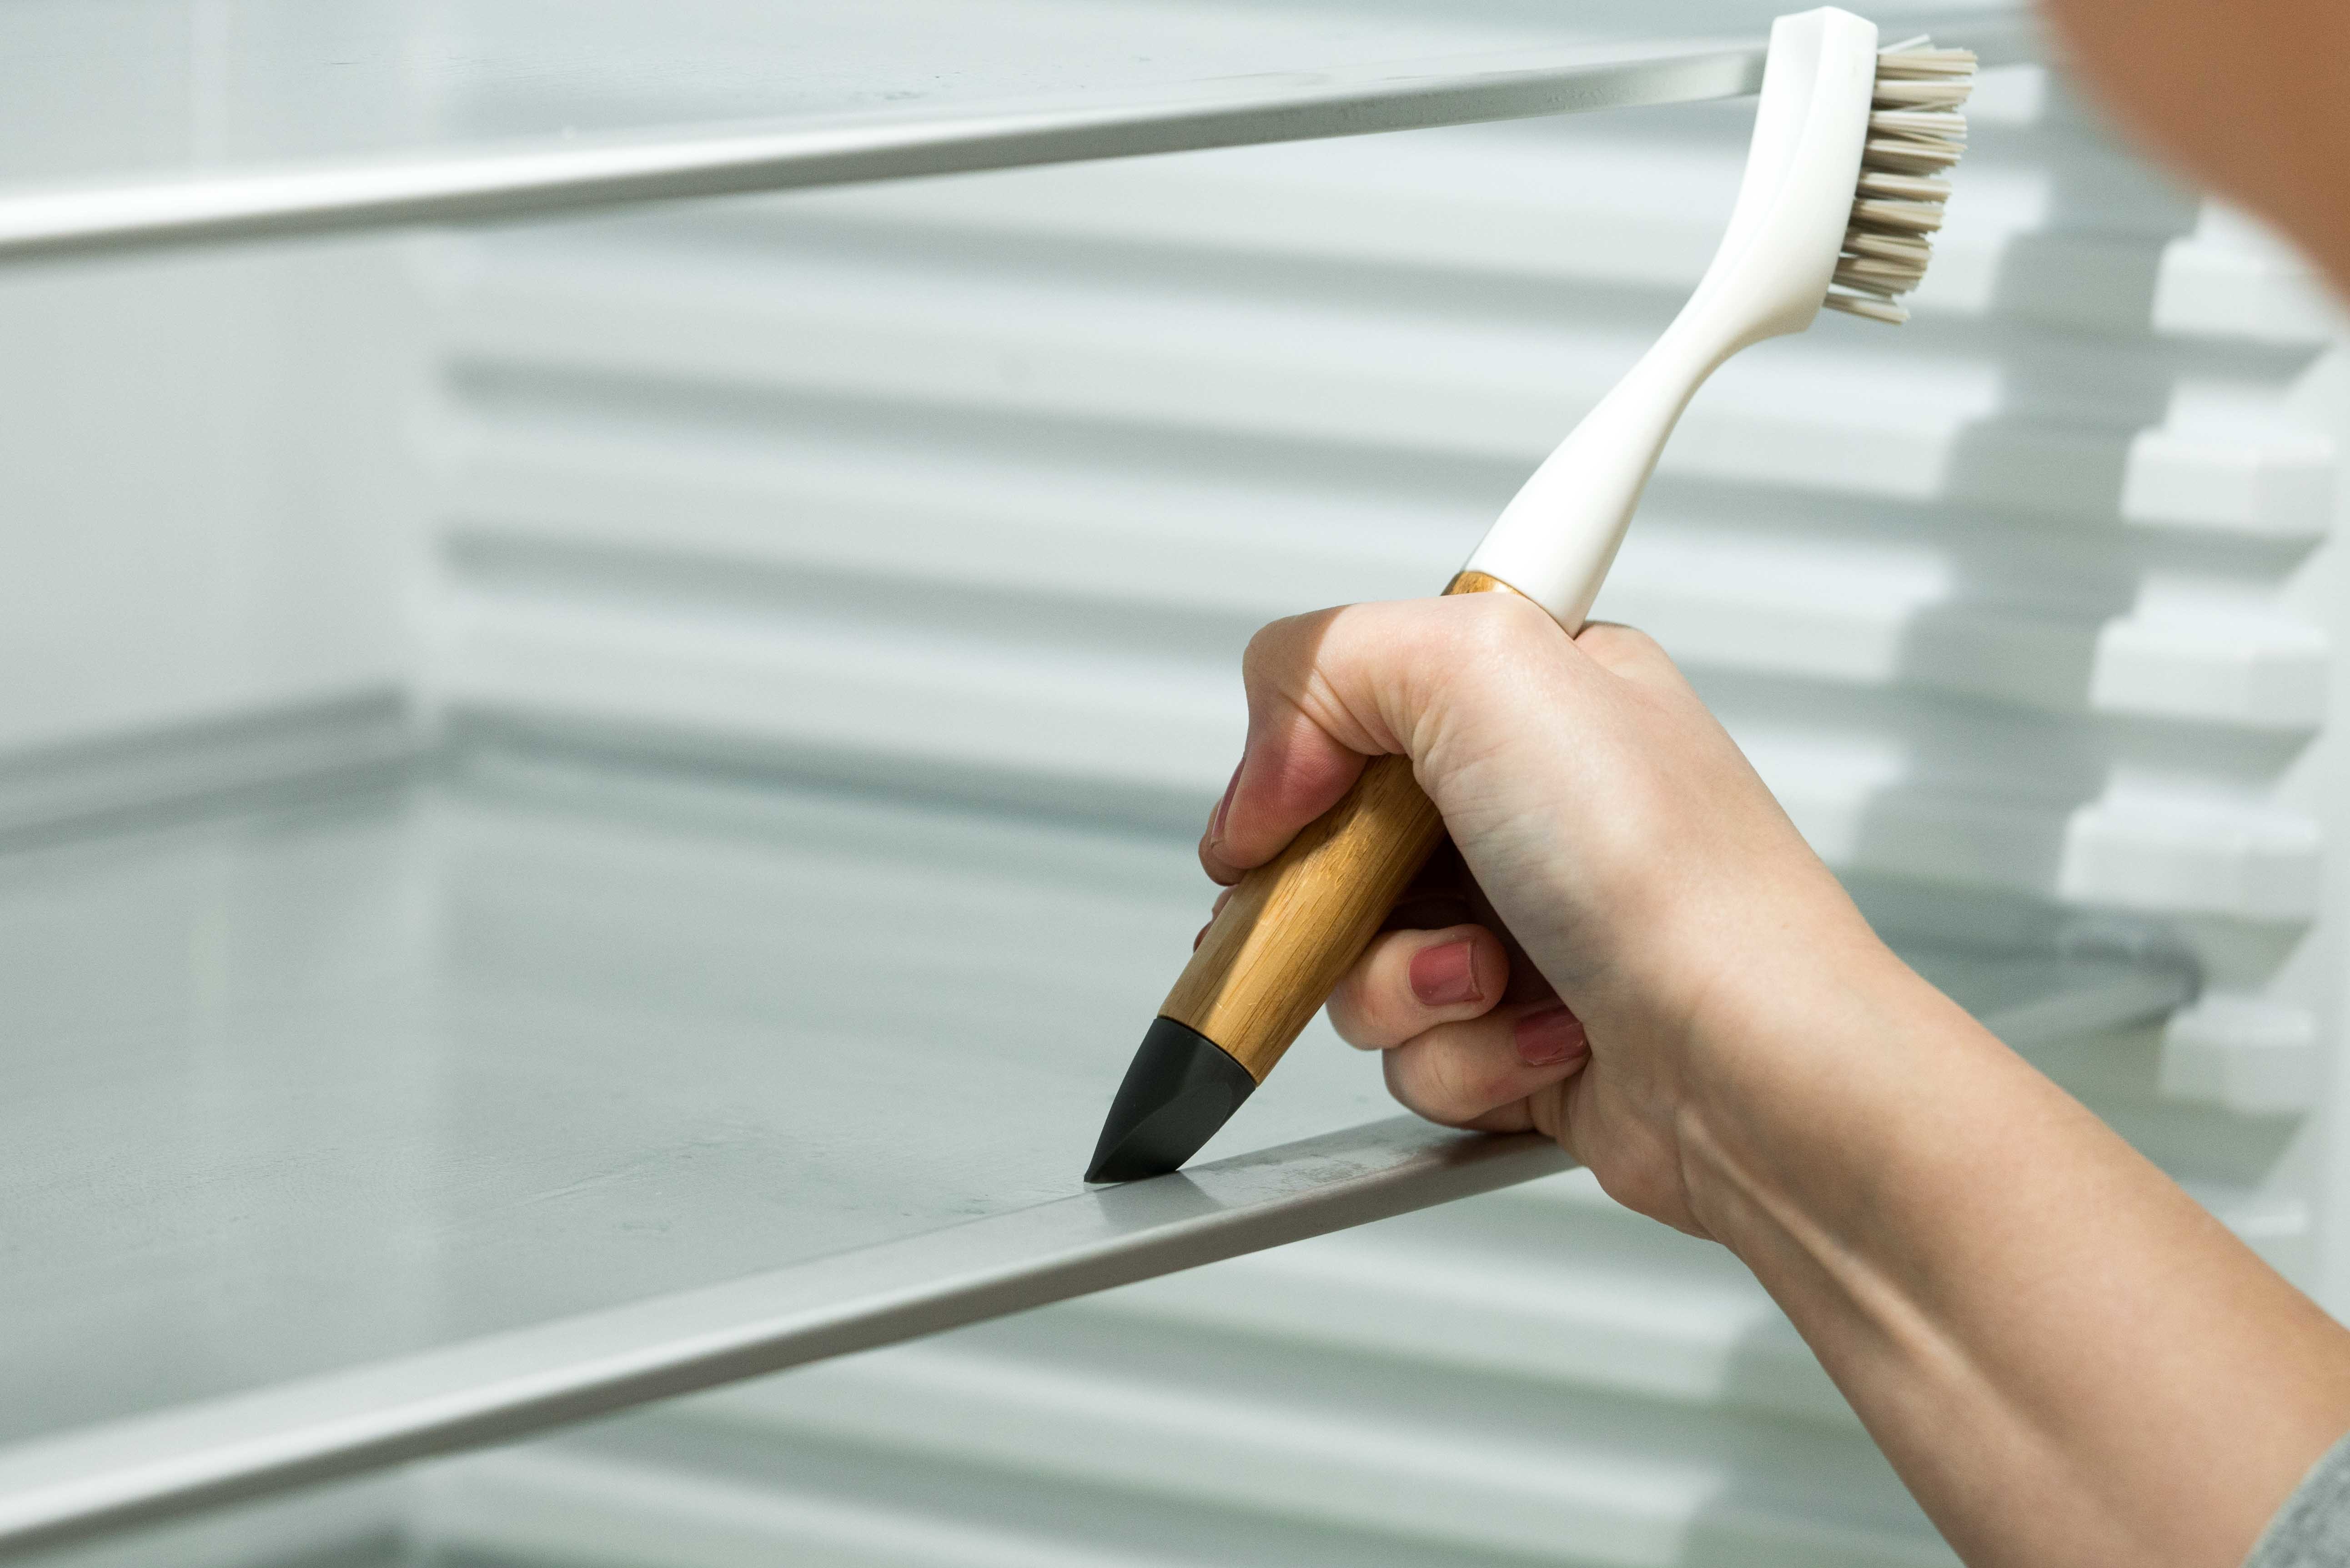
Some fridges have removable pieces. You can take them out and scrub in your sink (or if you’re somewhere not cold, you can take them outside with your garden hose). Use a cloth that you can dip in hot soapy water or cleaning spray and wipe all surfaces. I like Swedish Dishcloths which are a durable replacement to paper towels. They’re compostable and made from 100% cellulose. Wipe down walls, trays, drawers. You name it. Really get in there with an old toothbrush brush or a detailing brush with a rubber edge to get in small spaces that hold…gunk (if you’re looking for a gift for someone who fits in that type A category, buy them this).
3. Remove smell.
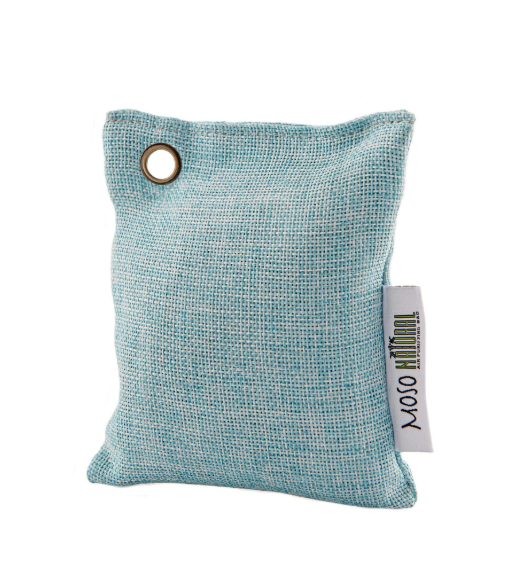
Listen. We’ve all been guilty of putting the half eaten pasta with extra garlic back in the fridge in an open bowl. While wiping out your fridge and removing spills absolutely helps, sometimes there’s a smell that lingers. To absorb and filter out the last of the odor, place a dish of baking soda on a shelf or use a self contained reusable charcoal bag like Moso.
4. Sort and toss.
Get rid of what’s expired and what’s growing mold. This part sucks a little. You may feel a little guilty. Move on and do better next time. It’s not worth getting a food borne illness for the sake of suspicious salad. If you’re ever unsure of just how long leftovers are safe for, check this Food Safety.gov chart. While you’re sorting and organizing, keep a running grocery list of what you need to replenish. There are lots of apps out there that make it easy to share grocery lists with other house members. Or just use a piece of paper- whatever system works for you.
5. Put it all back organized.
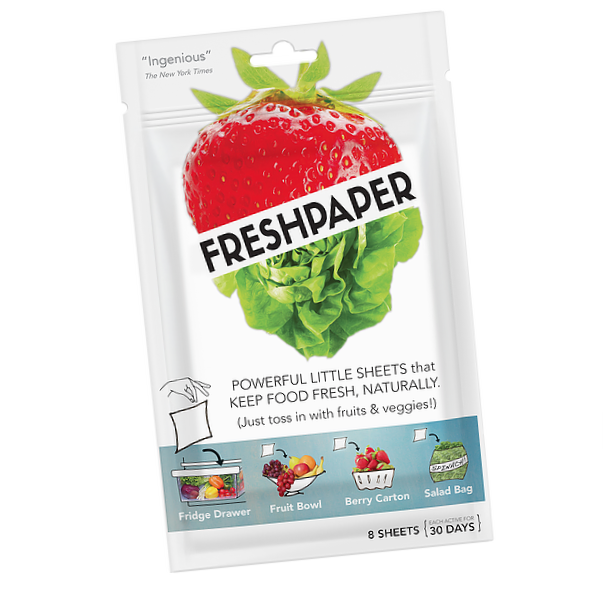
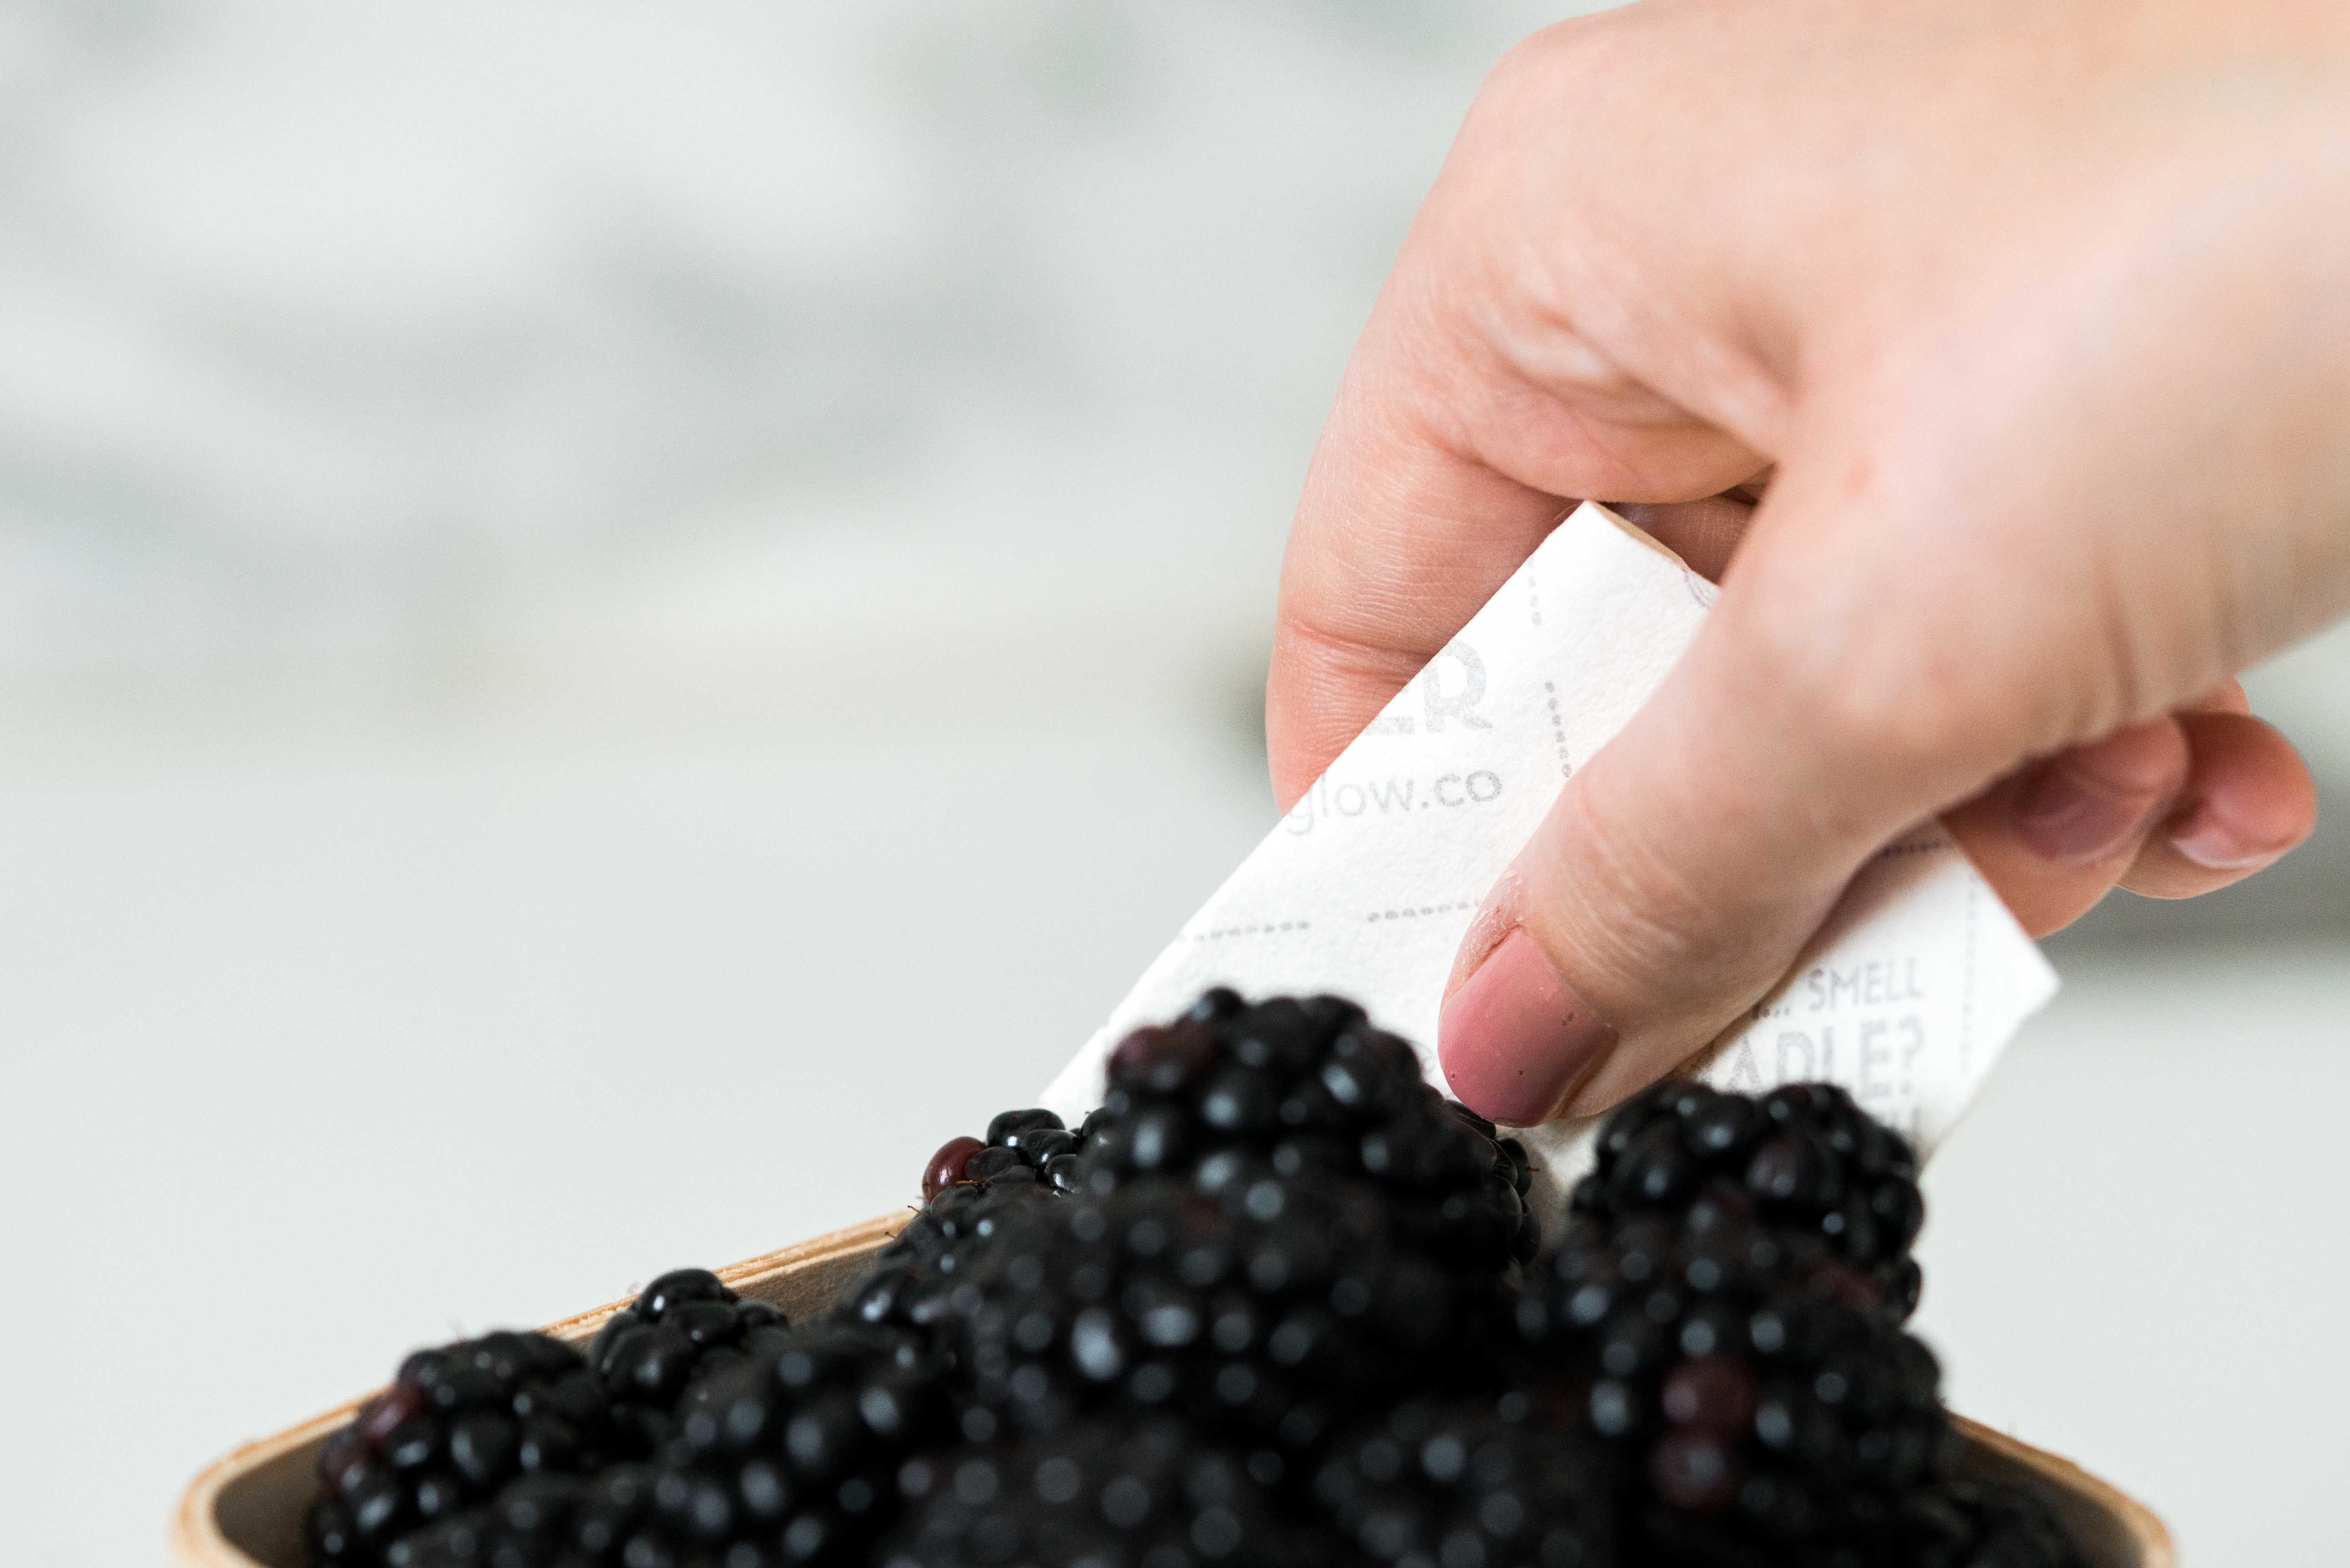
Remember, the FDA recommendation is to keep your fridge at or below 40 F. Make sure your fridge is to the correct temperature to keep your food safe and stored better for longer. You can also add in things like FRESHGLOW Paper to your produce containers to extend the life of everything from berries to that lettuce that turned liquid in my own fridge (it’s a little biodegradable sheep that keeps produce fresh 2-4 times longer). As you put things back in the fridge, put what needs to be used front and center.
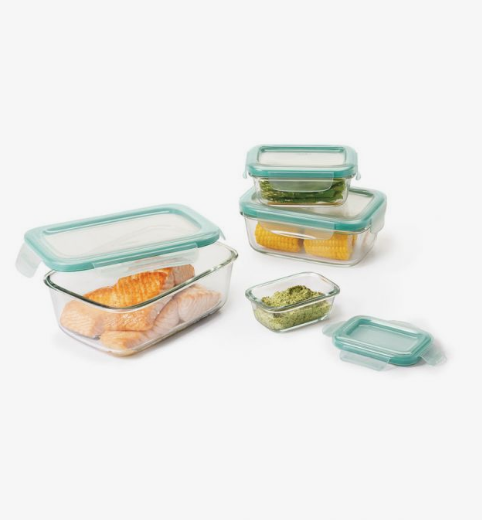
I’m a big proponent of using storage that’s glass. You’re more likely to use what you can see and an opaque container puts one more barrier to entry. Group like with life for a more streamlined meal building experience. For example, I group all leftovers on one shelf and pre-chopped produce on another. My twenty kinds of mustard go together too (I can’t explain why we have so much mustard). Do what makes sense for how you eat and cook.
