
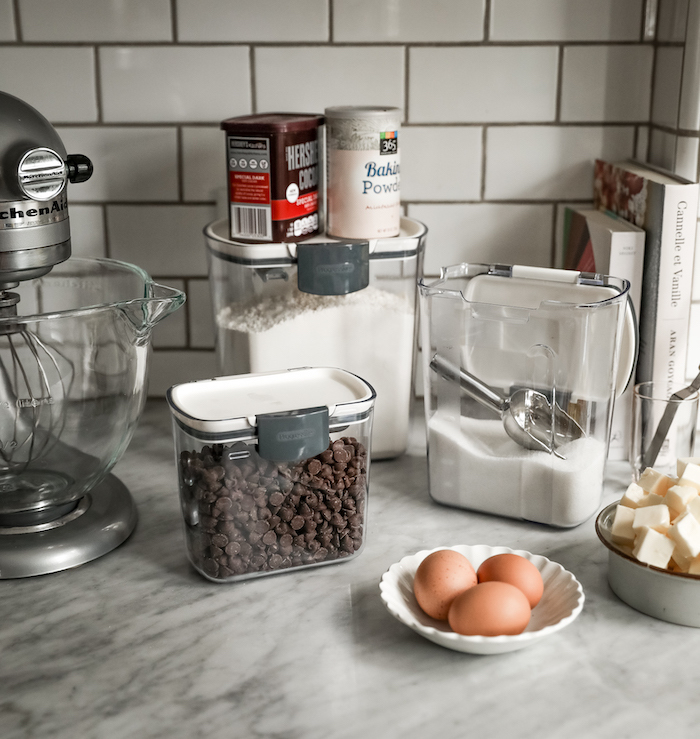
I’ve been on a mission to create the perfect chocolate cake, all the while making it as fool-proof as possible. I consider myself a relatively lazy baker. I like to create and move freely through a recipe, and baking just tests my comfort zone.
I’ve made pretty much every mistake in the book; from over-mixing to adding too much salt, and everything in between. I’ve burnt cakes, I’ve served them undercooked. I’ve messed up measurements and tried to be a bit too creative. I’ve done it all, so trust me when I say, if you follow my recipe as it’s written below, you are going to have the most bomb cake ever.
Now, I was a little apprehensive to share a recipe that used a somewhat advanced of a technique as Swiss meringue buttercream. But it truly is a superior frosting, and I think it can be fun to explore techniques that further our understanding of cooking and baking.
It can be fun when we challenge ourselves, and then it becomes about so much more than just the delicious end-results. It becomes about mastering something intimidating and feeling proud of yourself for doing it.
But just to be sure that I don’t throw you off, I’ve written a few notes to encourage your cake making process, and improve your experience:
Recipe Notes
Weight measurements.
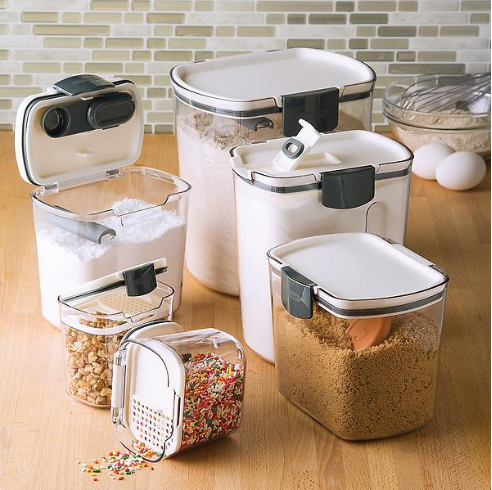
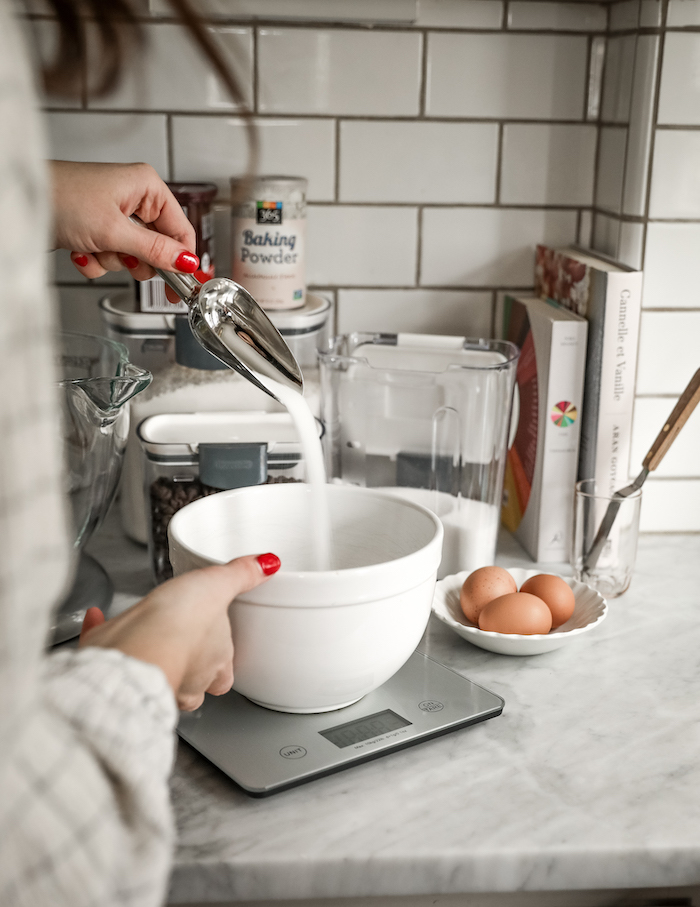
I call for grams in this recipe instead of cups because it’s the most accurate way to bake. If you use this method you’ll end up with a wonderful cake. Plus, you can measure everything into the same few bowls, zeroing out the scale each time you add something new. Hello, fewer dishes to clean!
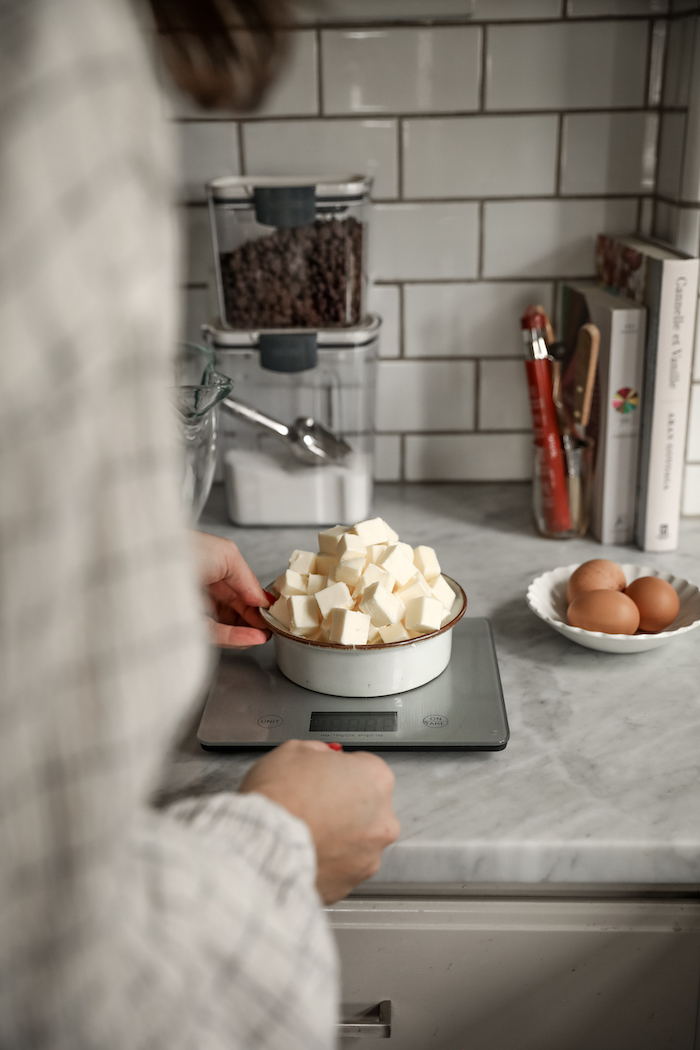
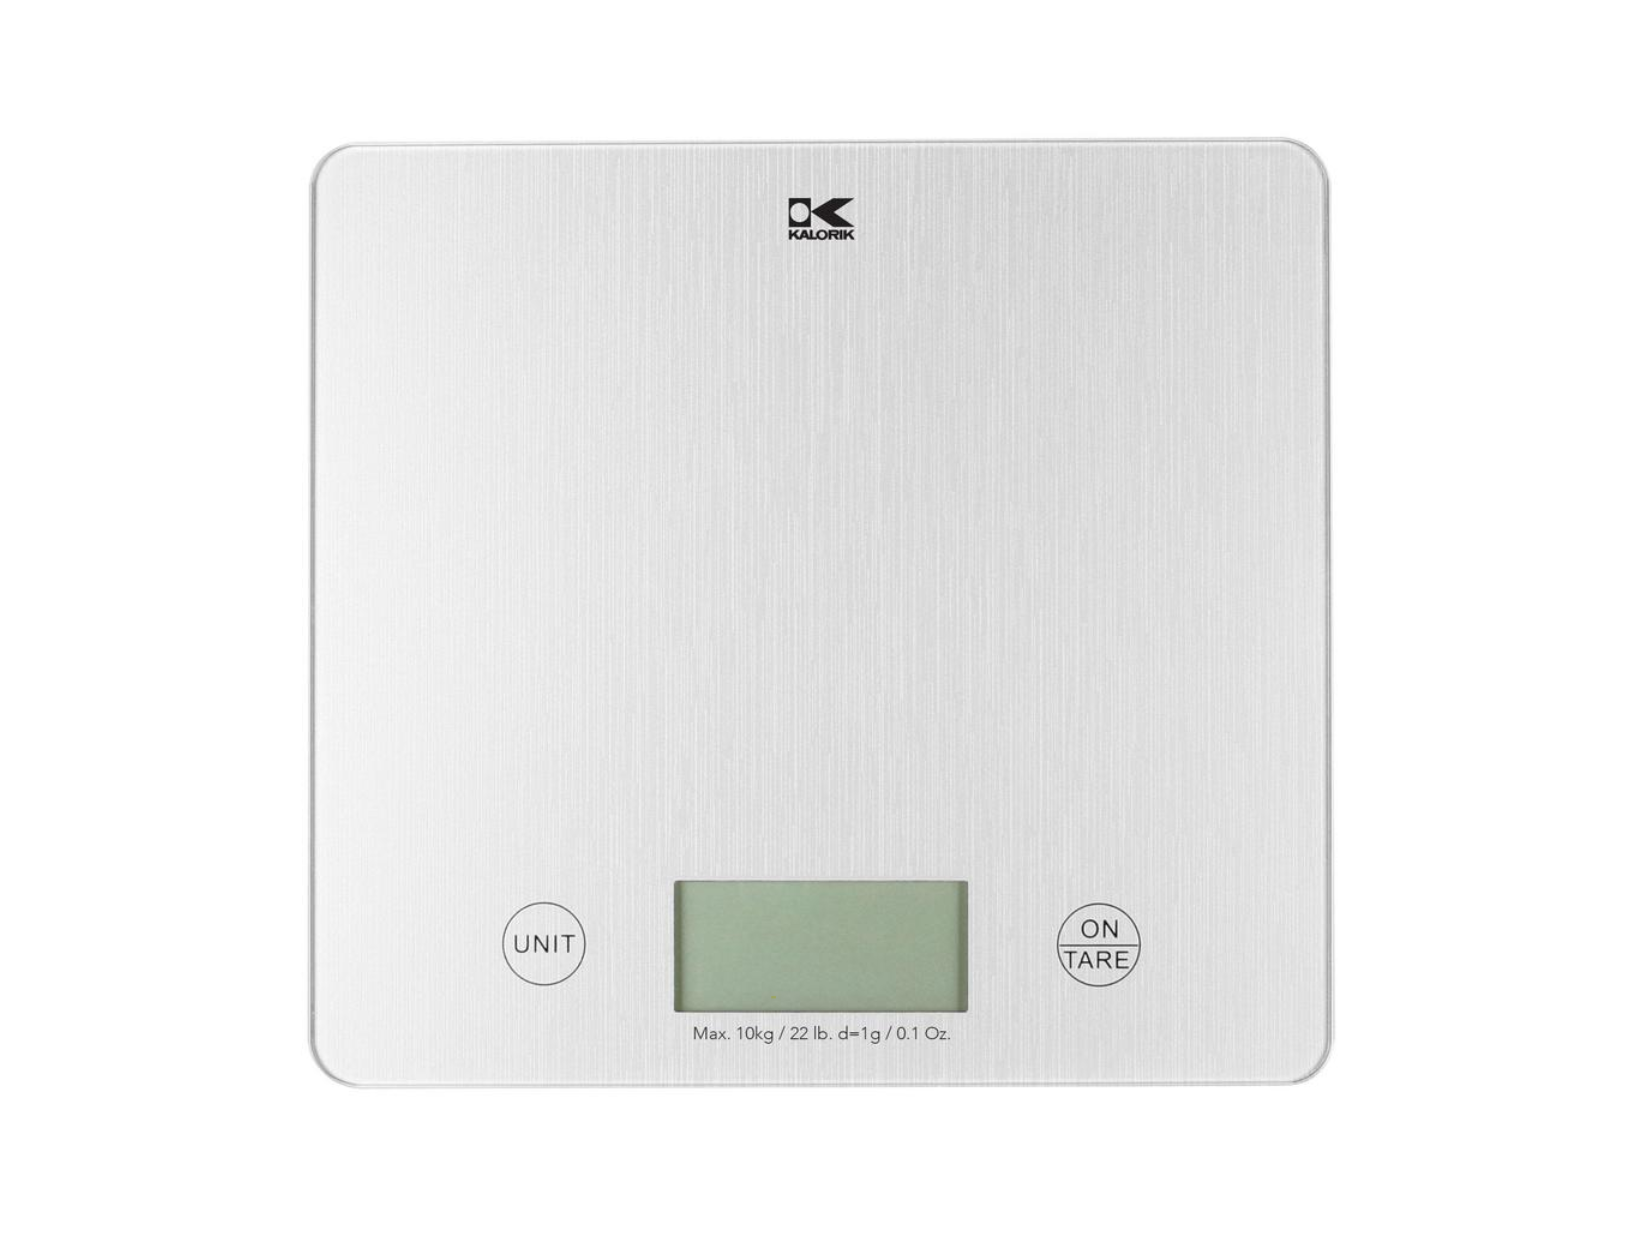
We’ve linked up a scale for you to purchase, and I highly recommend you do if you want to take baking seriously, and make your life easier. If you don’t have a scale and don’t want one, you can google cup conversions. Just make sure you type in the ingredient along with the measurement into google, this way it gives you the accurate finished conversion.
Curdled Milk.
There are a few ways to get this:
- Follow the instructions below, using vinegar to curdle regular whole milk.
- Use buttermilk and increase the volume so that in a liquid measuring cup it reads roughly 1.5 cups or about 350g.
- Leave 355g of milk out and covered for at least 2 days. All three will work the same, just be mindful of potential changes in volume/weight due to evaporation from the removal of vinegar.
Sugar.
This cake is designed to be more of a dark chocolate, light crumb cake with a very subtle sweetness. If you prefer a sweeter cake, go ahead and increase the sugar measurement to 600g.
Sifting.
I call for cake flour AND ask you to sift it and the cocoa powder. That’s because this easy step will make the world of a difference in lightness of your final crumb. Do this every time you bake, I promise you’ll be happy. Use a fine-mesh strainer/sieve or a trigger flour sifter. Either option is totally fine.
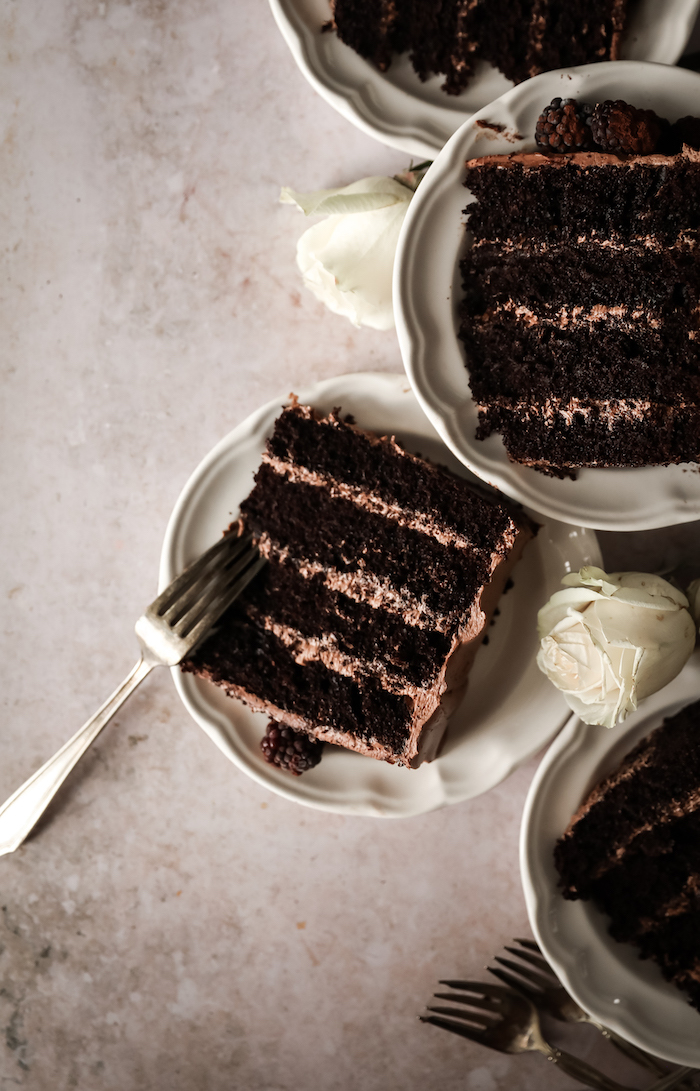
Layering.
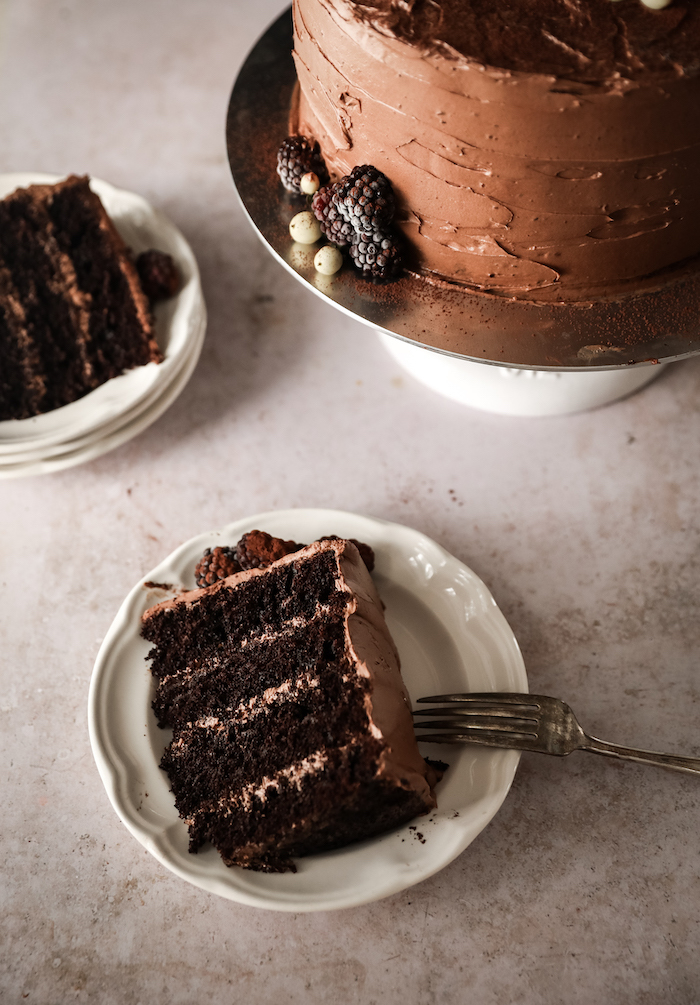
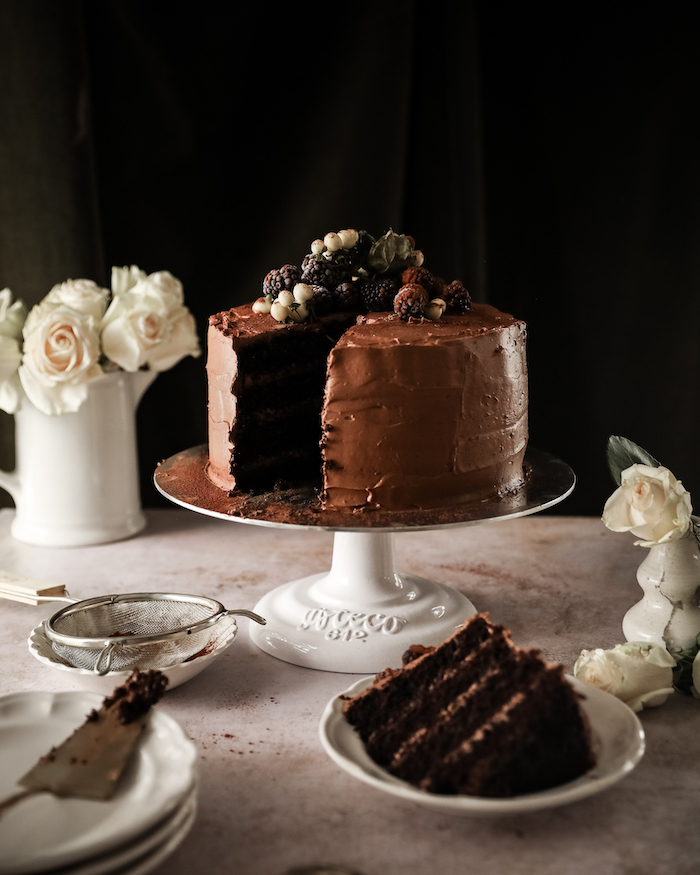
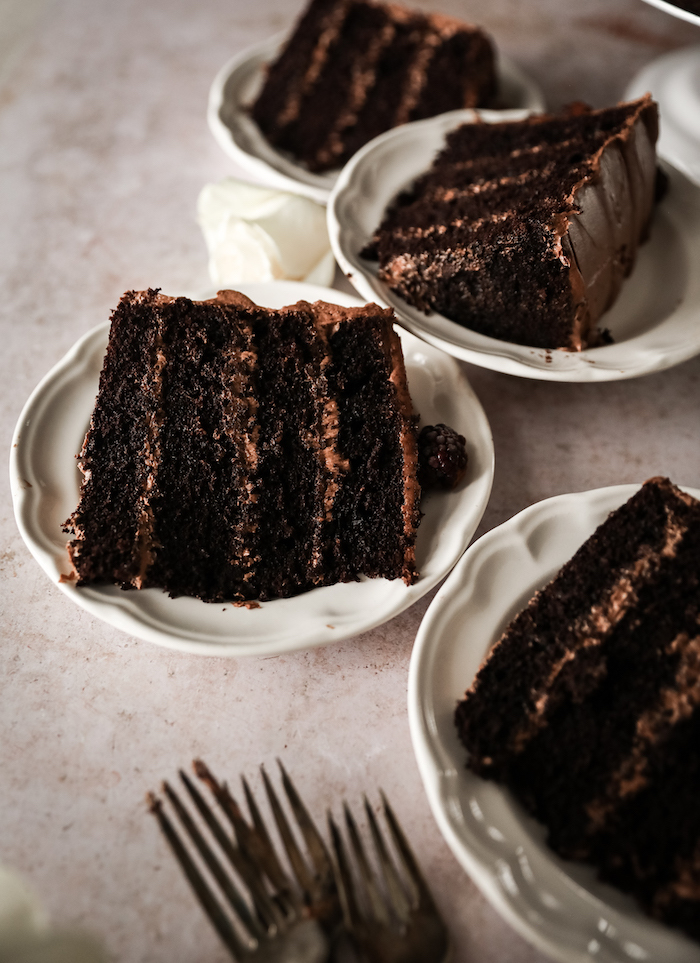
In the photos I posted here, I used 9” cake rounds to create 4 layers. This is the largest size I would recommend. If you prefer a taller cake with more layers, you could use as small as 3 6” cake pans.
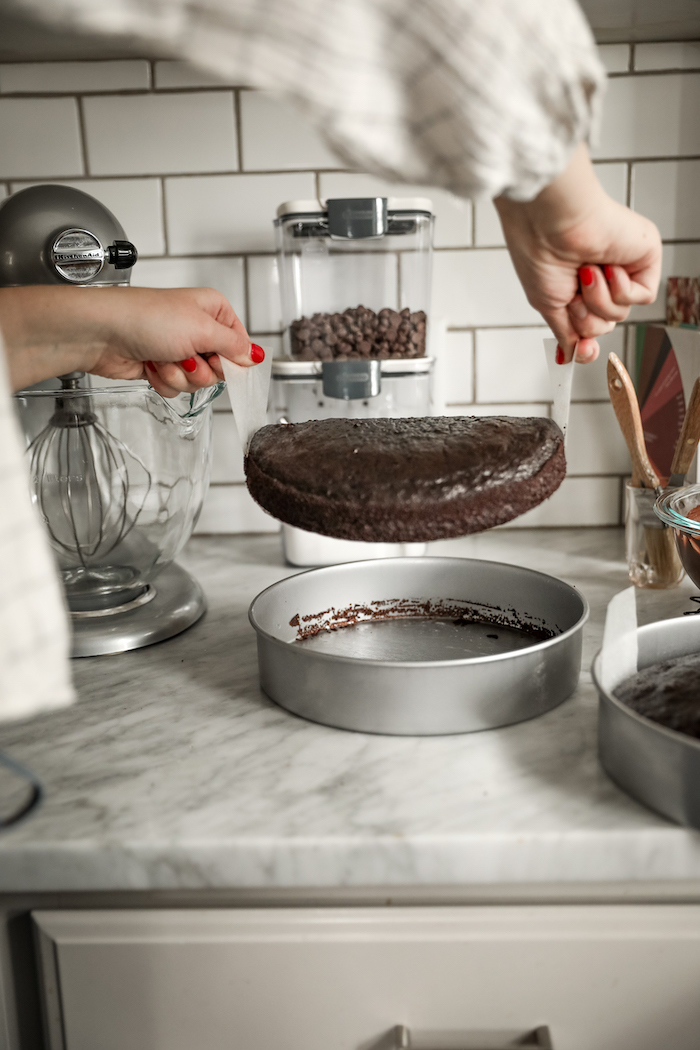
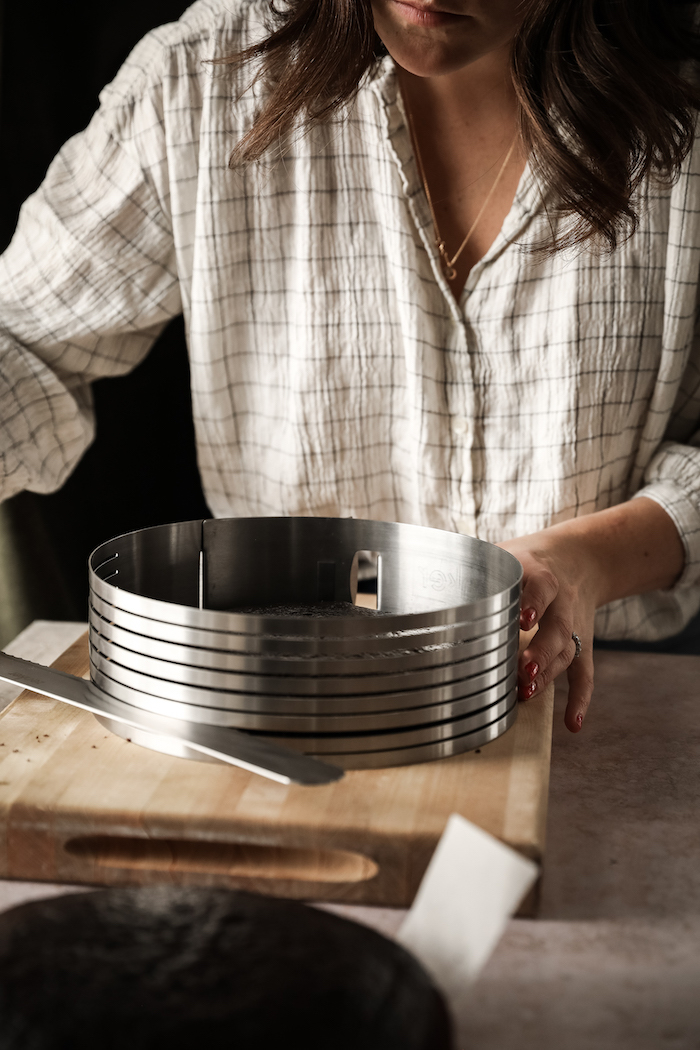
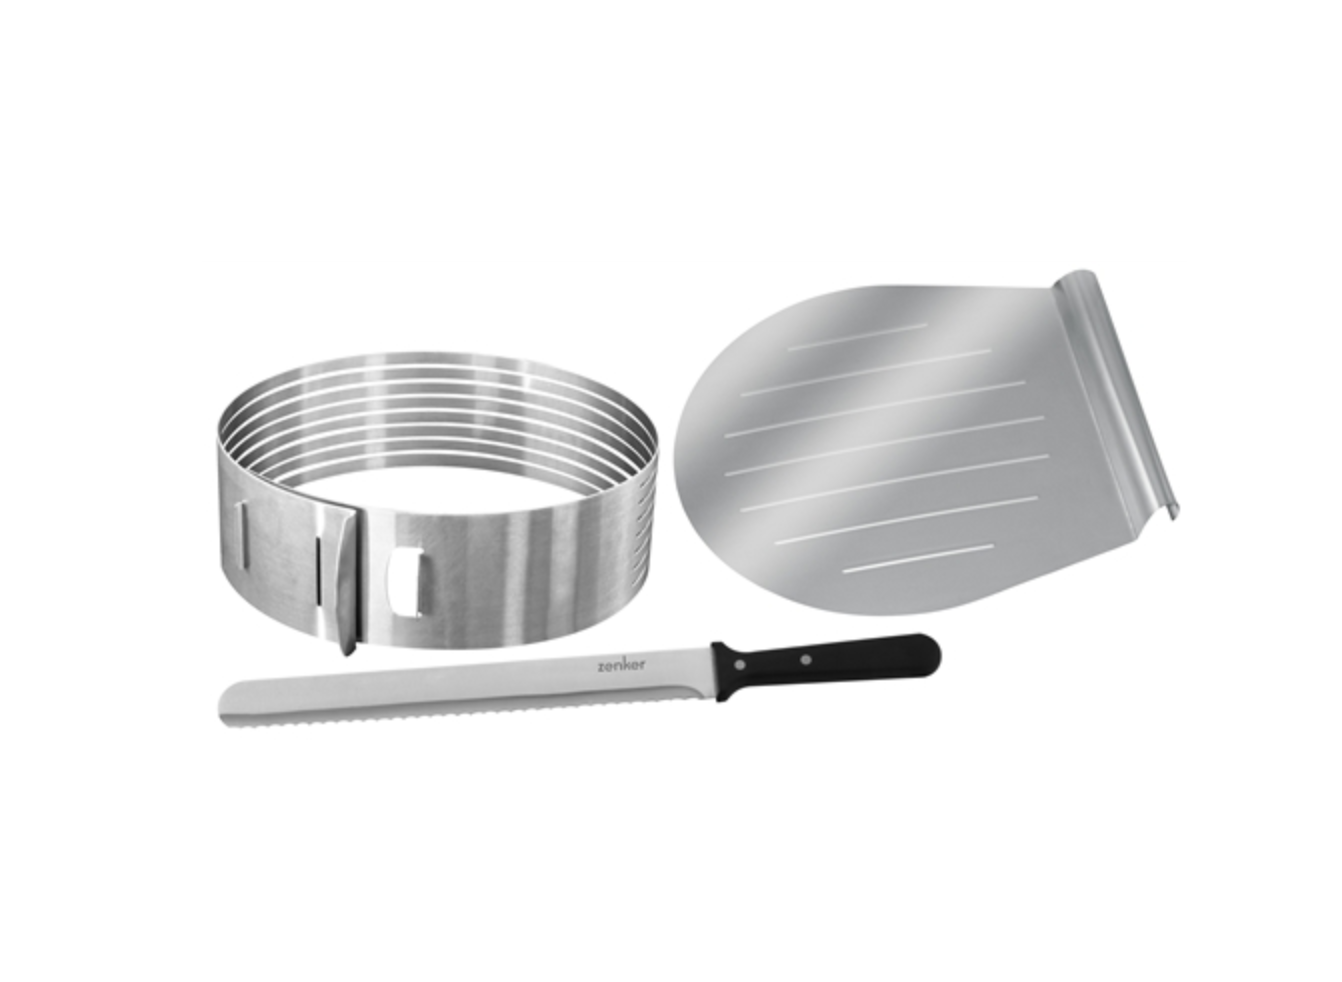
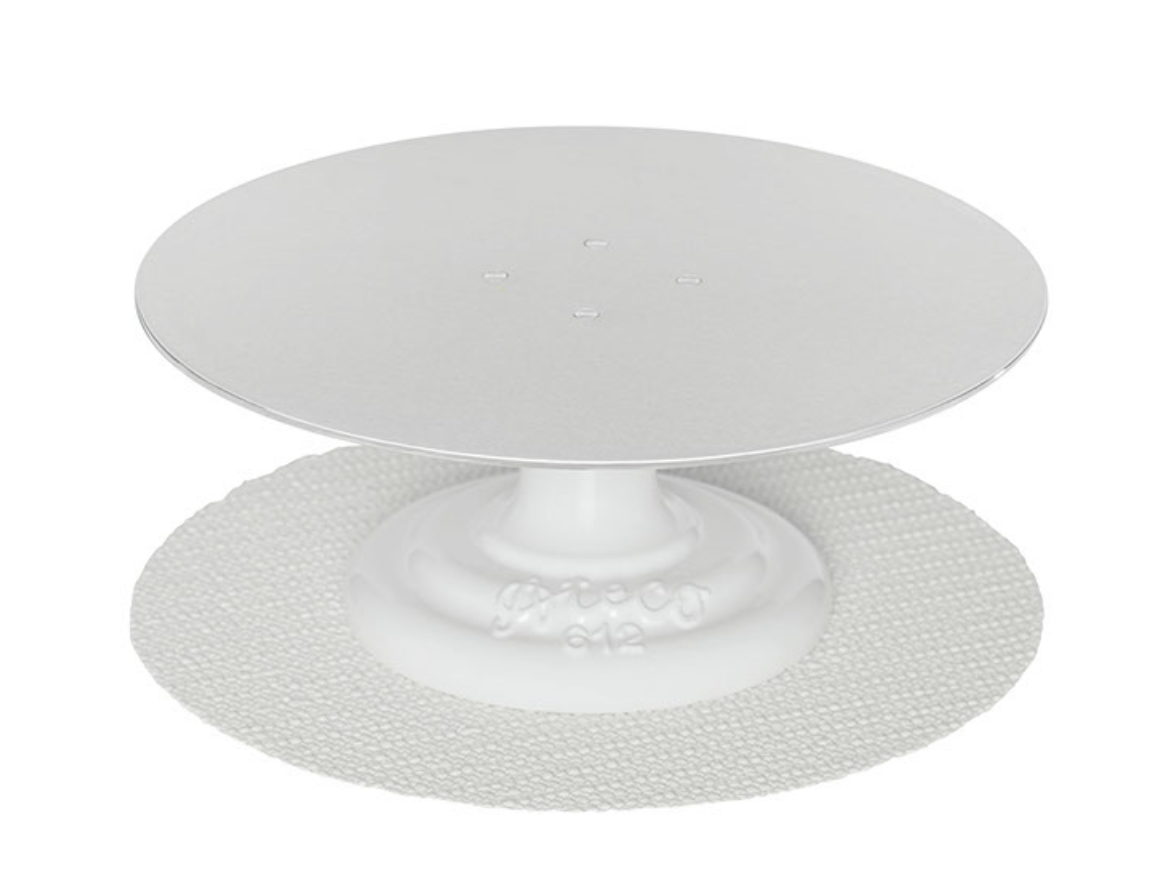
Feel free to create as many thin layers as you prefer, and use the slicing tool (shown above) for perfectly even slices. This cake would be awesome as a sheet cake, too! I would say a 9×9” square would give you a nice height.
Double Boiler.
Heating the egg whites and sugar in the SMBC may seem intimidating if you’ve never done it before, but if you have a candy thermometer, a pyrex mixing bowl, and a small saucepot, you can absolutely do it!
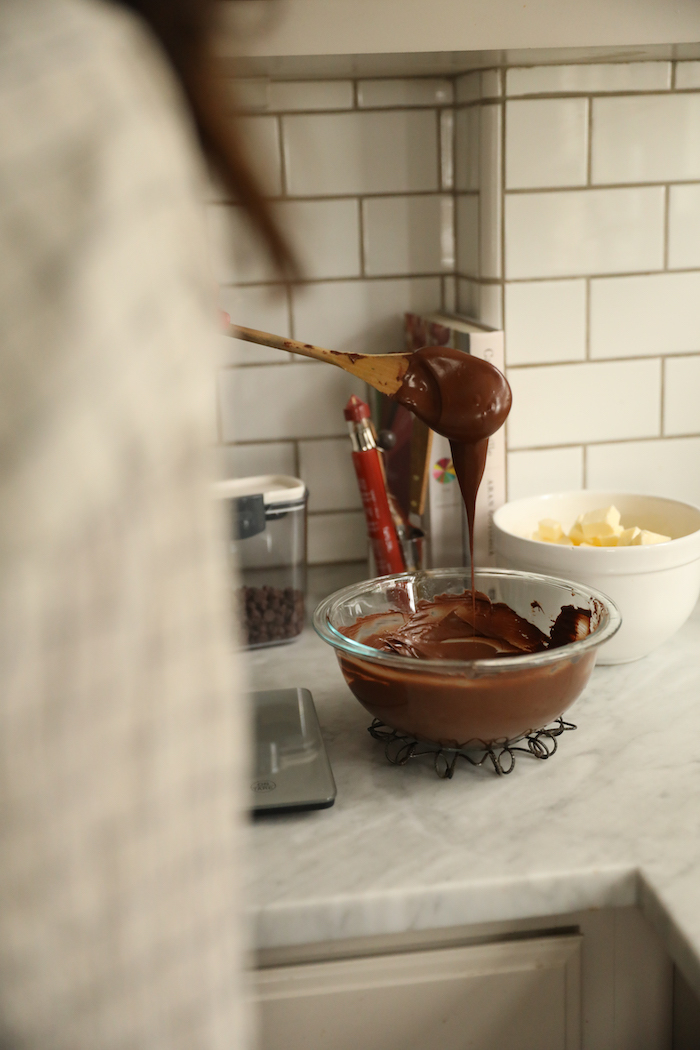
Create a double boiler by filling the small saucepot with about ¬º water. Heat over medium heat and place a pyrex glass bowl over the top. Practice first by melting just the chocolate by stirring occasionally until it’s melted. Set it aside, and using a new bowl, follow this same method to create the meringue.
The only difference is that instead of melting chips into liquid form — which is a visual cue to know when it’s done — we need a thermometer to measure the temperature for us. This is a slow process, and sometimes I need to add more water to the pot before it reaches 160 degrees. Stir frequently, but don’t drive yourself crazy. Walk away if it seems like it’s never coming up to temp.
Vanilla Bean Paste.
This is a beautiful addition if you’re making vanilla swiss meringue buttercream. But for the chocolate version, if you don’t have it in your pantry already, and don’t want to spend the money to buy it (although I highly encourage you do!), switch it with an equal measurement vanilla extract.
Frosting.
This recipe calls for just the right amount of frosting for an offset spatula to coat the whole cake and its layers. If you like a heavily frosted cake, or plan on piping designs or playing with color/texture, I recommend you double the frosting batch.

Frosting Layers.
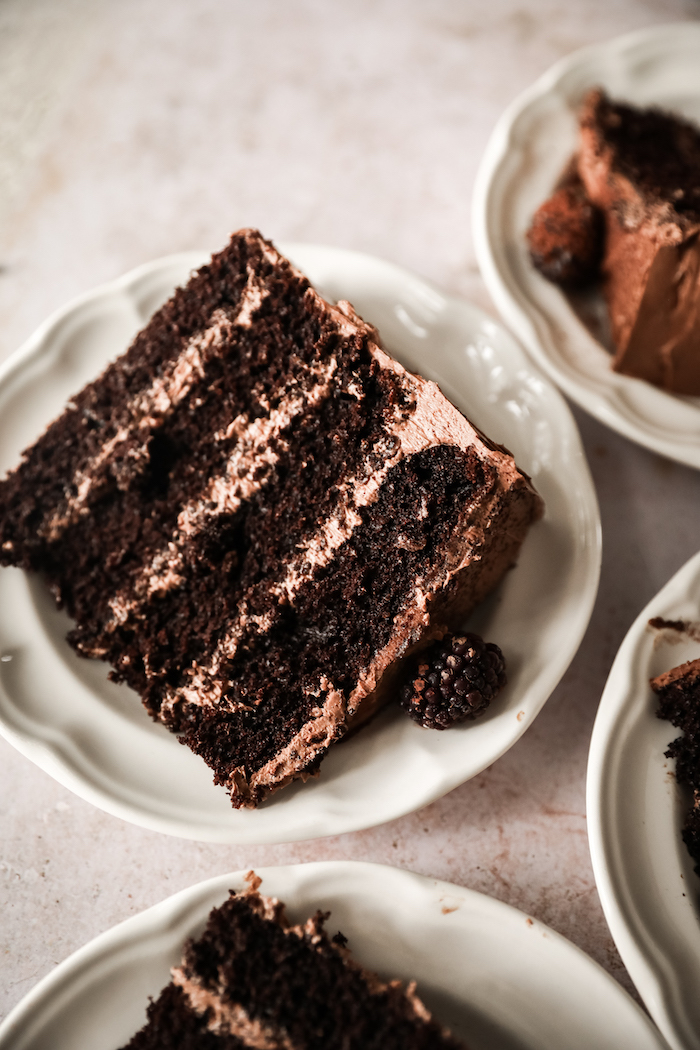
Feel free to use extra ingredients like blackberry jam in between each layer to add some fun flavor variation and yummy surprise. Get creative!
Classic Chocolate Cake with Chocolate Swiss Meringue Buttercream
Ingredients
- 450 g cake flour
- 550 g granulated sugar
- 130 g special dark cocoa powder
- 3 tsp baking powder
- 2.25 tsp baking soda
- 2.25 tsp salt
- 345 g whole milk, room temperature
- 1.5 tbsp apple cider vinegar
- 3 large eggs, room temperature
- 155 g canola or vegetable oil
- 360 g boiling water
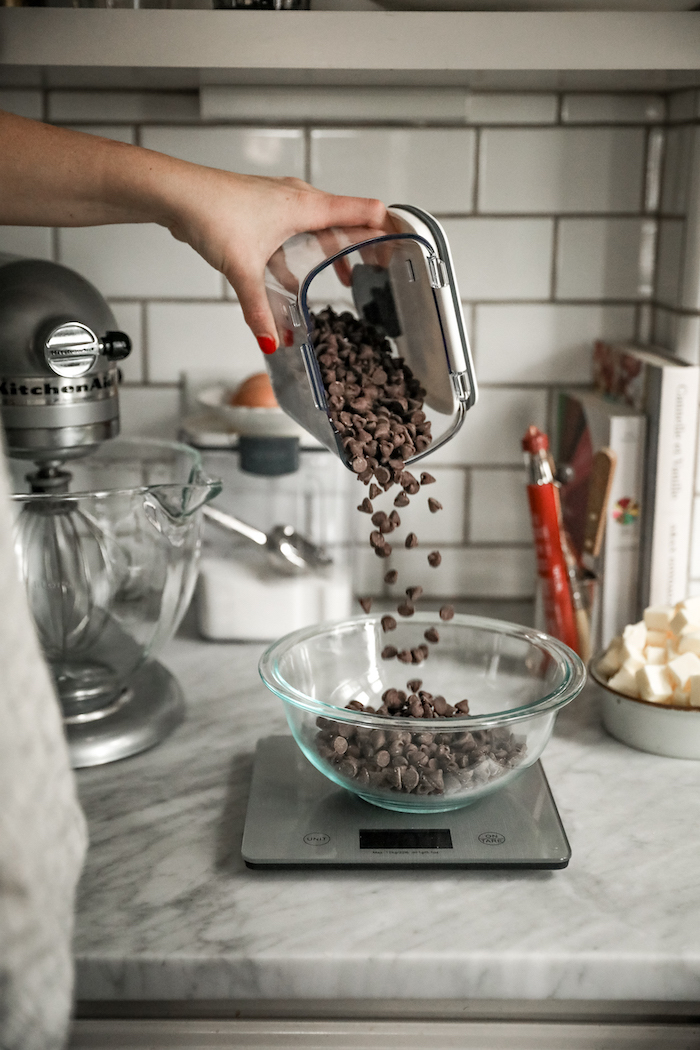
- 400 g dark chocolate chips (at least 70% or higher)
- 180 g egg whites (best to buy a small carton rather than separate your own)
- 350 g granulated sugar
- 1 tbsp vanilla bean paste
- .25 tsp salt
- 450 g butter, cubed and at room temperature
Instructions
- In a liquid measuring cup, mix milk and vinegar and set aside. Best to leave all room temperature ingredients out overnight, so that they have time to reach temperature. The milk is ready when it’s curdled. If you’re ready to begin baking, now is the time to turn on the oven to 350 degrees, and start the kettle for boiling water.
- Using a large bowl, sift cake flour and cocoa powder, then add into the sifted ingredients the sugar, baking powder, baking soda, and salt. Use a whisk to combine thoroughly, scraping the bottom of the bowl to make sure you don’t miss any.
- In a medium bowl mix curdled milk, eggs, and canola oil.
- Pour wet ingredients into dry and use a wooden spoon to mix until everything is incorporated. Consistency should be like thick brownie batter.
- Using a whisk, slowly mix boiling water into batter. Whisk carefully until the water is incorporated, then whisk vigorously for about 15 seconds until the batter is nice and smooth. The texture should be very runny.
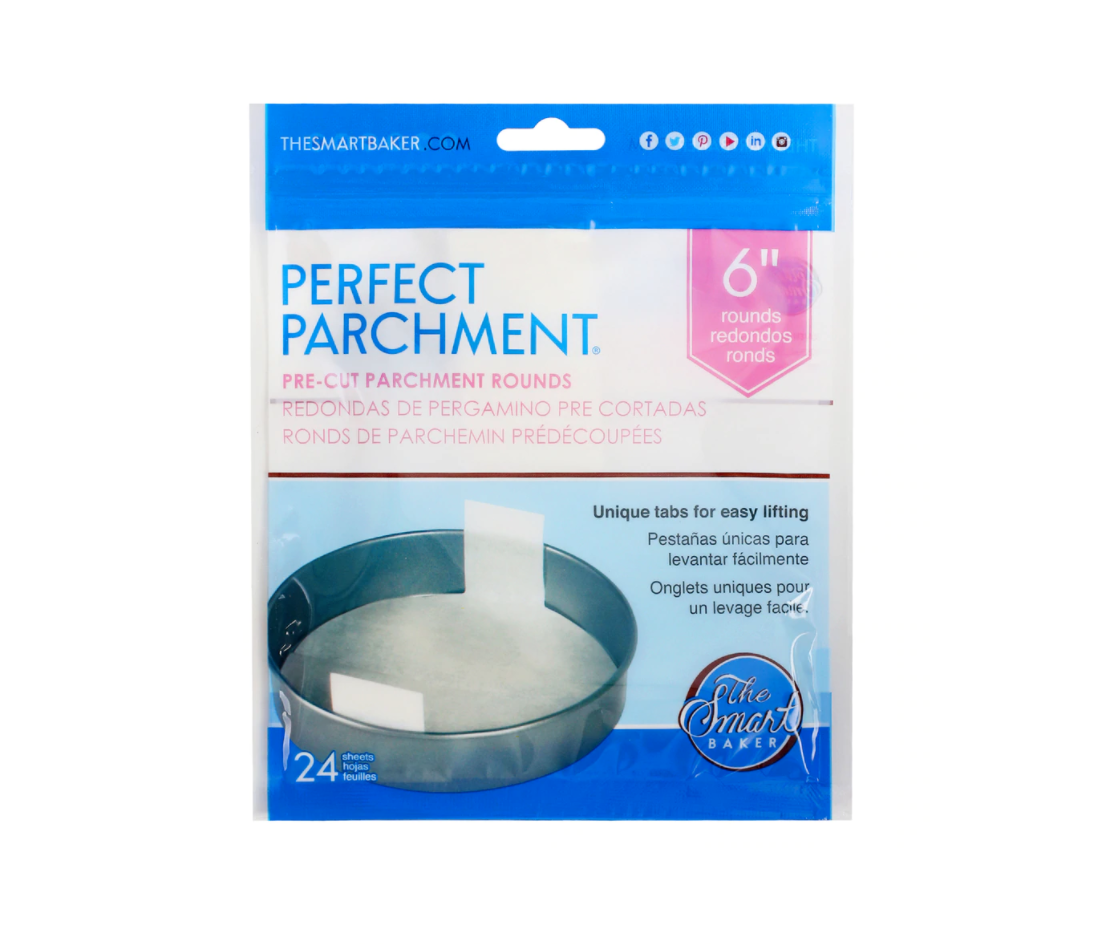
- Use extra room temperature butter to carefully coat 3 cake tins, then line with parchment cake pan liners. Evenly pour the batter into each pan, roughly 700g each.
- Bake all three on the same oven tray, staggered as best as you can, until cooked through. This will take roughly 30-40 minutes depending on the size of the pans. Test the cakes by inserting a toothpick into the center of each cake. The toothpick should come out clean.
- Set on a cooling rack for about 10 minutes, then lift the cakes out of the tins, and continue to cool until they reach room temperature. At least an hour, and more if you have it. After they reach room temperature, you could wrap them tightly in plastic and freeze until you’re ready to frost, or go ahead and begin frosting.
- While the cakes cool, begin the buttercream frosting. In a double boiler, melt chocolate and set aside.
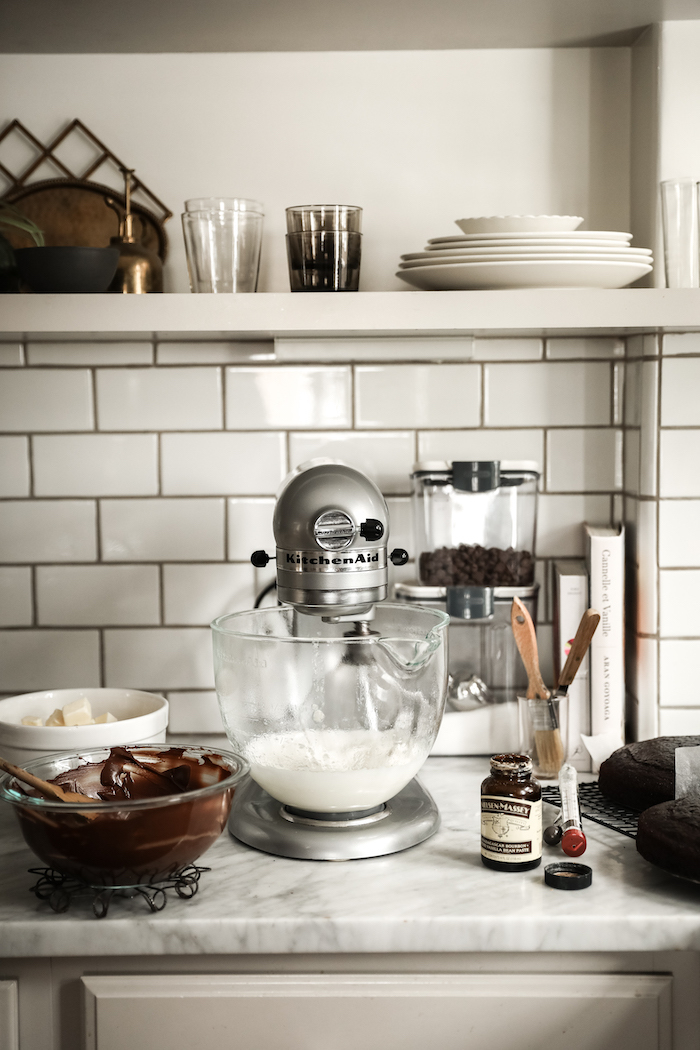
- Using the same pot with water, heat the sugar and the egg whites, stirring frequently, until they reach 160 degrees. Use a candy thermometer and be patient. This process will take a few minutes, and may require more water into the double boiler pot. I find the slowest increase in temperature is from 150 until it reaches a temperature of 160.
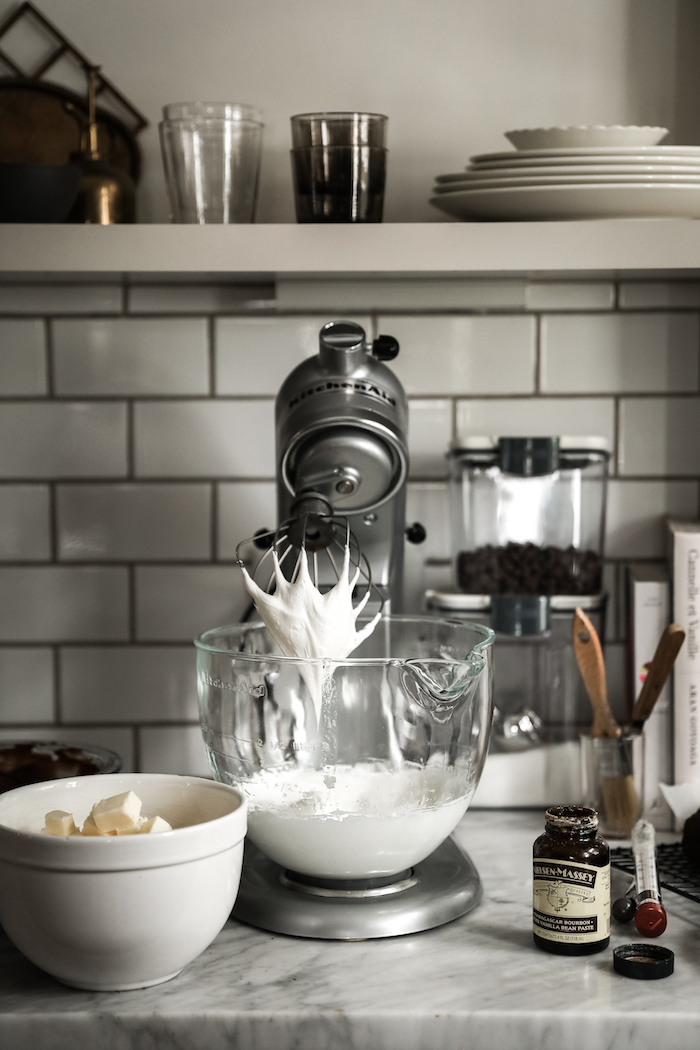
- Once the egg whites and sugar come to temperature, transfer to a stand mixer equipped with the whisk attachment. Beat the mixture on high speed until stiff peaks form, about 5-7 minutes. To test, lift the mixer arm out of the bowl, the meringue should be bright white and a long strand of merengue should just about connect the lifted whisk and the bowl.
- Add in vanilla bean paste and salt. Mix to combine.
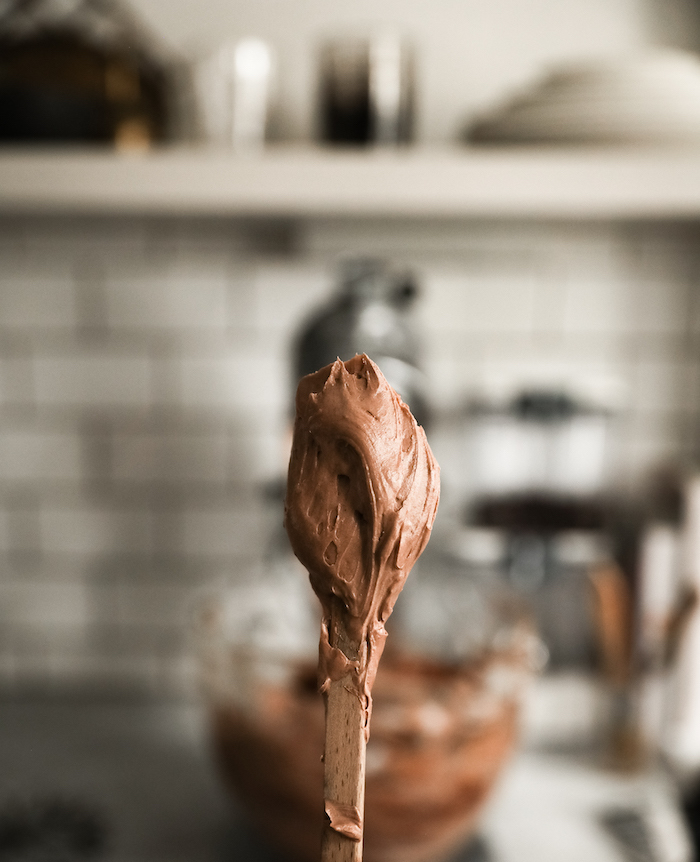
- Set the mixer back to high speed and drop the butter in, one cube at a time letting each cube disappear into the mixture before adding the next, until fully incorporated. The texture may look curdled halfway through, keep adding and it will come together. If it hasn’t by the time you’ve finished slowly adding the butter, beat on high for a few more minutes.
- Switch to the paddle attachment and pour in the cooled melted chocolate. Mix on medium speed until fully incorporated and smooth in texture.
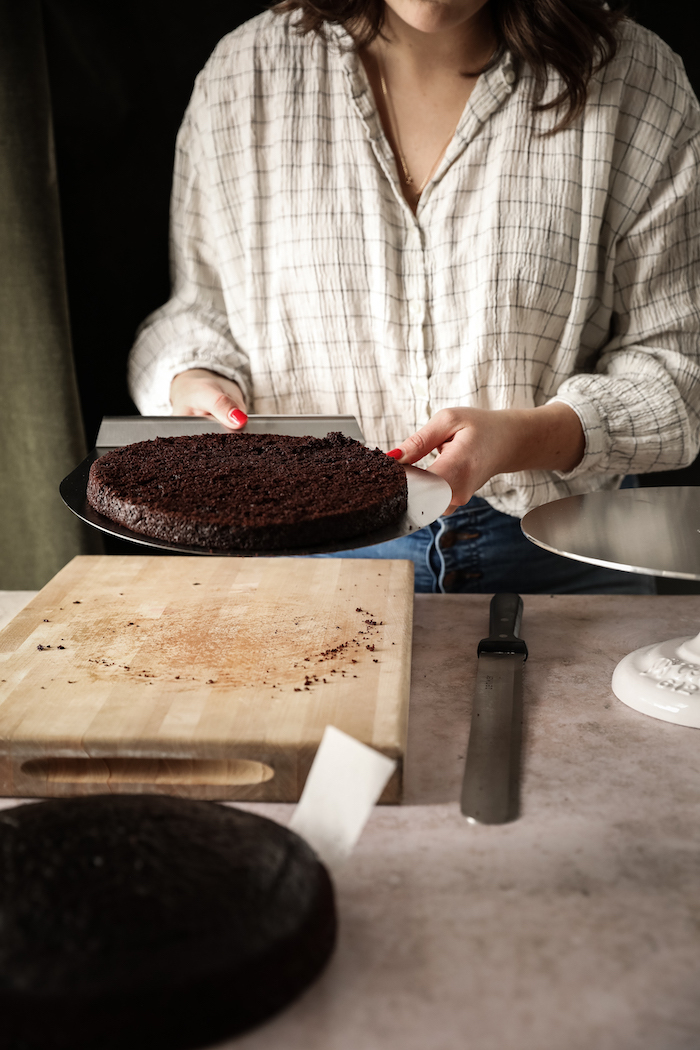
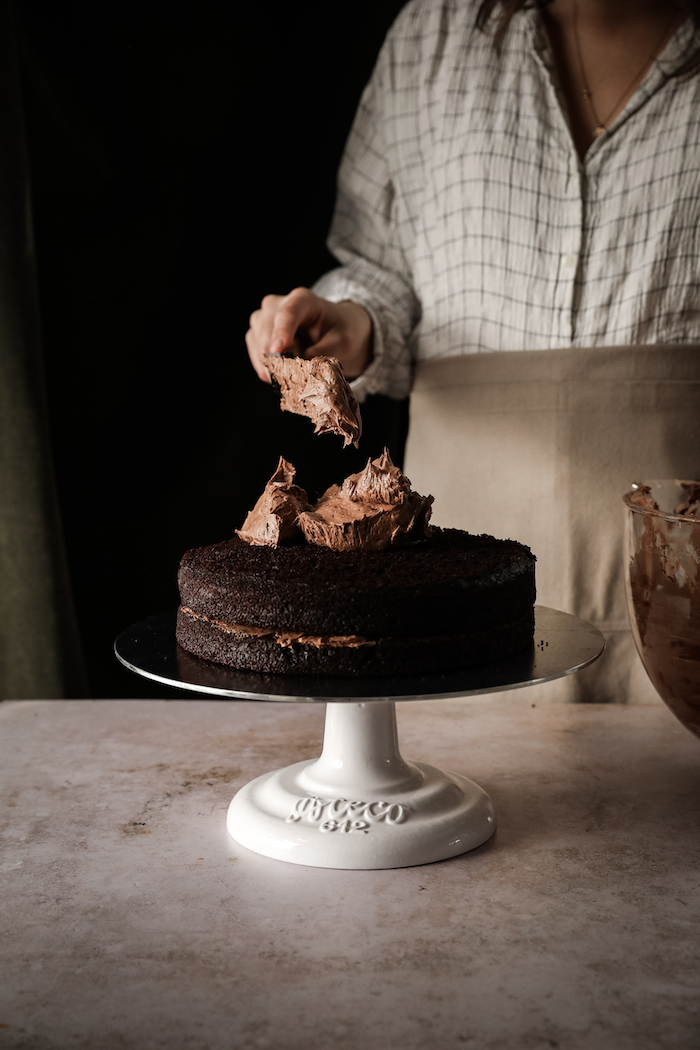
- Begin layering and frosting the cake. Cut the tops off the cake, and depending on the size cake pan you used, slice the cake into two layers. Place a small blob of frosting onto the cake plate, and begin layering. Using about 1 cup of frosting per layer. Use an offset spatula to frost, and if you have time, create a crumb layer – or a lightly frosted cake with visible cake spots peeking through – to catch all the loose crumbs.
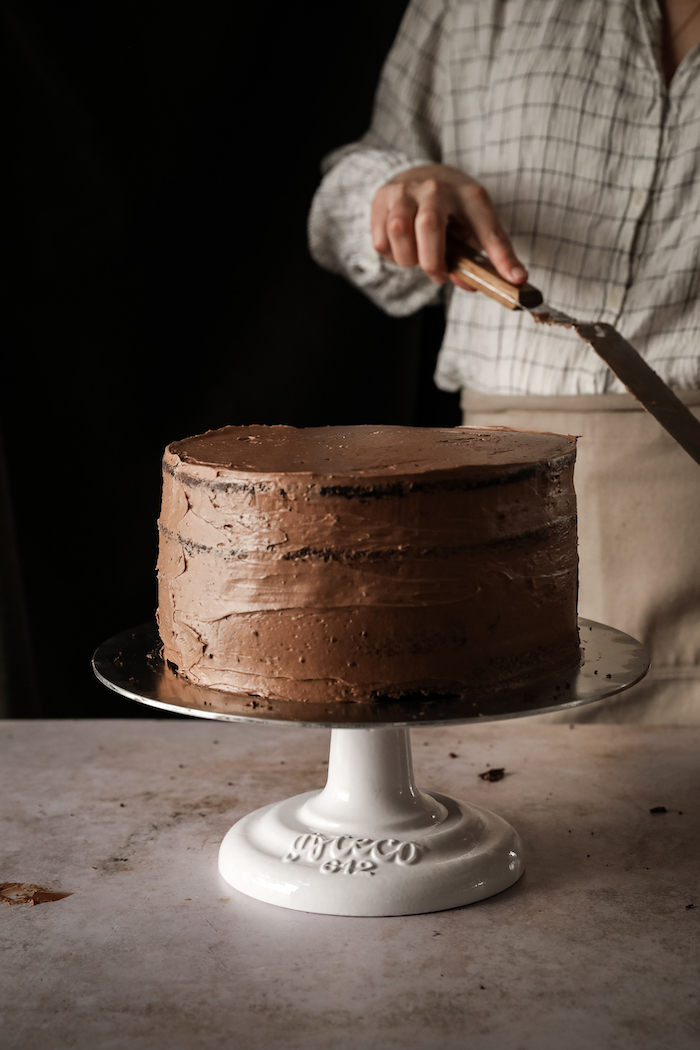
- Frost the final coat using a large offset spatula, then switch to a small offset spatula to fill in any bare spots and to frost as close to the plate as you can get. Here you could pipe on a design, or get creative with how you want the frosting to look. If you prefer a heavily frosted cake or want to pipe a lot of frosting, double the amount of SMBC you make.
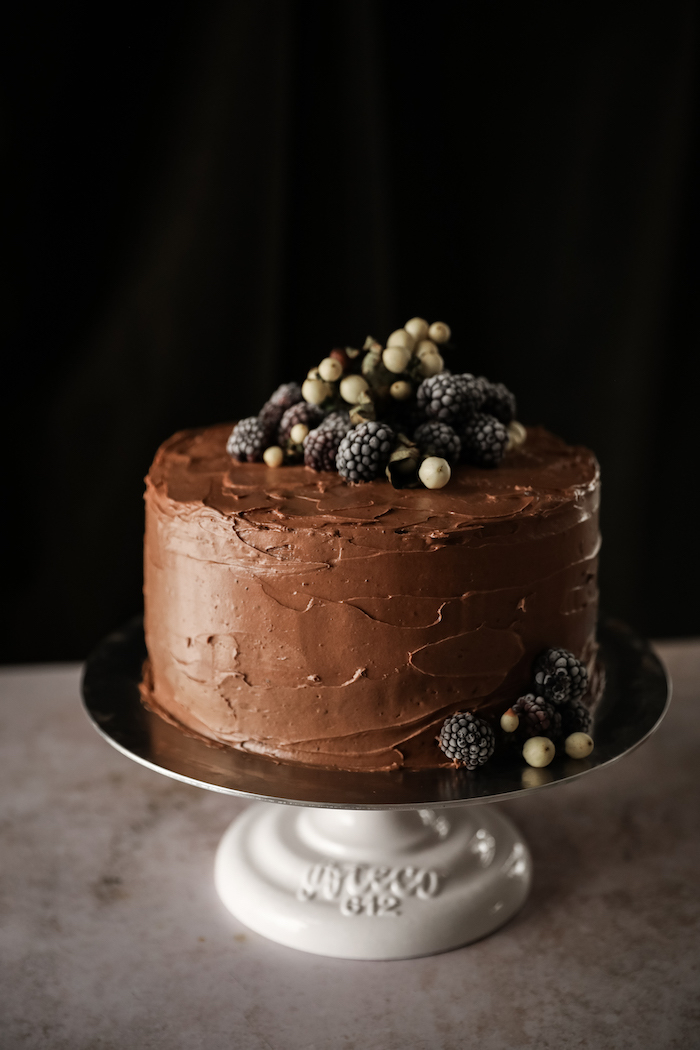
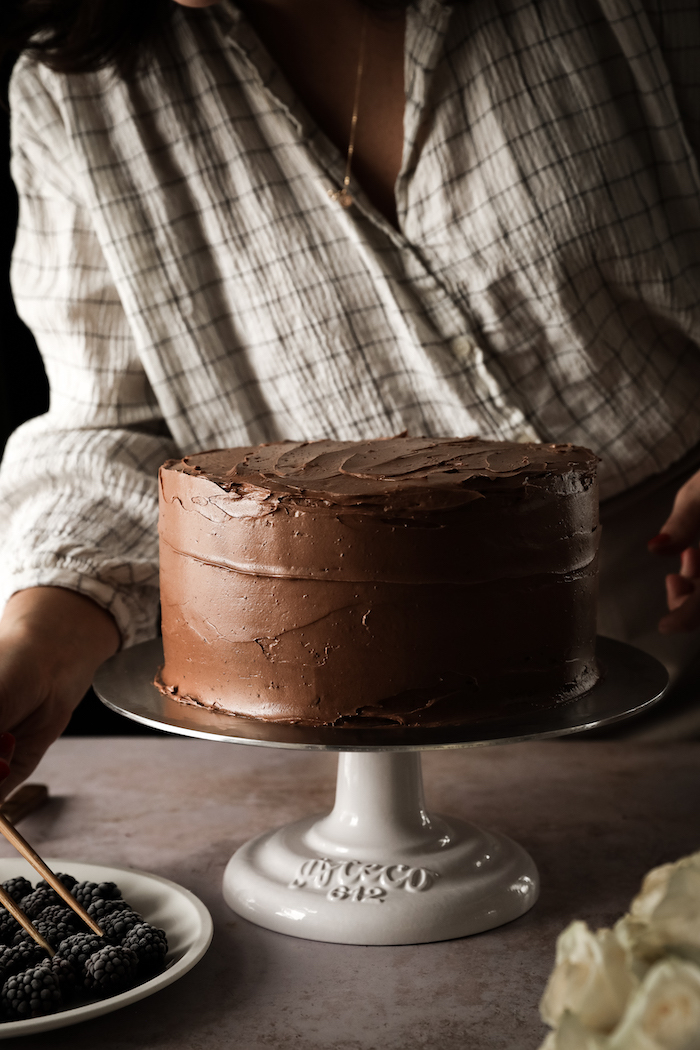
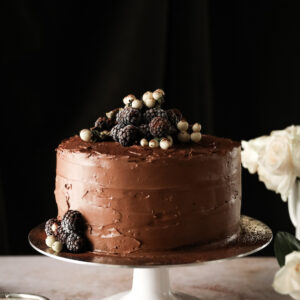
- Decorate with frozen berries, florals, or a dusting of cocoa, and enjoy!
Nutrition