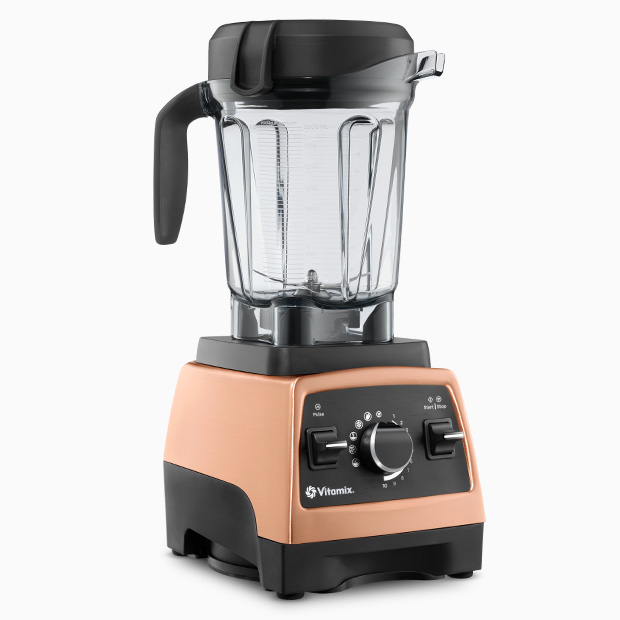

I’ll never forget buying my first high-powered blender (a Vitamix). Some might reserve that kind of shopping-induced elation for a pair of fancy shoes or a handbag, but I nearly floated out of the store in spite of the weight of my very large and heavy box.
I was a newly married young adult but suddenly felt very grown-up — it was my first significant kitchen investment and I couldn’t wait to get it home. Determined to get my money’s worth, I read every page of the manual it came with, and experimented with making soups, flours, and all manner of salad dressings. It never disappointed, and it has been in perfect working condition ever since. And as I celebrated my 19th wedding anniversary last week, I marveled at how well it’s held up over time… just like it’s owner (I hope).
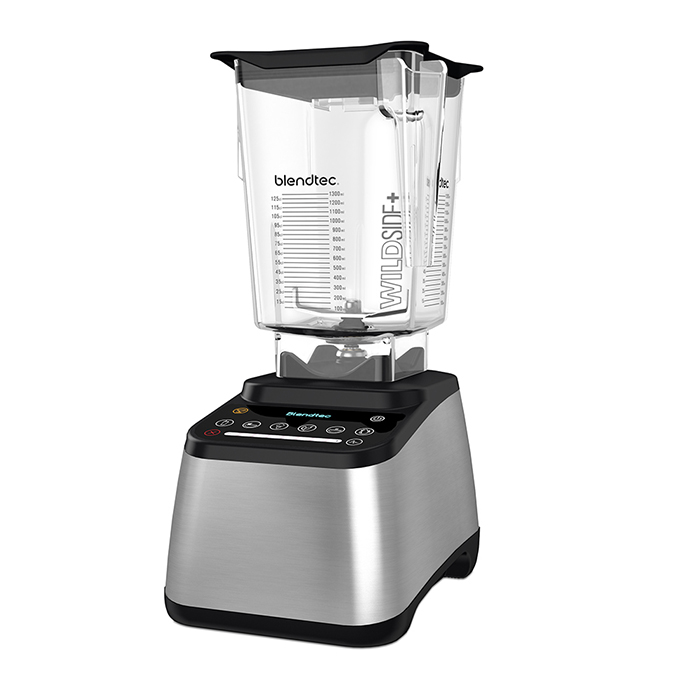
When I bought my Vitamix, it was the only game in town if you wanted a truly powerful blender that would stand up to anything you threw in it. Today, there other high-speed blenders on the market that can take on similar tasks.
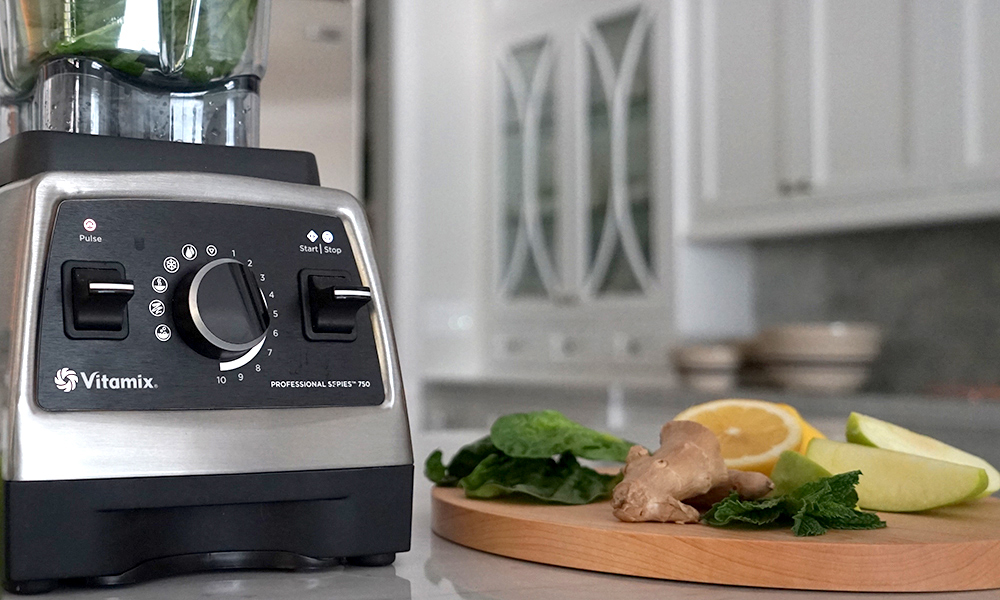
I recently upgraded my ol’ faithful with a younger, prettier version— the new Vitamix Professional Series 750. I was charmed by its low-profile container, quieter motor and its pre-programmed settings that allow me to walk away while I whiz up my morning smoothie.
Inspired by my new toy, I’ve taken to the Internet for the first time in years to see what else I can make with it, and there are so many inspiring posts with great ideas — things I would have never thought of! — that I wanted to try some new things out and share them with you.
Almond Milk
I was stunned at how easy it is to make my own Almond milk… why have I been buying this stuff for years? It’s best to soak the almonds overnight before you blend them, but having forgotten to do it and still needing milk in the morning, I have made it both ways now and it’s just as good if the nuts are dry at the start. I’m looking forward to trying cashew milk and others.
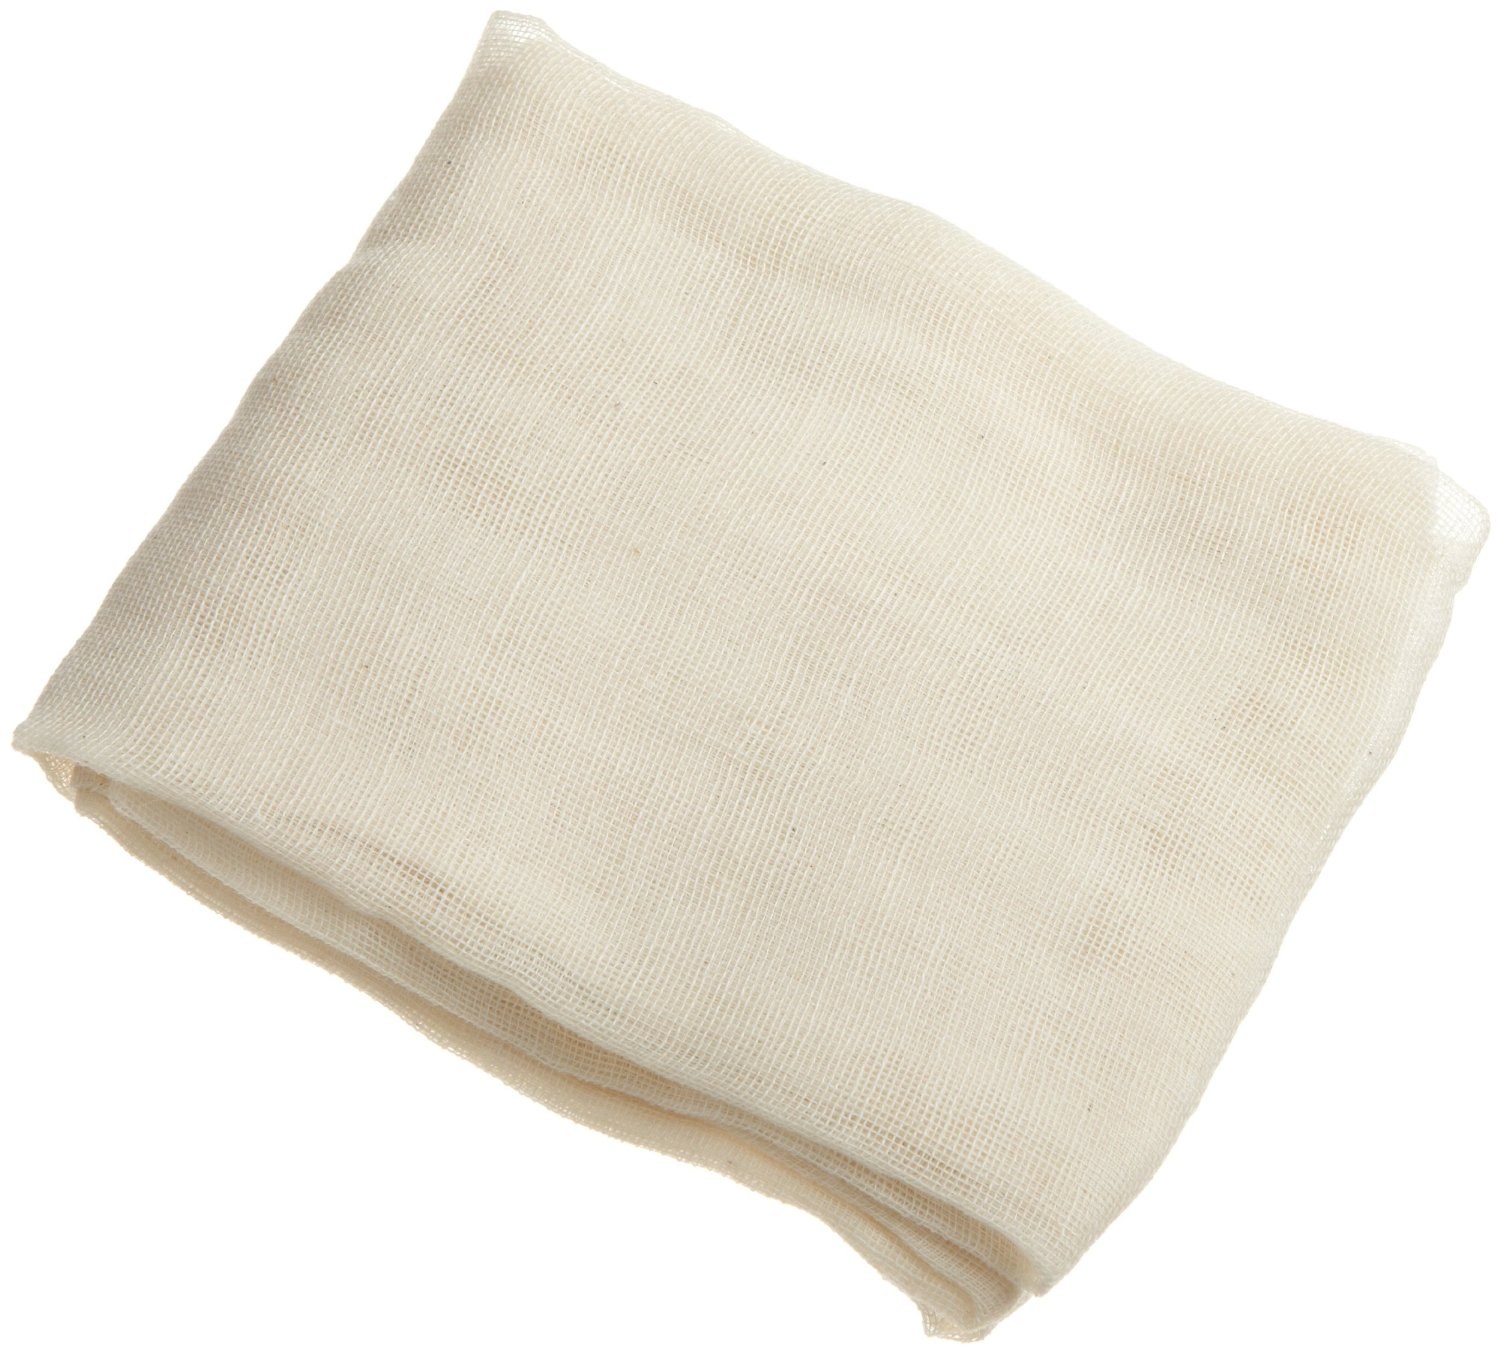
Add 2 cups of almonds (soaked overnight and drained, or dry) and 4 cups of water to the blender. Blend on high for 2 minutes. Set a strainer over a bowl and lay a cheesecloth over the strainer. Pour the nut mixture into the cheesecloth and let it drain.
You can use half the water if you want a cream-like texture, and add dates or agave to sweeten if desired.

Nut Butter
I was so jazzed about the nut milk that I decided to try my hand at nut butter. I found a recipe and threw a bunch of cashews into the canister, but they didn’t blend. I had to add a significant amount of oil to get it going. The recipe was for peanuts and perhaps they have more oils in them than cashews? Anyhoo, I used a peanut oil I had in my pantry, and added a few almonds in there too, along with dates and some cinnamon. I have been devouring it ever since, on rice cakes, apples, toast, or just out of the jar with a spoon.
Add 2 cups of unsalted cashews to a cookie sheet, and roast in the oven for 10 minutes at 350 degrees , or until you smell their nutty goodness. They shouldn’t be too tanned. Add them to your blender, along with 2-3 tbsp. of vegetable oil, a good pinch of salt, along with a teaspoon of honey or a couple dates to sweeten. Blend for 10 minutes, scraping down the sides as needed, until smooth, then add to a jar and let set in the refrigerator.
I’ve seen recipes with seeds in them, gonna try that.

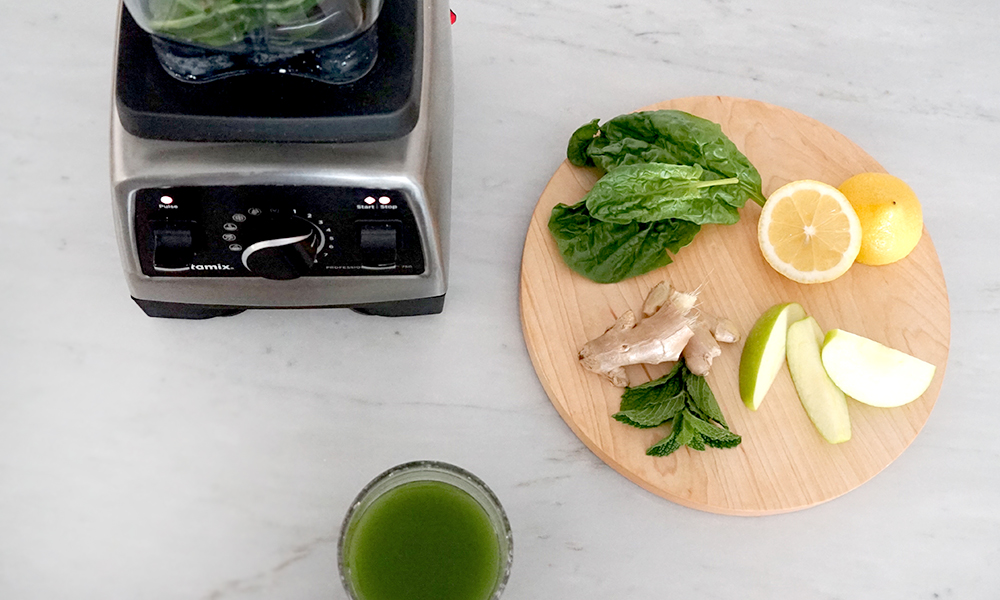
Green Juice
I have a juicer, but it has been collecting dust since I started making green juice in my blender. This might not be the most earth-shattering discovery, but there is a raging debate about which method is more nutritious, and for years I was in the Team Juicer camp. I’ve since learned that juicing removes all the fiber, which actually helps you feel fuller after drinking the juice! Plus, my juicer is big, clunky, messy and so hard to clean. Is the juice you DON’T make more nutritious than the juice that you DO make because it’s so darn easy? I think not.
So I use my Vitamix to make juice. You should know that you will need to peel citrus (you won’t want the bitter rind whizzed up in your beverage, trust me), and fibrous fruit and veg, like carrots or beats, won’t puree down to a smooth liquid like they do in a juicer (which casts away the bits into a container as it goes). If the mouthfeel of those little bits is off-putting to you, you can run the liquid through a cheesecloth. Then clean your blender’s container in seconds and wonder why you ever put up with your juicer and all those hard-to-clean parts.
Here’s my morning mix, but you can riff on it in whatever way you like: 1 cup of Spinach, 1/2 c. kale, 1/4 c of parsley, 1 cup blueberries, 1 peeled lime, 1/2 inch. of ginger (no need to peel!), 1/2 seeded green apple.
Compost
OK, this one took me by surprise. But it’s actually genius: Add your dead flowers, leftovers, kitchen scraps, coffee grinds, and egg shells and add a bit of water to your blender. Then blend for a nutrient-rich liquid compost that you can pour all over your garden, working it into the soil with a trowel if needed. Technically, it isn’t really compost — it hasn’t decomposed yet. It’s more like pre-chewing nature’s food (eww.) so it can decompose faster. Either way, I’ve noticed a difference in the perkiness of plants I’ve tried this garden smoothie out on.
Remember: Meat, fats, oils, cheeses and bones are composting no-nos.
For more about Composting, read our article on Smart & Stylish Composting.
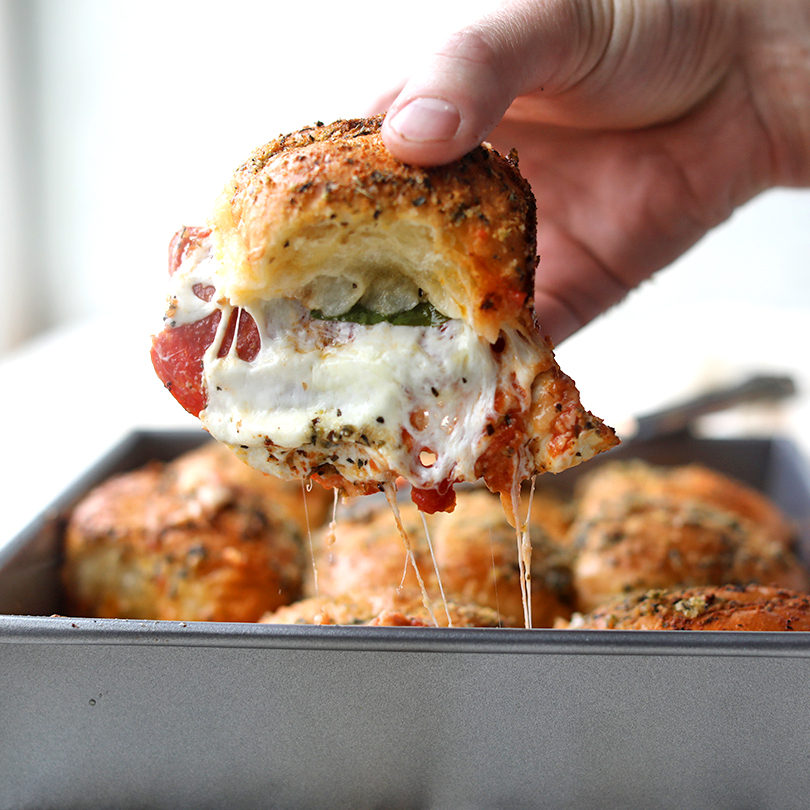
Pizza Dough
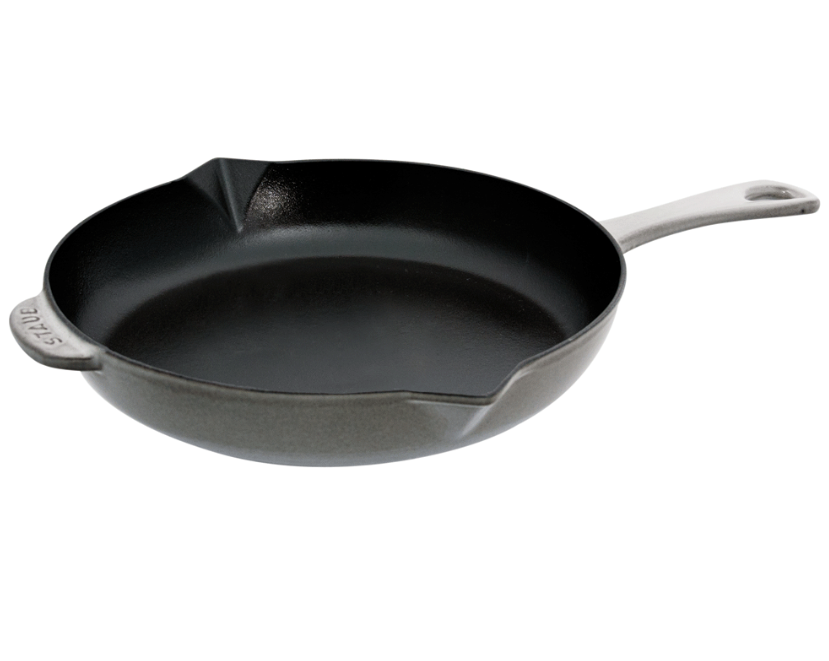
There is just something about making your own pizza dough that is unparalleled in the kitchen. Maybe it’s because of the magical alchemy that is yeast, bubbling to life (and it’s tantalizing smell). Maybe it’s because you really have to get your hands dirty, in the best way possible, and you get to throw flour around on purpose. Or maybe it’s just the anticipation of the greatest food on earth. I had no idea I could make pizza dough in a blender, but it worked so well, and other than the rising time, it took less time to make than a trip to the pizzeria. I adapted this gorgeous recipe from Goop, and then laid my dough into a lightly oiled cast iron pan to cook, which is my new fool-proof method for getting a crispy crust.
Whisk together 3/4 c. of warm water, 2 tbsp. sugar, and 3 packages of active dry yeast in a large bowl and let it stand until the it looks creamy and bubbly (5 mins). In your Vitamix, put 4 1/2 c. of flour and 1 tbsp. coarse salt and whiz up to mix. Then, while pulsing so as not to overwork your dough, slowly drizzle in the yeast mixture and 1 1/2 tbsp. olive oil until the dough comes away from the edges of the container and starts spinning around in a ball. If your dough still seems too wet, add another 1/2 c. of flour. It shouldn’t be super-sticky, but don’t overwork it! Then splash some flour down on a smooth surface and knead the dough until it’s elastic and smooth— 8 minutes of hard work. Form the dough into a ball, and gently place in a large bowl, covering with a damp tea towel. Let rise until it’s doubled in size, about 1 hour, or overnight in the refrigerator. Then break off a piece, stretch it out, top and bake at the highest heat your oven can do — 500 or 550 degrees is great.

Pro-tip: I just read on the Vitamix website that if you add a few drops of dish soap and warm water to your blender that you can blend your way to a clean container in 30-60 seconds! How did I not think of this?! Head smack.