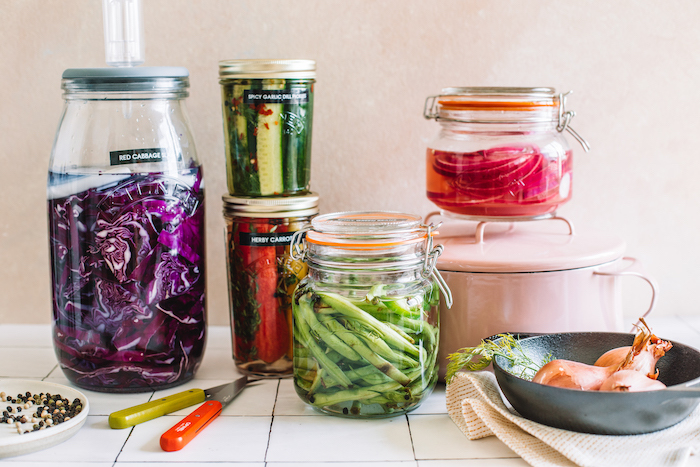
Learn How To Pickle any vegetable in this step-by-step guide that will teach you how to quick pickle fresh produce from the market or the garden. This simple formula is quick, easy, and endlessly adaptable for truly custom pickled vegetables.
Is there anything more enjoyable than a pickle?
Seriously…pickles add that special briny, tangy bite that amplifies all the other flavors in a meal. And believe it or not, cucumbers are not the only vegetable you can turn into a pickle.
Don’t get me wrong – I love a few slices of pickles on top of Black Bean Burgers or some pickled red onions on top of Chipotle BBQ Jackfruit Tacos. But the beauty of pickles, or should I say ‘pickling’, takes the basic technique and transforms fresh, crisp, vibrant, seasonal vegetables into a snack or side you can enjoy any time of year.
That’s actually where the whole idea of pickling came from. It was all about preserving the fresh produce to enjoy it throughout the colder months.
But today we are quick pickling. This allows greater flexibility with less work and less stress while still delivering the same enticing vinegar tang, crunchy texture, and salty punch you would get in more traditional pickling.
In other words, this basic approach to vegetable preparation is a FLAVOR BOMB. So let’s get to it…
What Is Quick Pickle vs. Brine Pickling?
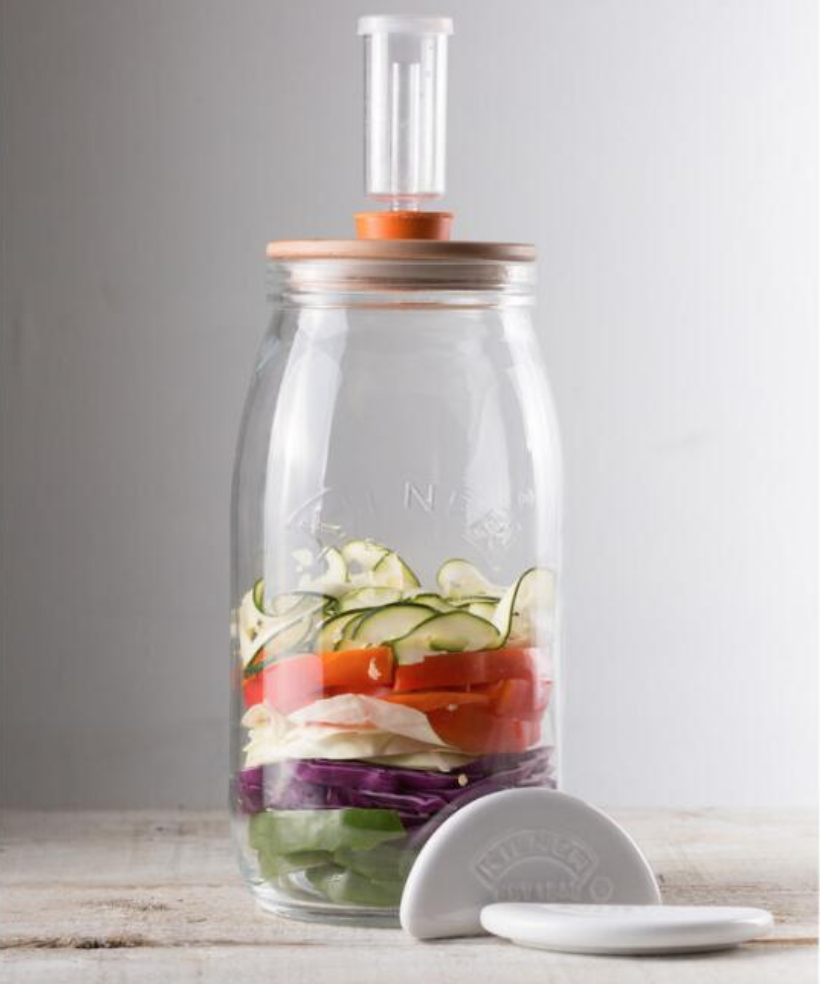
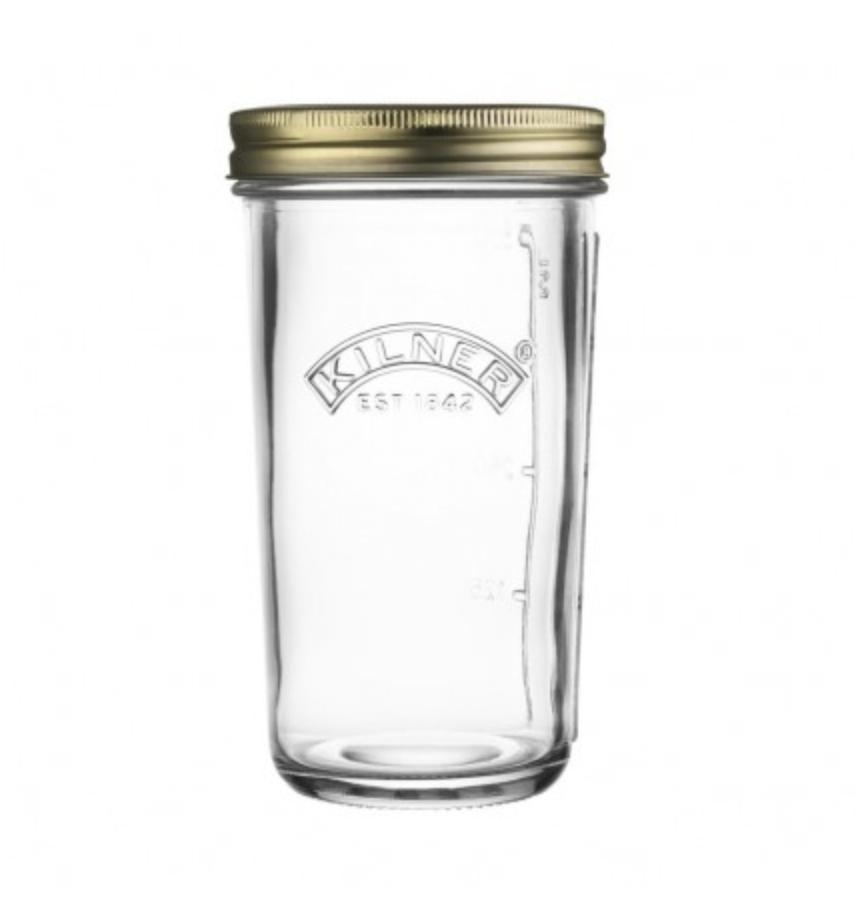
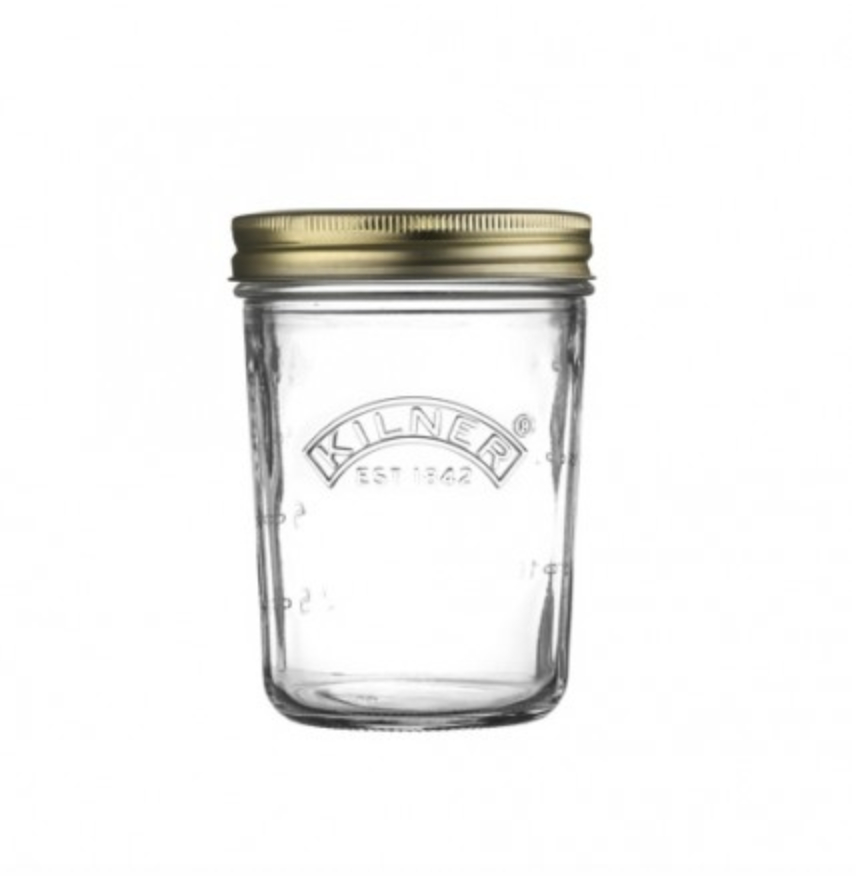
Quick pickles, also known as refrigerator pickles, are vegetables that have been pickled in a solution of equal parts vinegar and water, along with salt and sometimes sugar. They don’t develop the deep flavor of a fermented pickle and don’t require canning. You can use a variety of mason jars for this type of pickling.
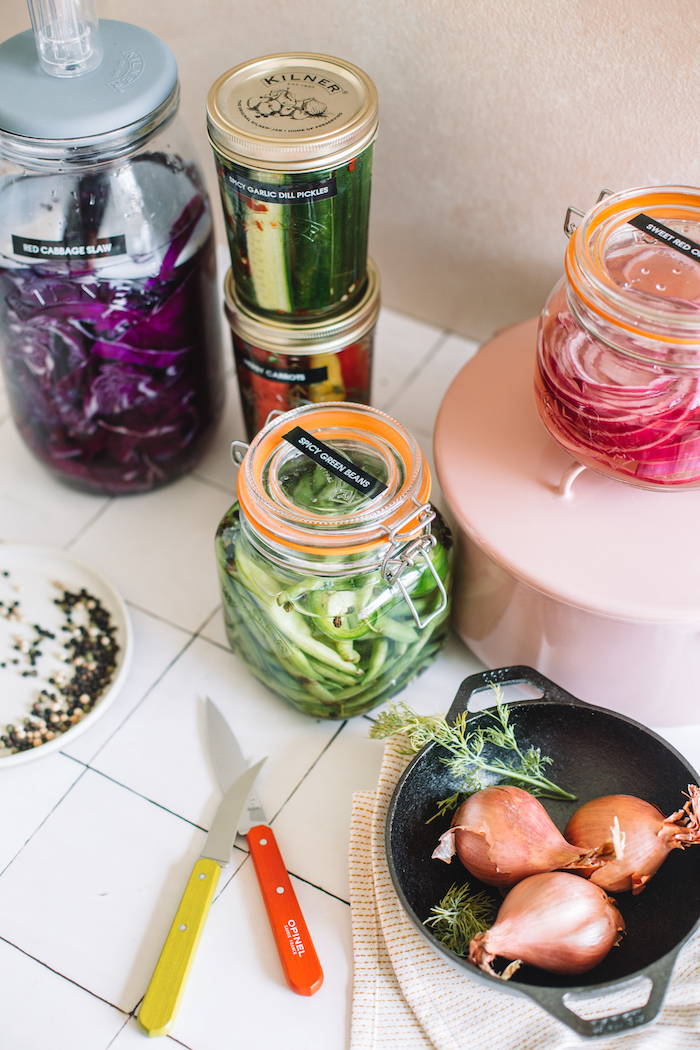
Brine Pickling is pickles made in a traditional water-bath canning method, which involves boiling in water to vacuum-seal a jar.
Ingredients
The best way to organize pickling is to break the ingredients up into their respective categories.
Vegetables:
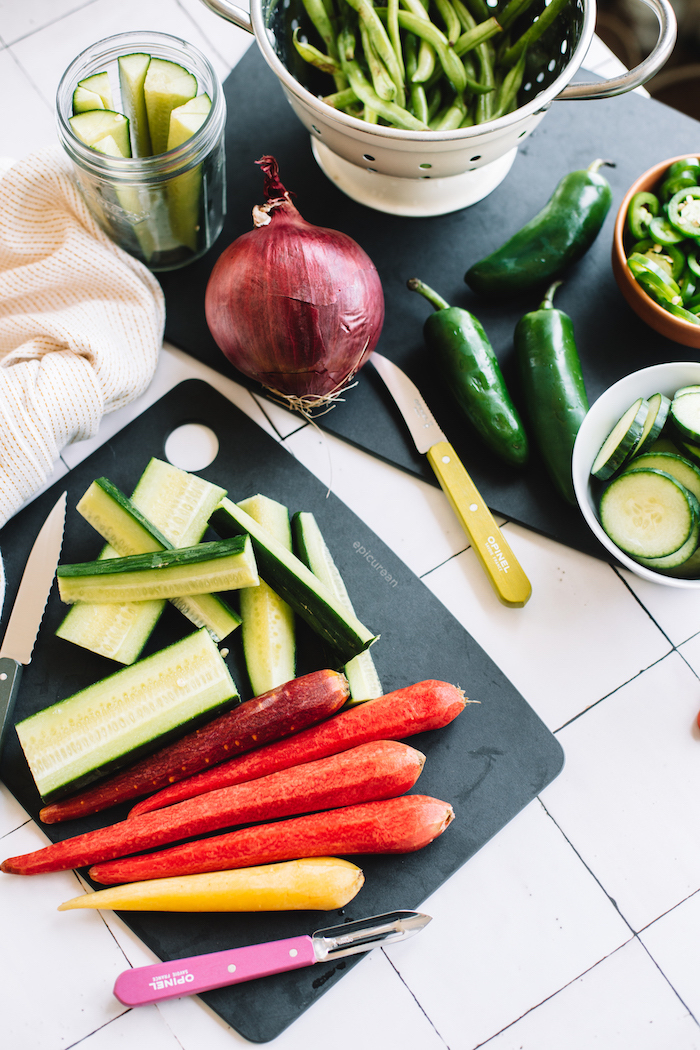
As far as vegetables go, choose vegetables that are naturally firm. The fresher they are, the crisper they will stay (as vegetables age, they lose water and become softer).
- Red Onions
- Carrots
- Cucumbers
- Green Beans, Asparagus, Broccoli (will need a quick blanch before pickling!)
Tip: Always trim off stems and ends before pickling veg or you’ll end up with mushy pickles.
Pickling Liquid:
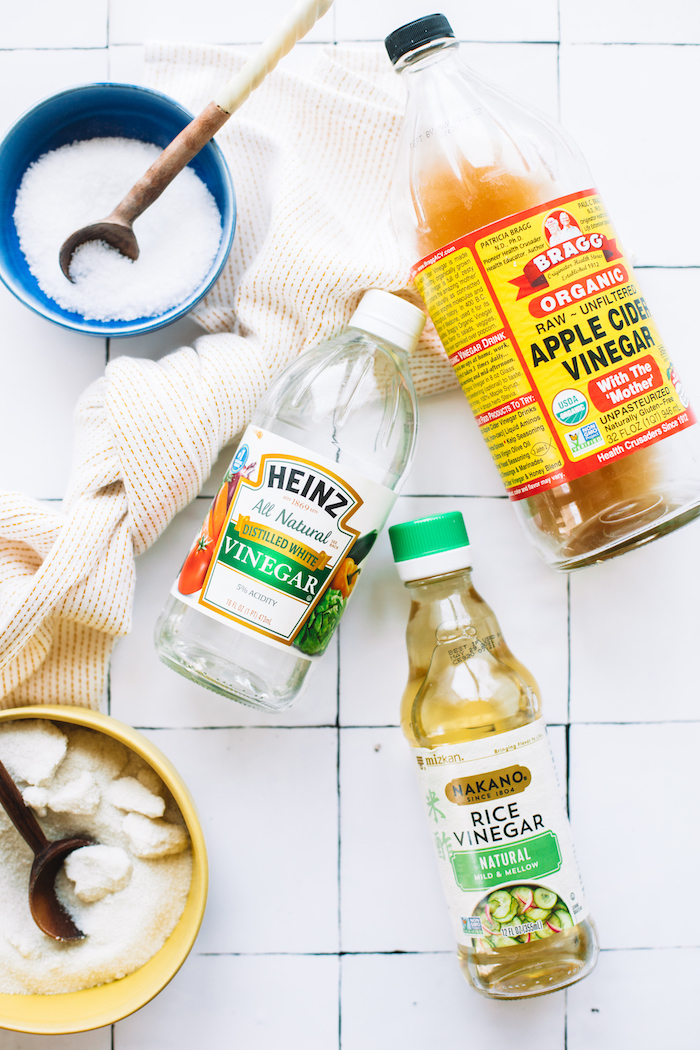
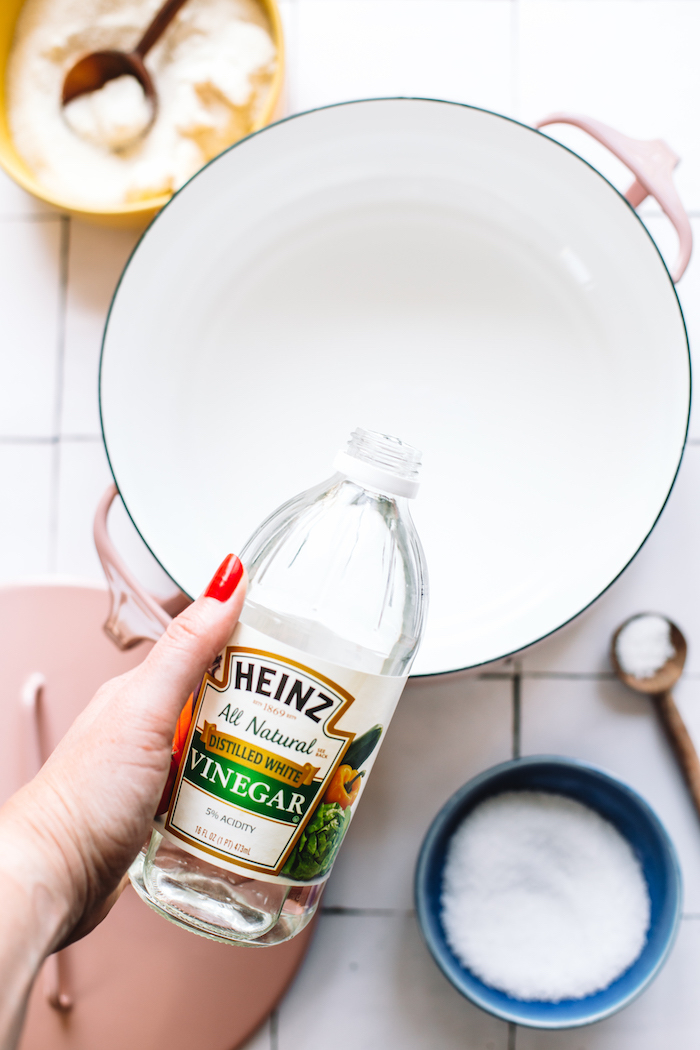
- Vinegar (white vinegar, apple cider, white wine, and rice vinegar all work well)
- Water
- Sugar
- Salt
Flavorings:
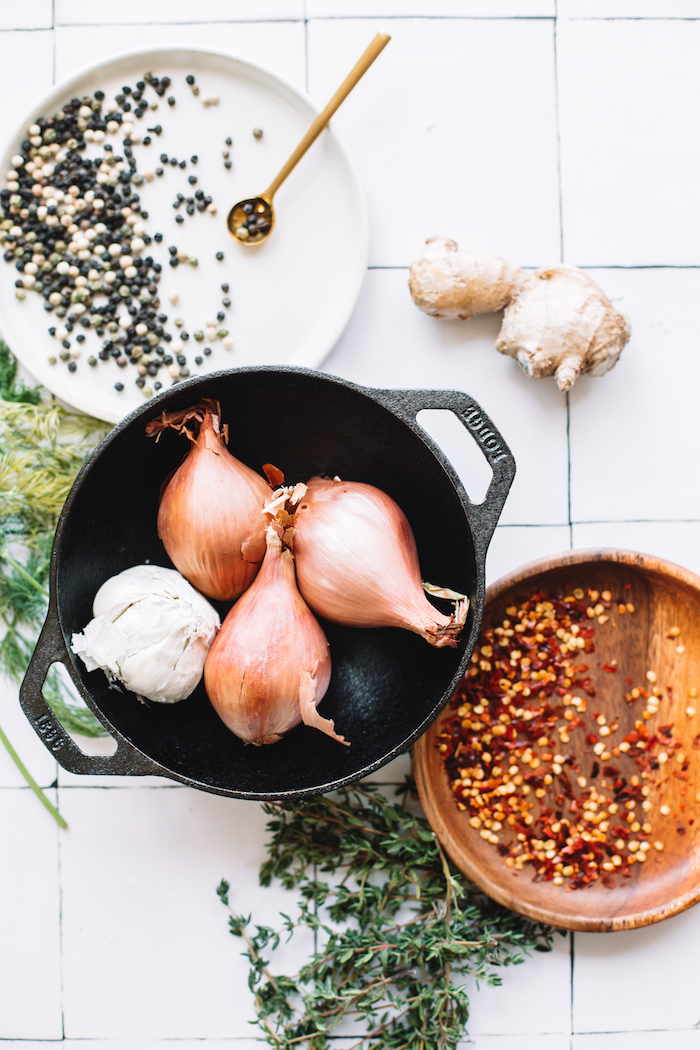
- Ginger
- Garlic
- Shallots
- Herbs
- Peppercorns
- Whole Spices
Preparing Vegetables for Pickling
Almost any vegetable can be pickled, and the shape you choose is entirely up to you. Some of my favorites include:
- Thinly Sliced: Red Onion, Cucumbers, Summer Squash (a mandoline comes in handy here)
- Spears: Carrots, Cucumbers
- Whole: Cherry/Grape Tomatoes
- Blanched: Zucchini, Asparagus, Green Beans, Broccoli, Any Green Vegetable (optional, but preserves their beautiful color)
How to Make Pickles – The Steps:
Now, the whole process of making homemade pickles is super easy. Simply:
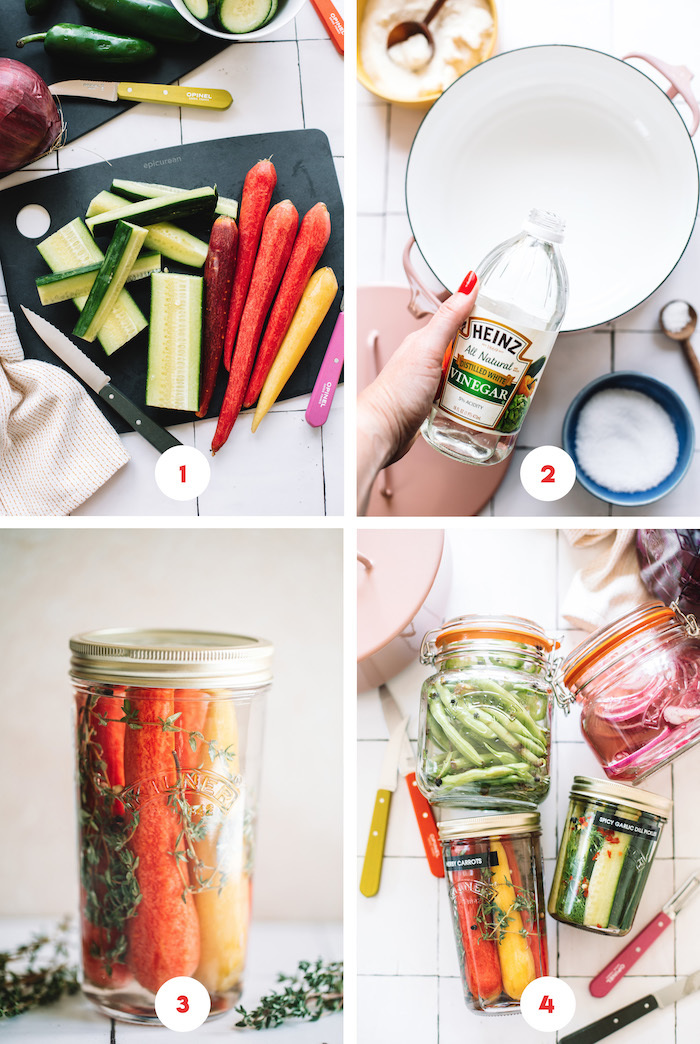
- Cut the vegetables. Go for whichever vegetable you’re craving and cut them into spears, rounds, slices, whatever shape you’d like.
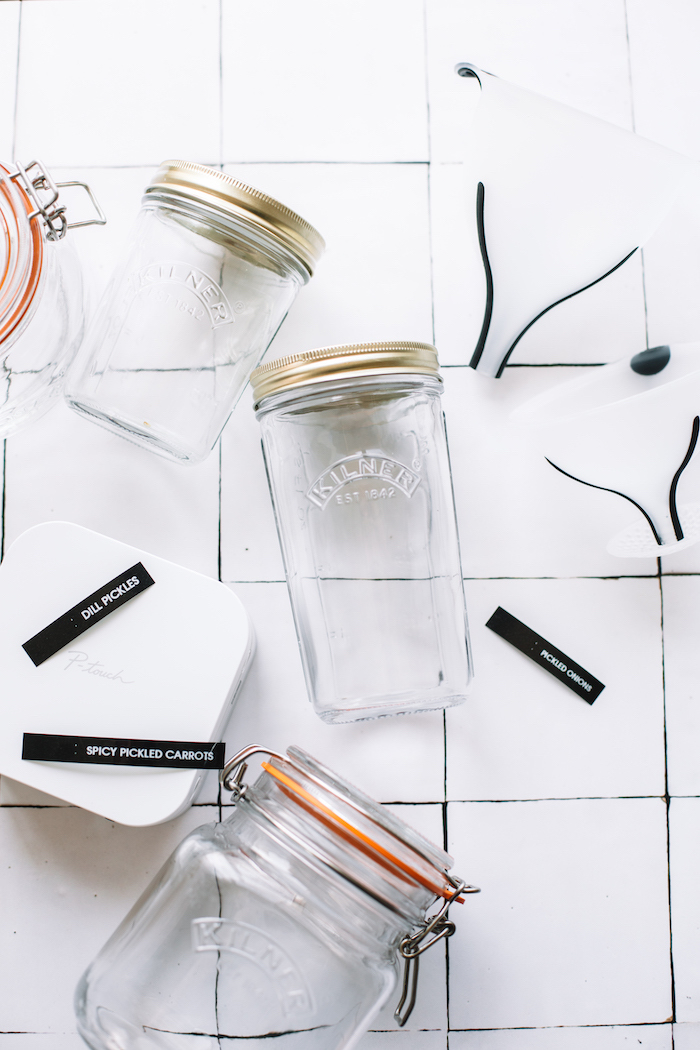
- Prep the jars. Wash and label your jars.
- Add flavorings. Divide out seasonings and spices into jars.
- Add vegetables. Add the prepared vegetables to the clean jars.
- Prepare the brine. Bring vinegar brine mixture to a boil, dissolving salt and sugar.
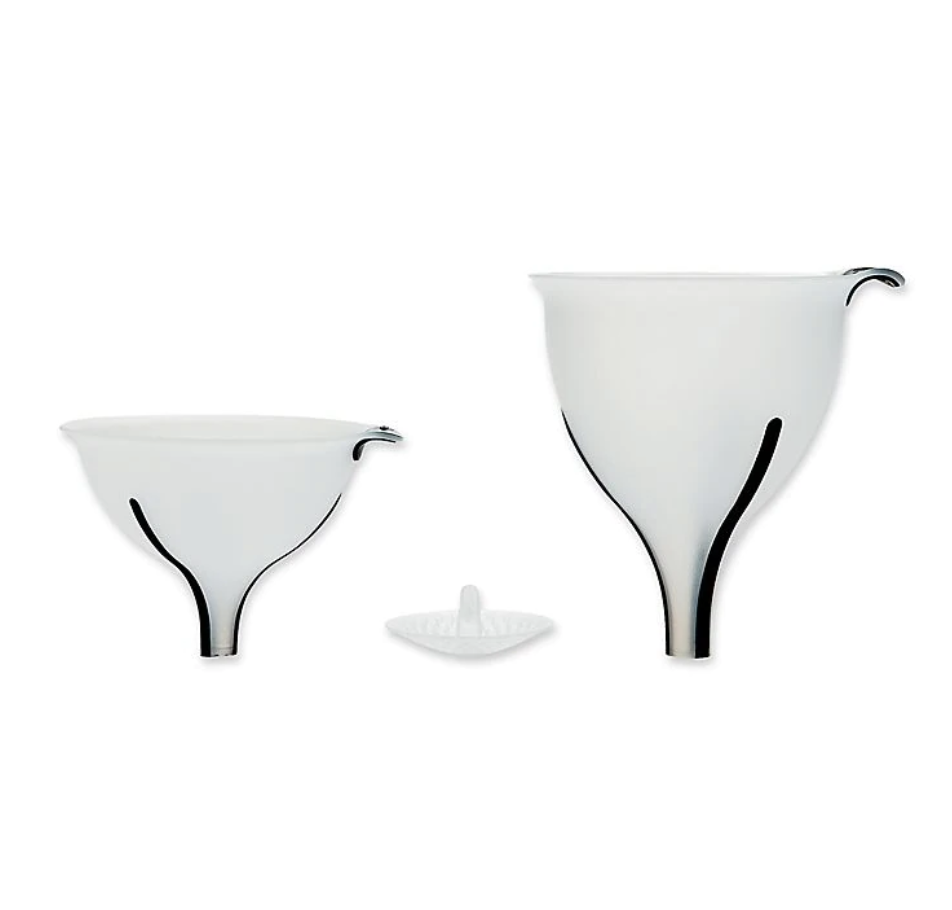
- Pickle! Pour hot brine liquid carefully into the jars with a funnel.
- Remove air bubbles. Gently tap the jars against the counter a few times to remove all the air bubbles. Top off with more brine, if necessary.
- Seal jars, label, and refrigerate. Cover the jars with lids and let cool on the countertop. I love to bring out my handy label maker and make a few cute labels from the label app right from my phone. Place into the refrigerator. They are pickled within 6-8 hours but develop much more flavor within 1-2 days.
Pick-Your-Own Pickle Flavors
The brining liquid is a base of equal parts vinegar and water, with some salt and sugar to balance the flavor. But the fun part comes in the form of flavorings.
This is where you get to create your very own pickles at home catered to your tastebuds. These are the pickles I make time and time again:
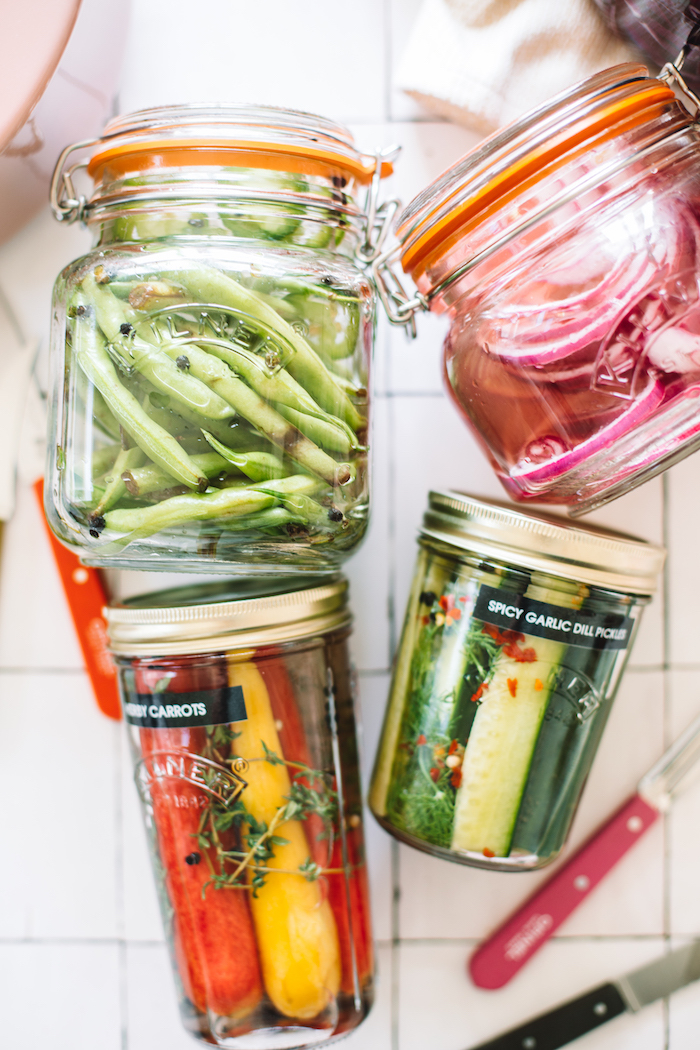
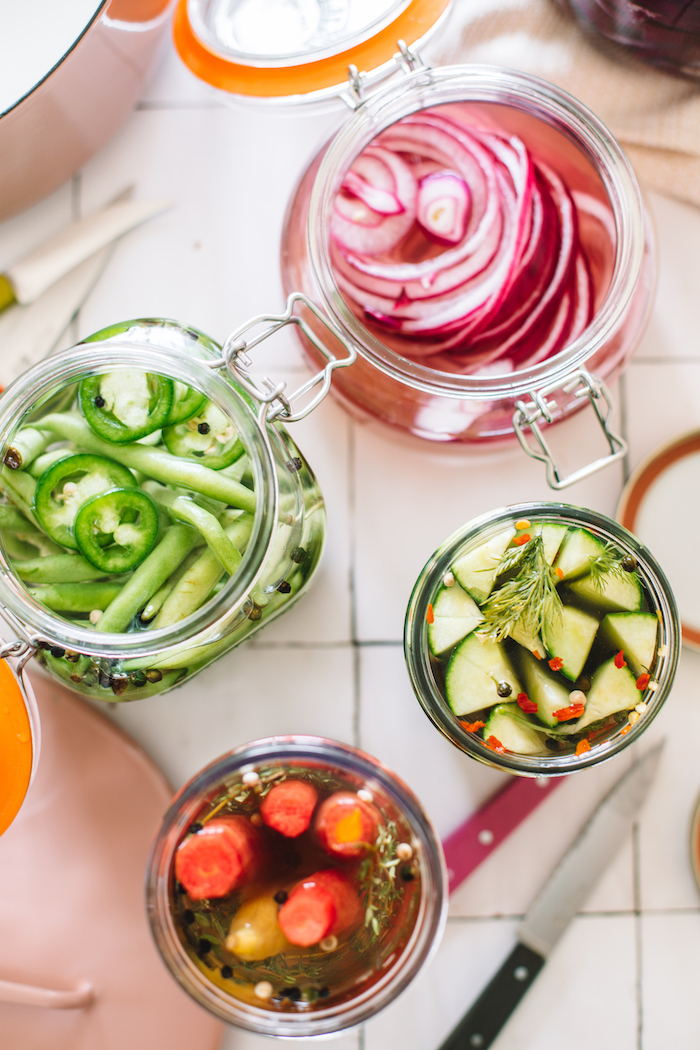
- Quick Pickled Red Onions – Red onion, sugar, apple cider vinegar
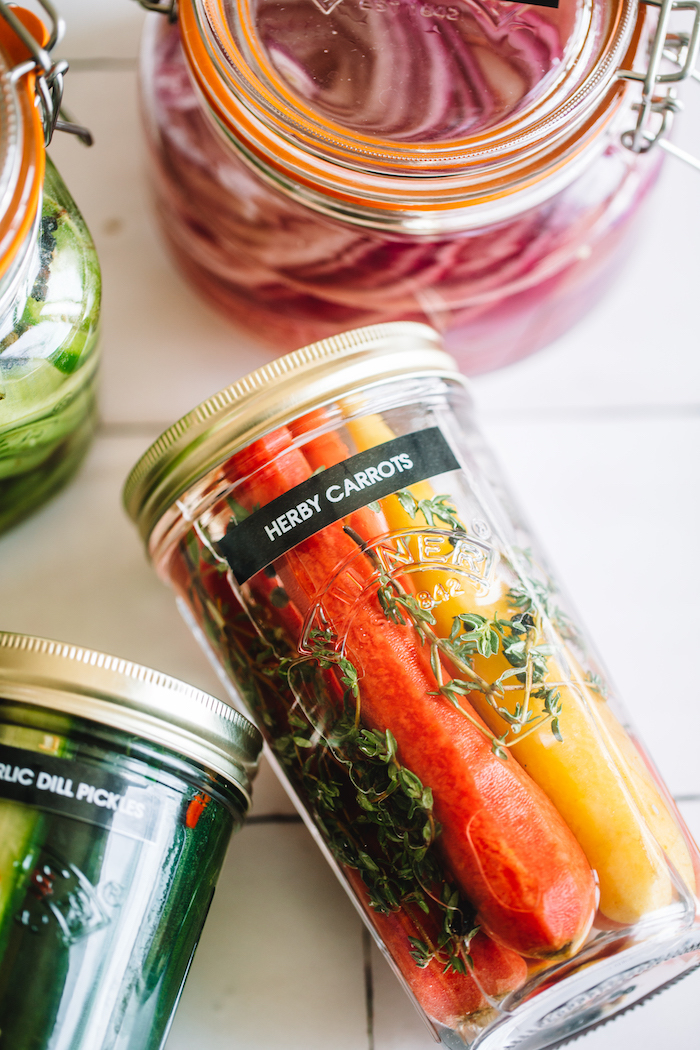
- Herby Carrots – Carrots, thyme, red chili flakes, brine
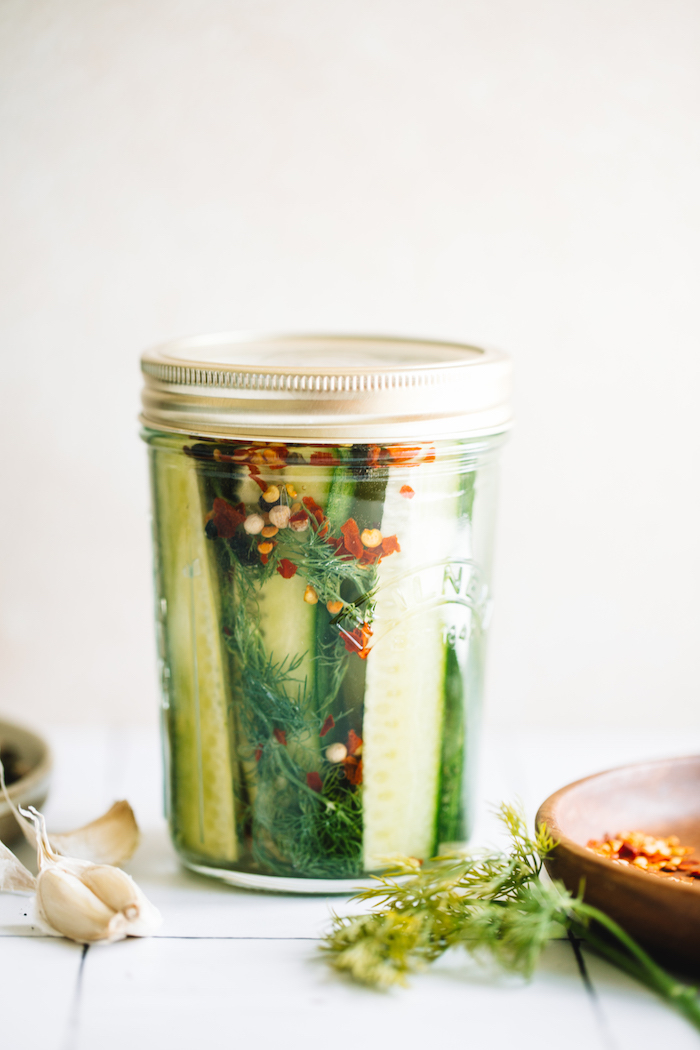
- Dill Pickles – Cucumber spears, fresh dill, black peppercorns
Simply follow the measurements below in the recipe card depending on the type of flavorings you choose.
Storage Instructions
These pickles are not canned, so they must be kept in the refrigerator to preserve their freshness and flavor.
Tightly sealed in a glass jar, they will last up to 2-3 weeks in the refrigerator.
How to Pickle Any Vegetable
Ingredients
- 2 lb fresh vegetables (red onions, carrots, cucumbers, etc.)
- 3 tsp whole spices, such as black peppercorns, coriander, mustard seeds (optional), can use 2-4 teaspoons
- 4 sprigs fresh herbs, such as thyme, dill, rosemary (optional)
- 2 tsp dried herbs or ground spices (optional)
- 4 cloves garlic, smashed or sliced (optional)
- 2 cups water
- 2 cups vinegar (white vinegar, apple cider, white wine, rice)
- 2 tbsp sugar (optional), can use up to 3 tablespoons
- 1 tbsp salt, can use up to 2 tablespoons
Instructions
- Go for whichever vegetable you are craving and cut them into spears, rounds, slices, whatever shape you’d like.
- Wash and label your jars.
- Divide out seasonings and spices into jars.
- Add the prepared vegetables to the clean jars
- Bring vinegar brine mixture to a boil, dissolving salt and sugar.
- Pour hot brine liquid carefully into the jars with a funnel.
- Gently tap the jars against the counter a few times to remove all the air bubbles. Top off with more brine if necessary.
- Cover the jars with lids and let cool on the countertop. Place into the refrigerator. They are pickled within 6-8 hours but develop much more flavor within 1-2 days.
- Note: These pickles are not canned. They can be stored in the refrigerator for up to 3 weeks.


