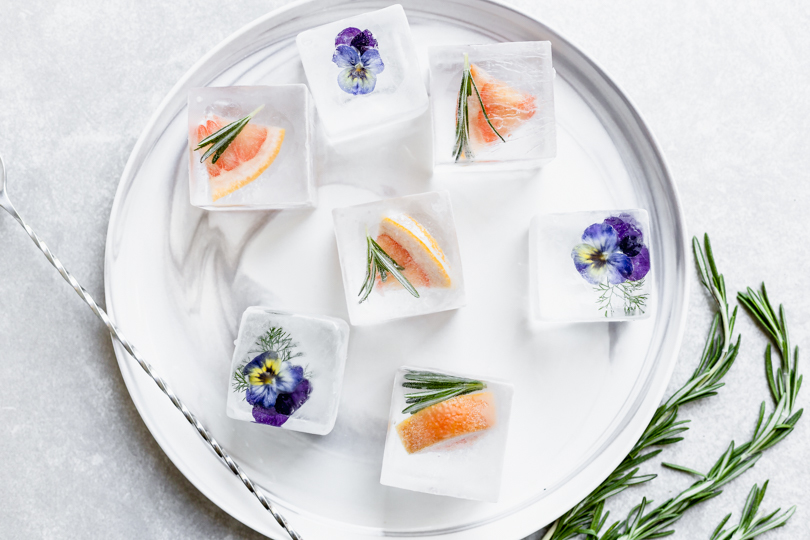

We’ve all seen floral ice cubes on Pinterest, but in practice, getting a garnish frozen AND visible in ice is tricky — the ice clouds up, the flower isn’t visible, or it floats and freezes into a weird shape. Using this technique and a special ice cube tray you can create a perfect ice “window” to show off a garnish and elevate any sipping drink.
So, let’s chat for a moment about ice, okay? There’s a reason you want your cocktail ice crystal clear, and it’s not just because it looks so dang pretty that way. Clear ice looks better but also melts more slowly (aka lasts longer) than cloudy ice. Plus, those clouds? They’re made up of minerals and trapped gas that can add off flavors to a drink. Clear ice is also purified ice, and since that melt water is eventually making its way into your mouth and onto your tastebuds, you want it to be as pure as possible.
As a full time cocktail maker, I go through a lot of ice. As a home cocktail maker, I don’t have to space (or, frankly, budget), to house an enormous professional clear ice machine. So what’s a perfectionist to do? If you’ve ever looked into making your own crystal clear ice (hello, endless YouTube tutorials), you know that the established at-home method involves storing an entire cooler full of water in your freezer and then cutting a big slab of ice by hand. While that method produces a whole lot of gorgeous, diamond-like ice, I’ve always found that I can’t devote that much freezer space (i.e. a whole cooler!) to artisan ice. My frozen burrito and popsicle collection needs some love, too.
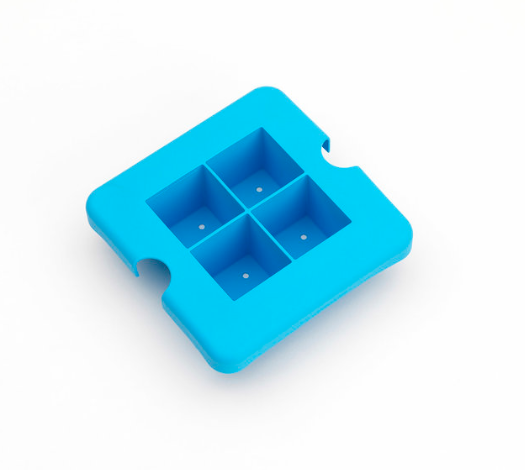
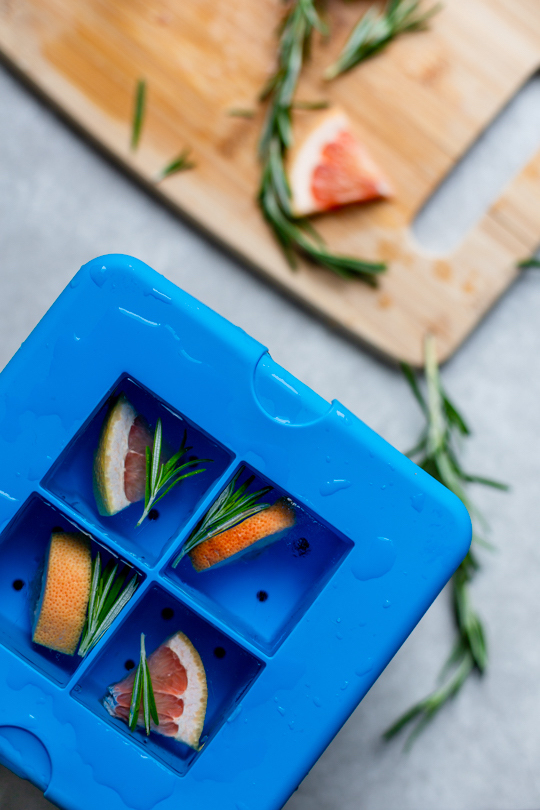
Enter this ice mold. It makes four cubes at a time (most clear ice molds only make one), but it takes up about a tenth of the space as a cooler would — there’s plenty of room for it even in my tiny apartment freezer. And now that I can get maintenance-free, purified clear ice, it’s all I ever use.
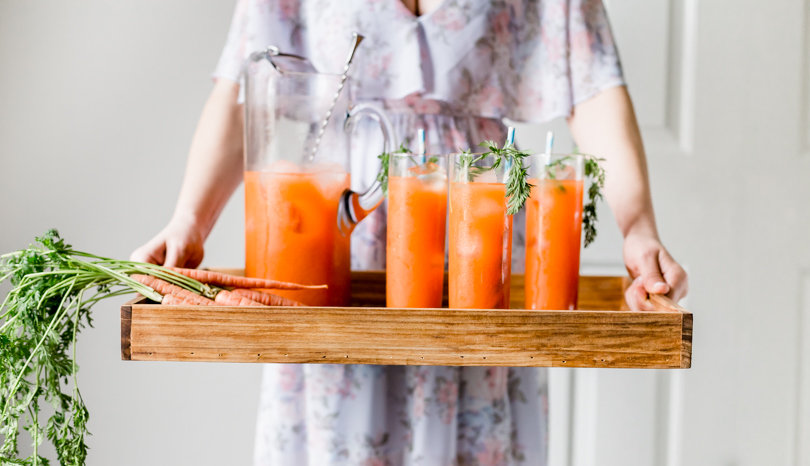
Now that we’ve covered ice clarity, let’s cover the garnish part. It’s no secret that I love a striking garnish — I think it’s important to set the tone for the drink (visual clues help you pick up flavor notes or even the overall vibe). But no one wants something that’s sliding around, in their face, or hanging off the side of their drink in an impractical way. The best garnishes, therefore (to me at least), are the ones that add to the cocktail’s aesthetic but don’t interfere with the way you consume it.
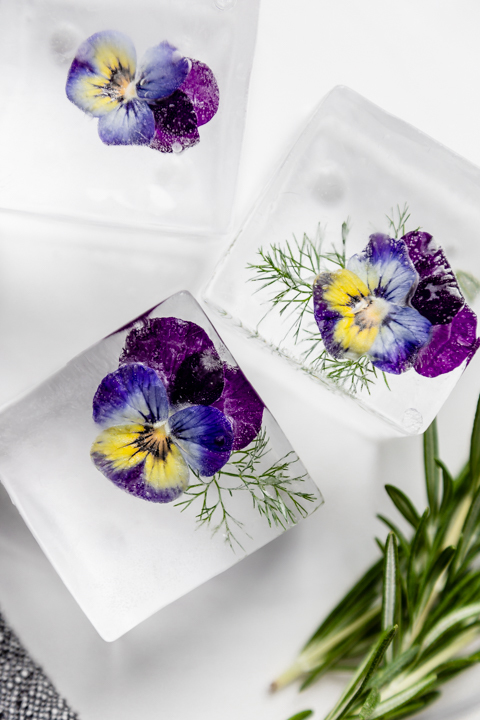
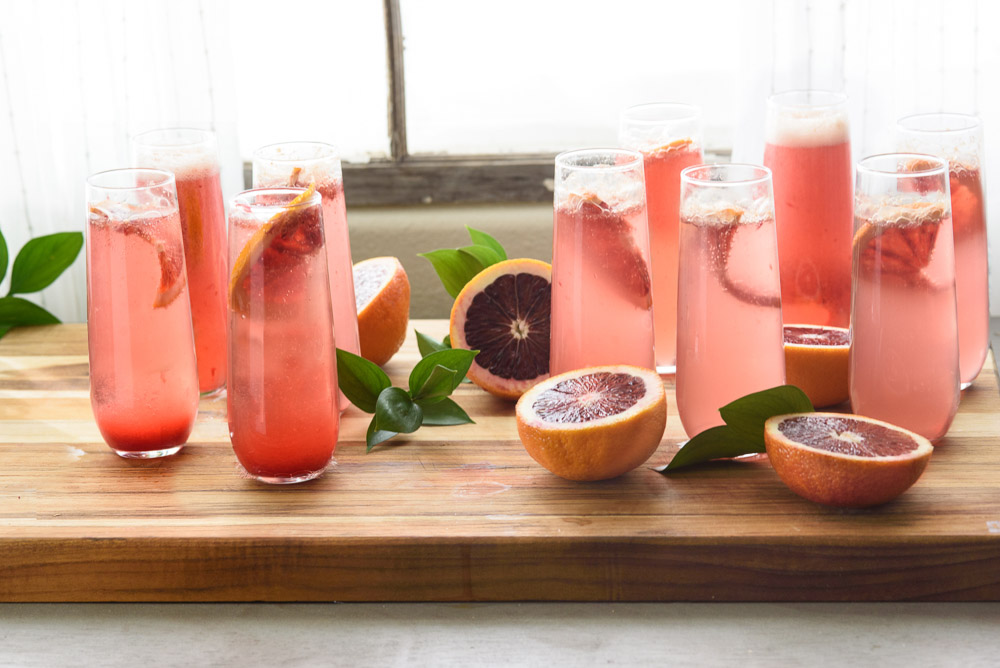
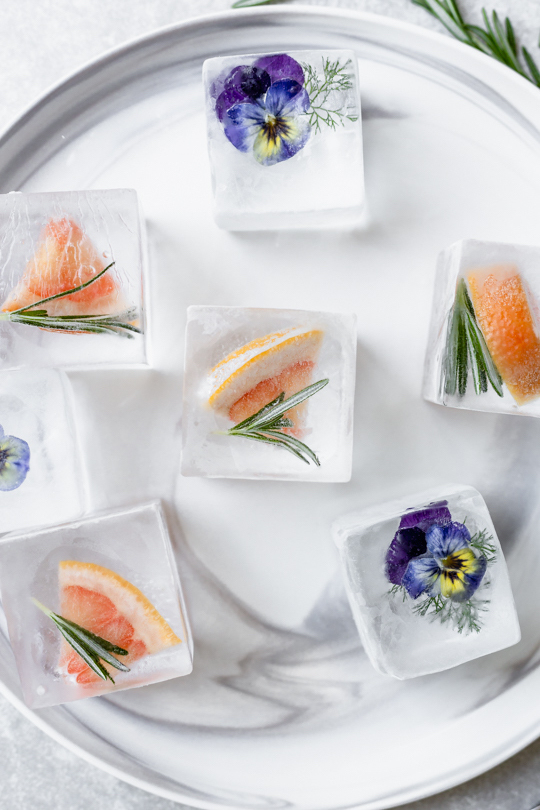
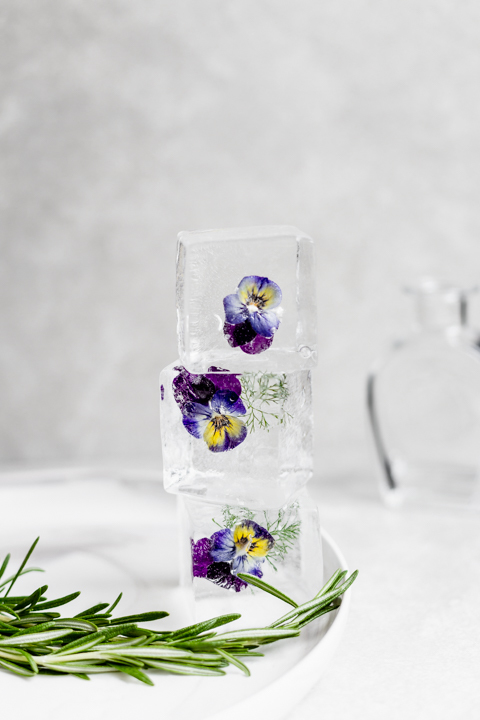
Window ice is a fantastic way to tackle that ideal-garnish challenge. Whatever is trapped in a large ice cube isn’t going to bop your face every time you take a sip. It’s also just so visually stunning it can instantly set that aesthetic tone you’re going for. Flowers for garden cocktails, citrus for something bright (or even to brighten up something heavy), herbs for freshness, action figures for fun… you name it, I’ve probably added it to my ice at some point.
Which is why I’ve perfected this method. You usually don’t want to just throw a garnish in the ice cube tray and freeze as usual — it’s going to float around, and you won’t have any real control over what the final cube looks like. If you want to arrange the garnish in a visually appealing way (which is kind of the whole point), just follow the simple steps below!
HOW TO:
(1) Fill an ice tray according to instructions with very hot but not boiling water and place on the bottom of your freezer (ideally not on a shelf).
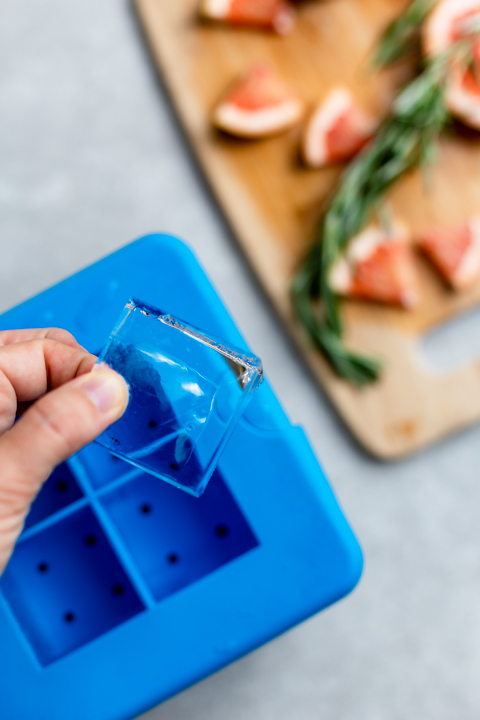
(2) Let freeze for roughly six hours, until a thin but solid layer has formed on top. Remove this layer with your fingers and briefly set aside.
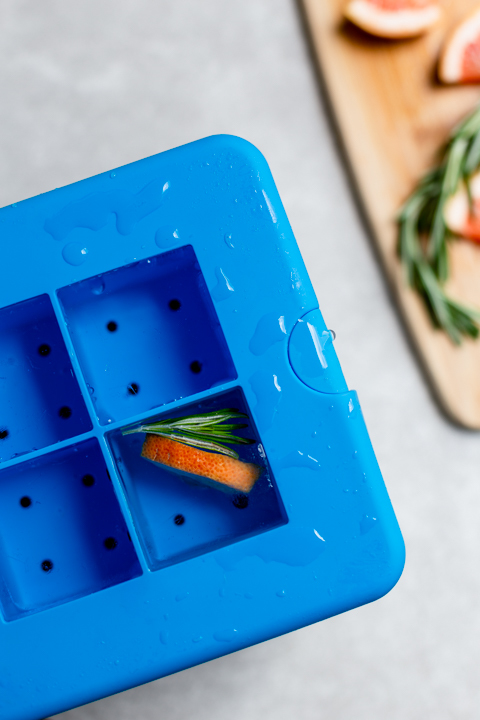
(3) Float and arrange your garnish on top of the unfrozen water left in the tray. Replace the thin ice window on top — this is the tricky part. You want to slide it back on at an angle to let all the bubbles escape (don’t trap too much air in there), using your fingers to anchor the garnish in place if you need to.
(4) Put the tray back in the freezer and let freeze completely. Remove according to the ice tray’s instructions.
Note: you can still make window ice with a normal big cube tray. Just be aware that you will end up with cloudiness under the garnish window (i.e. your garnish will still be visible, but only from the top).