Fermentation is an ancient technique that has become trendy again and with good reason: not only do fermented foods have an irresistible tangy flavor, but they also carry multiple health benefits.
Fermenting preserves vegetables raw, so the vegetables retain all of their natural vitamins and minerals. On top of that, the fermentation process makes those nutrients easier for our bodies to absorb as well as creating probiotics to support the immune system and aid in digestion. No wonder fermented foods like sauerkraut are super-hot these days!
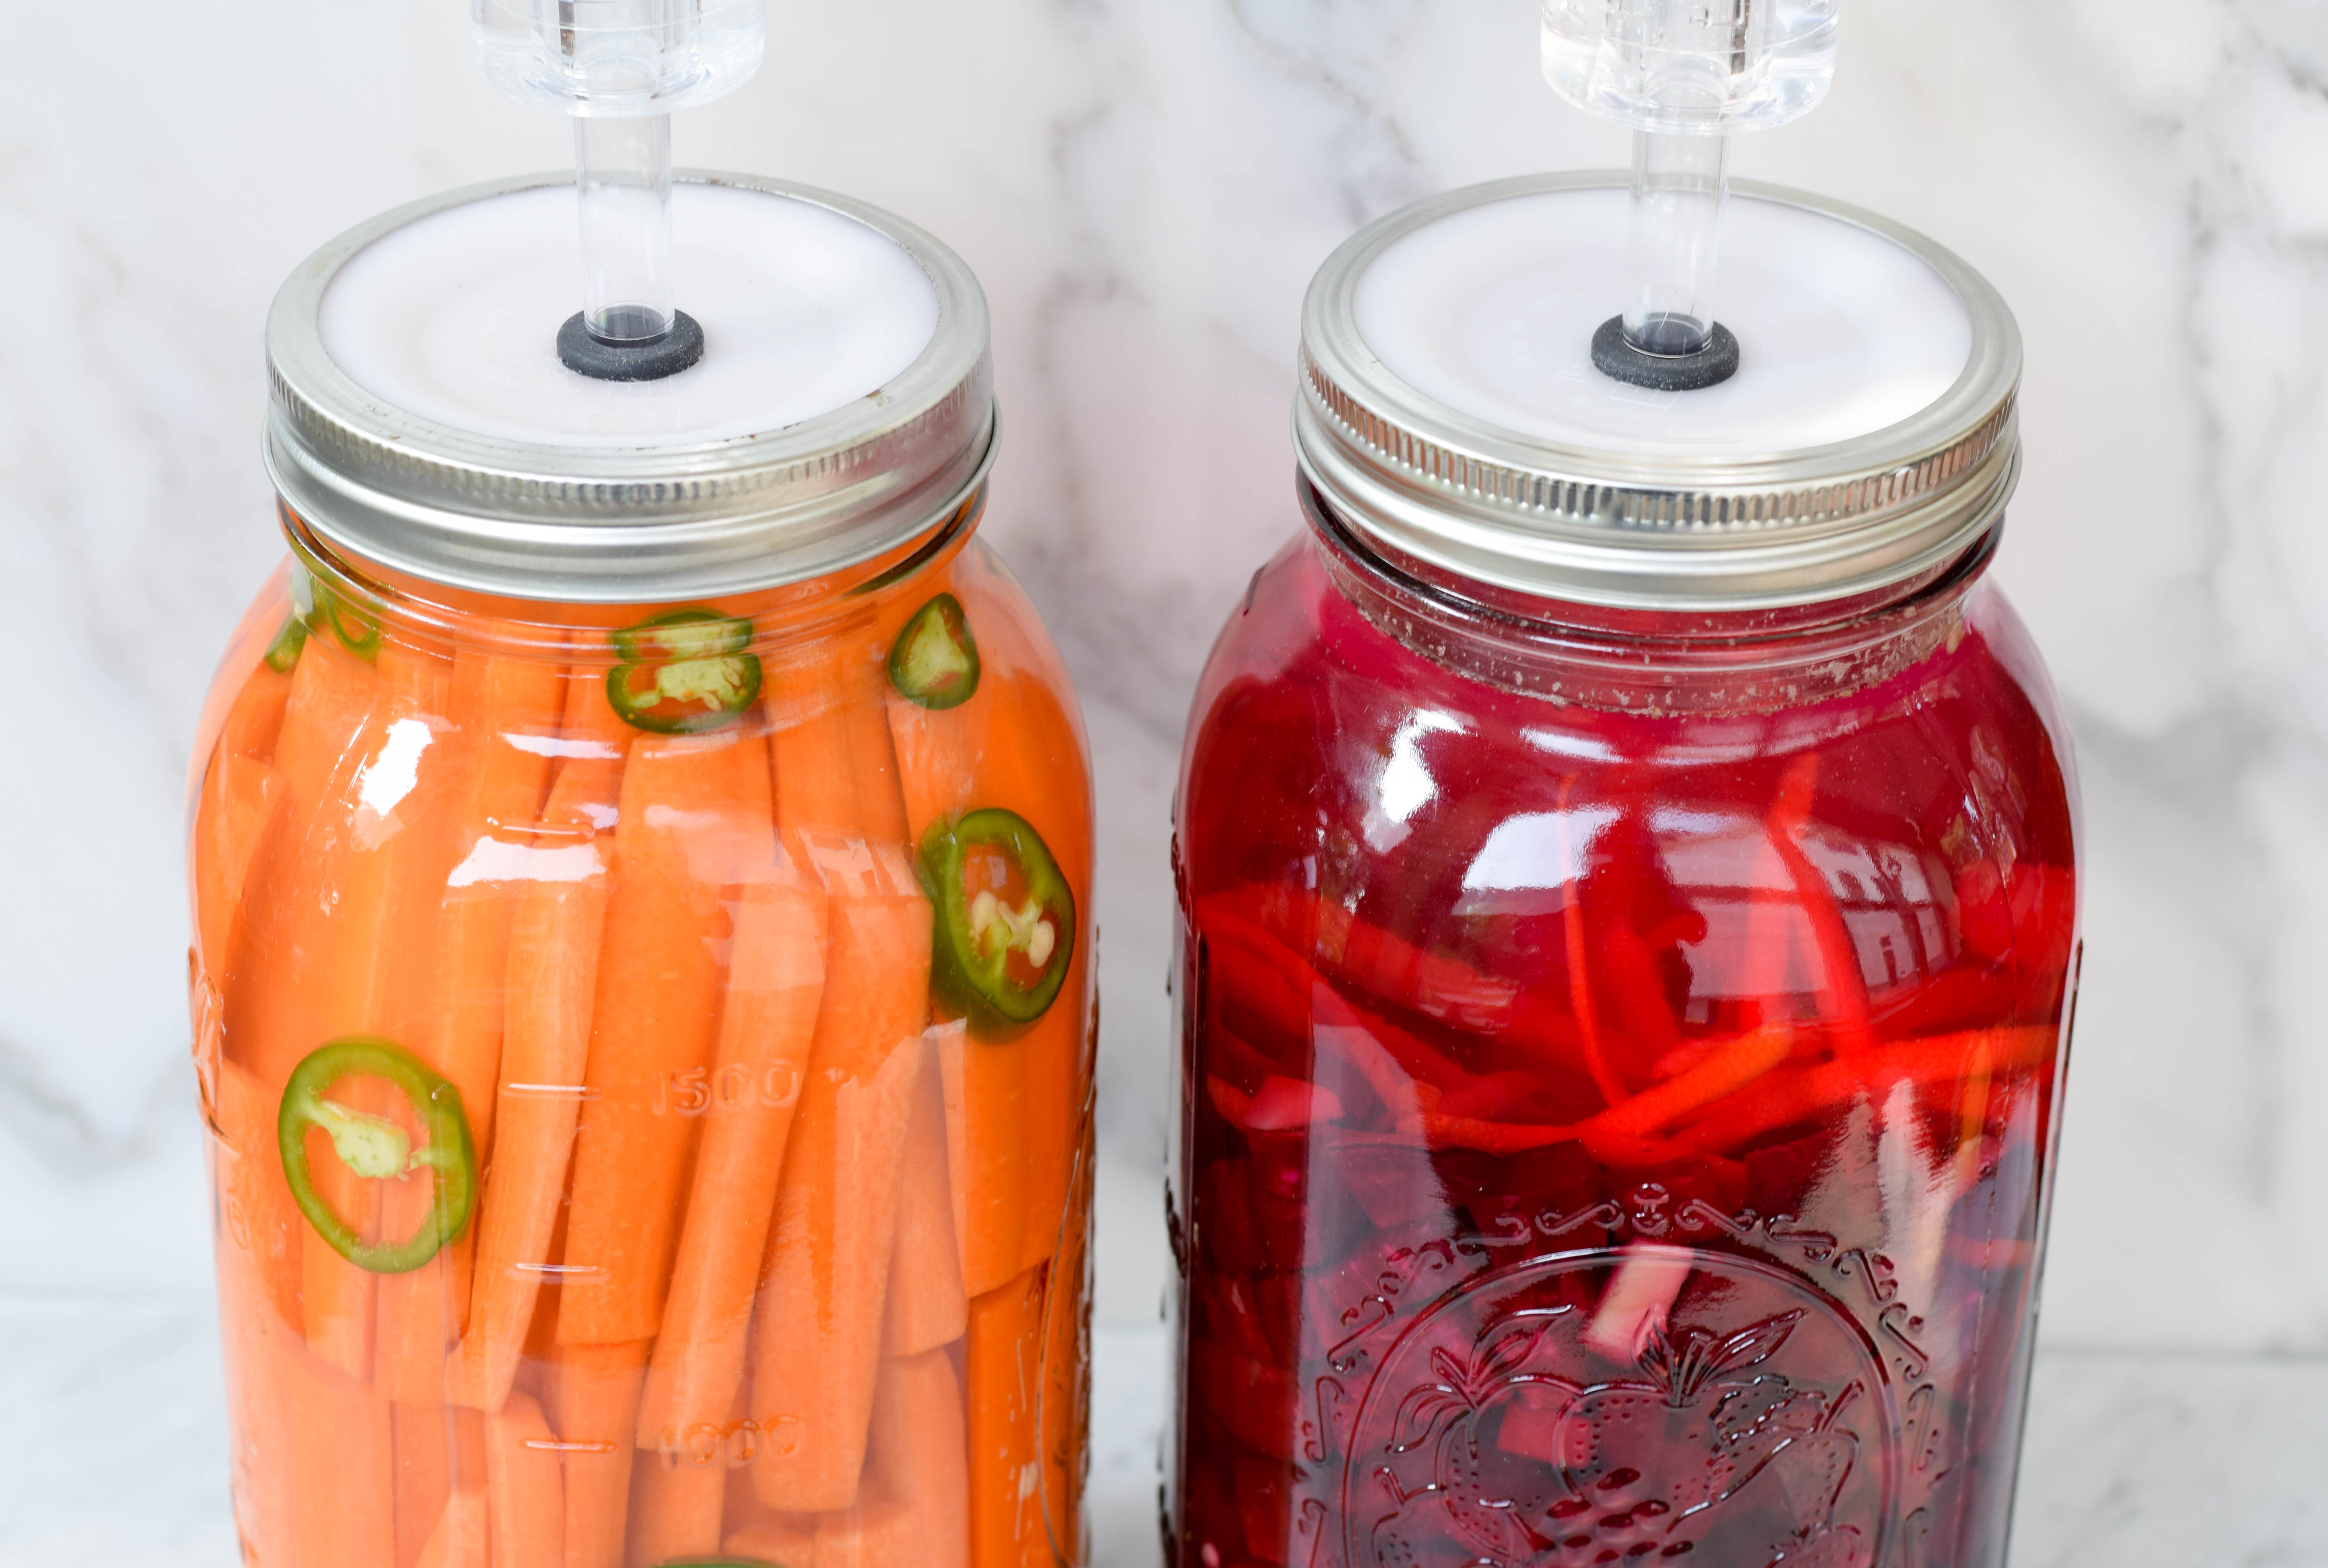
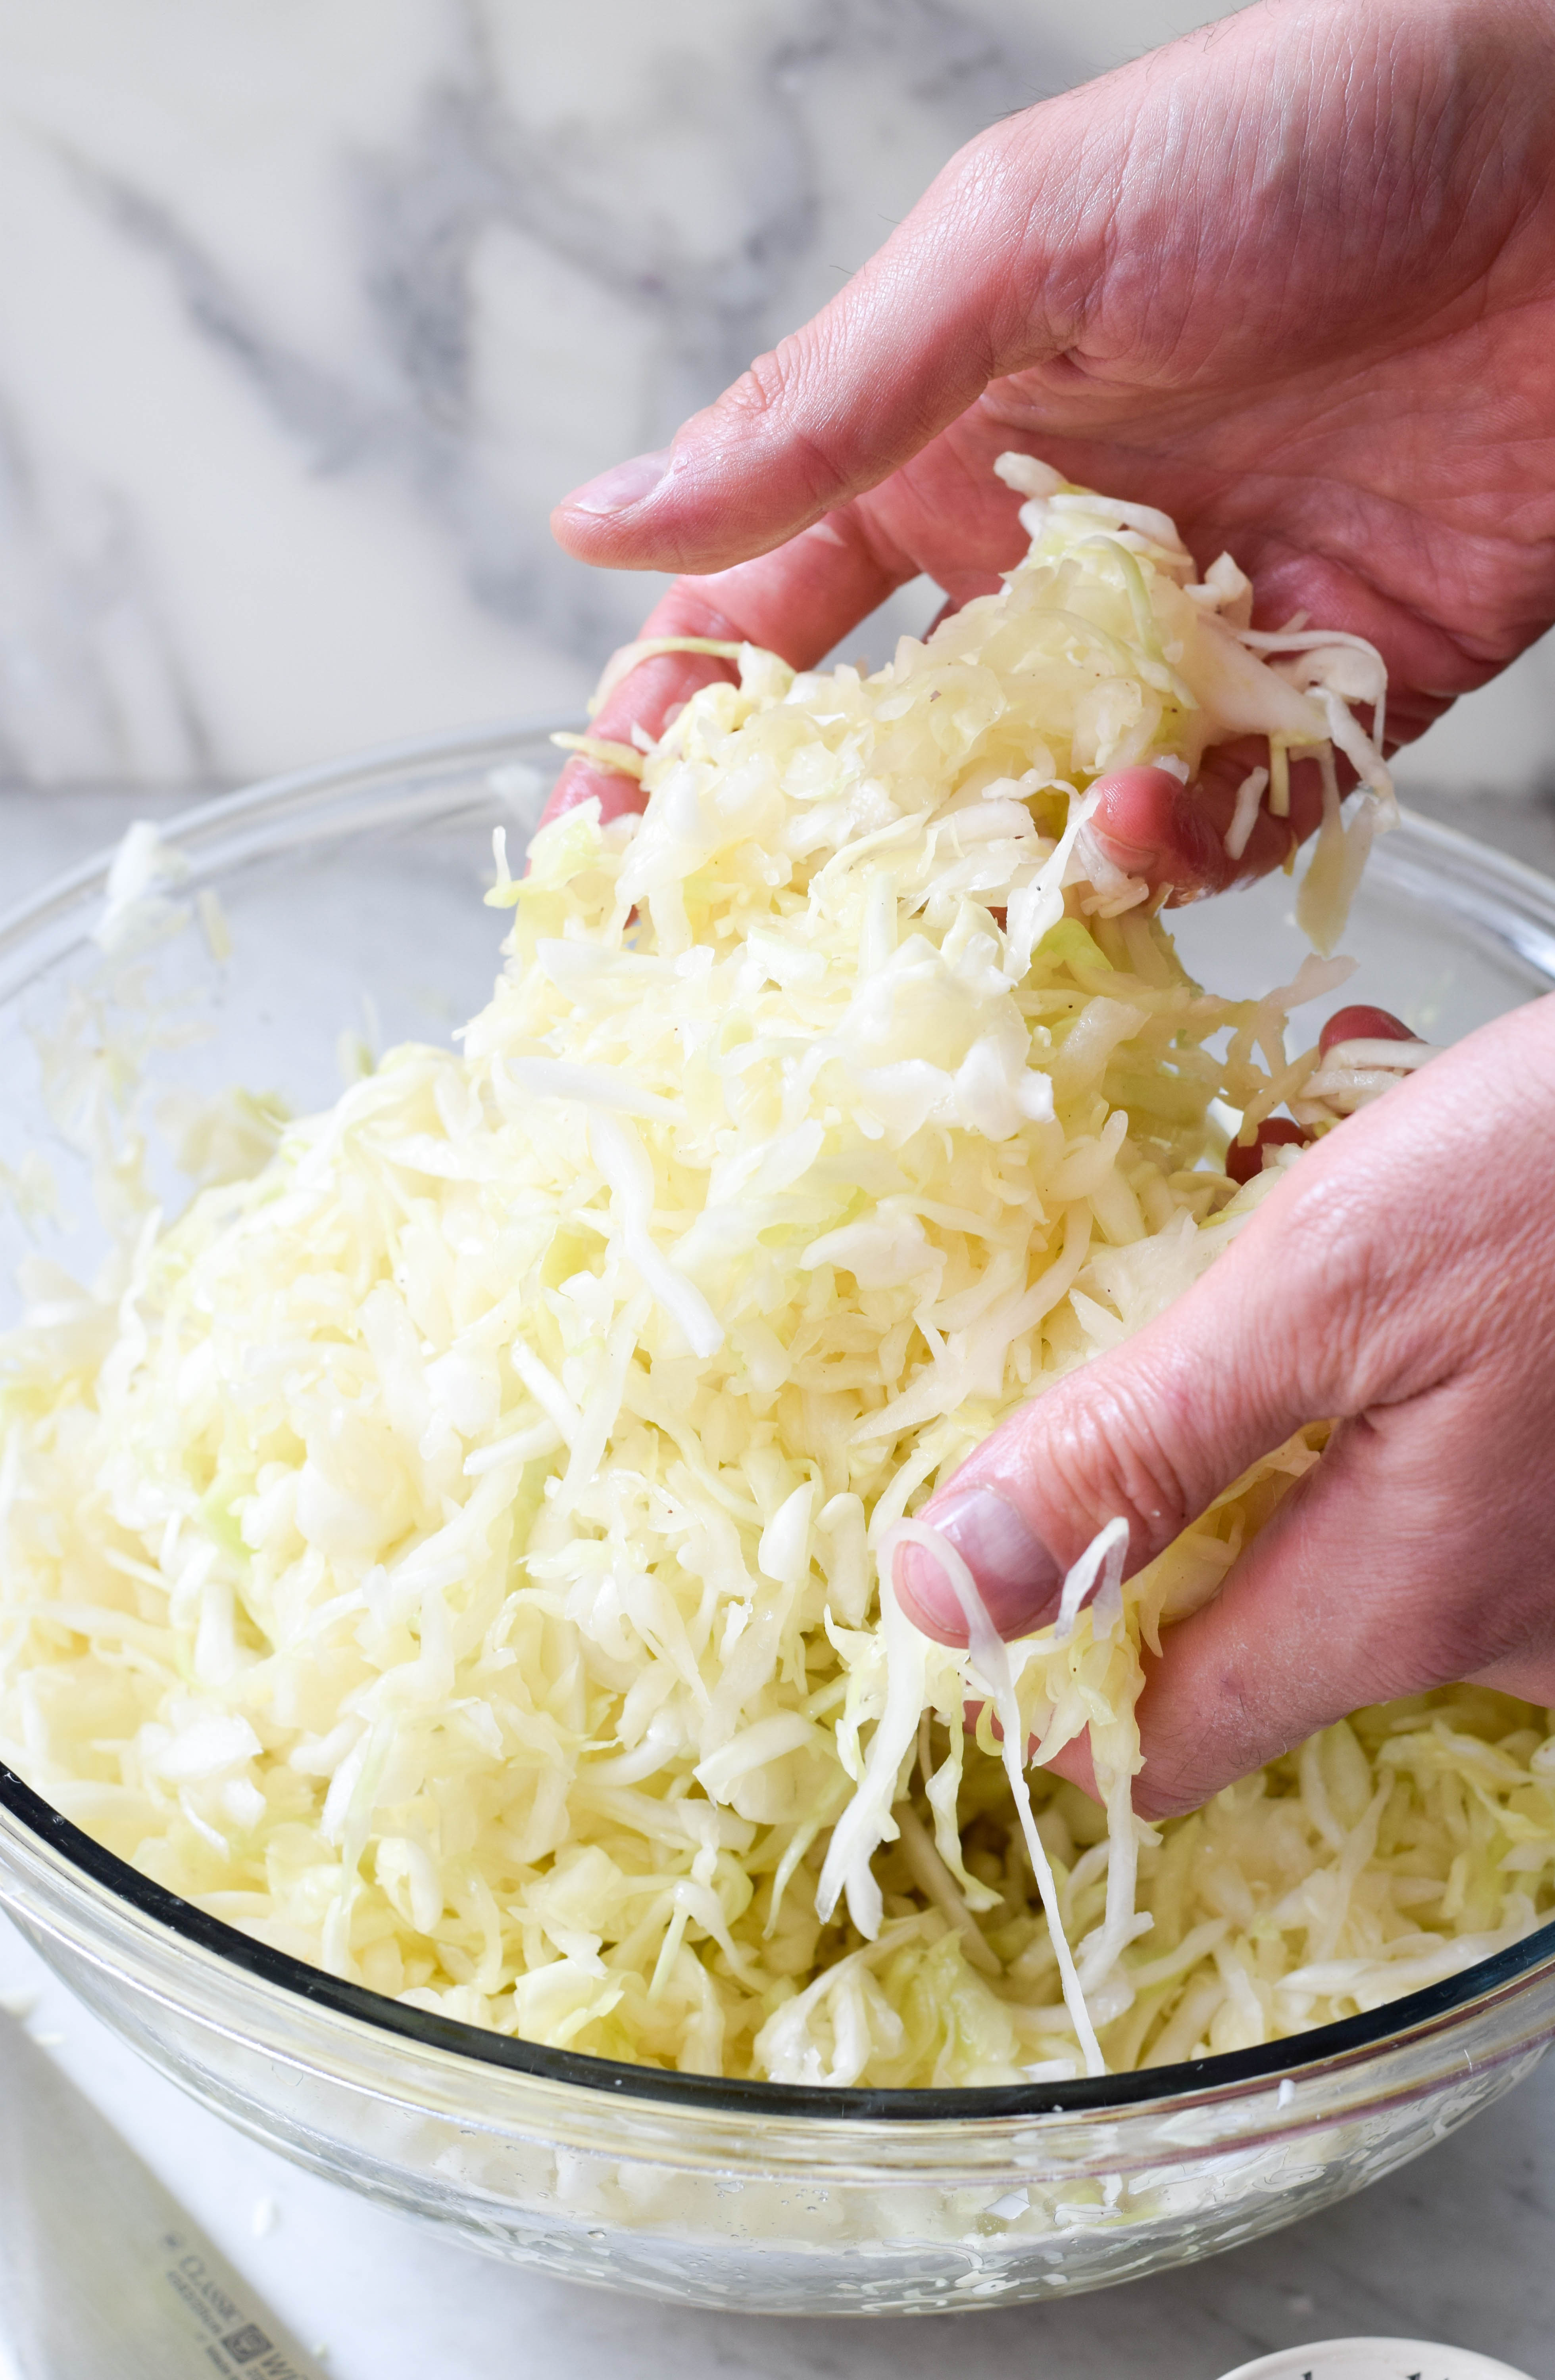
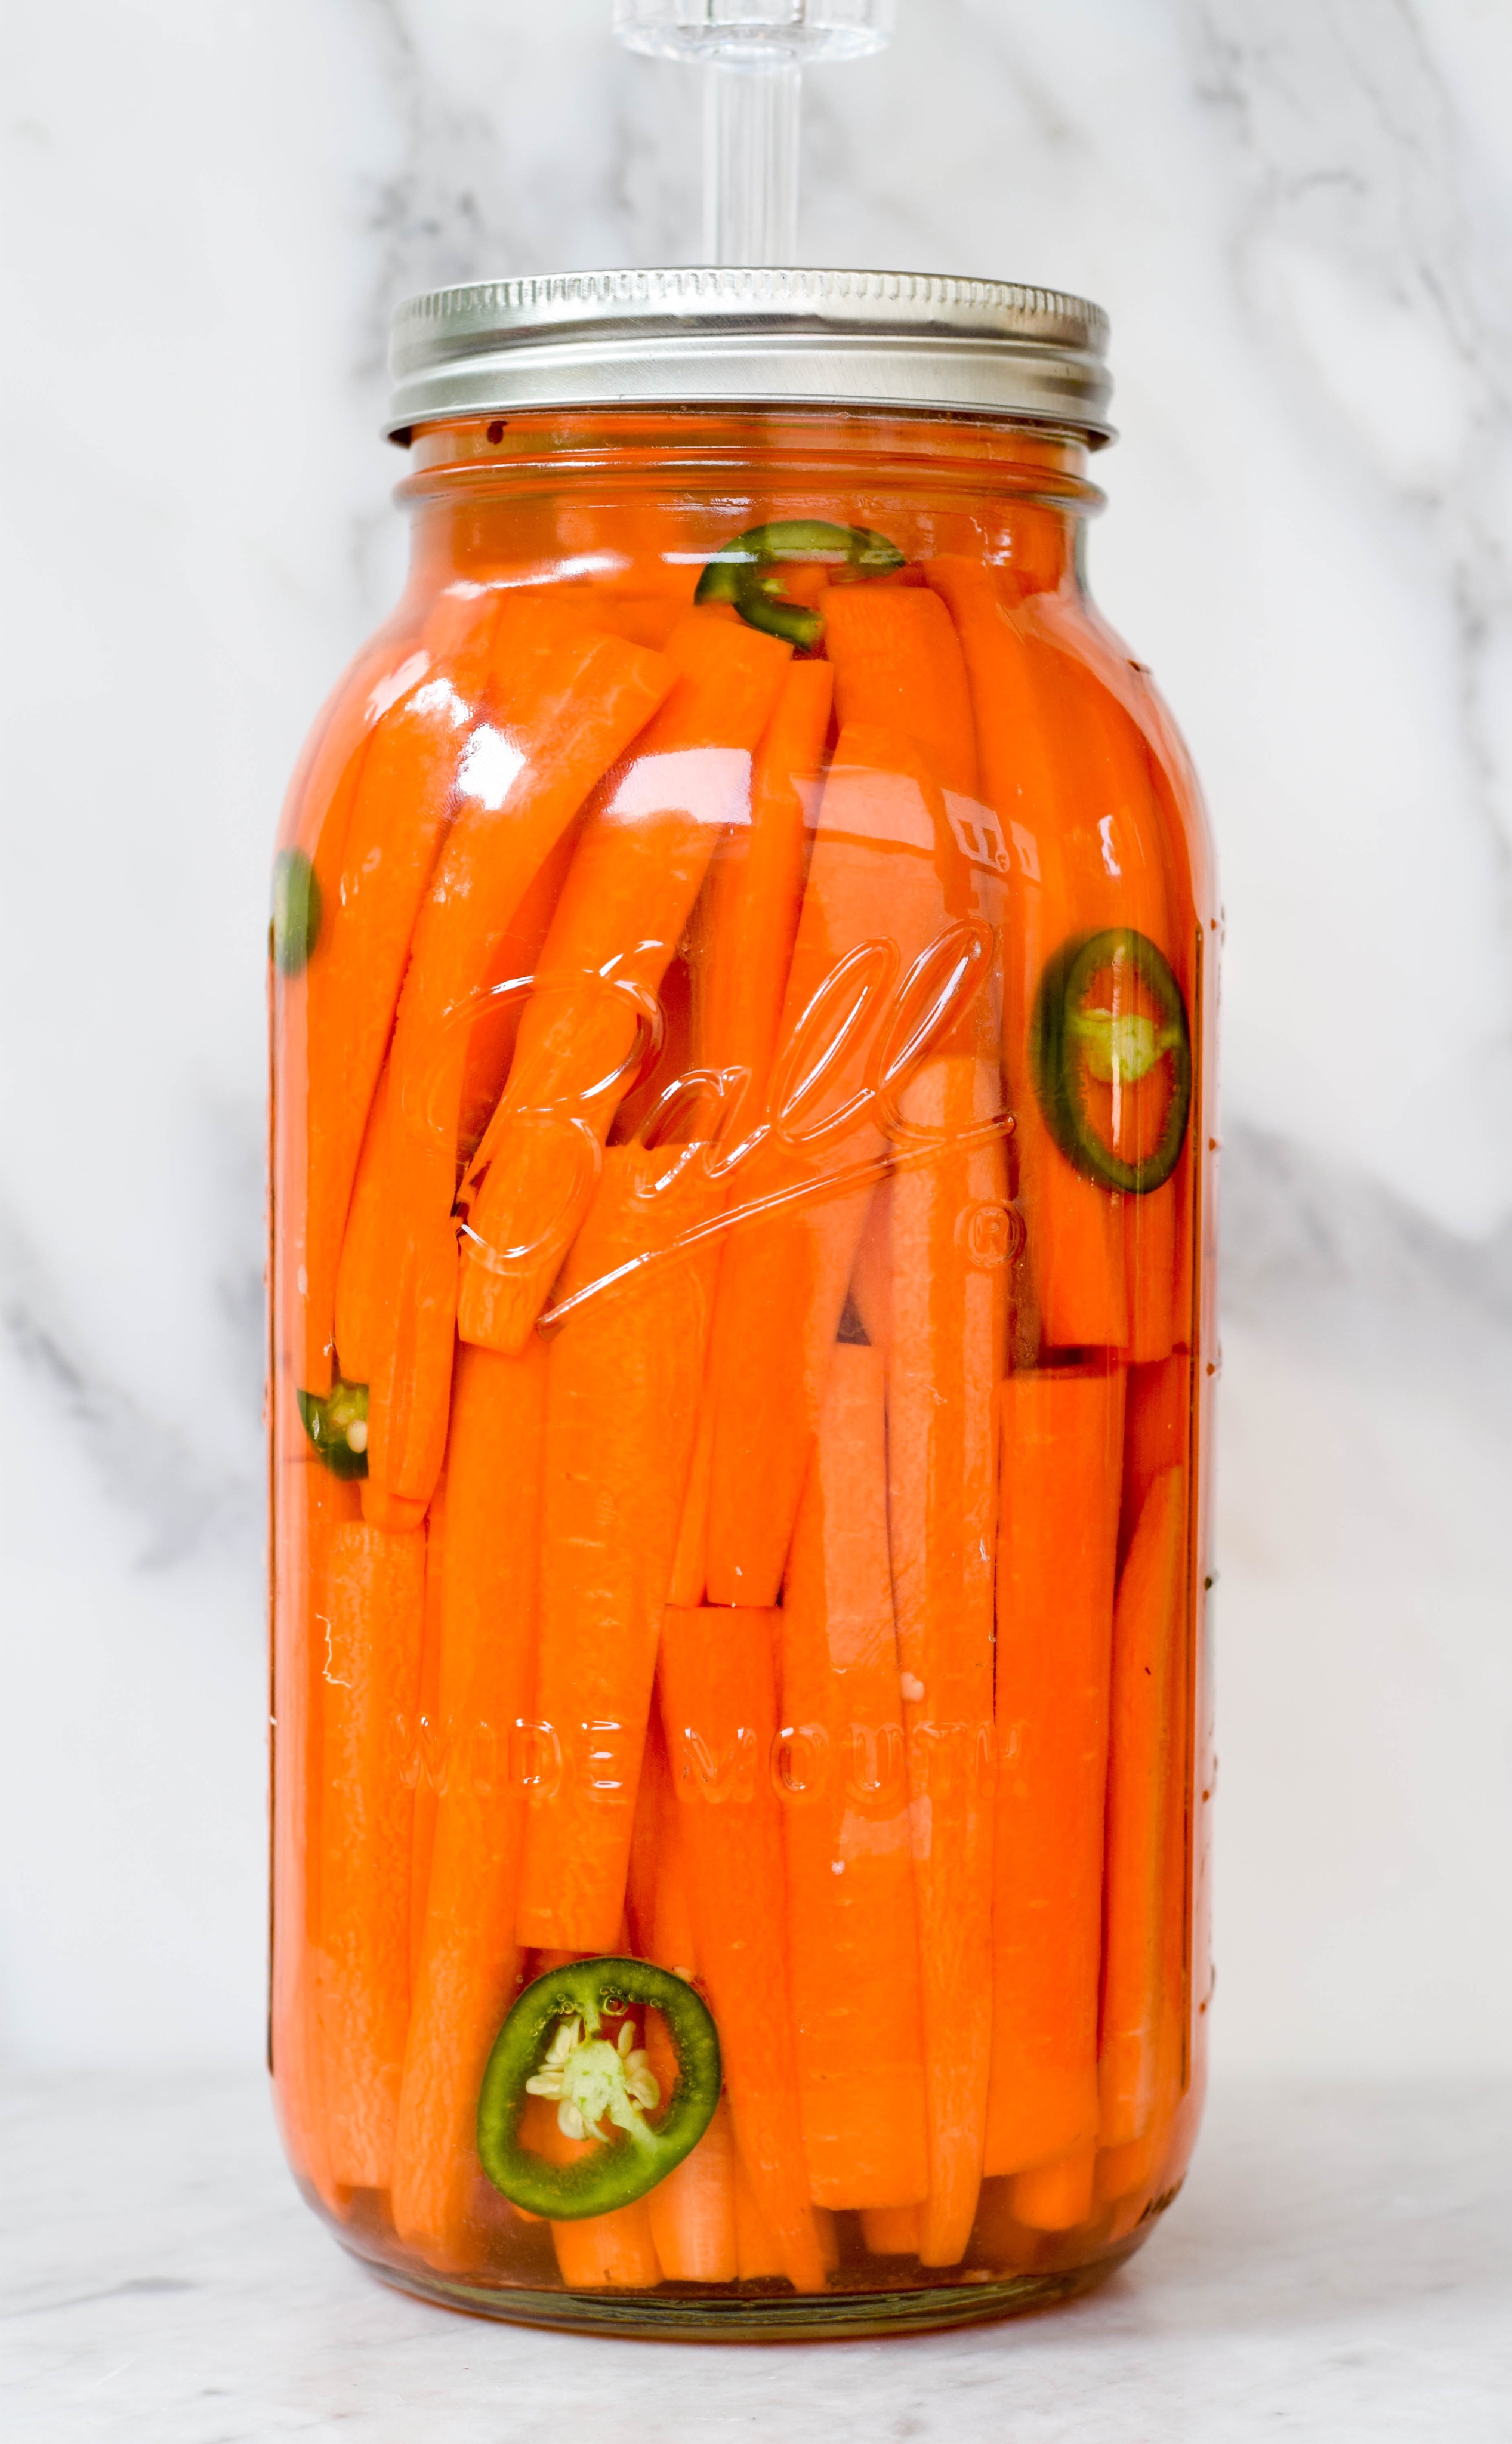
How does fermentation work? First, vegetables are submerged in a salt-water brine. Some vegetables, like cabbage, contain enough water that they will create their own brine when salted. For firmer vegetables, like carrots, you create a brine by dissolving salt into water. The brine attracts naturally occurring good bacteria, otherwise known as probiotics, that turn foods’ sugars into lactic acid, creating a tangy flavor, and prevents spoilage by creating an anaerobic, or no-oxygen, environment.
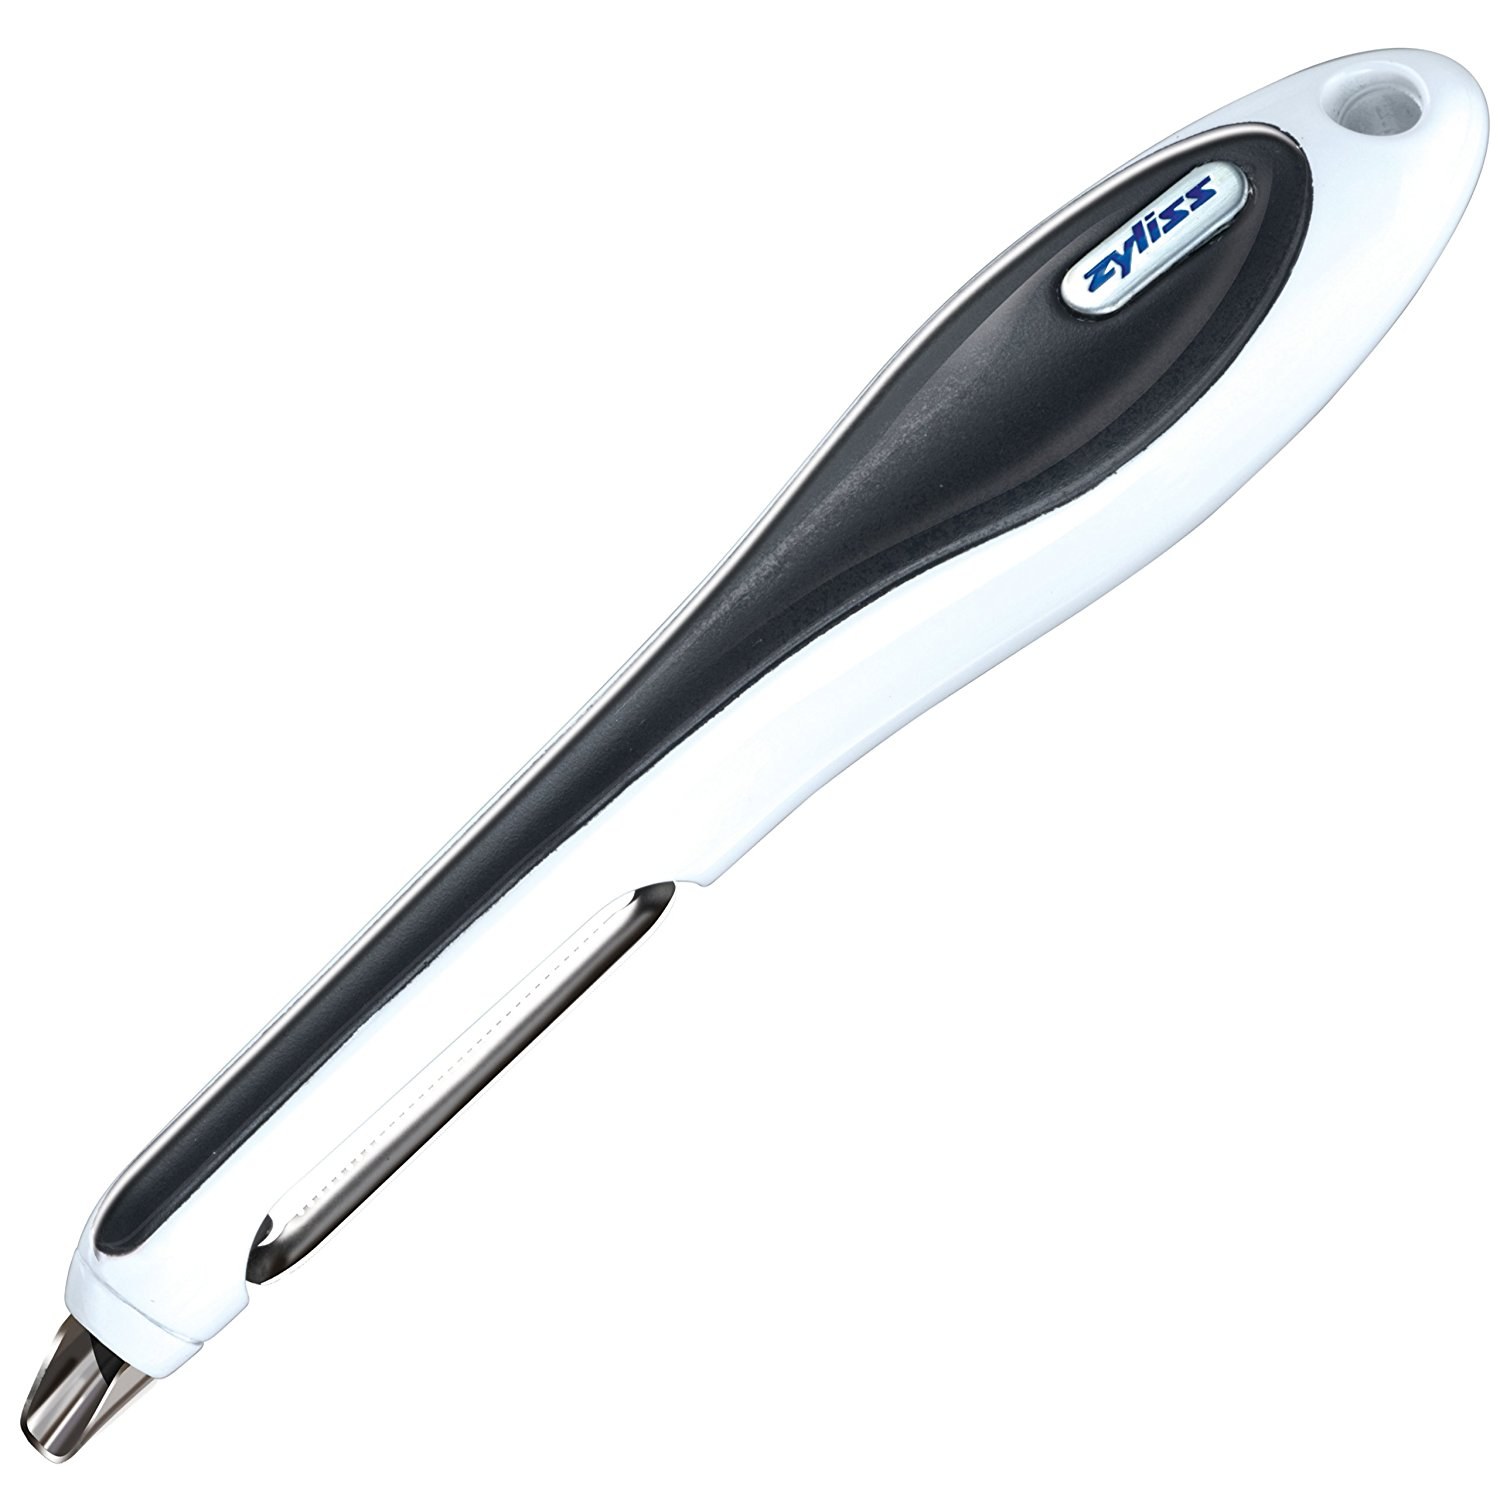
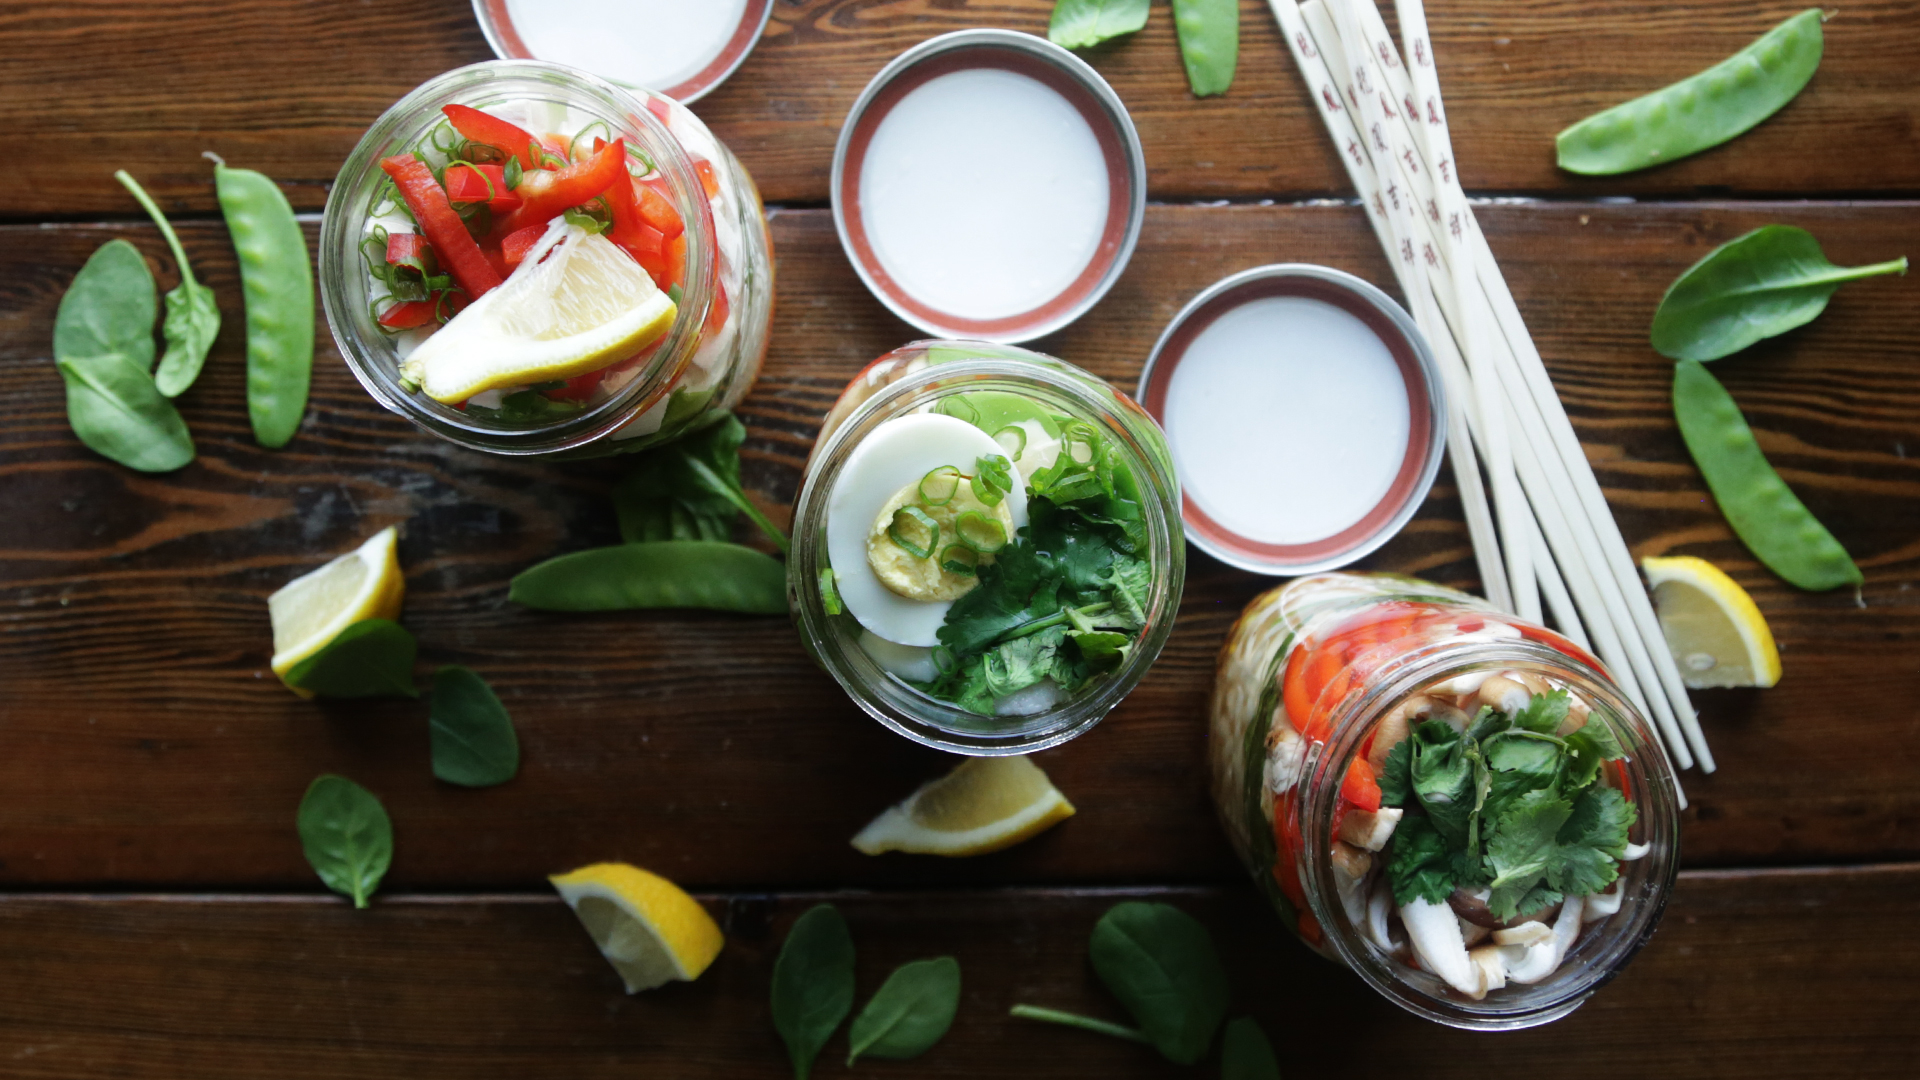
The basic procedure for making fermented vegetables involves first creating the salt water brine. Then, you prepare your vegetables by washing, peeling and chopping them. Place the vegetables and any seasonings in clean jars or crocks and cover them with brine. It may be necessary to place weights on the vegetables to keep them submerged. Cover the fermenting vessel to keep out dirt, but allow for airflow by either using cheesecloth or a lid with an airlock. Store your ferment in a cool place and check for mold or yeast regularly. (If you see some, simply skim them off the surface of the brine.) In one to two weeks, you will have your own healthy and tangy fermented vegetables pickles!
Fermenting can seem intimidating, but it is actually relatively straightforward. There are just three important factors to keep in mind: salt, temperature and time. Having the correct ratio of salt to water is critical for allowing fermentation to take place. Too little salt and the brine will not attract probiotics; too much salt and the product will ferment too quickly, which makes it mushy. The proper ratio is between 2 and 5% salt to water by weight. (By volume, try 1/2 cup of salt per 1 gallon of water.) Look for salt that is additive-free, such as kosher or sea salt. Chlorine can inhibit fermentation: so try to use filtered water, spring water or boiled water.
The second important factor is having a successful ferment is temperature. Too cold and fermentation cannot take place. Too warm and the process will speed up which can lead to mold or yeast growth. Store fermenting products in a dark place in your home that is between 65 and 75 degrees. A closet or basement is ideal.
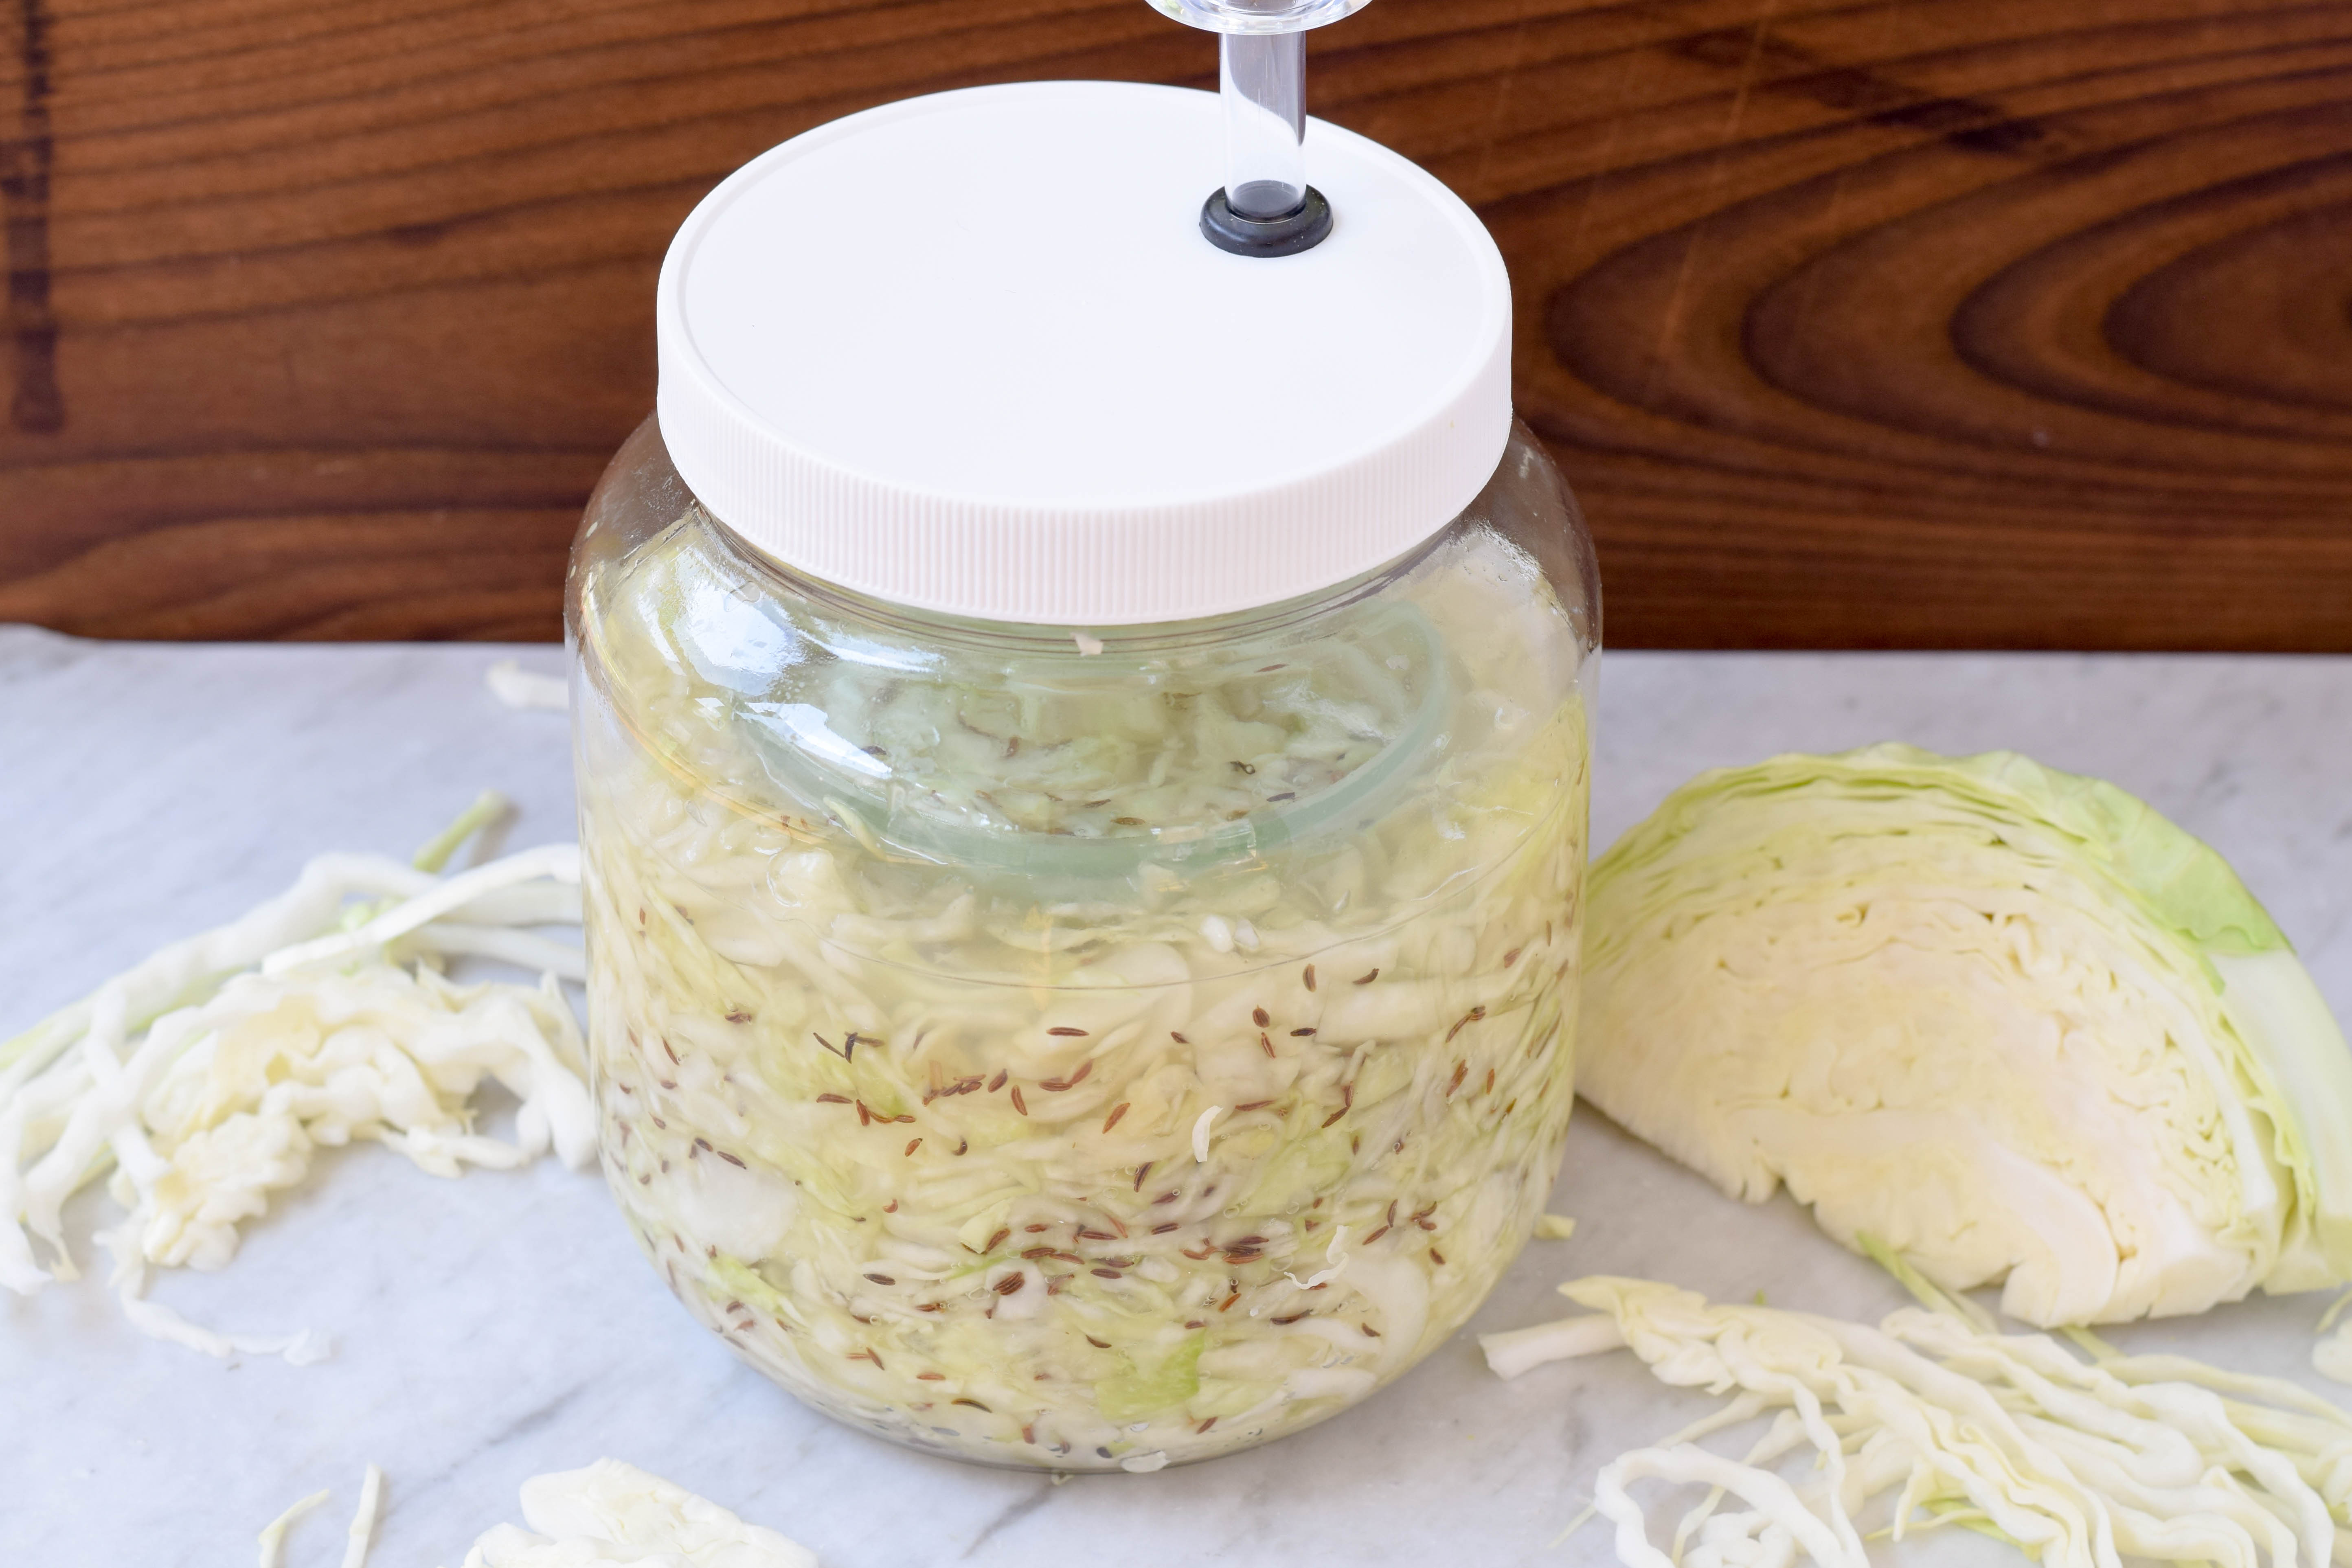
The last factor is time. How do you know fermentation is happening? There are visual clues such as a cloudy brine and bubbles. A strong smell is another sign of fermentation. (But you can avoid unpleasant odors by using an airlock, as I will explain below.) Begin tasting your vegetables after a five or six days. If they taste salty, give the process more time. When your fermented pickles are sour and tangy and to your liking, they are done. At that point, move your ferment to fridge to stop fermentation process.
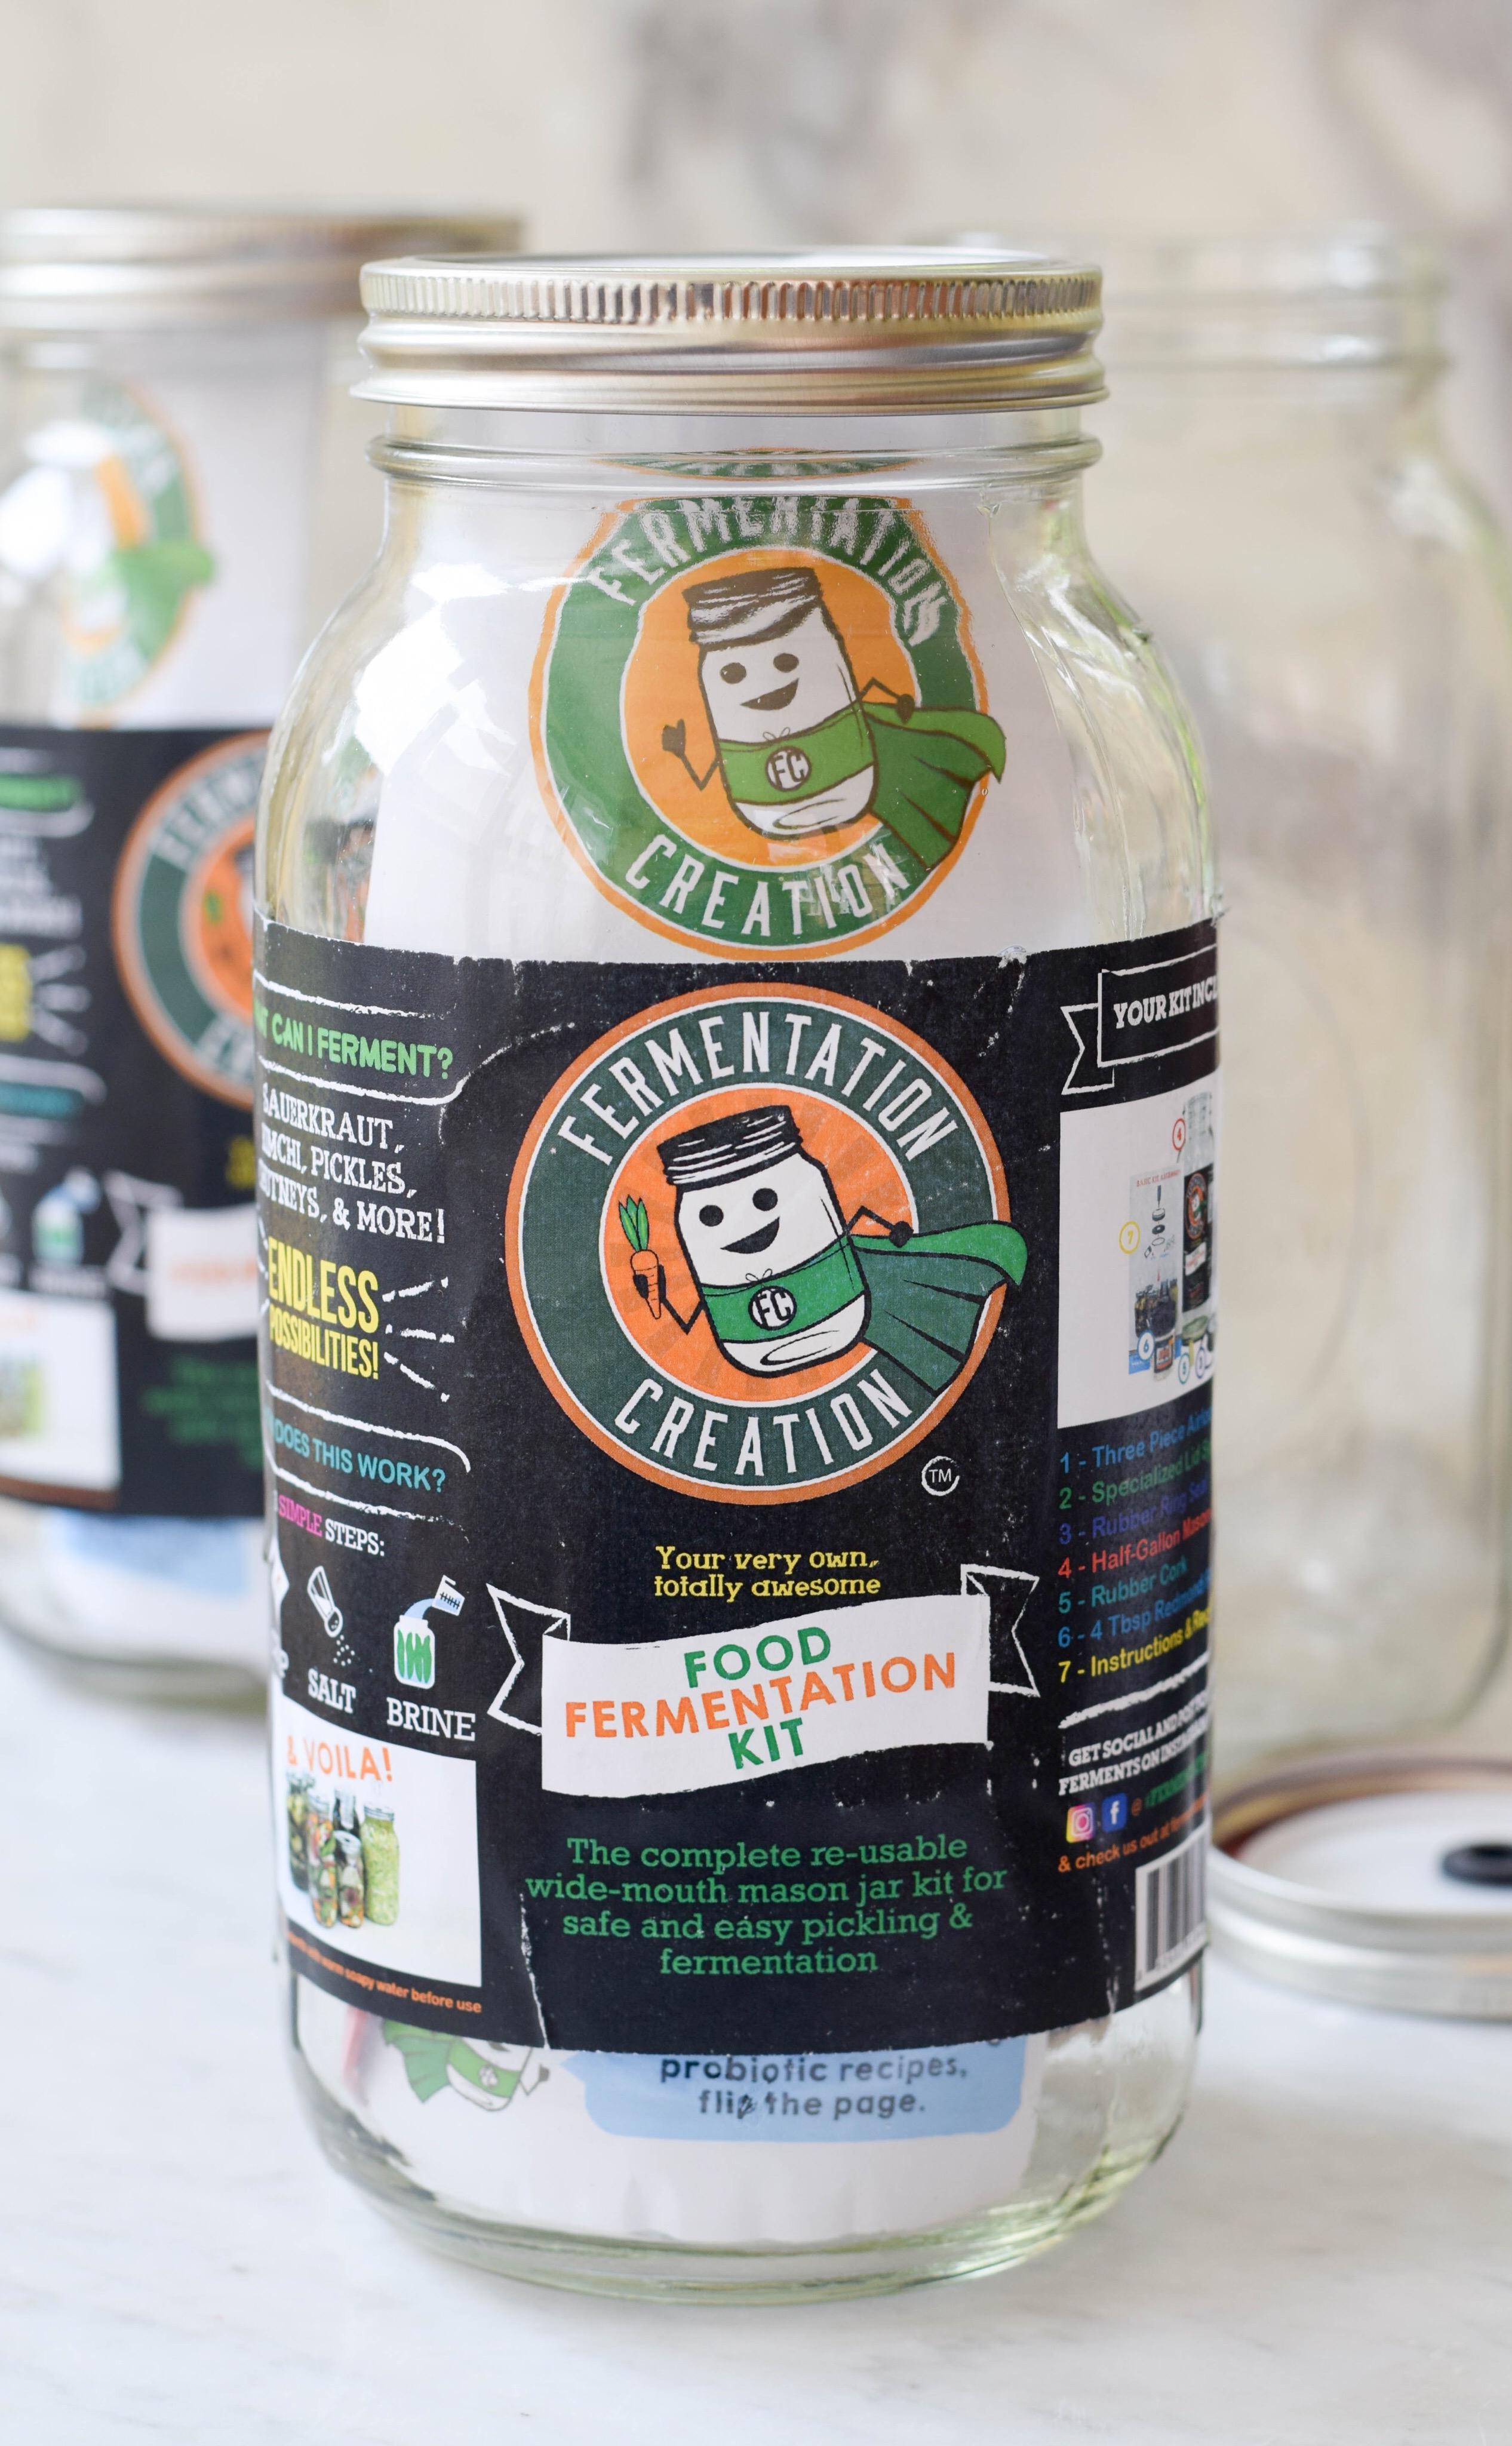
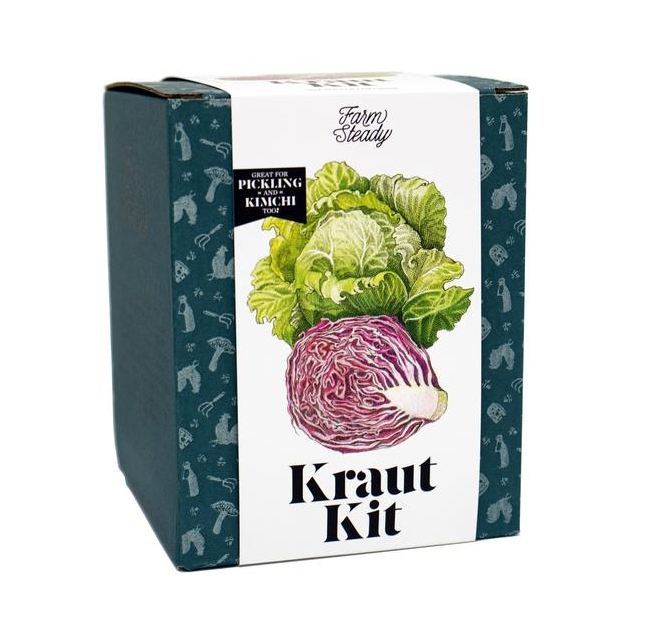
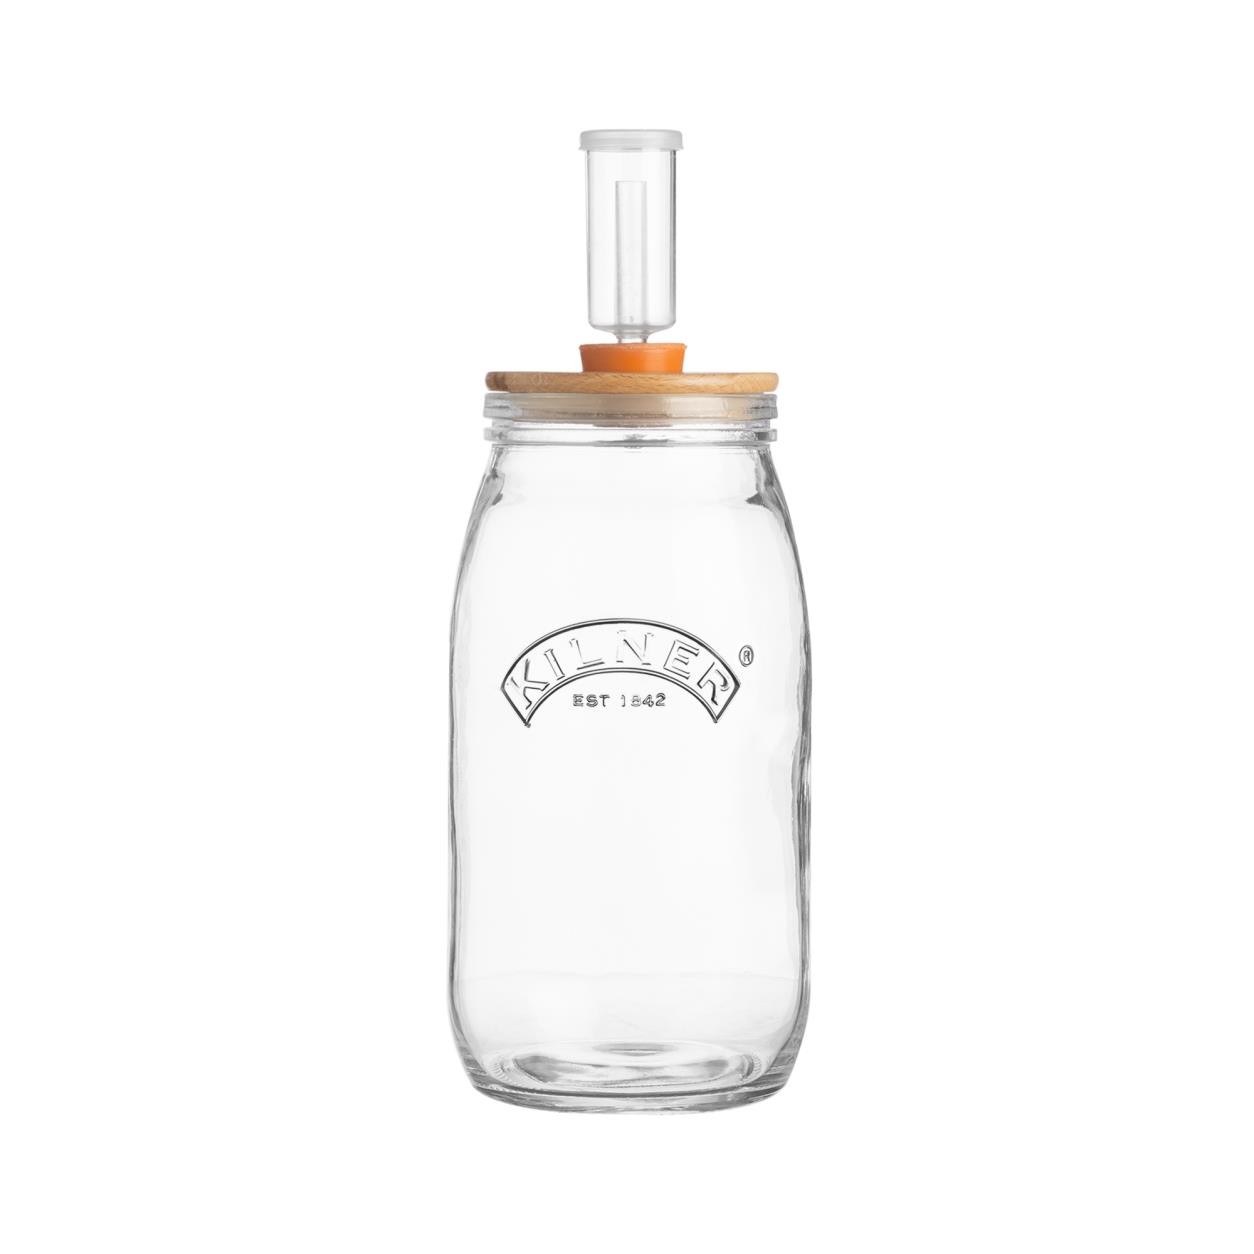
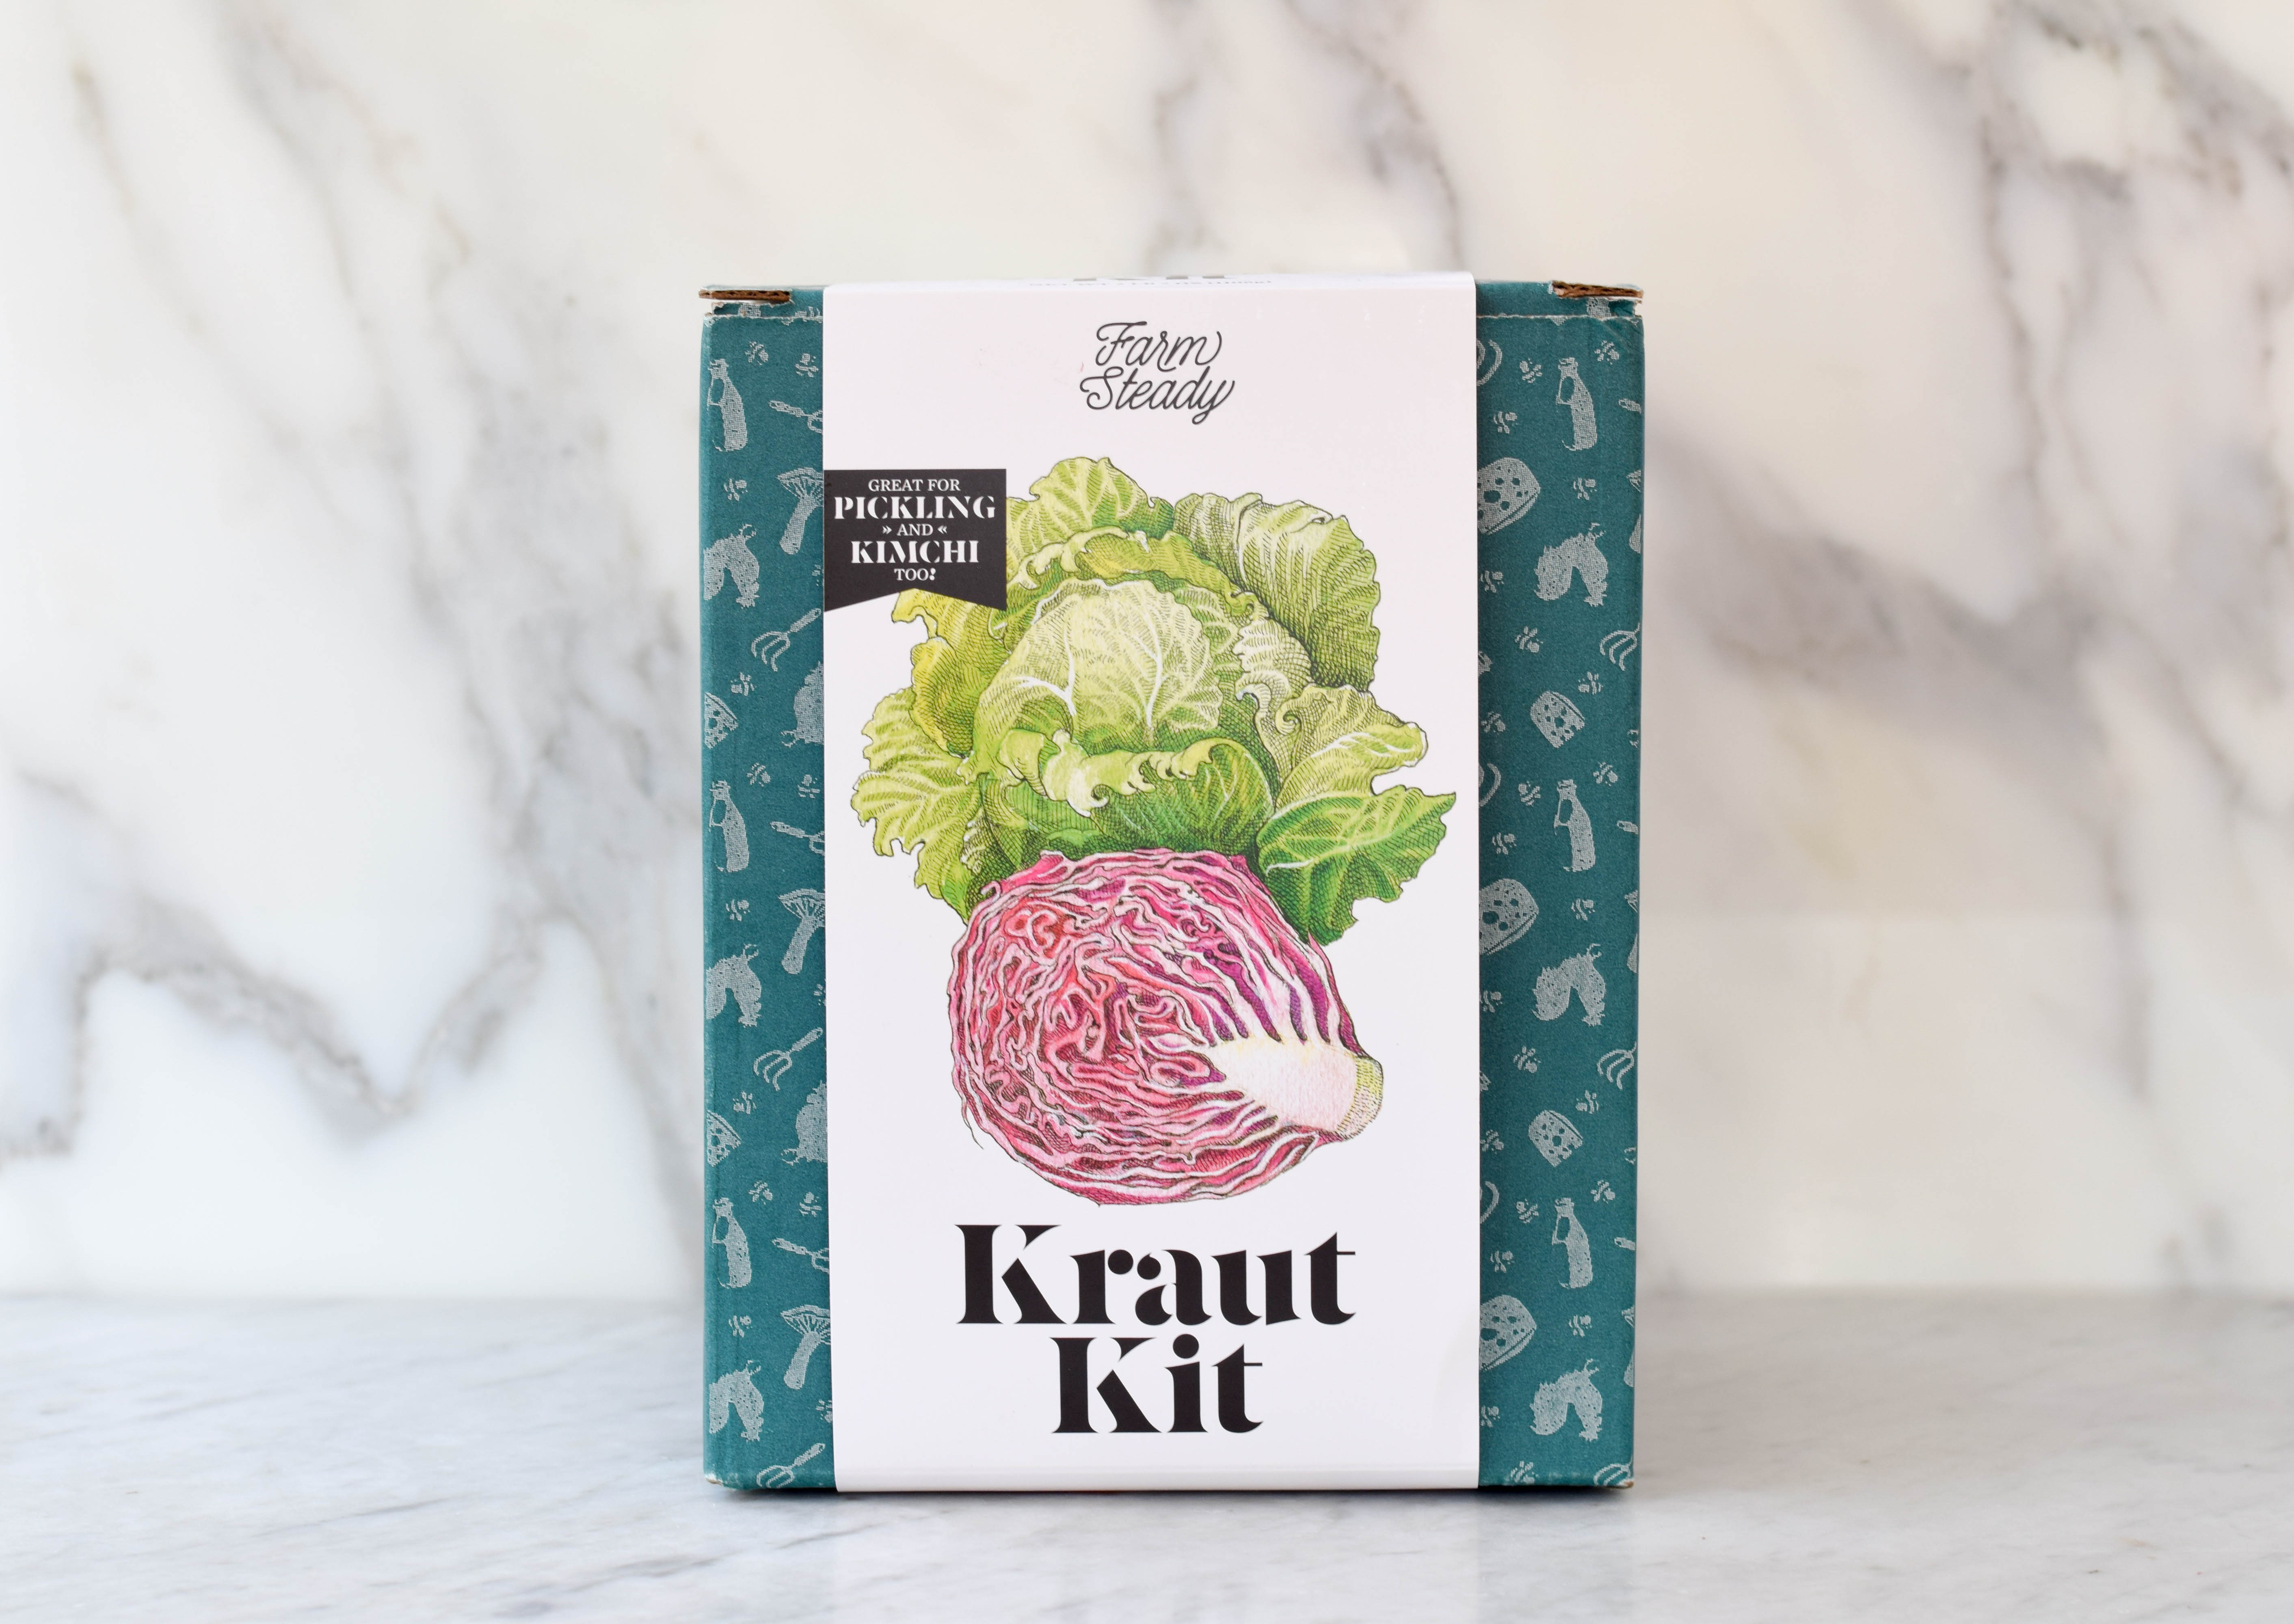
Happily, there are a wealth of new fermentation kits and accessories on the market today to help beginners get started. Check out Fermentation Creation’s Food Fermentation Kit that comes with a half-gallon jar, salt, and a specialized lid with a rubber seal to prevent mold and an airlock to allow gas to escape while keeping strong odors in! These kits are ideal for making fermented vegetable pickles like Spicy Fermented Carrots. For homemade sauerkraut, the Kraut Kit from Brooklyn Brew Shop provides everything but the cabbage! Another great option is the Kilner Fermentation Set. With these easy recipes, the right equipment and a teeny bit of patience, you can enjoy the unique taste and healthy benefits of your own fermented vegetables in just a few weeks.
Small-Batch Sauerkraut

INGREDIENTS
INSTRUCTIONS

Spicy Fermented Carrot Pickles
INGREDIENTS
INSTRUCTIONS