
I tend to keep everything. I’m pretty sure I’m a borderline hoarder. That love letter from my hubby 13 years ago? Yep still have it. All 600 of them. The movie ticket from our 1st date? Yep! That and all the other ones I couldn’t quite get rid of. You see, to me there is a little memory in everything. SO naturally, to hold on to those memories, I want to keep everything! Enter: DIY Memory Boxes.
As I started having kids, I quickly realized that this momma could NOT keep all the things. As a matter of fact, if I did keep all the things, then all the things would take over and well, no one wants that! But when my first child started kindergarten, I started to get all sentimental again. By the time the third child came around, I knew I didn’t need to keep that piece of “art” my child drew during free time on back of a used napkin. So from one mother to another, here are some products and tips I use when it comes to controlling the kid clutter!
Purchase File Folder Bins
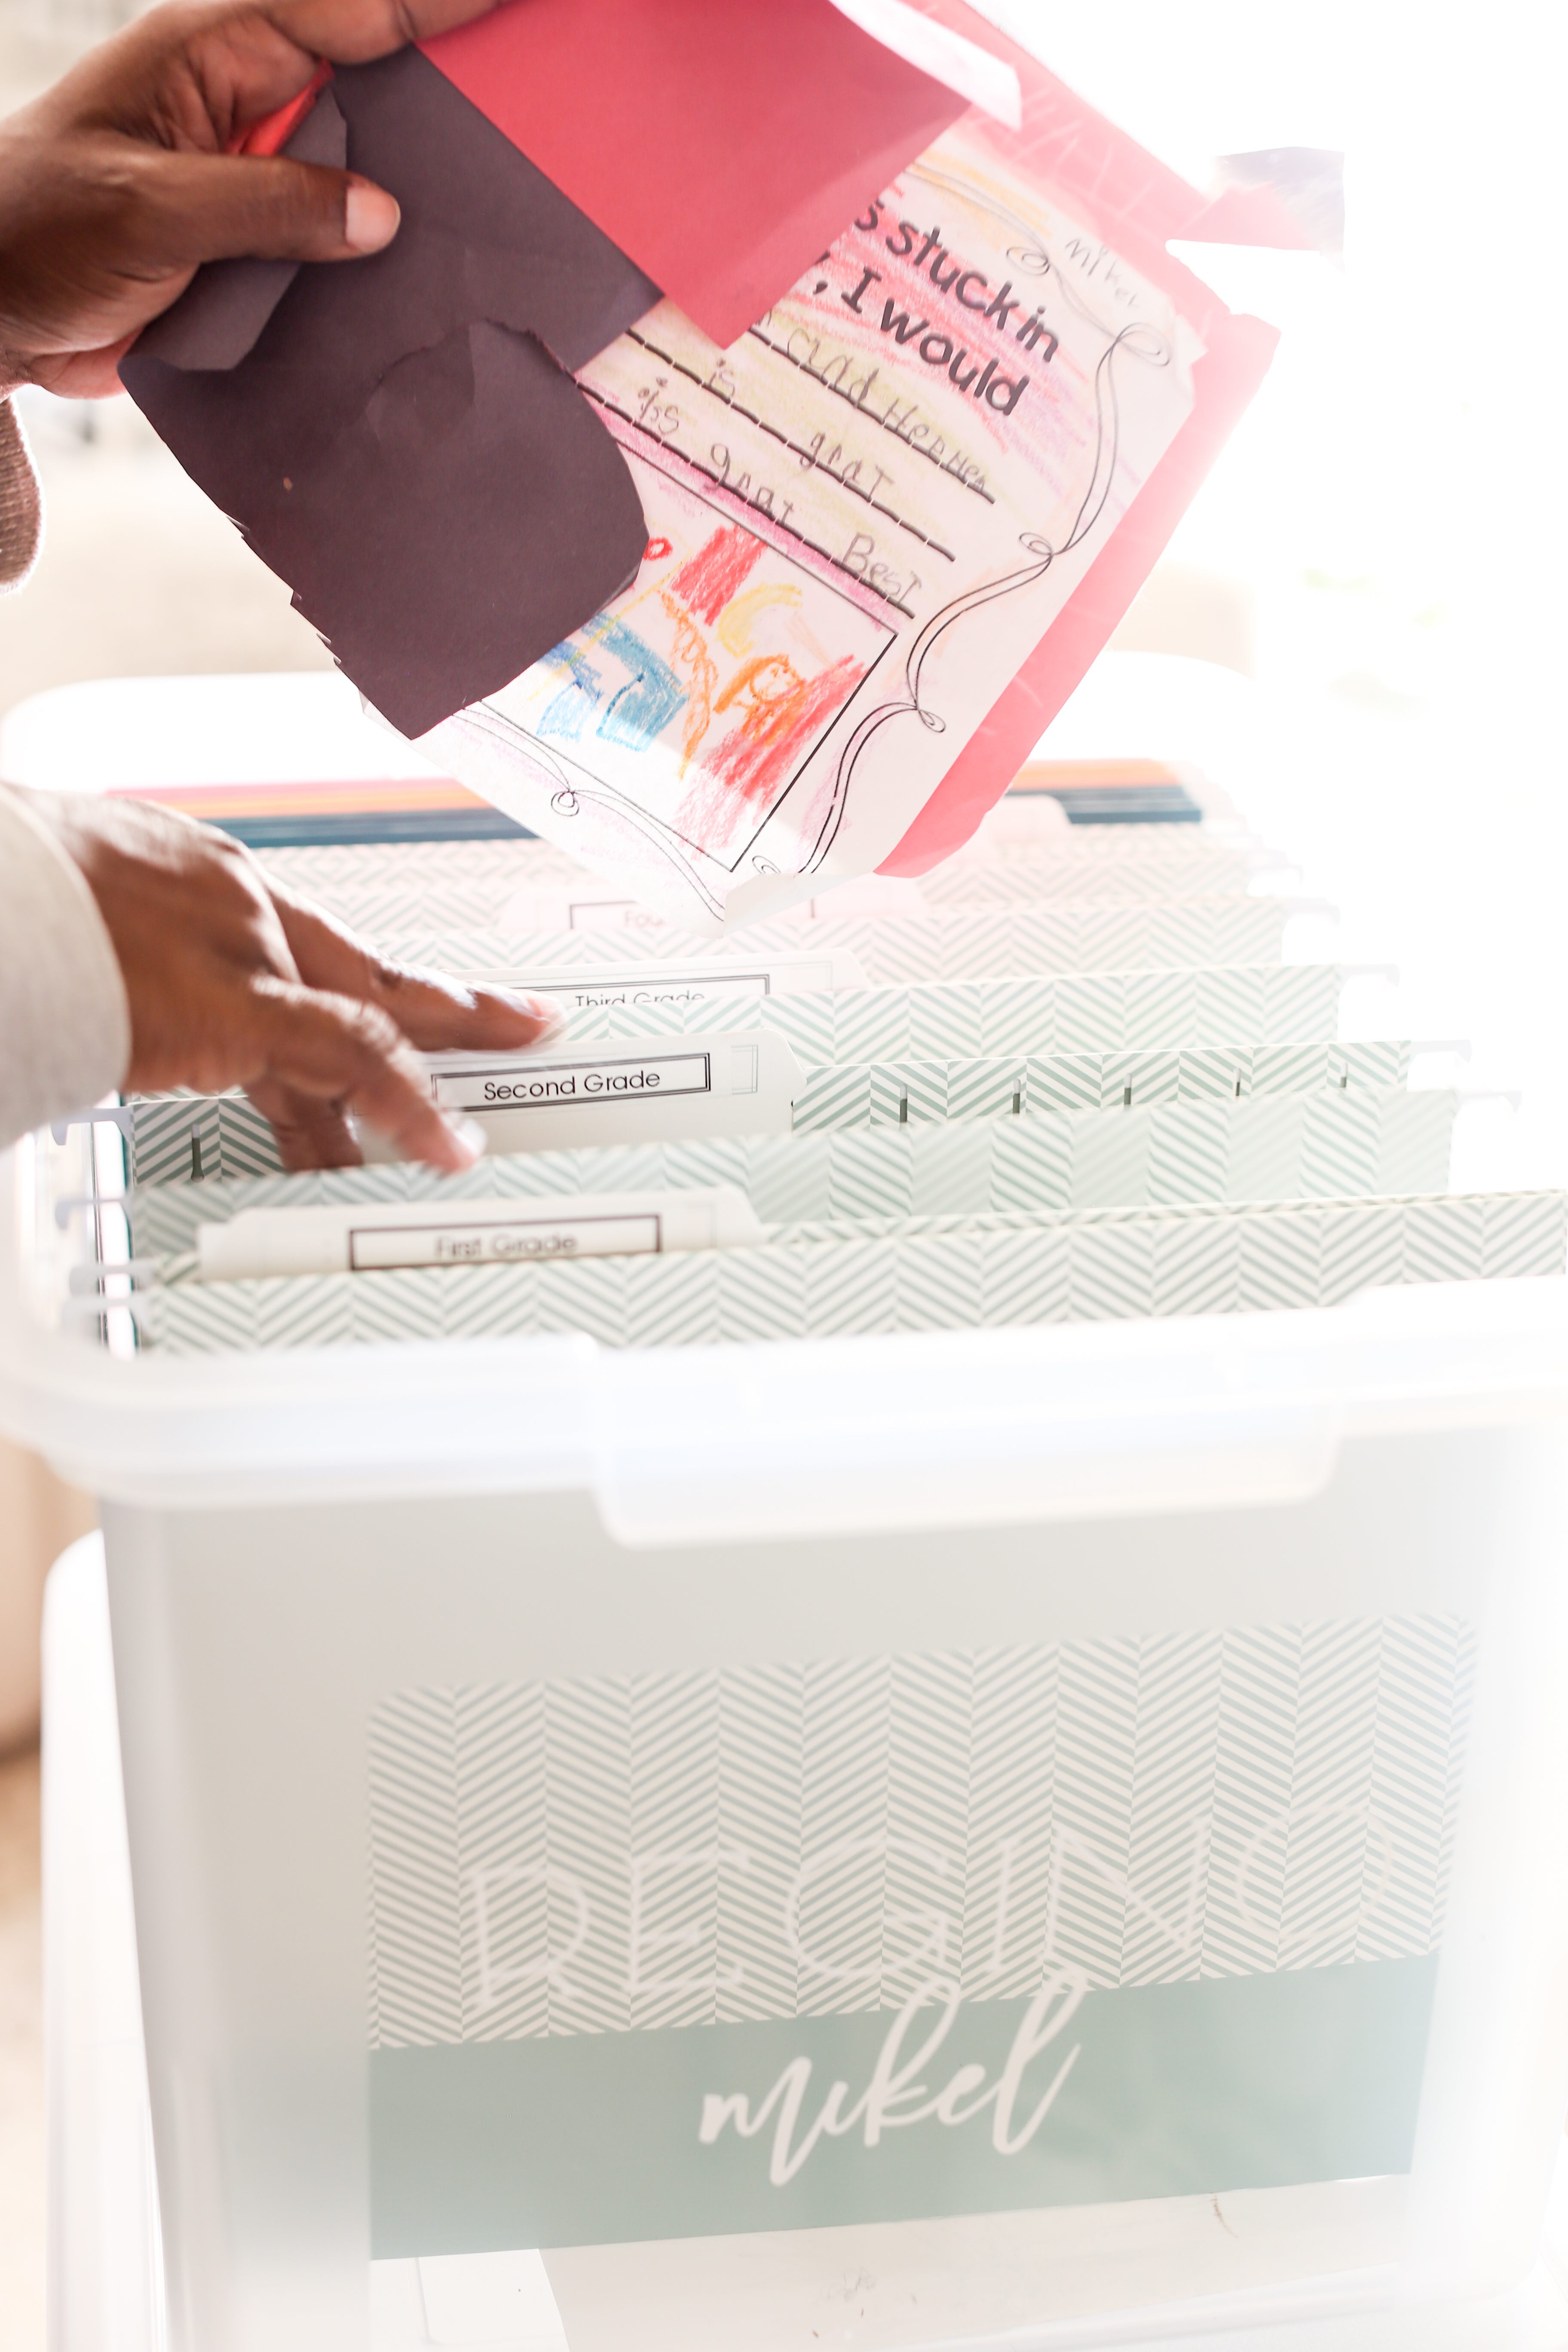
From Kinder until now (my oldest is in 5th grade), I just threw all of the kids’ paper clutter in a bin. Very organized, I know. I knew I just didn’t have the time early on to go through it BUT I knew I wanted to keep some items. So every week I go through my kids’ folders and backpacks and pick out a few keeps for the bin. Sometimes it’s nothing and sometimes it’s a lot! But here is how I decided if it’s worth keeping.
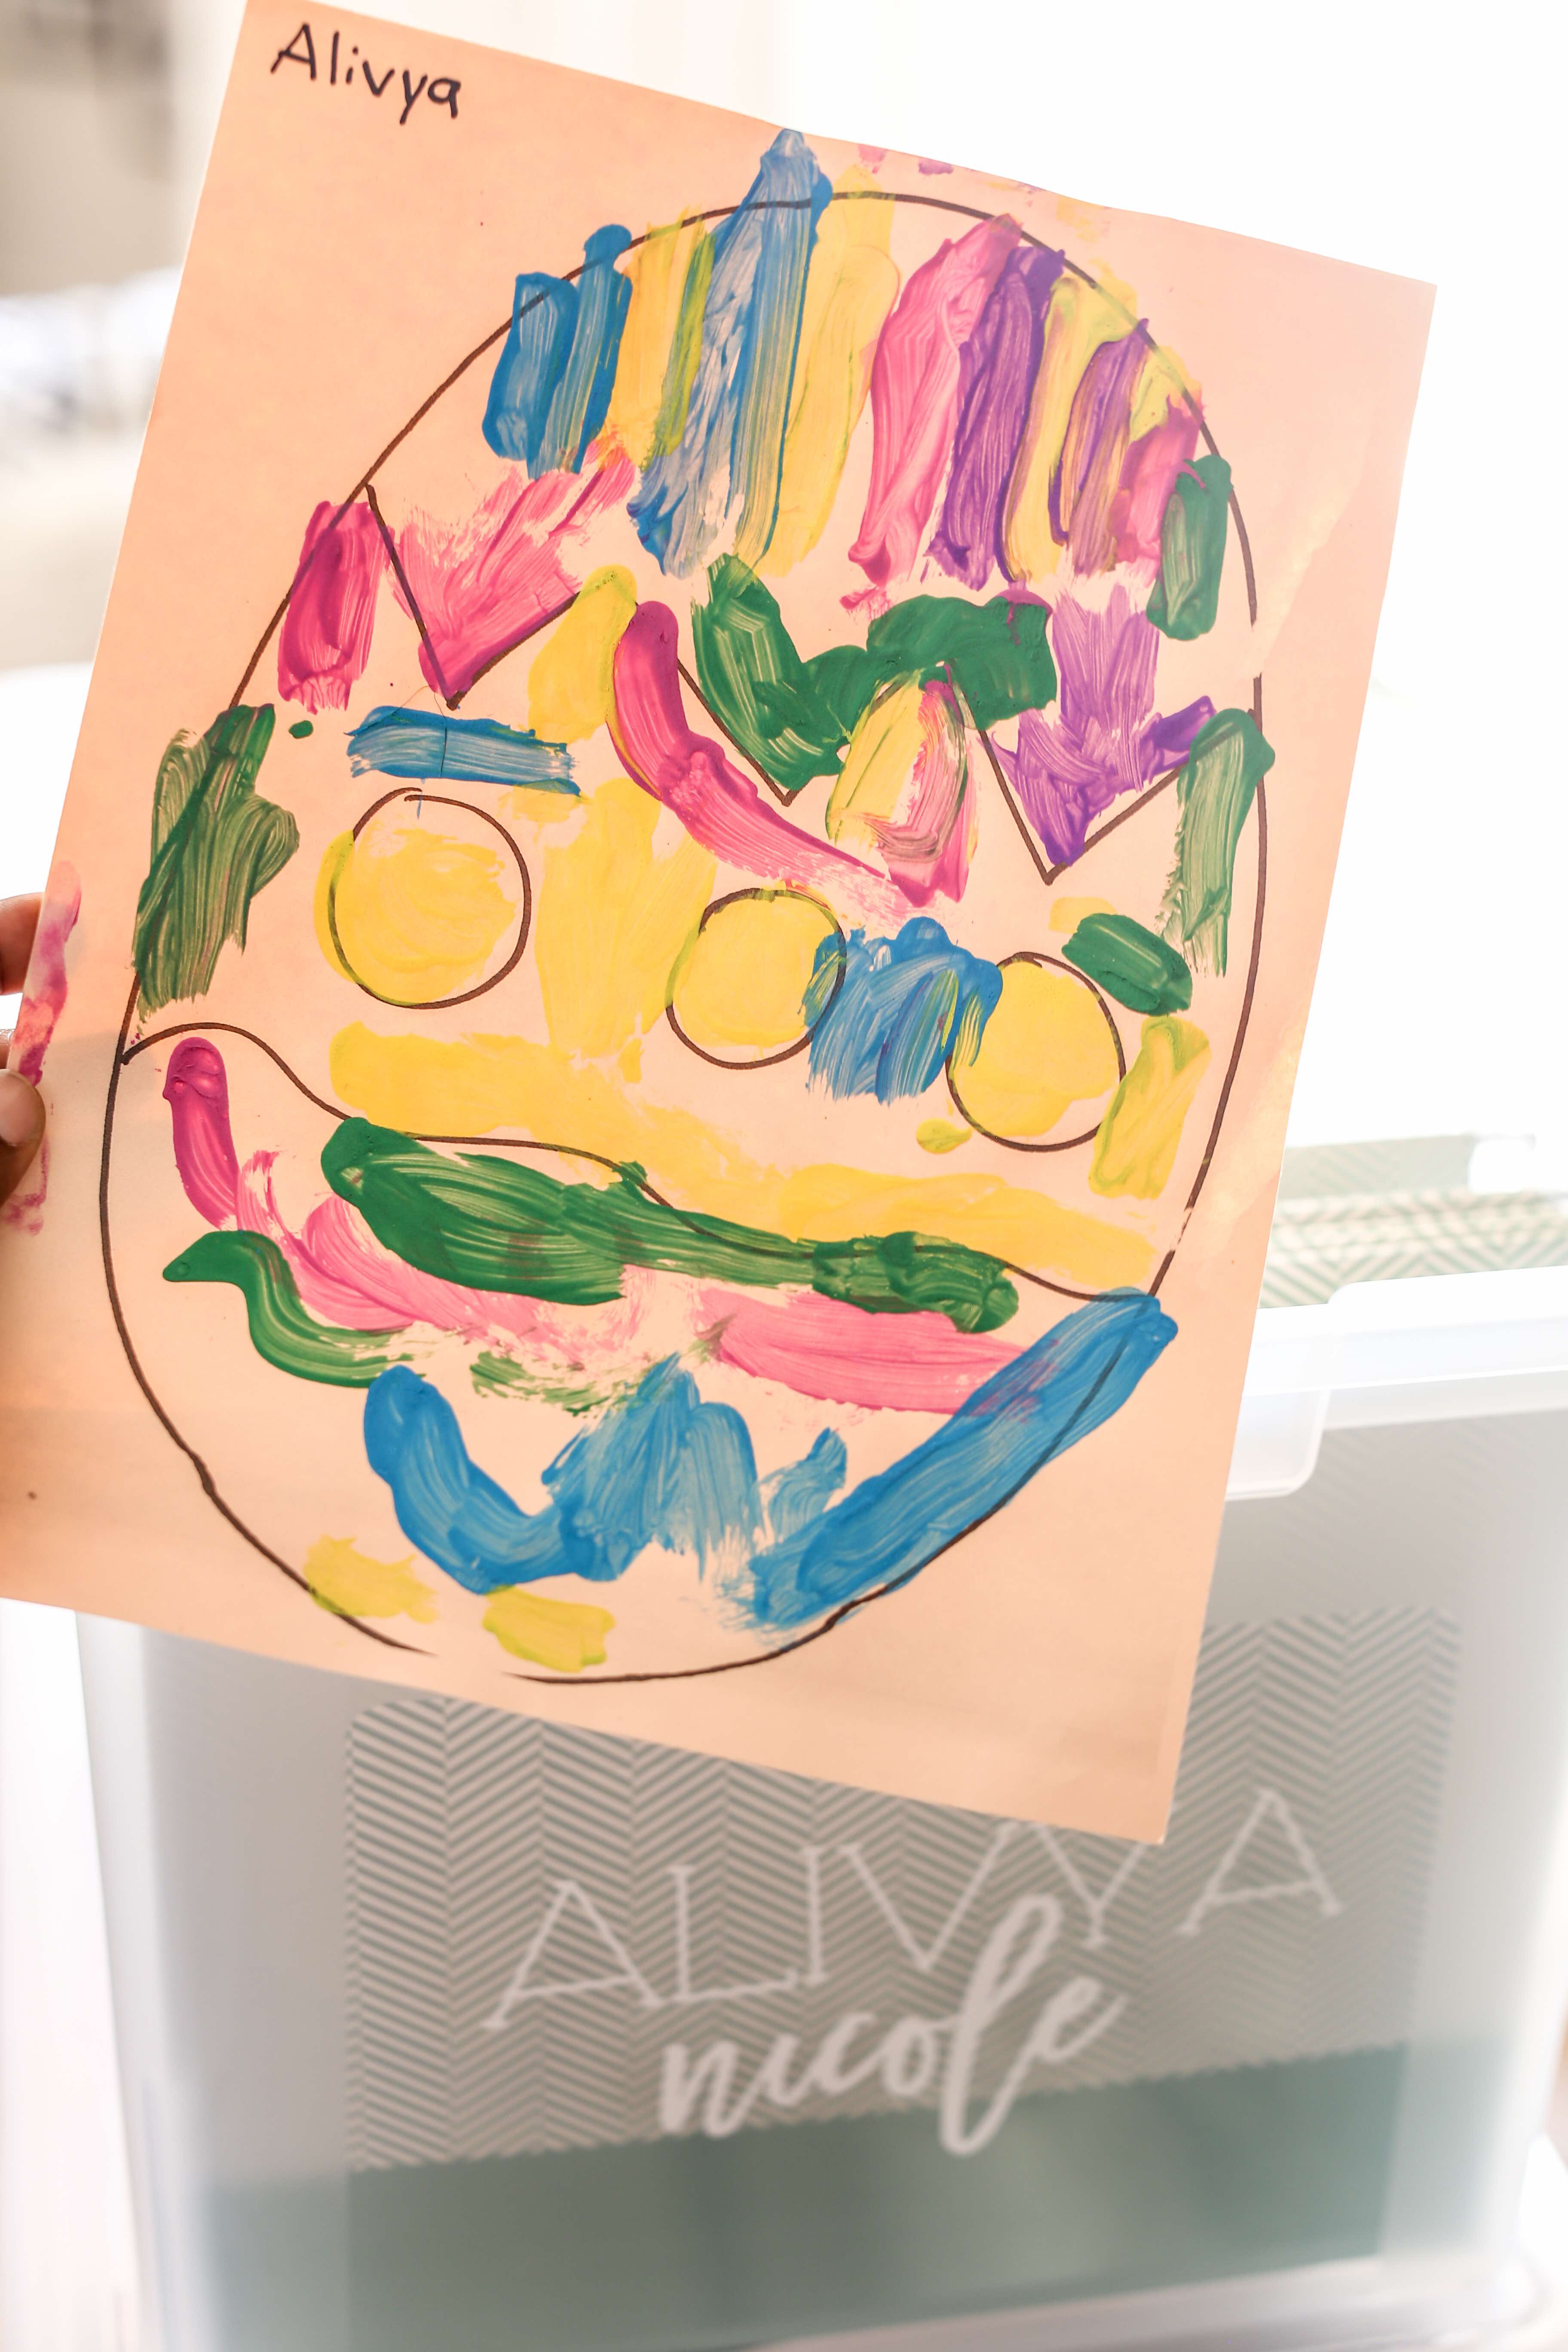
- Anything with a handprint or footprint or any type of personal touch like silhouettes = KEEP
- Any type of personal essay or note about the future or about events that have happened in their own handwriting = KEEP
- Any artwork that looks like it took more than 3 minutes to create = KEEP
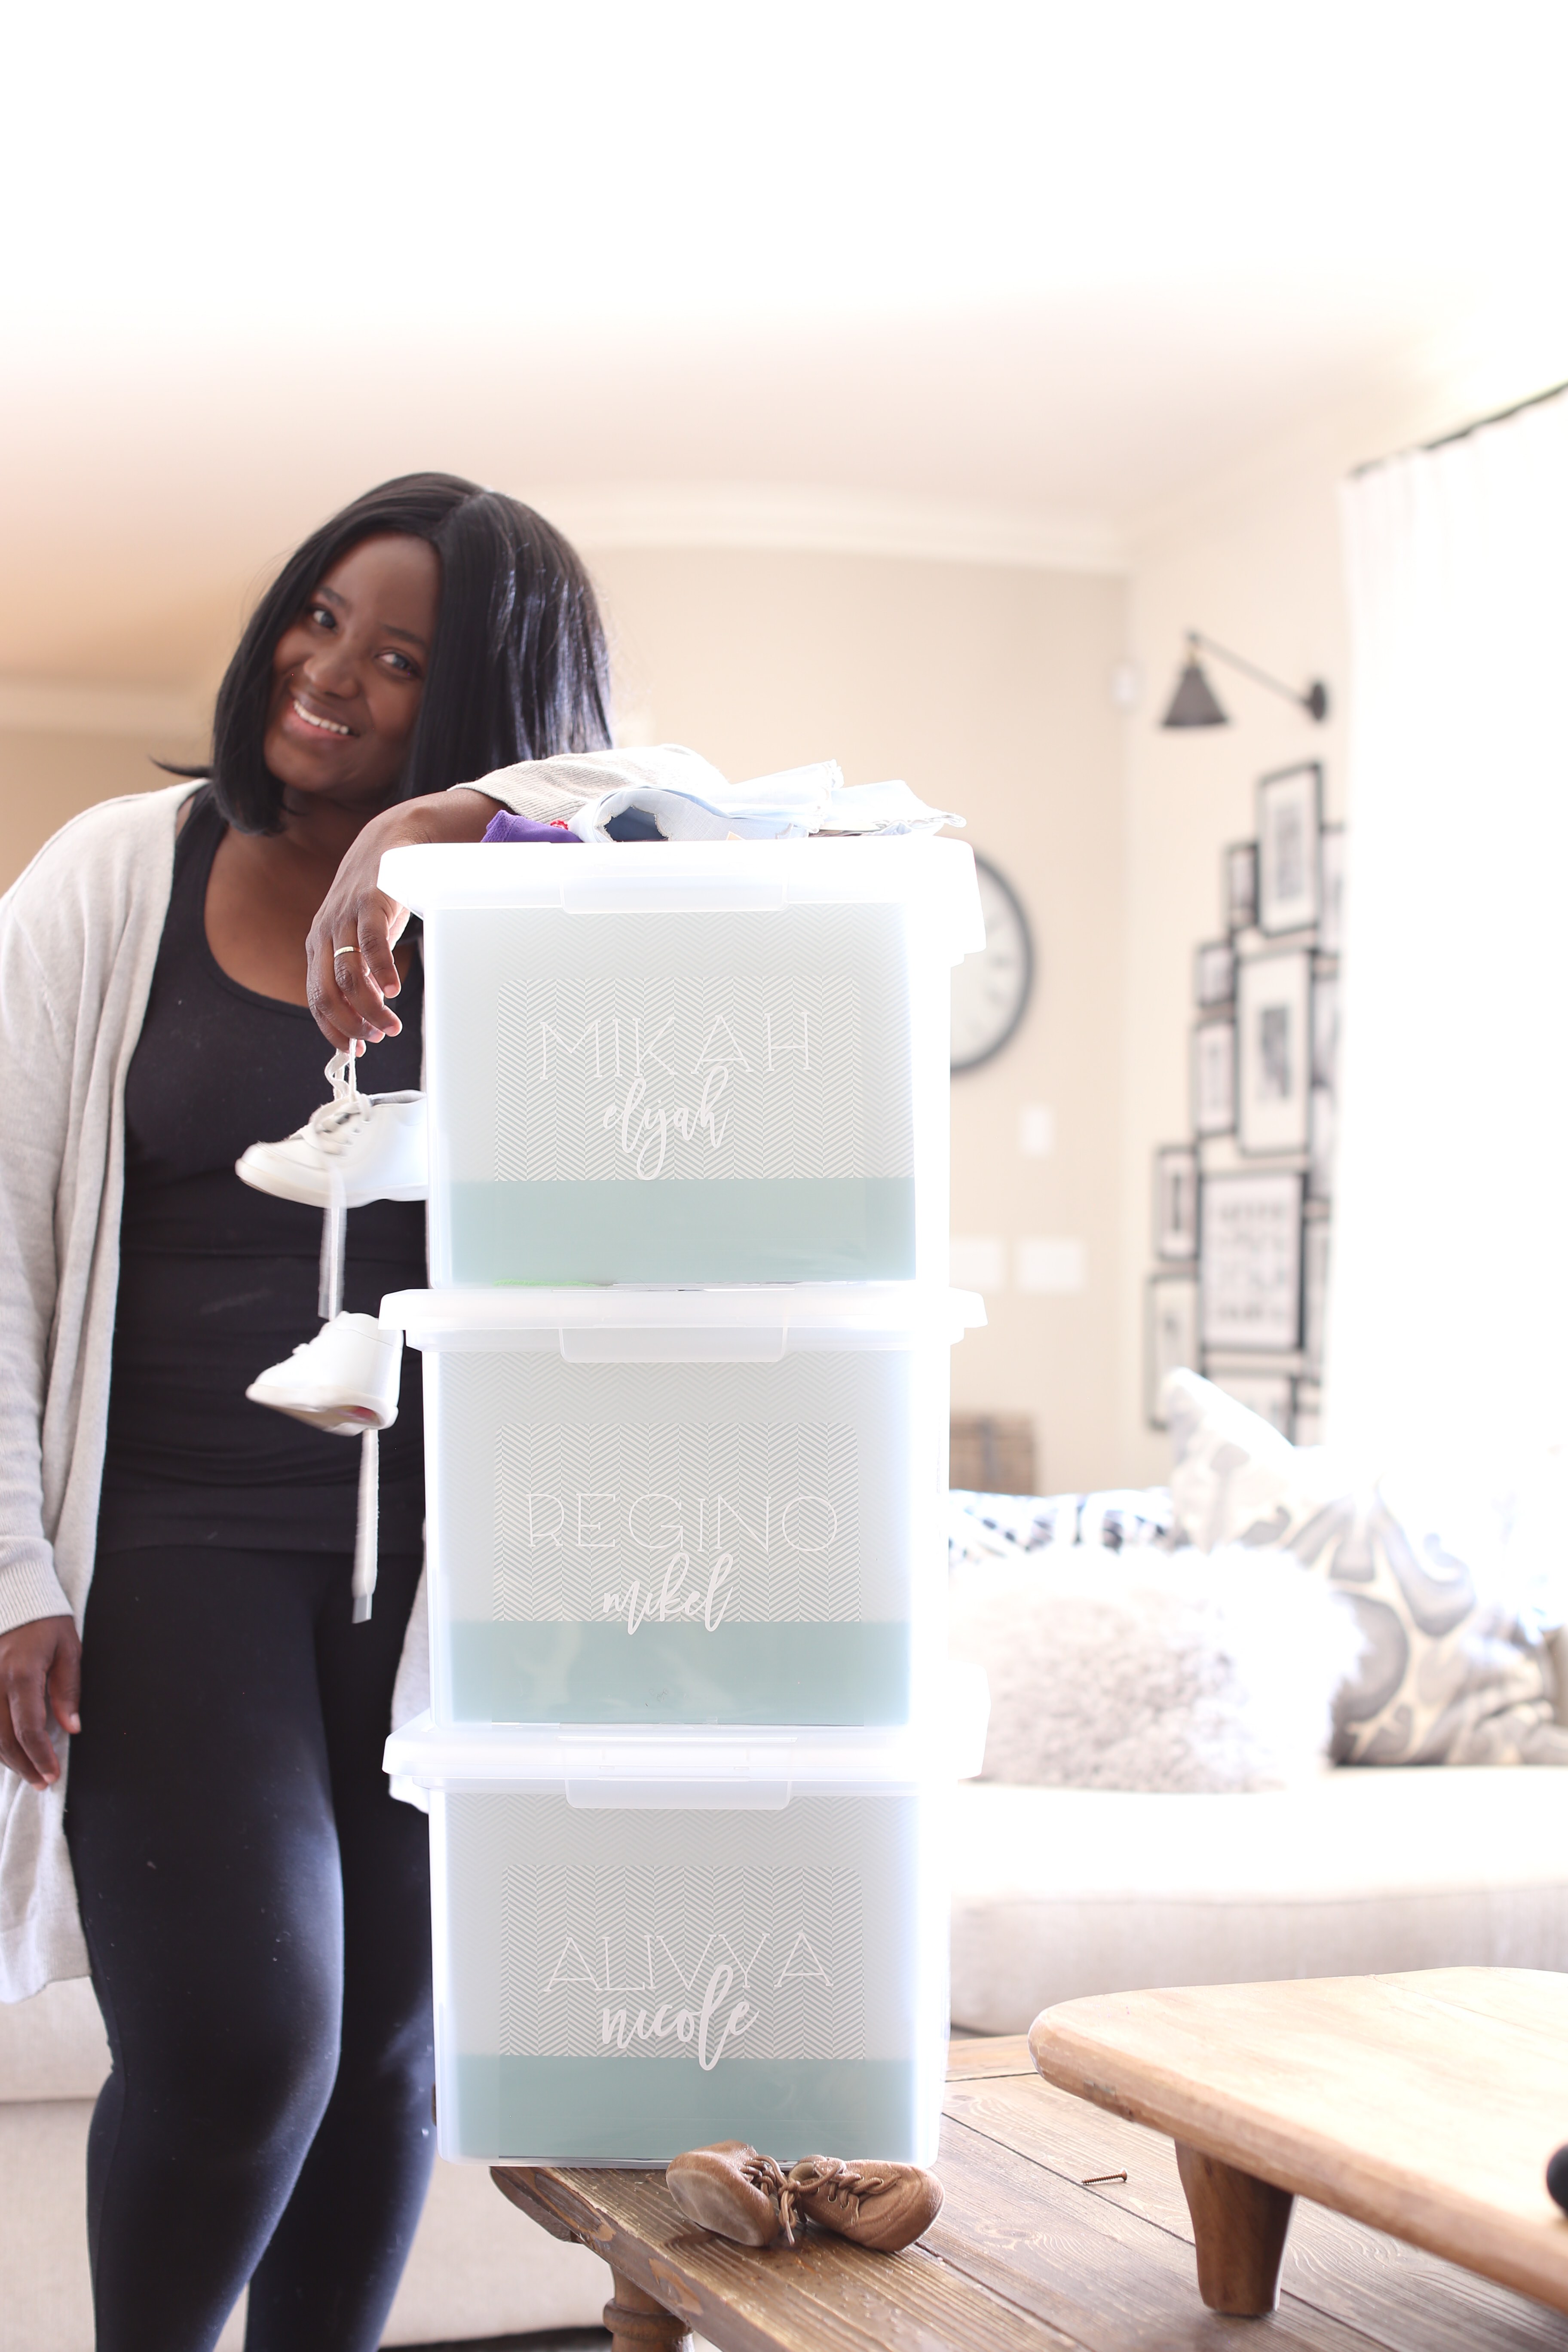
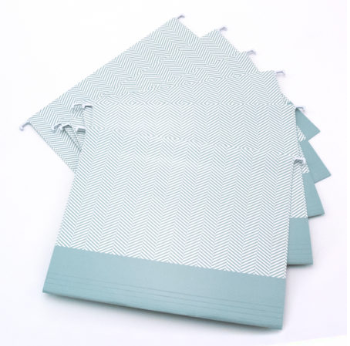
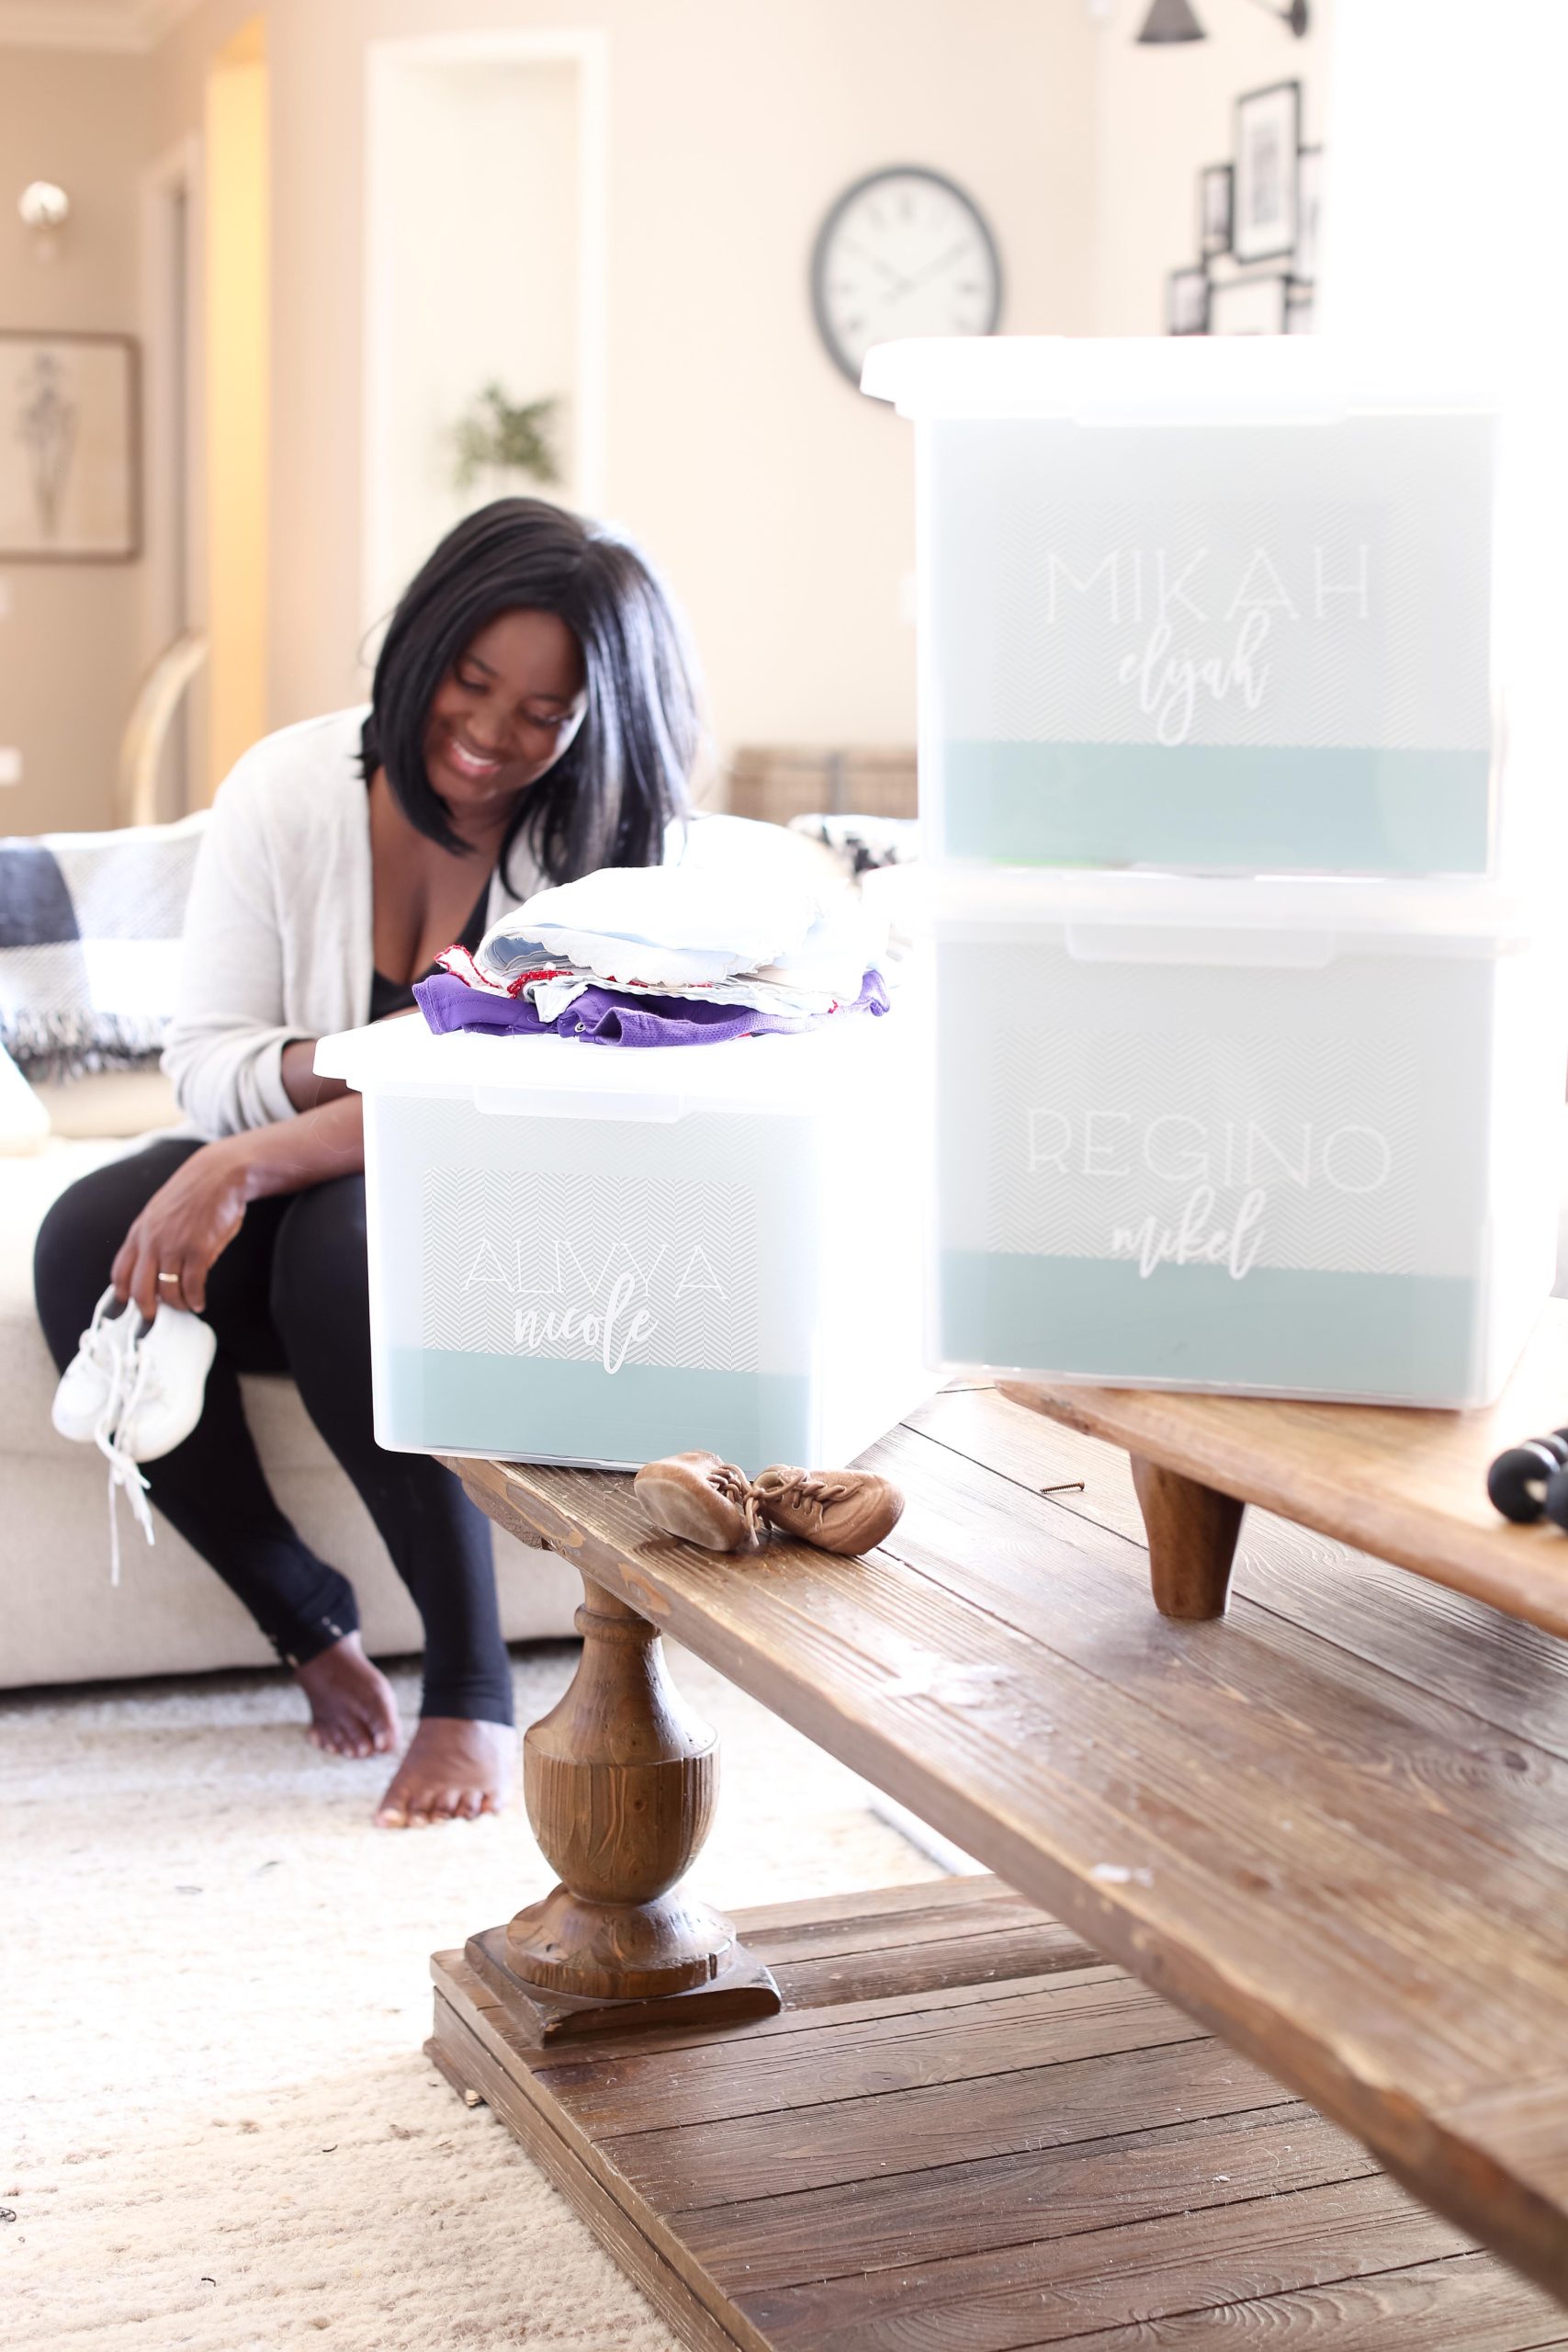
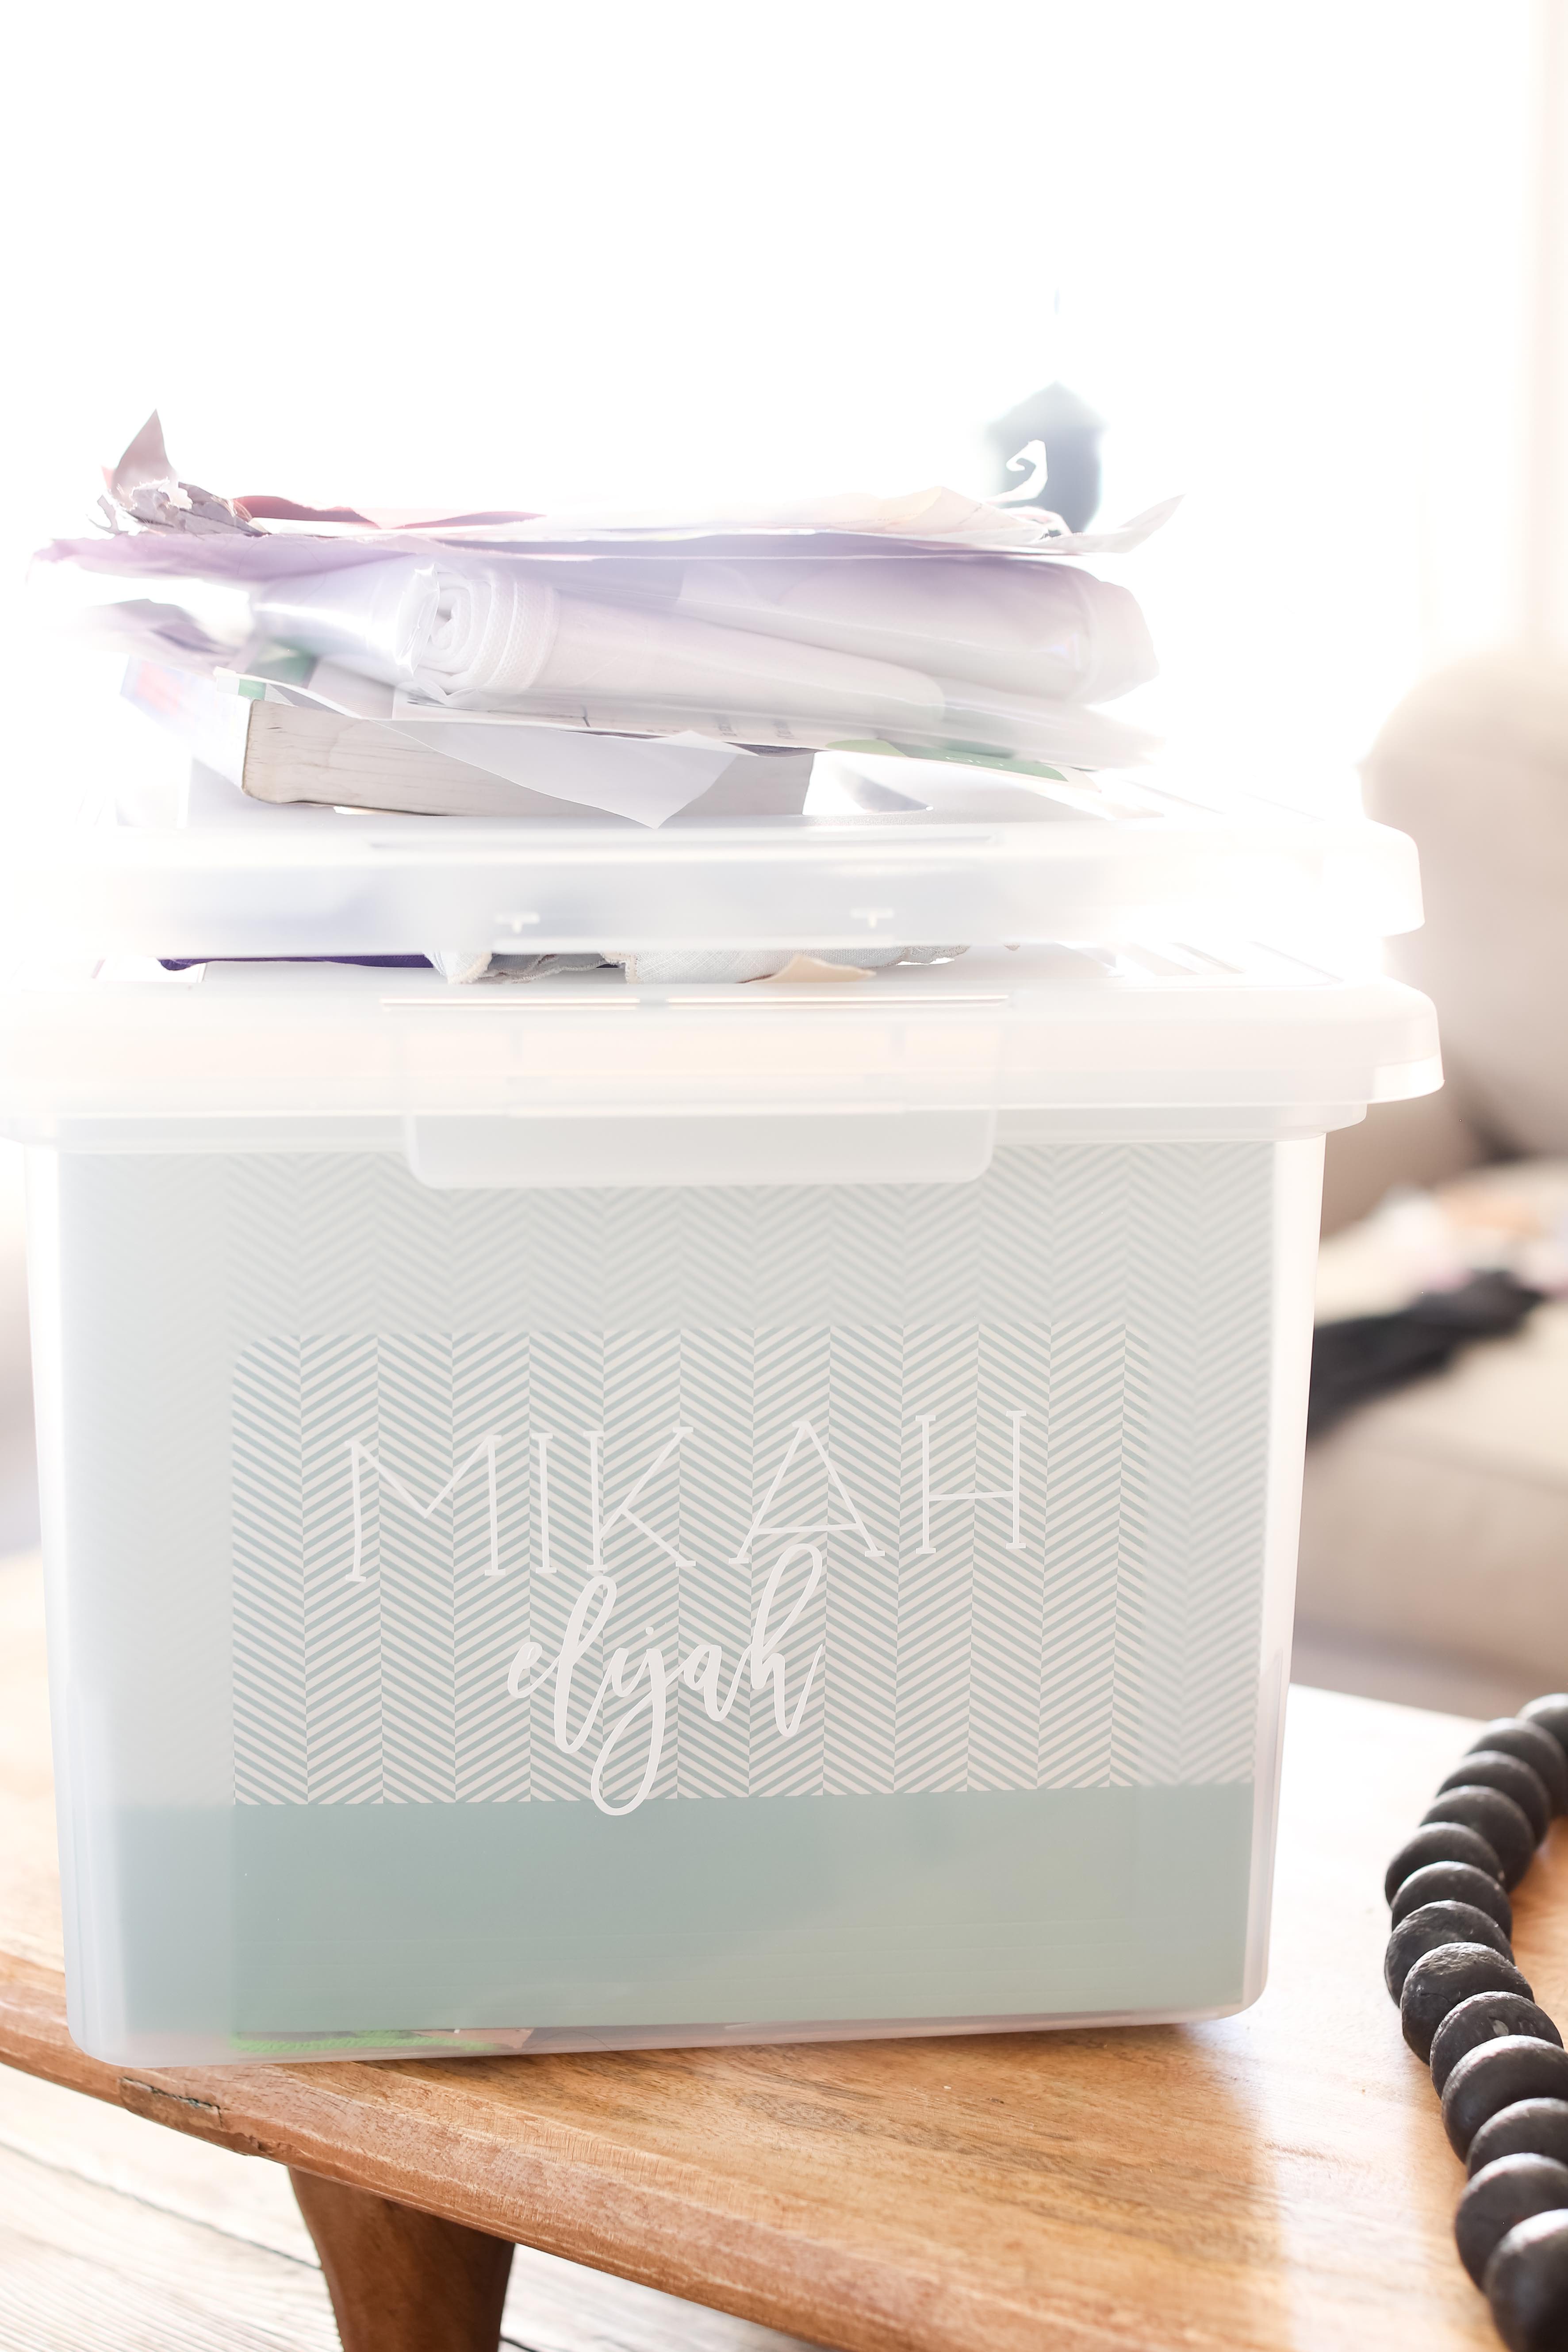
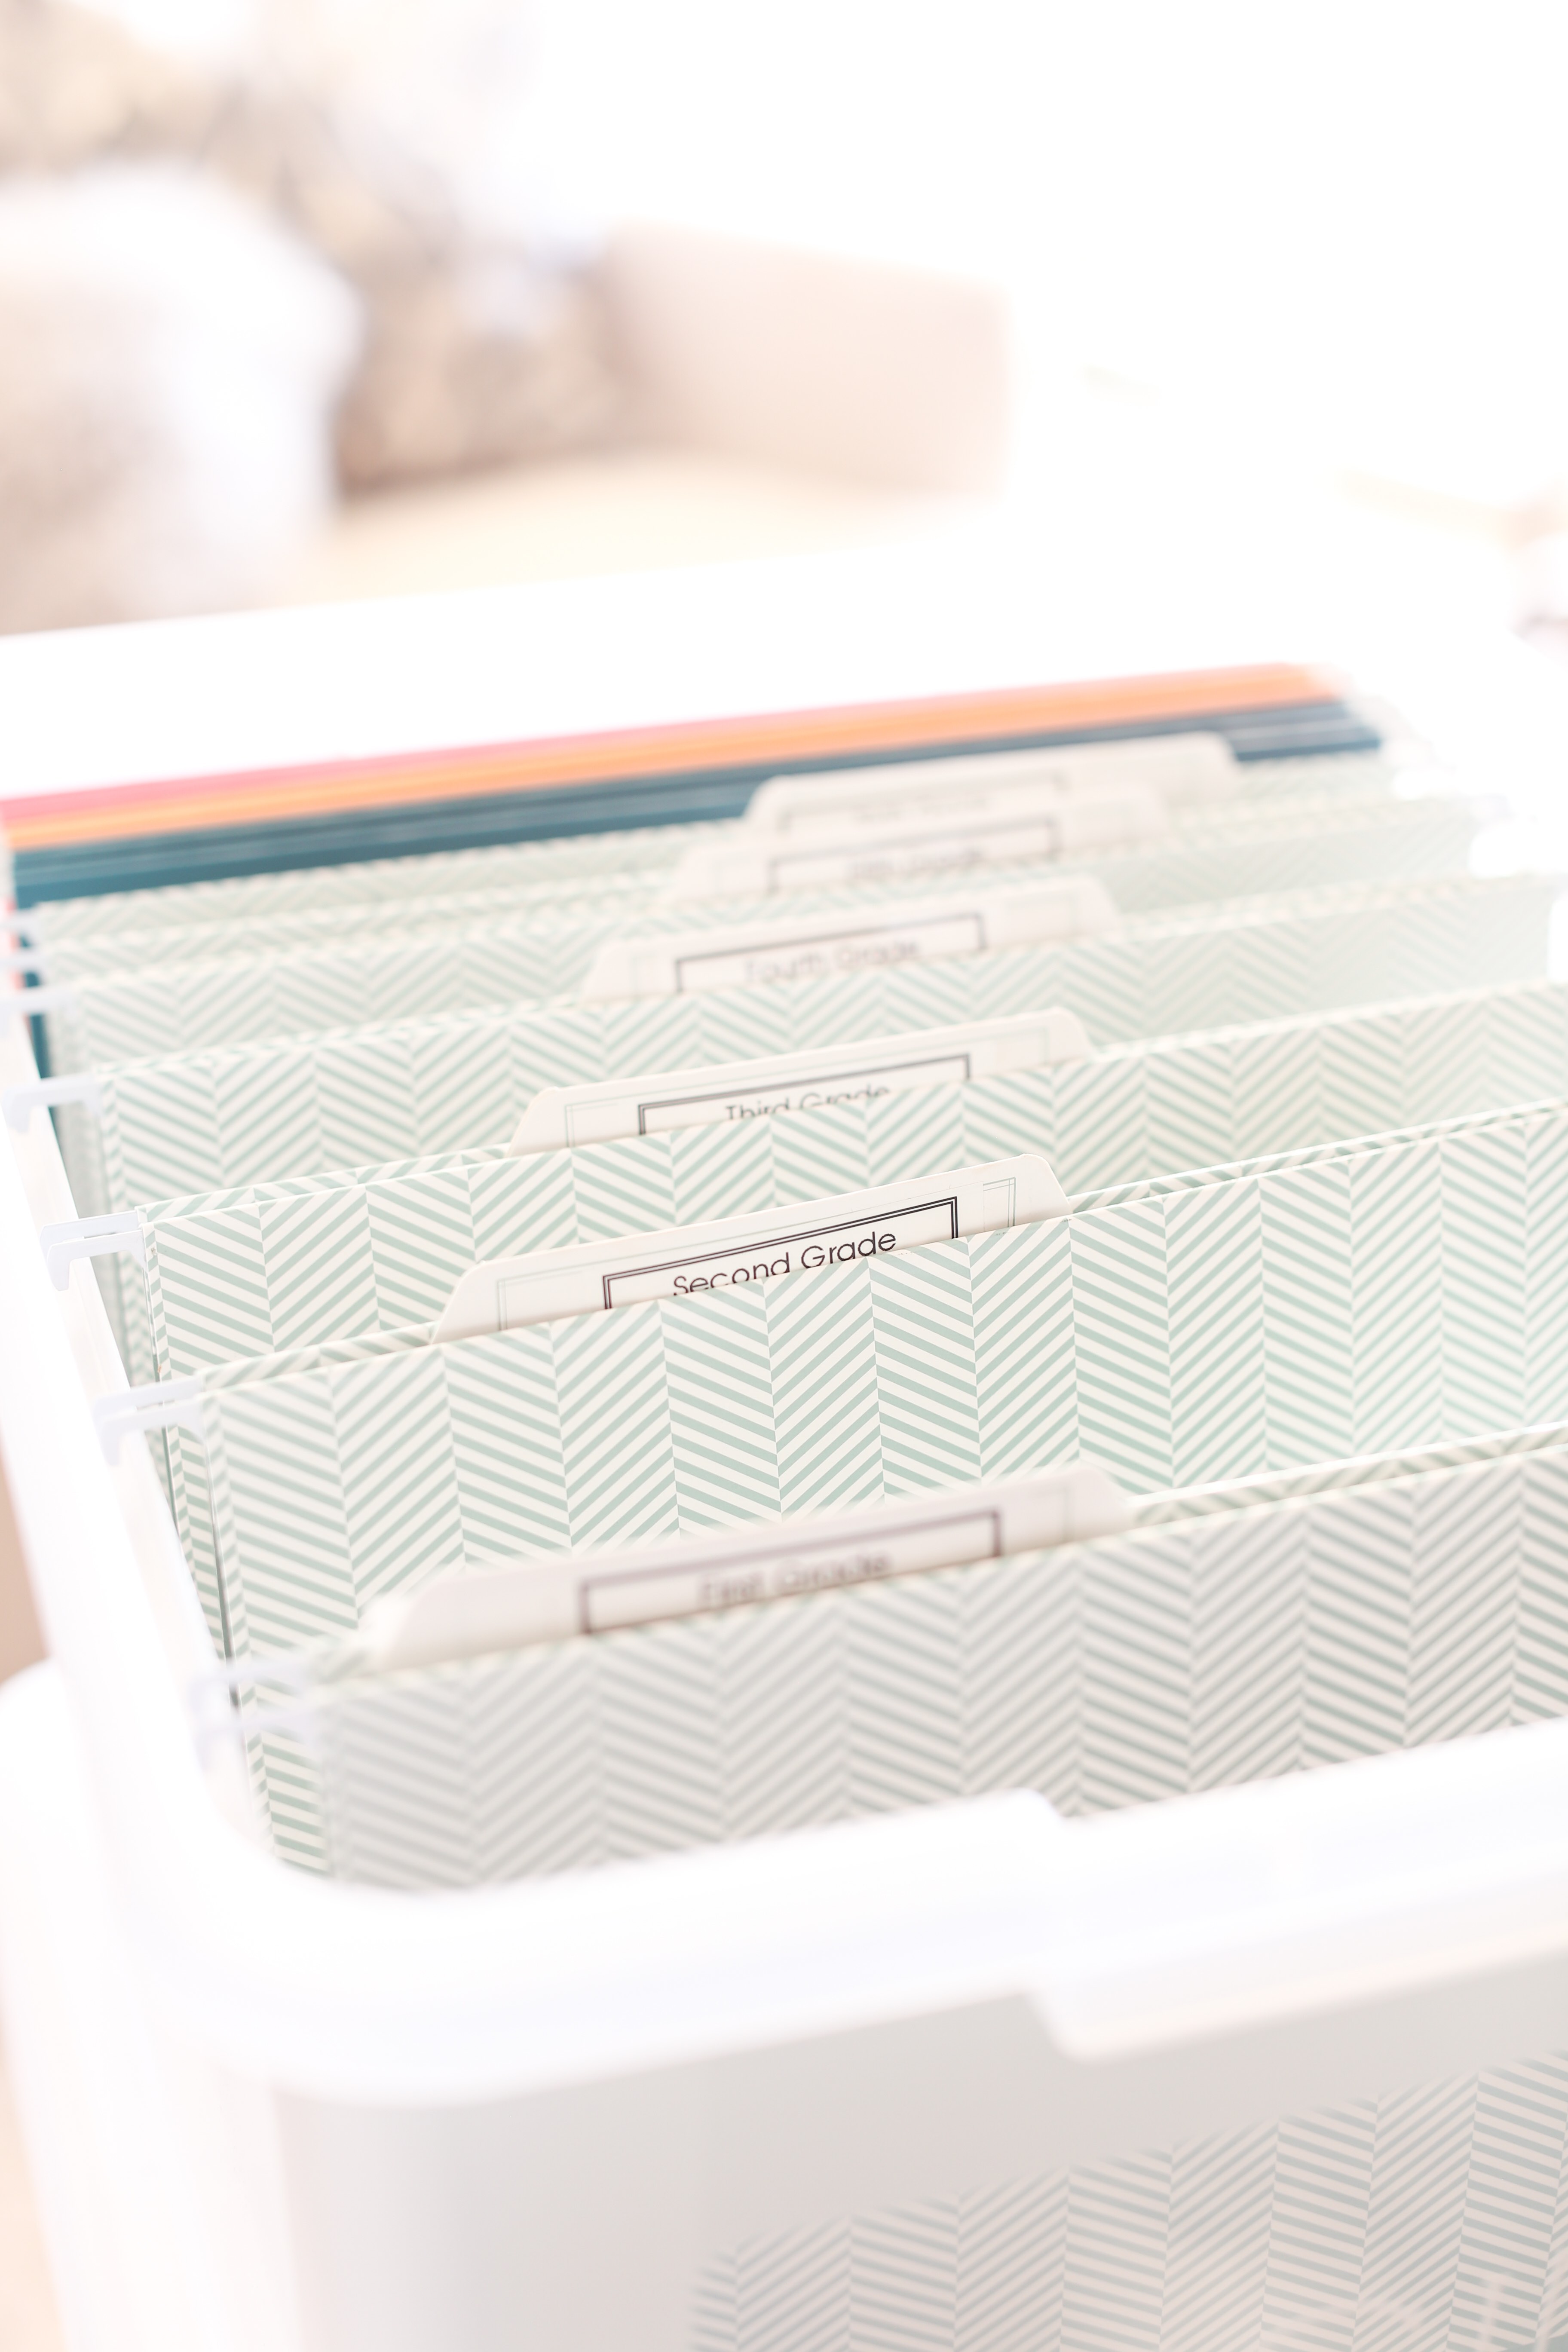
These bins from Iris are perfect. The file folder bins are somewhat see throughout so you can see what you are working with. I printed the kids names on my cutting machine so each child has their own bin. Next I placed some hanging file folders. Plain ones just won’t do so these herringbone light blue ones keep the bins looking stylish. Which hey, it needs look pretty!
To help sort the years, use a labeler and label each tab K-12.
Which brings me to my next point…
Get a Labeler
Oh this is a big one! You need a labeler. If you want to be appear to have any part of your life together, get a labeler! It will fool everyone! Ha! Warning: once you get a hold of a labeler you will want to label EVERYTHING. I’m not sure why this happens, but there is something about giving items a visual identity that makes women and men alike go crazy. But for your sake and your child’s sake, labeling child 1 and child 2 will help you 20 years from now. I remember going through my stuff as I got older and asking my mom, “Hey, is this mine?” and the look on her face as she tried to remember a random item from 25 years ago is something I don’t want to experience. So label the things!
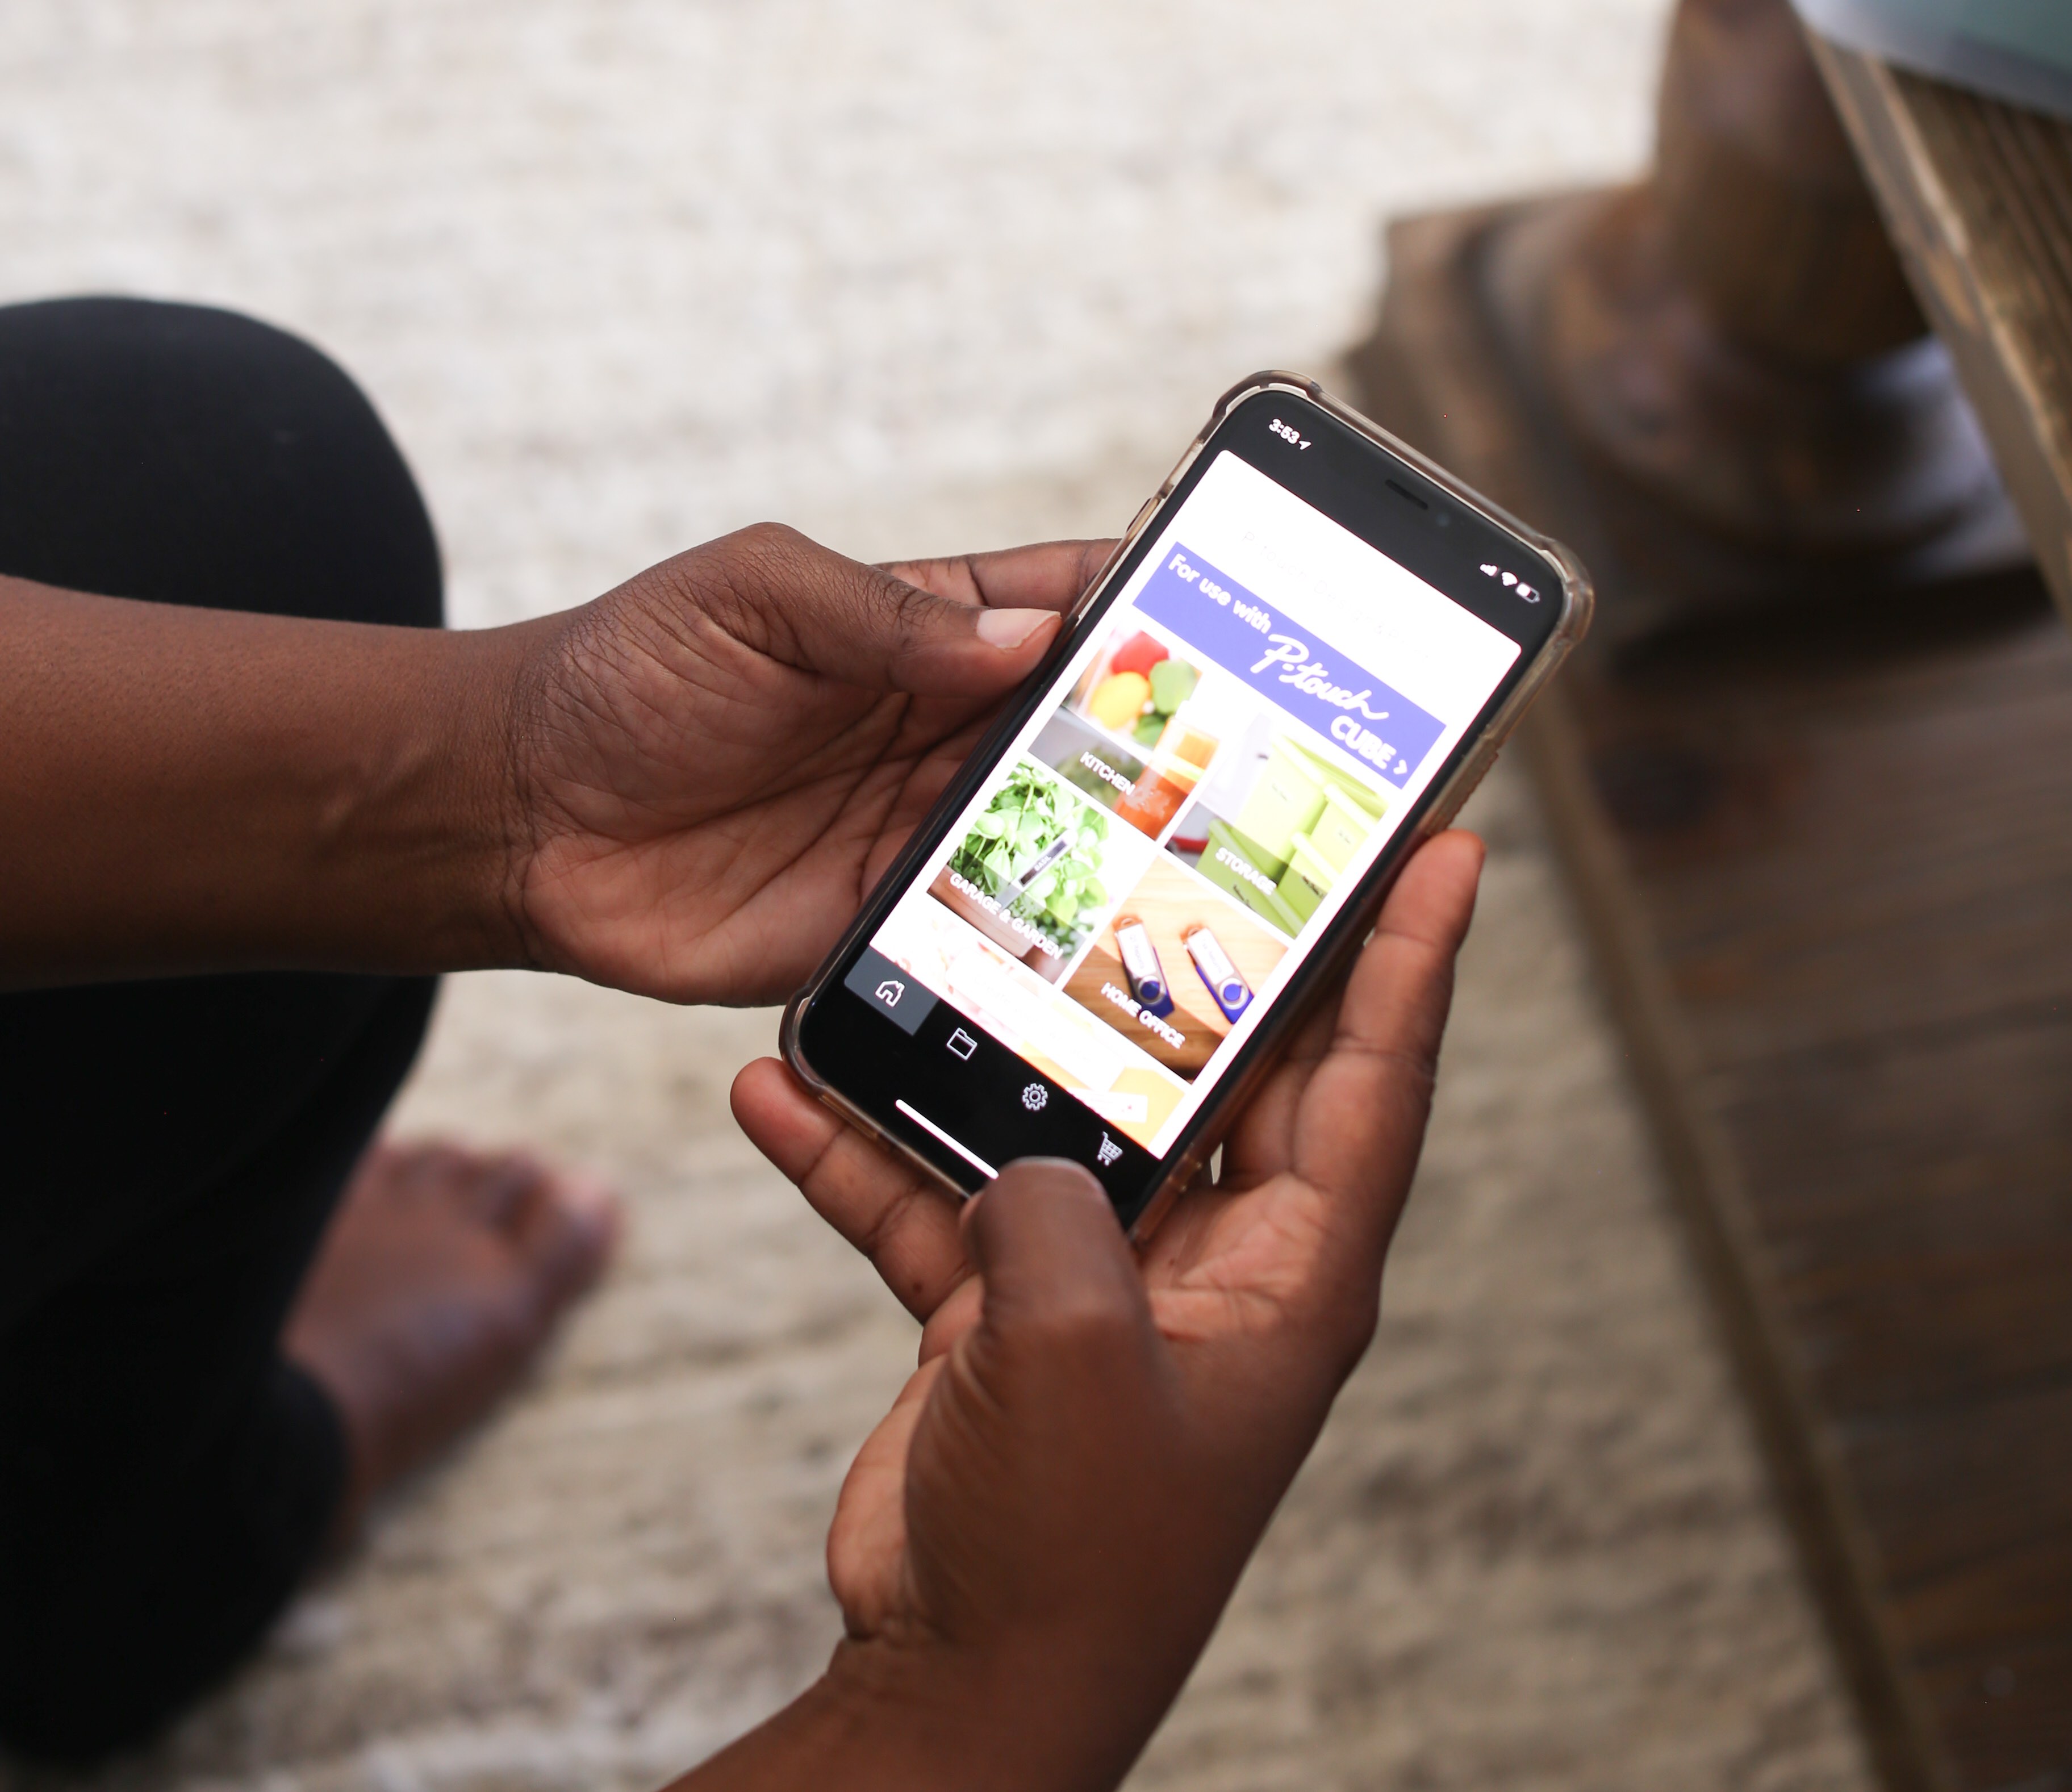
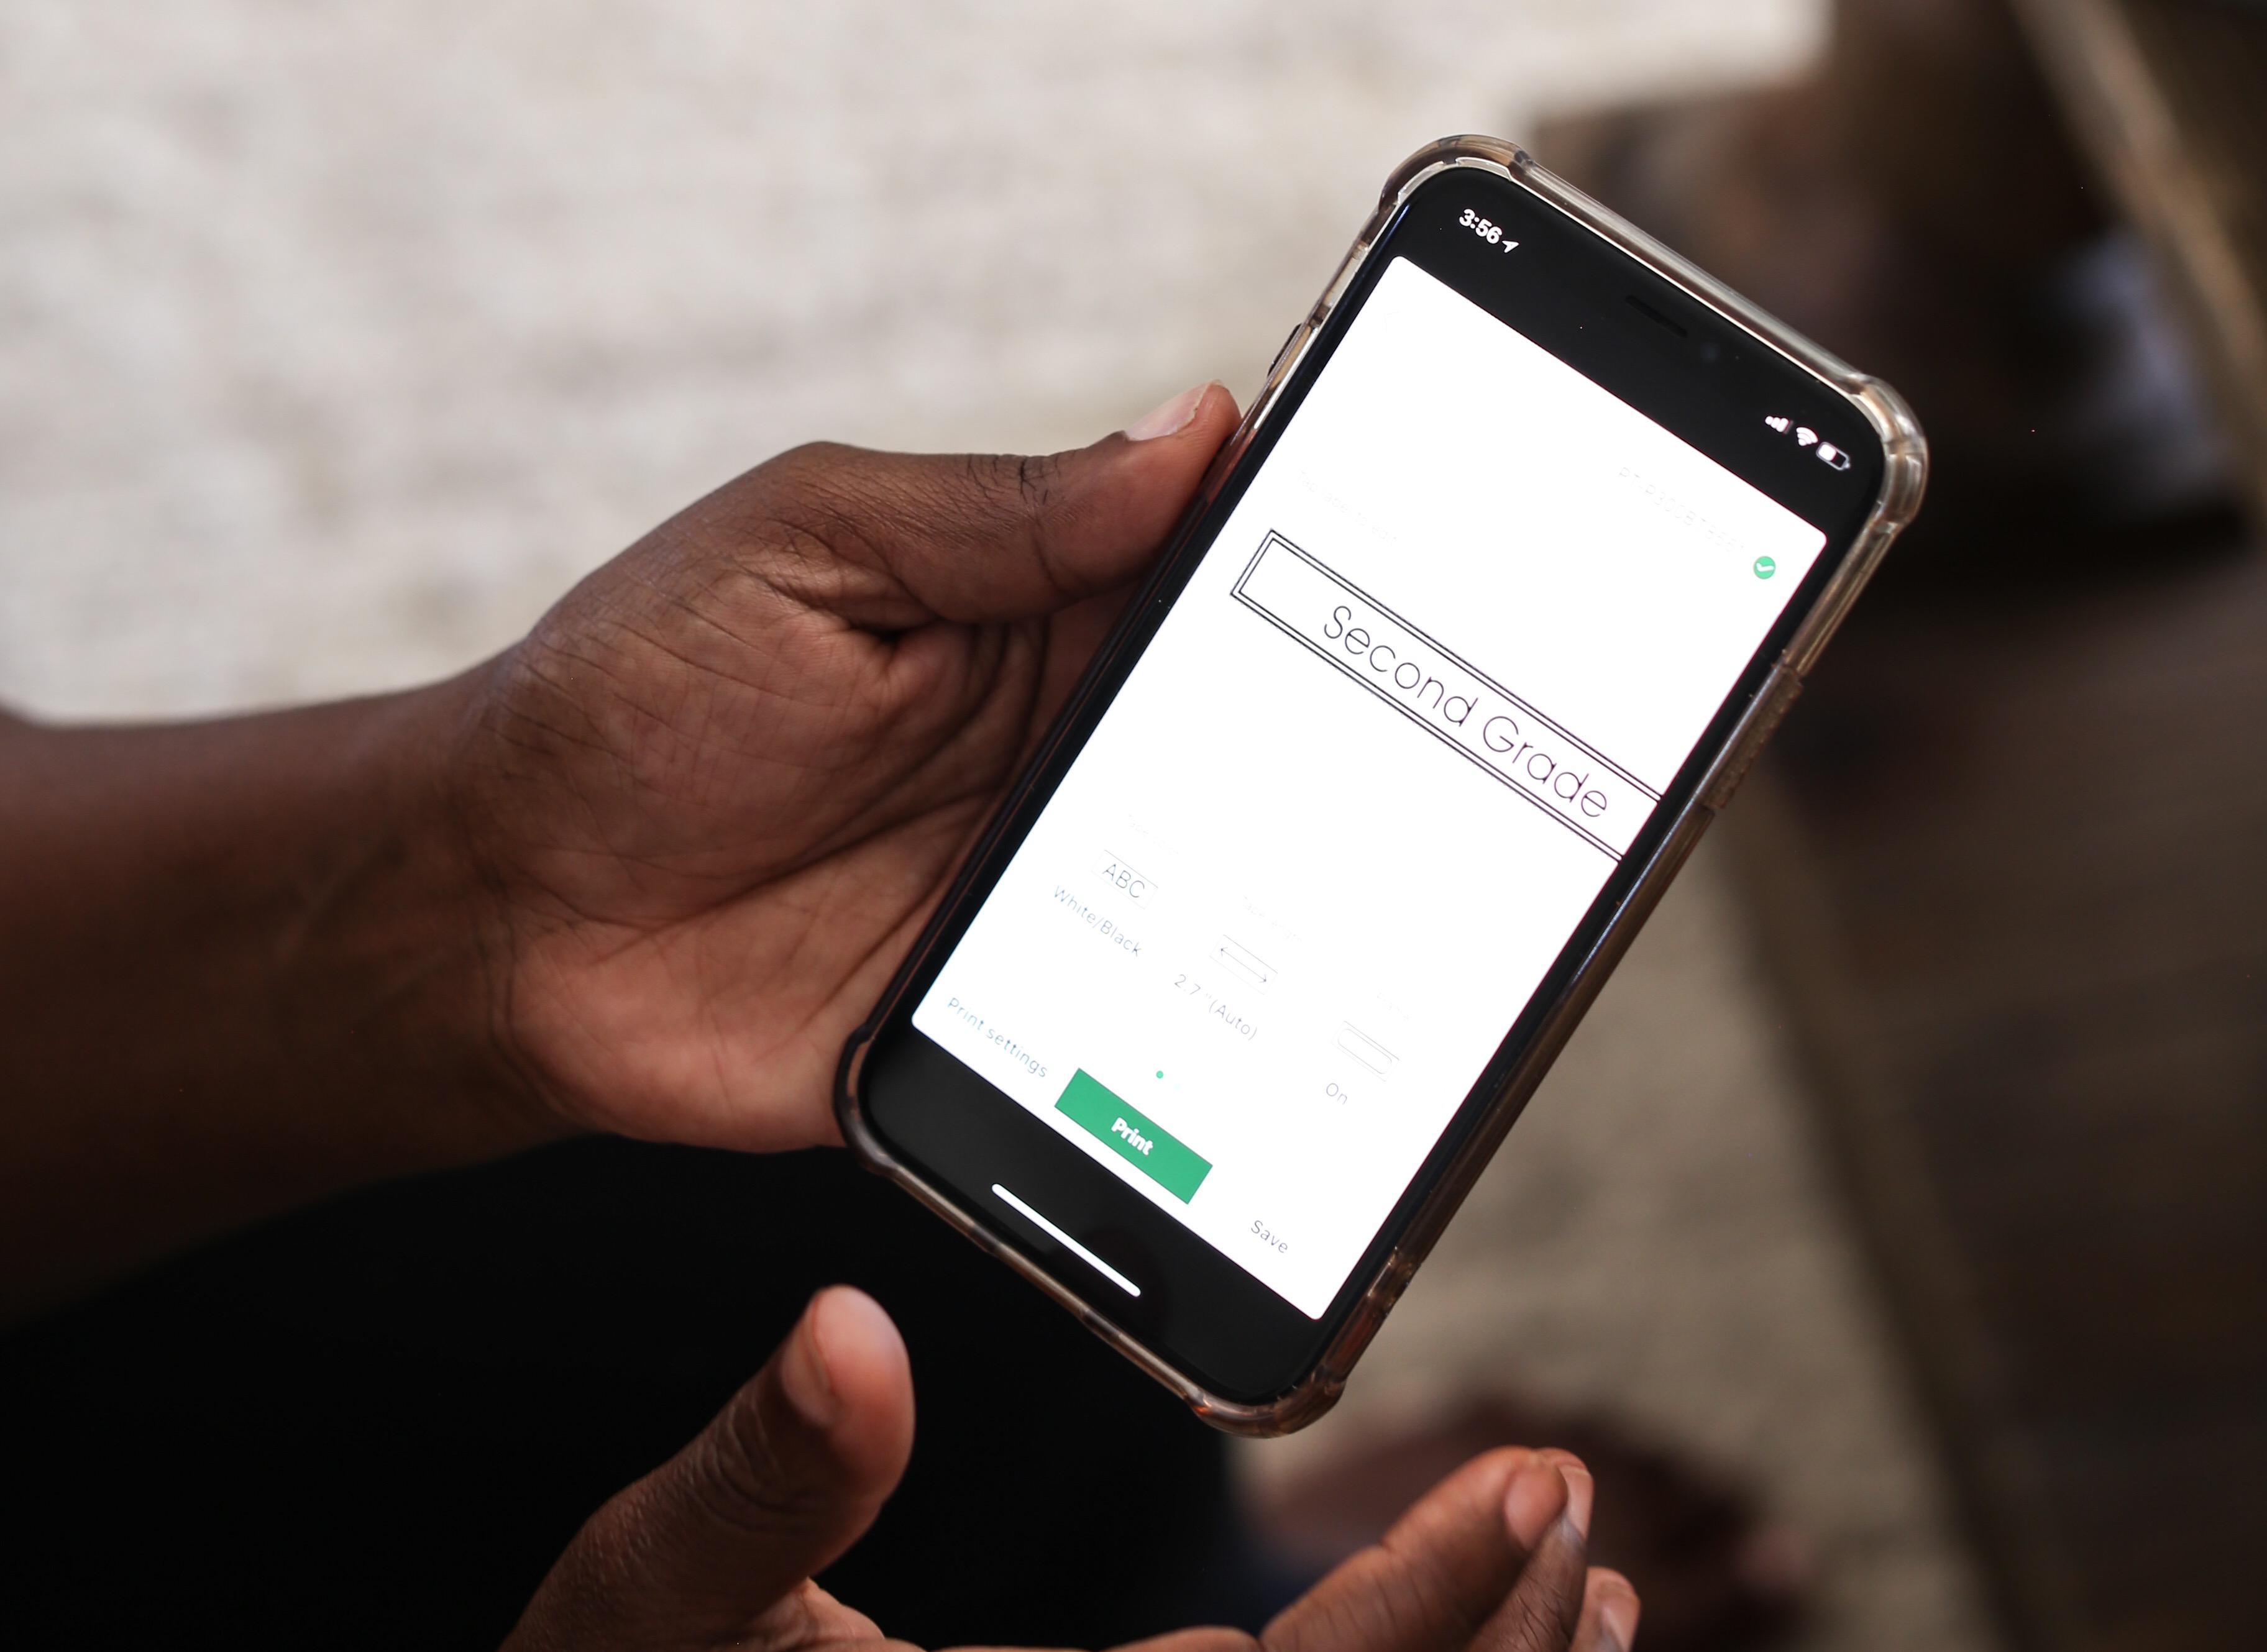
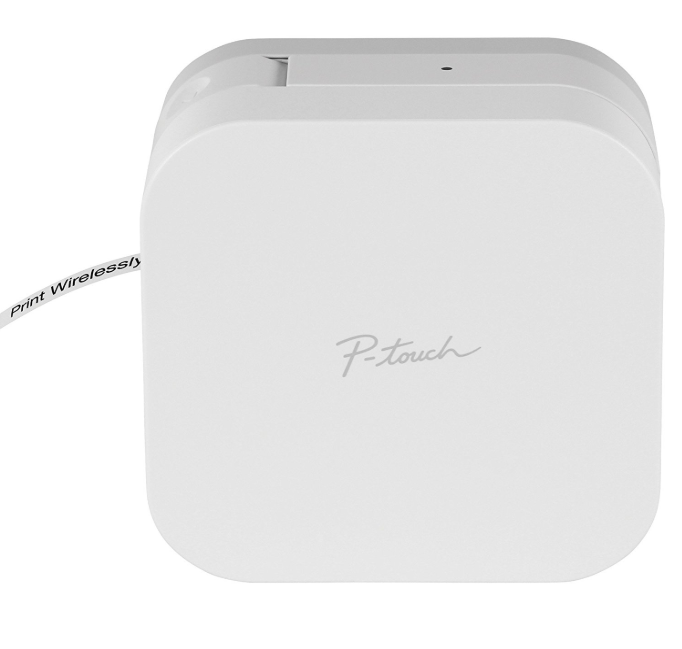
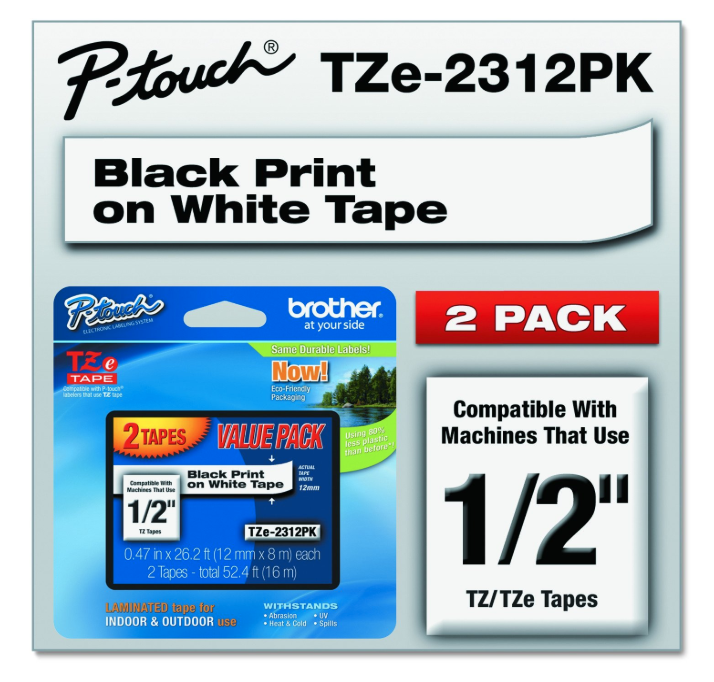
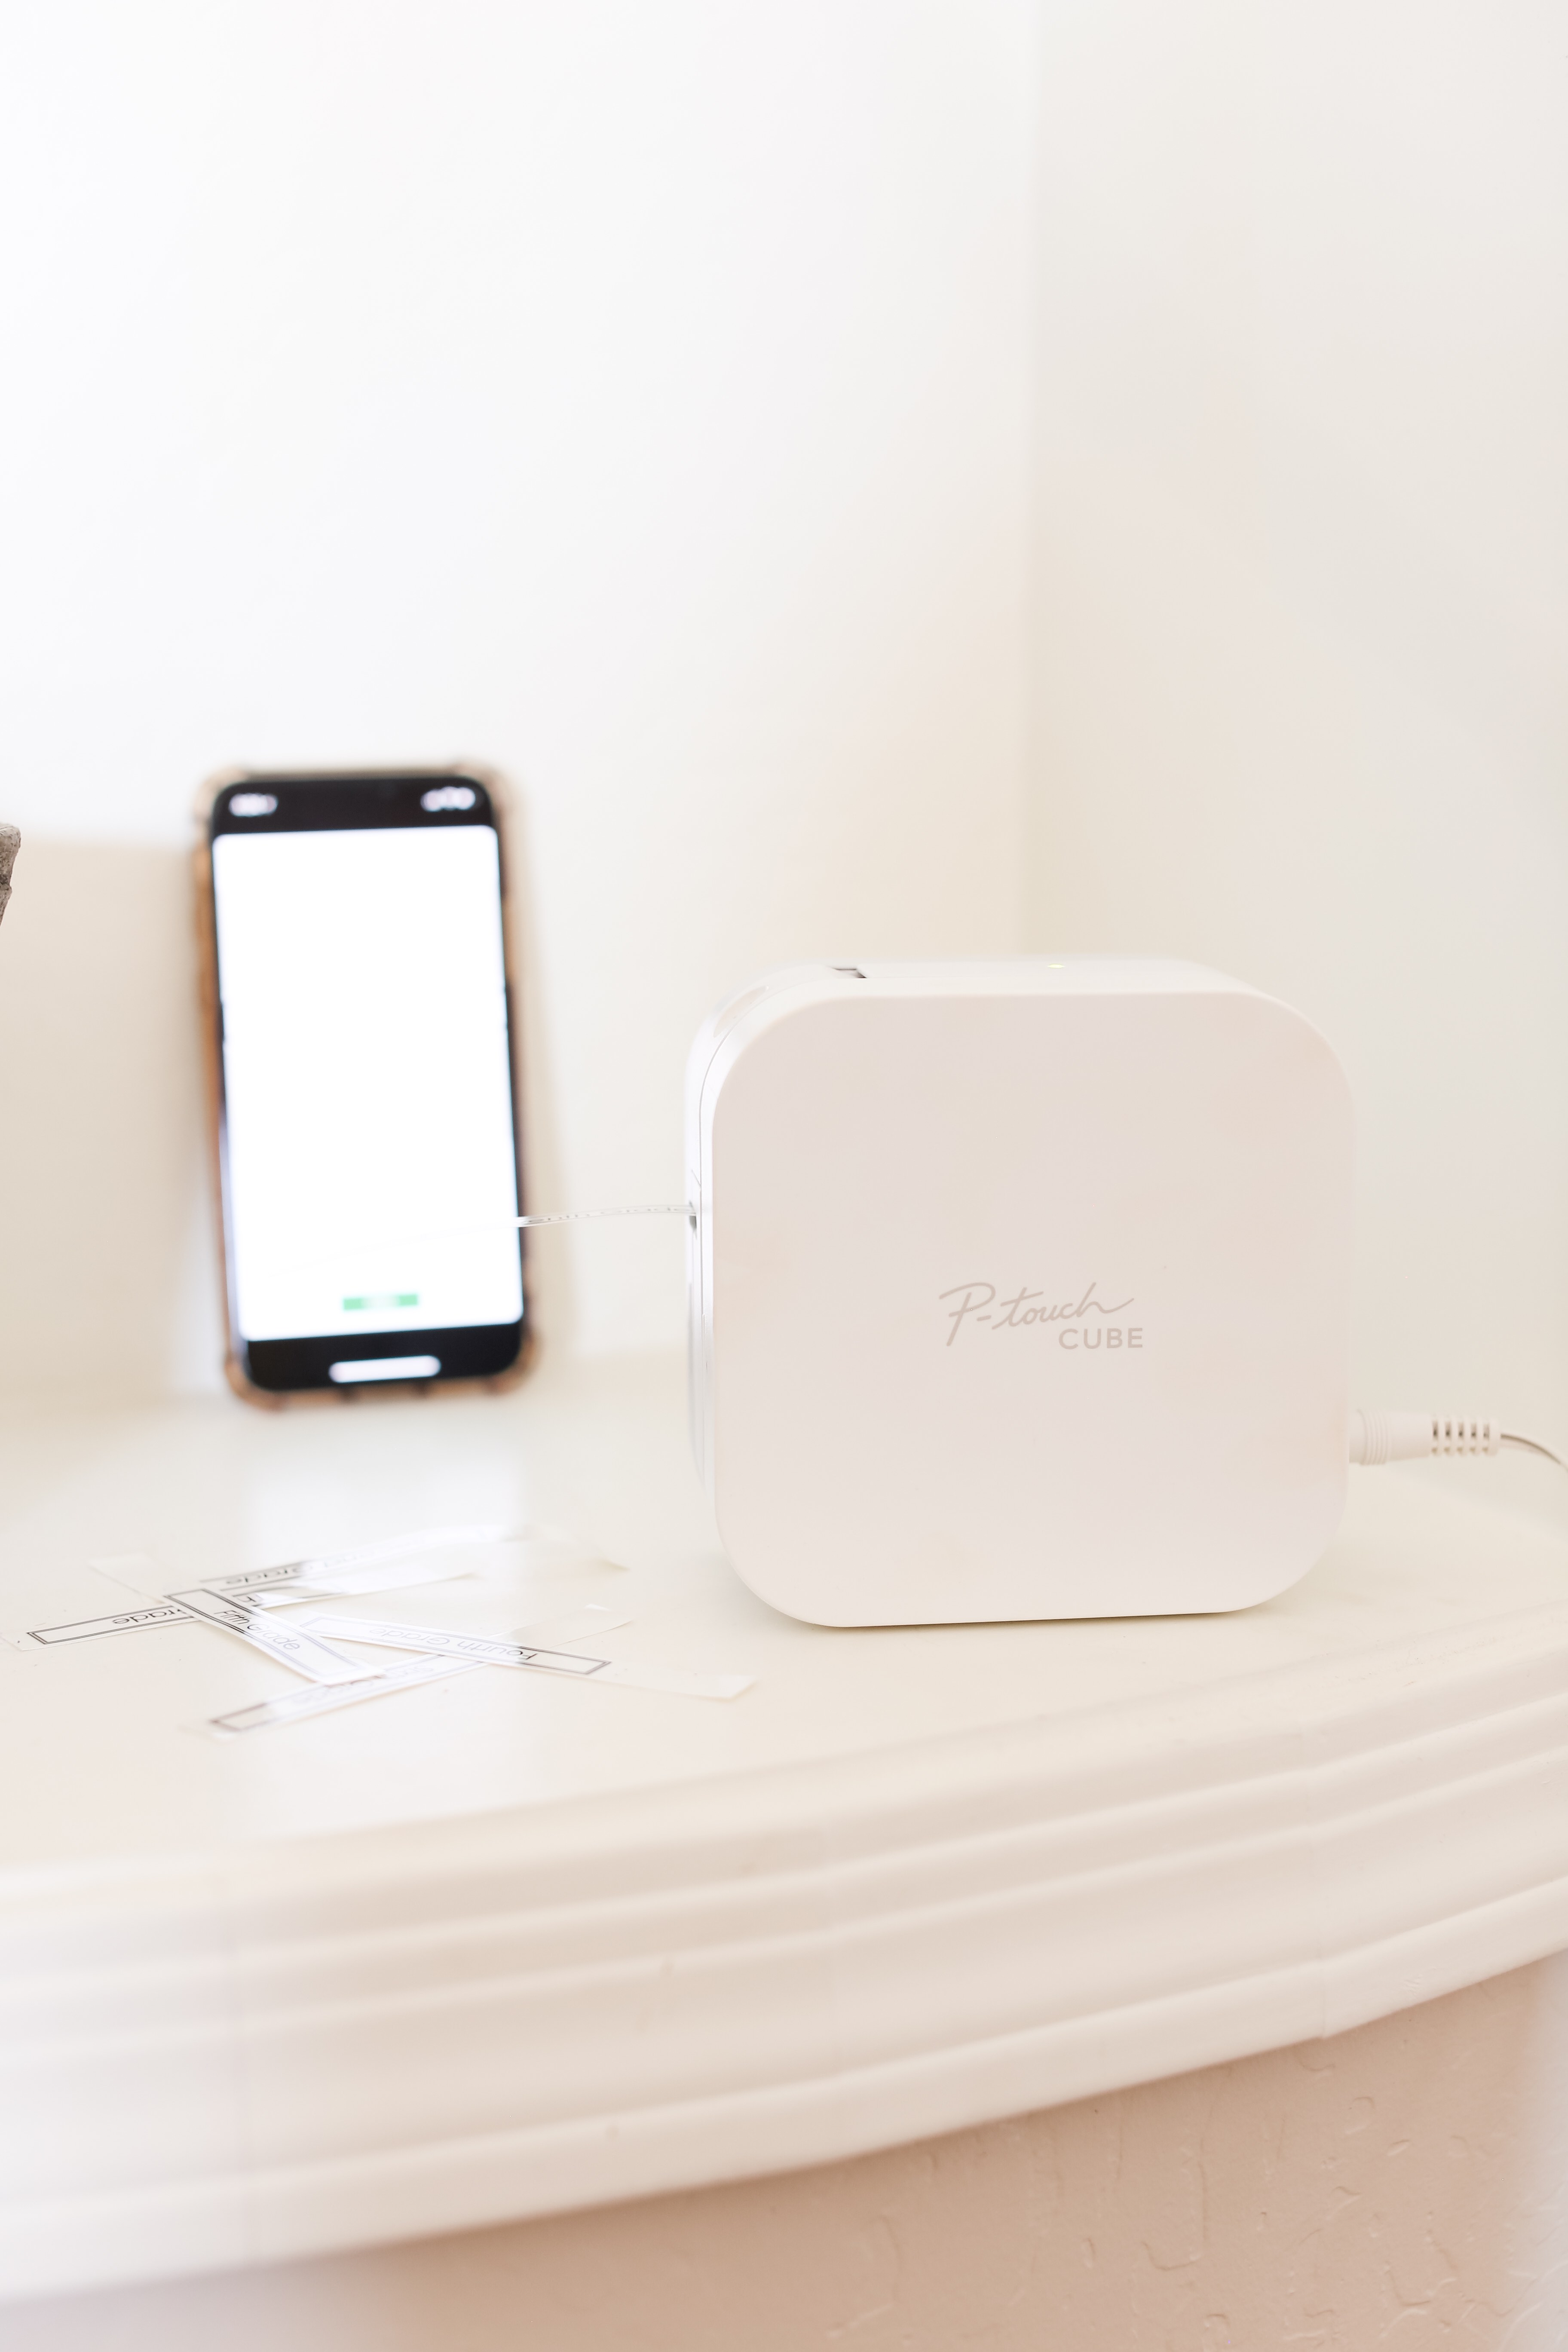
Now if you don’t have one already, I recommend this P-Touch Cube from BrotherP-Touch Cube from Brother. You guys. It’s so good. You do everything from your smartphone via an app! Hook up to your bluetooth and boom, you got a labels. They also have template to help you out with the most common labels like file folders!
Simple Storage Bag
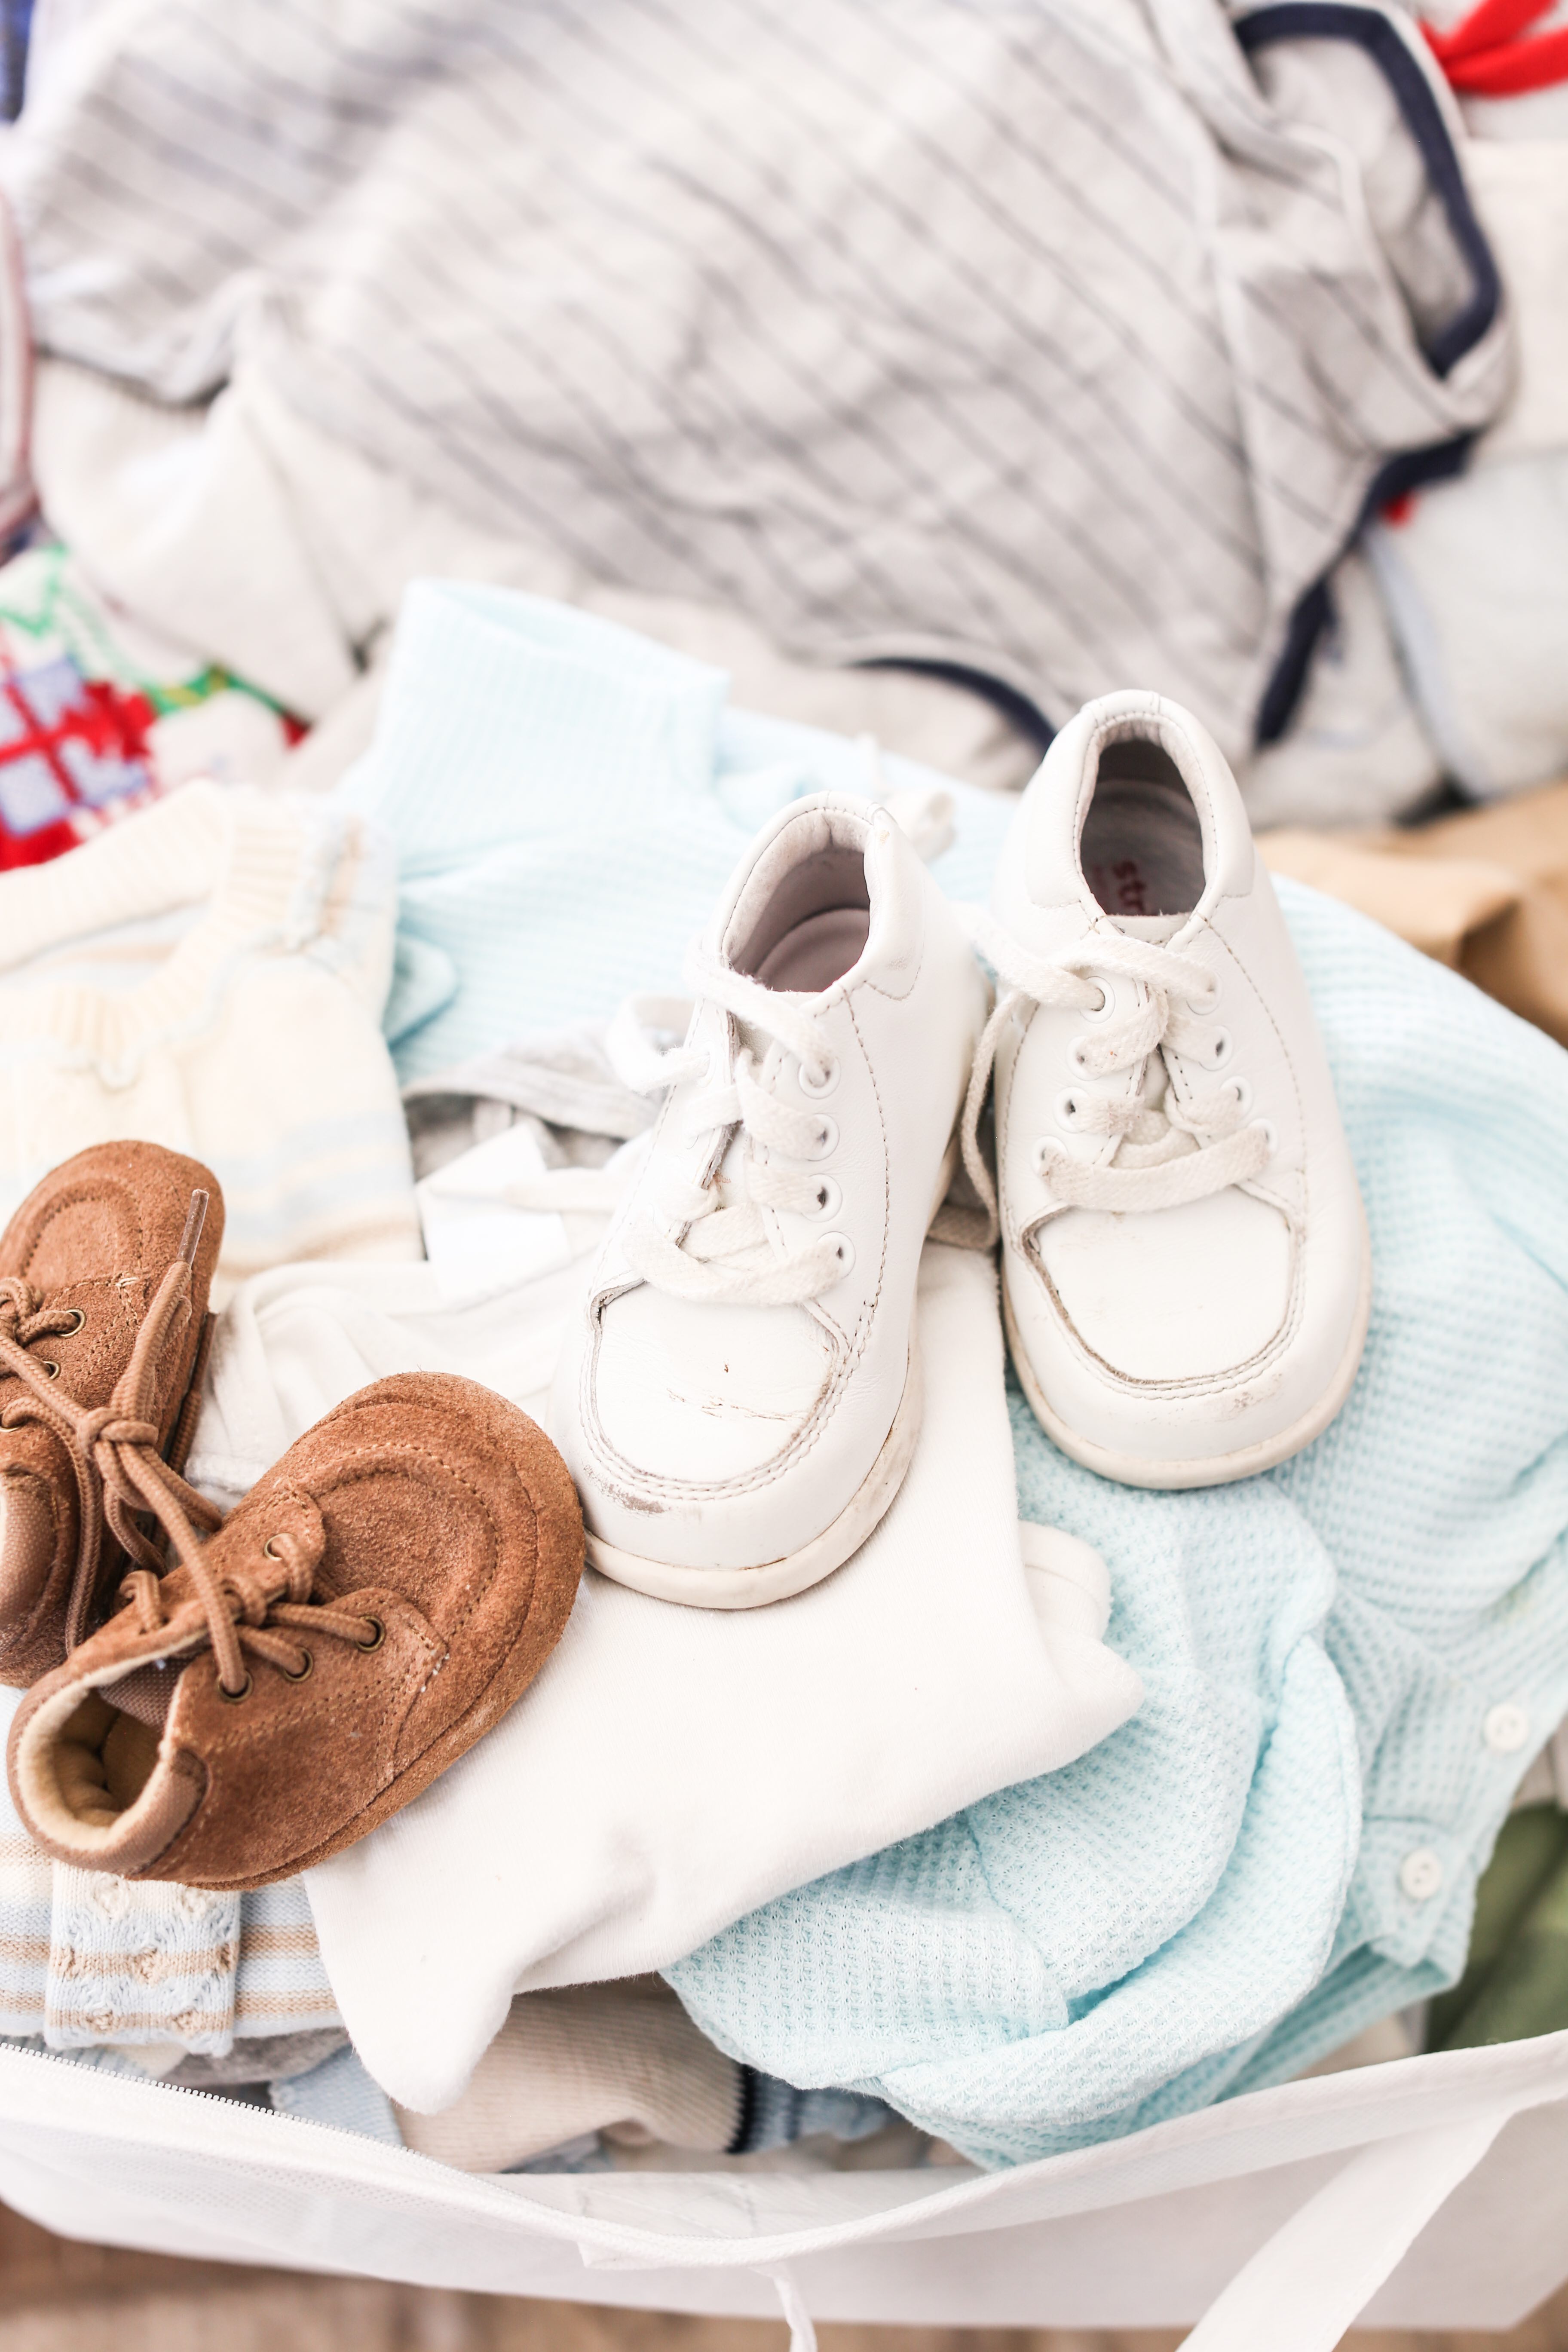
So the paper clutter is tackled, but what about all the OTHER adorable things you may want to keep as your child grows up? What about their first pair of walking shoes (yes, I bought my son walking shoes… first time mom problems) or their pacifier that they could NOT sleep without? Better yet, that blanket you thought for sure they would take with them to high school. Storage bags are you solutions. Honey Can Do carries a few different sizes of storage bags for blankets and comforter and other seasonal bedding. But these are also GREAT for storing your child’s memorabilia throughout the years.
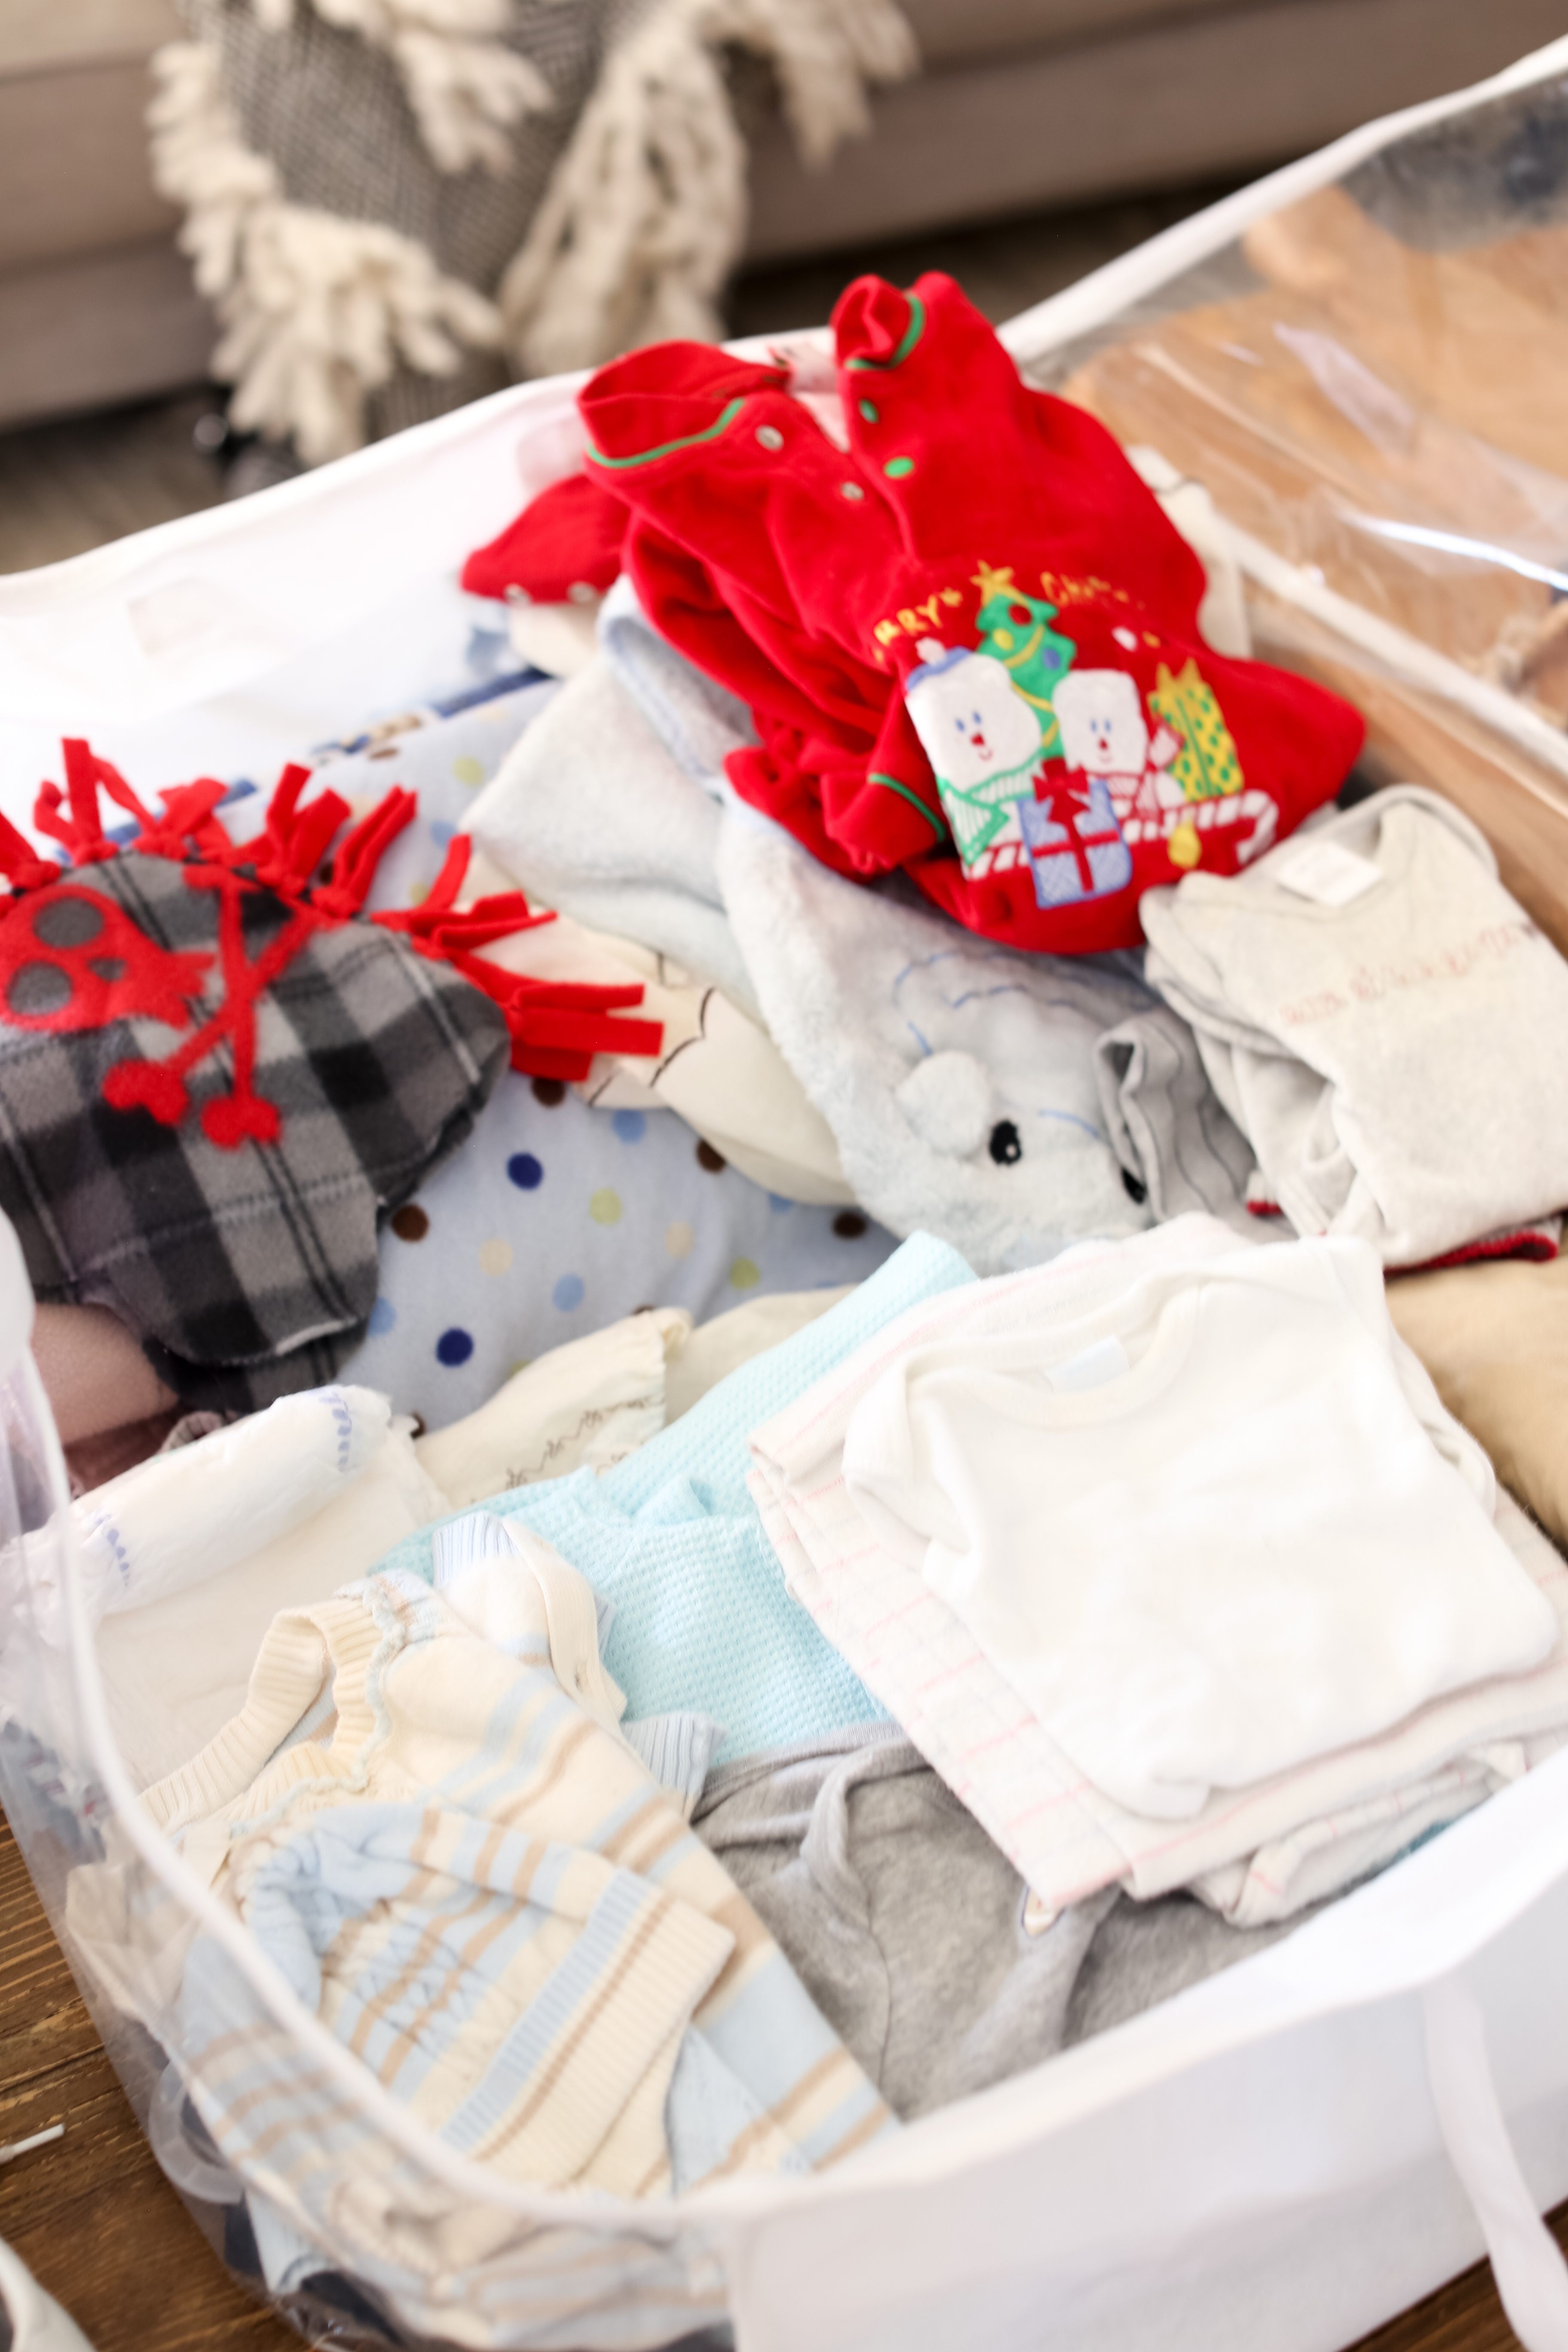
I love the handles and the clear top so you can easily see what’s inside! But still, don’t forget to add a label to that!