
This toddler-friendly recipe comes together in a pinch, takes only 8 minutes to bake, and can be adapted to a completely allergen-free snack (read: school-friendly). My 3-year-old daughter gobbles these muffins up and knowing that they’re protein-packed gives me serious peace of mind for my meat-adverse toddler.
This recipe was passed to me by my mother-in-law, who created it as a yummy snack to cater to her gluten-free friends. She always gets rave reviews from kids and adults alike. In my recipe adaptations below, I share allergen substitutions so that you can make a safe dish for your kid’s school at the drop of a hat.
Allergy Substitutions
Nut-free.
This ingredient can be easily swapped for nut-free butter like sunflower seed or any allergen-free alternative you prefer. Make sure the butter is smooth and salted, otherwise blend it up first and add a pinch more salt and a dash of oil. For a substitution on the almond and peanut flours, go ahead and use a measure-to-measure gluten-free flour.
Egg-free.
Swap 2 eggs for ¼ cup of applesauce. Easy!
Dairy-free.
Go ahead and use a flavorless dairy-free creamer (thick and creamy is best) and a high-cacao/dairy-free chocolate chip. You may even try using a splash of oil to the batter in place of any dairy at all.

Peanut Butter Chocolate Chip Blender Muffins
INGREDIENTS
- 1 cup smooth and salted peanut butter
- 2 eggs
- 1 teaspoon vanilla extract
- 2 tablespoons heavy cream or whole milk
- 2/3 cup sugar
- ¼ cup + 2 tablespoons almond flour
- 1 ½ teaspoons baking soda
- 1/8 teaspoon salt
- ¼ cup mini semi-sweet chocolate chips
INSTRUCTIONS
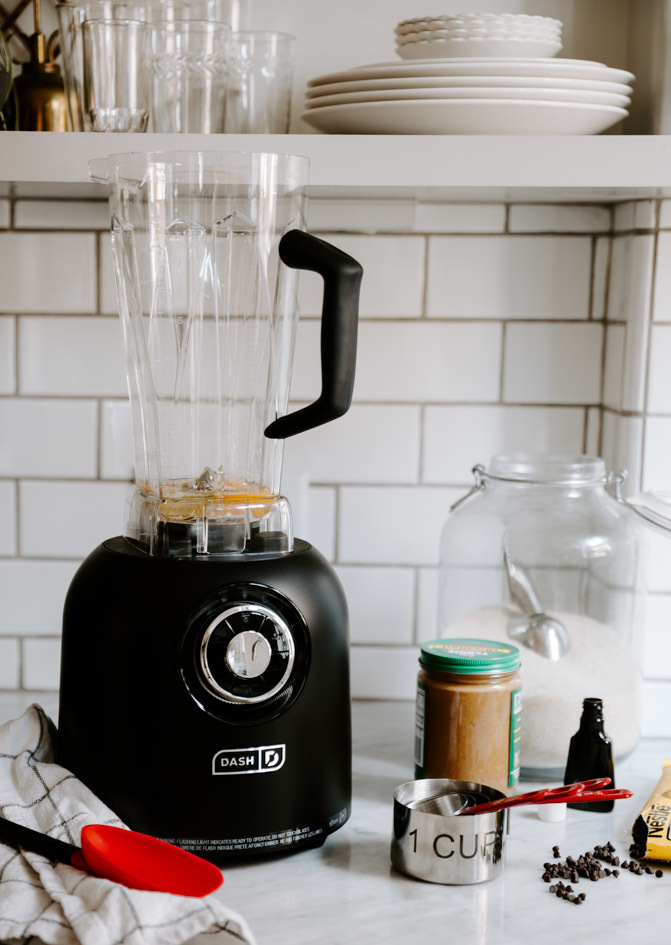
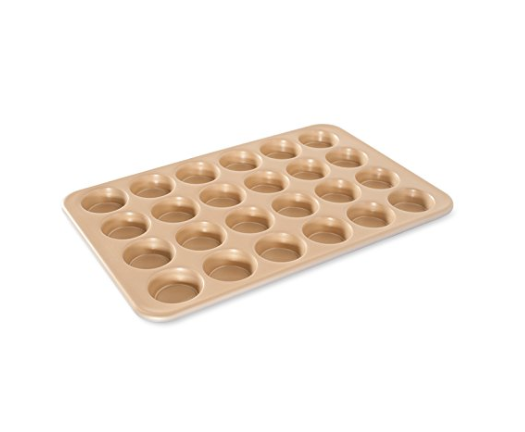
- Preheat oven to 350 degrees. Oil mini muffin tins using a cooking spray and place the pan in the freezer until ready to be used.
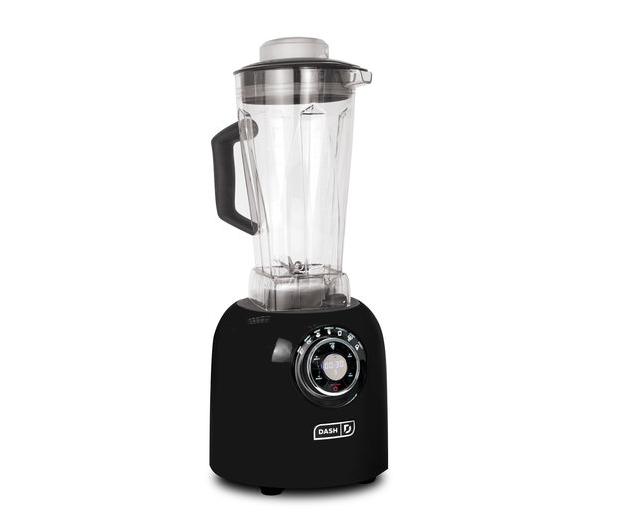
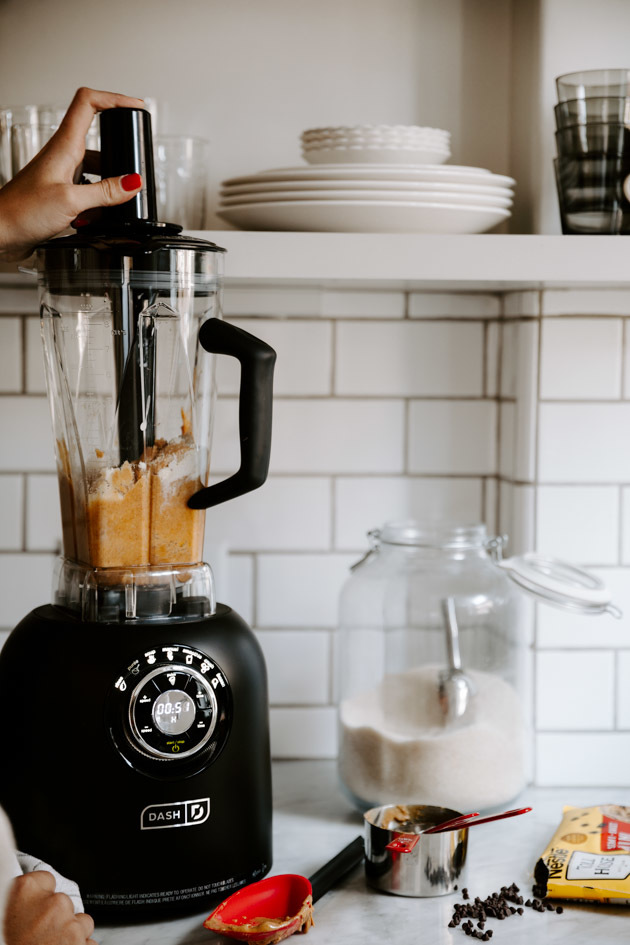
- In a high-speed blender, pulse together the wet ingredients until combined. About 3 pulses.
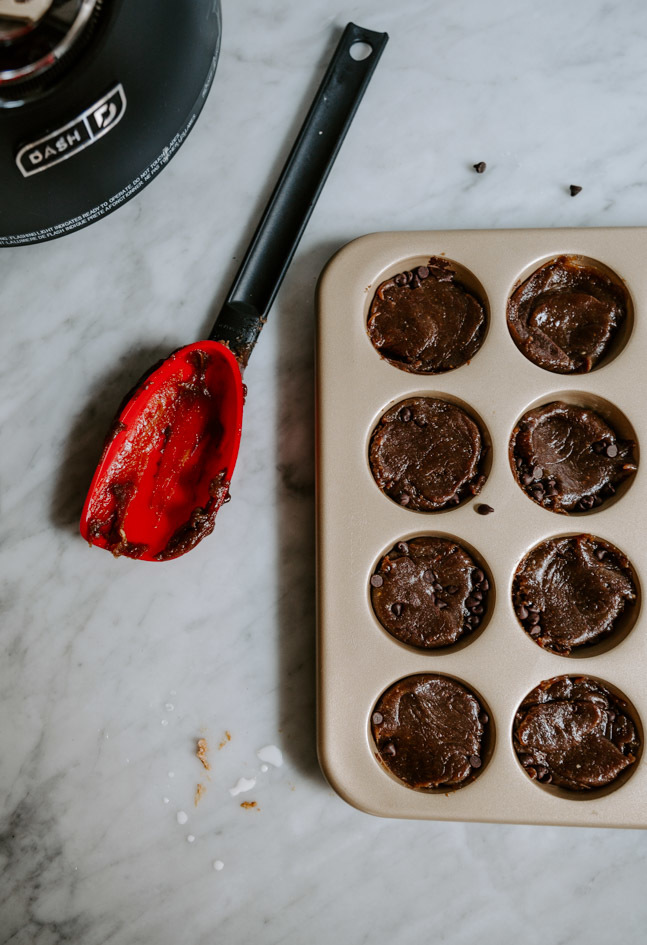
- Add dry ingredients and pulse again until just barely combined, about 5 pulses. Using a silicone spatula, stir in chocolate chips.
- Spoon dough evenly into frozen greased mini muffin pan. Optional: smooth using the back of a spoon for a shiny finish, or add a sprinkle of chocolate chips to the top of each.
- Bake for 8 minutes and let cool completely before removing from the pan. Pack in an airtight container once completely cooled and store for 3 days.

Recipe Notes
Texture.
A note on texture. Using a blender makes this recipe unique and easy. The only thing to understand about this technique is that the range for mixing can vary greatly in just a moment’s time, moving from under-mixed to over-mixed in a snap. Luckily this gluten-free recipe is actually quite hard to ruin. It simply produces a different crumb/texture, which can look quite different depending on where you fall on the mixing scale. In order to help you understand this recipe fully (and to avoid a “Pinterest Fail”), here’s what I noticed during recipe testing:
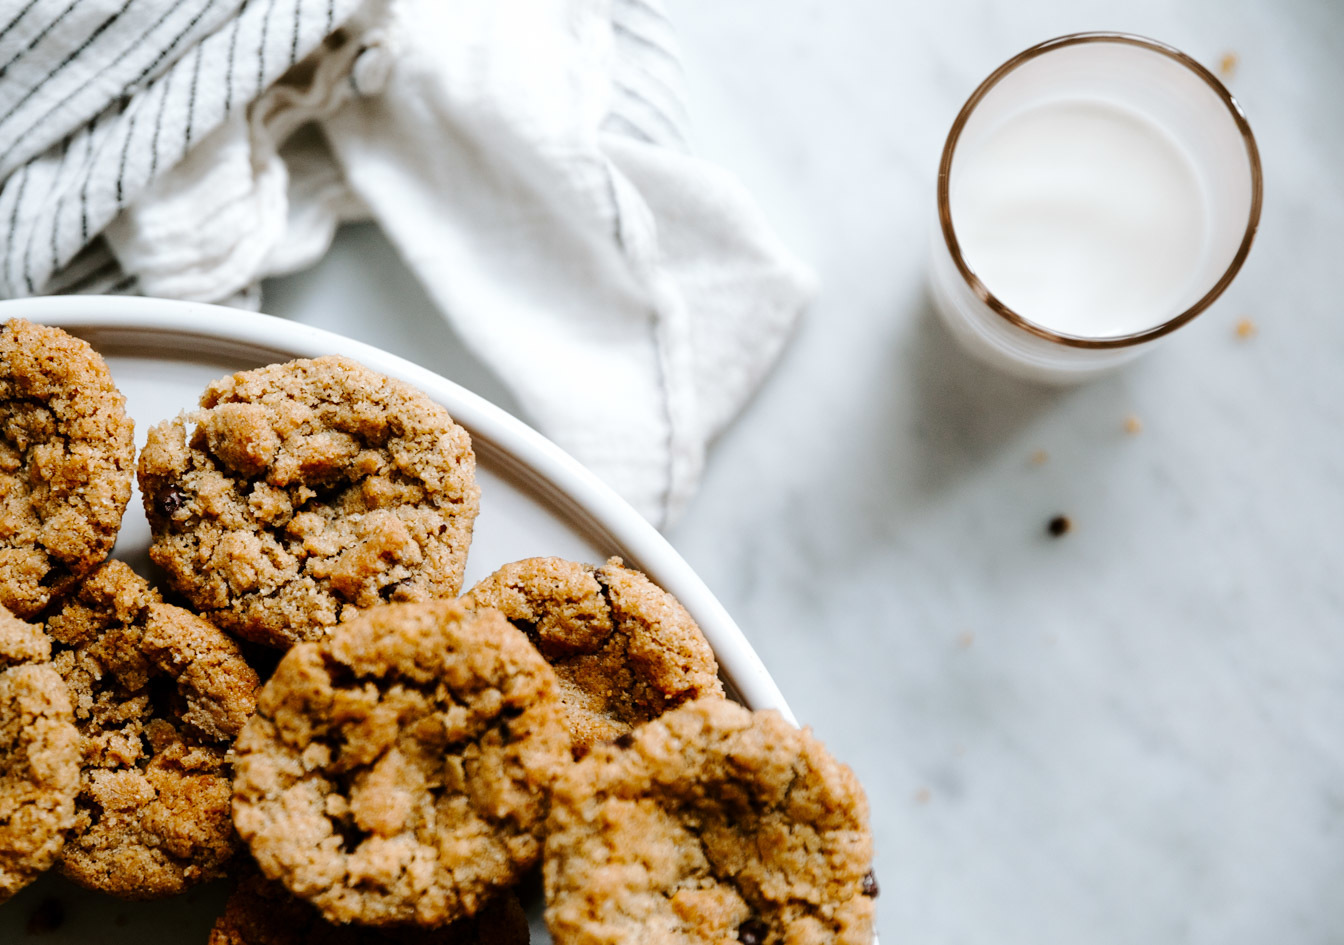
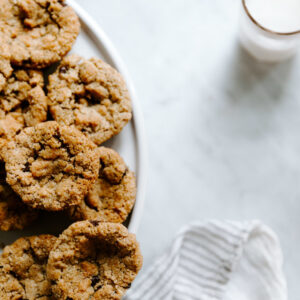
Pictured above is a chewy, bouncy-like muffin. The end product looks shiny, almost cupcake-like, and with a tighter crumb. This is how my mother-in-law makes this recipe:
¼ cup peanut butter flour + 2 tablespoons almond flour, blended on high speed for 2+ minutes. Chocolate chips melted into the slightly warmed batter (from blending) and then added again at the end once slightly cooled. The batter is very smooth. The batter gets spooned into the greased mini muffin tin and smoothed/flattened down using the back of a spoon.
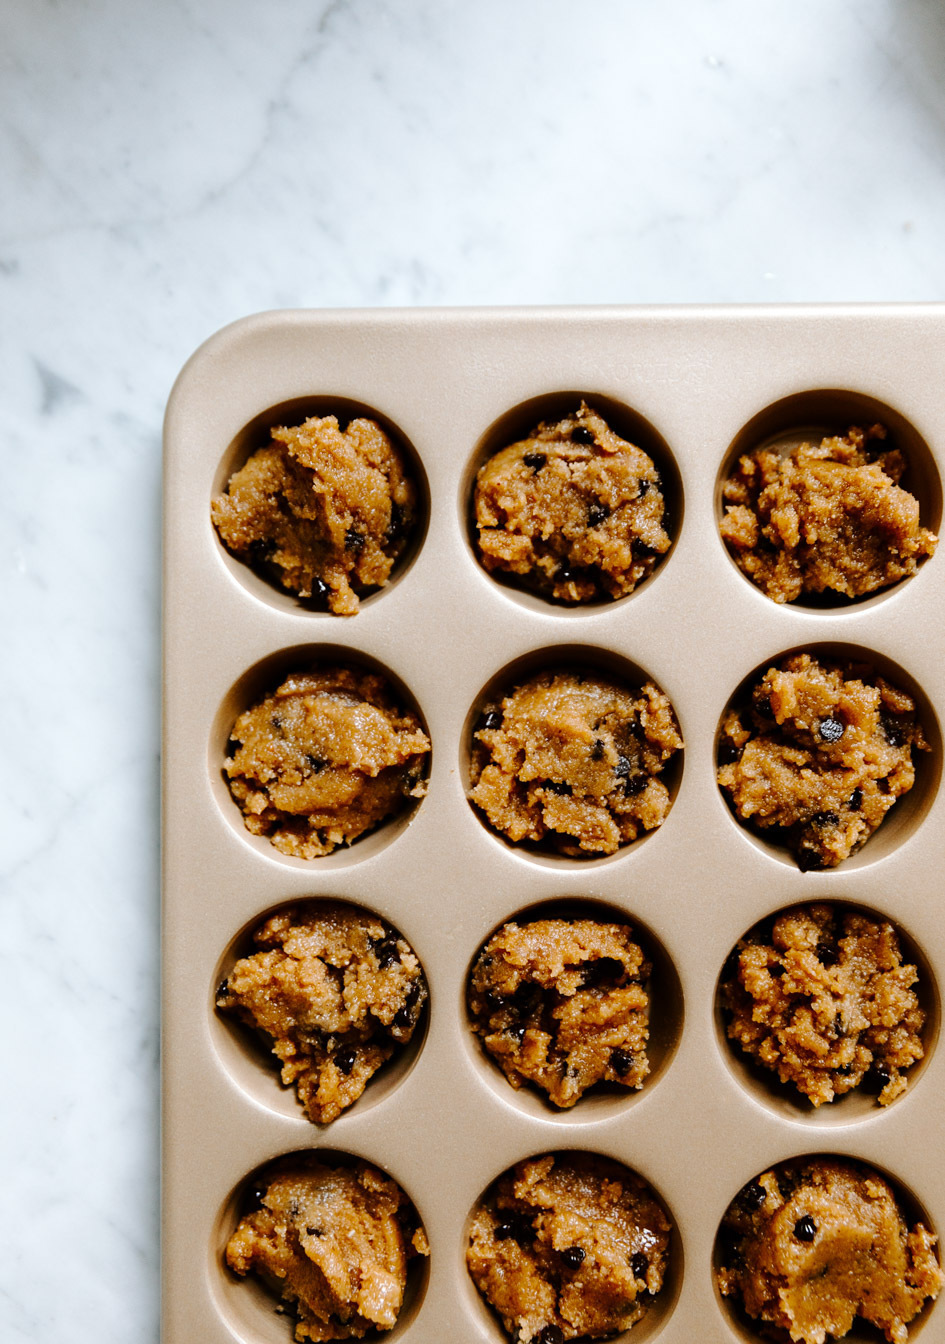
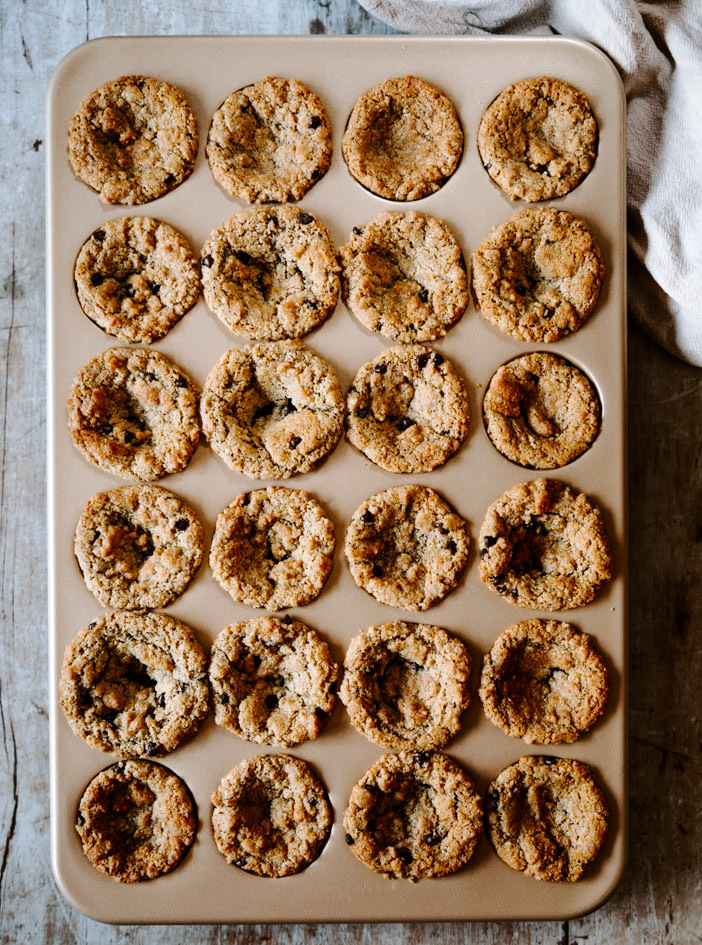
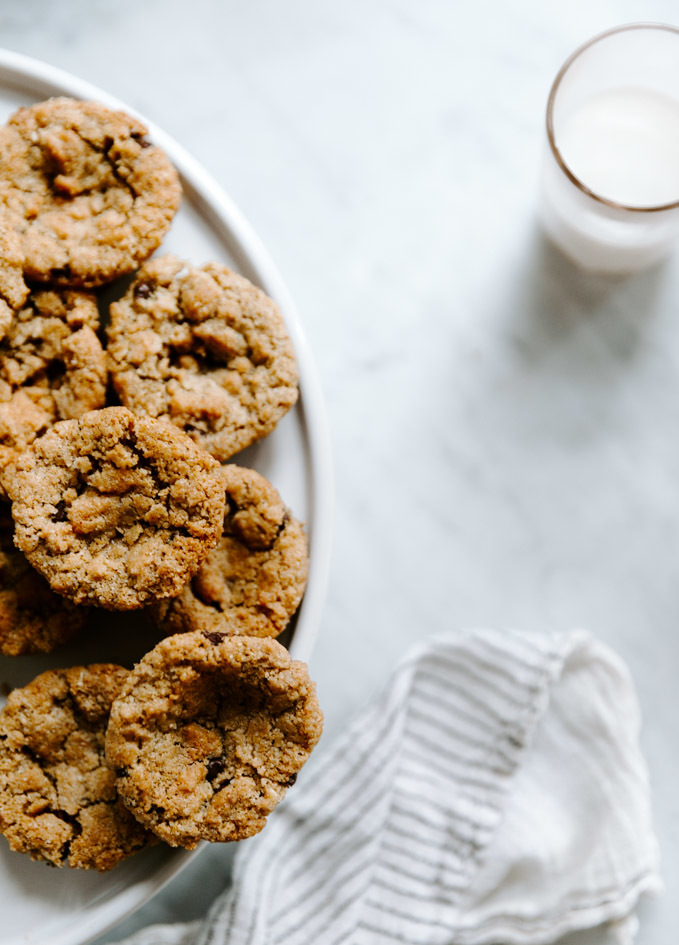
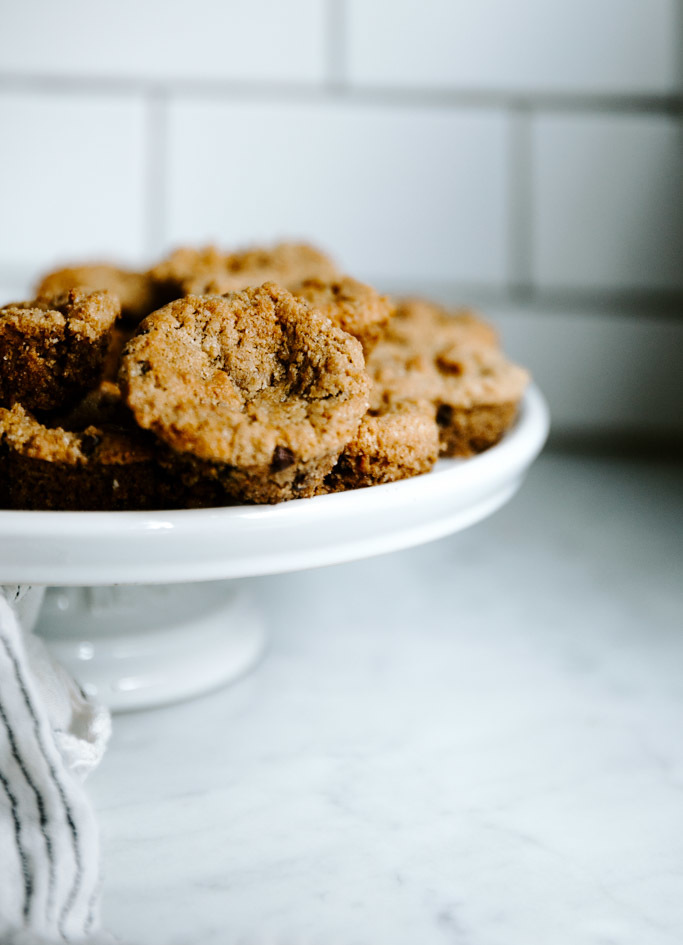
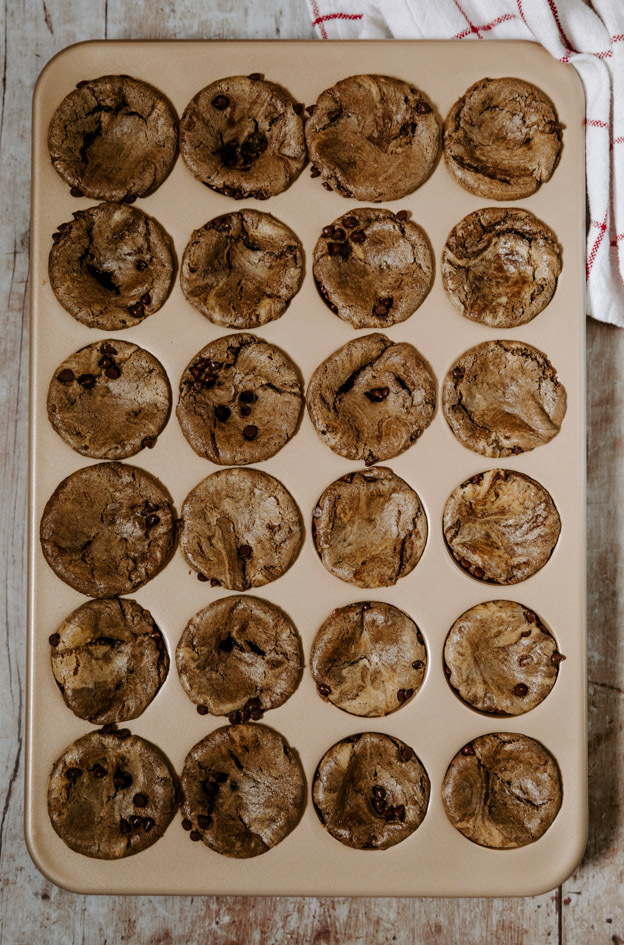
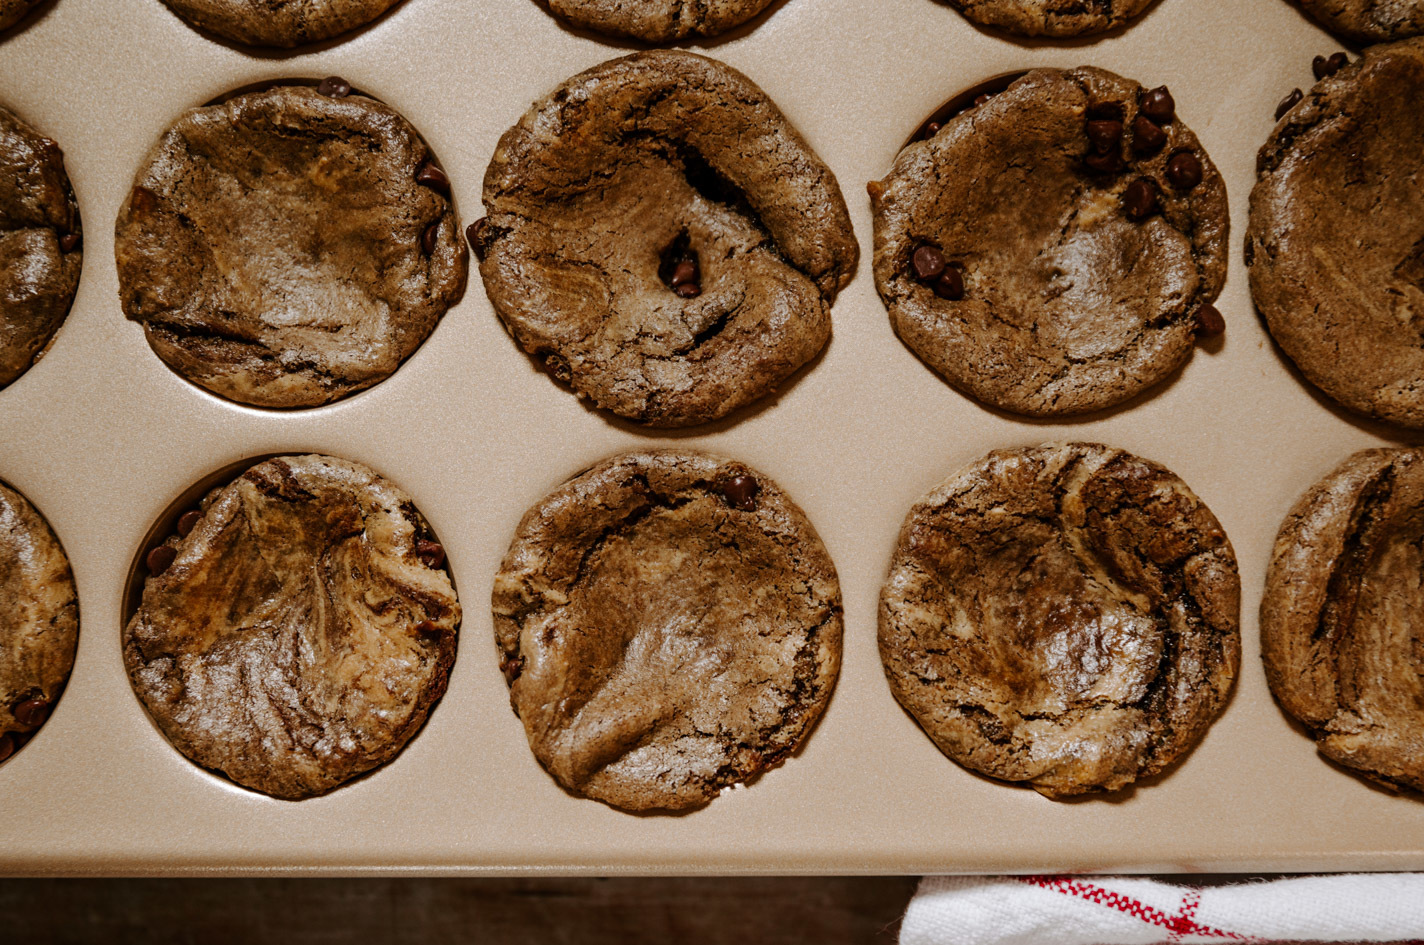
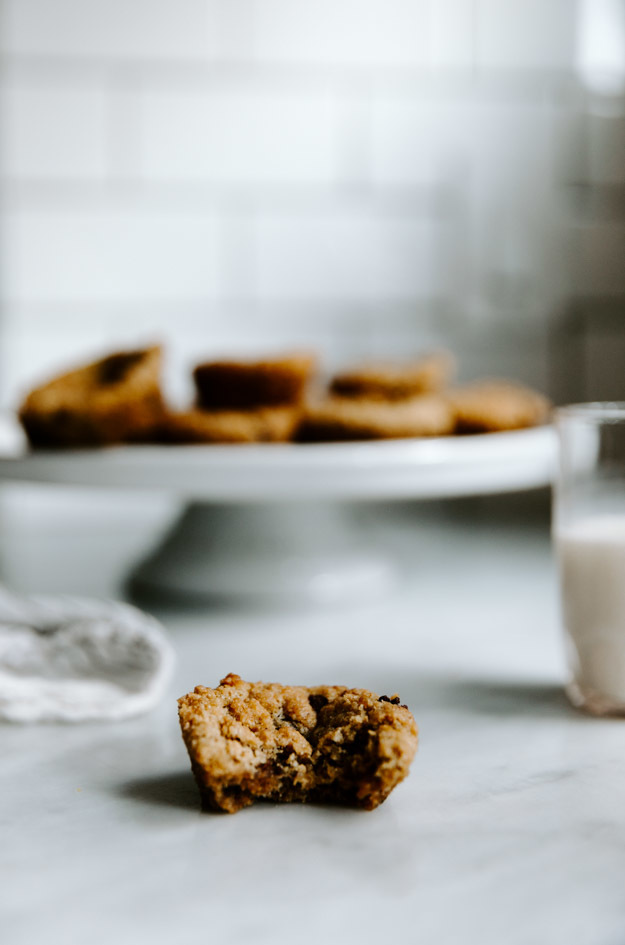
Pictured above is of the recipe as written, and how I prefer the muffins. It yields a blondie-like texture. Almost like a cookie with a very loose crumb. Here’s how it differs from above for quick reference:
¼ cup + 2 tablespoons almond flour, pulsed until just barely combined (or hand-mixed). Chocolate chips stirred in at the end, and batter resembles a cookie-dough texture. Batter is spooned into the greased muffin tins. No flattening/smoothing into the tins before baking.
Prevent sticking.
My mother-in-law has a handy trick to help release the muffins from the muffin pan without a problem, and that’s to freeze the oil/spray in the pan before adding the mixture. Cool completely if there are any sticking problems and then try again. I instruct you to do so in the recipe because it works quite well! If you prefer to line the pan with mini muffin papers or parchment, go right ahead and skip that step!
Chocolate Chips.
I love using the mini chips in this recipe. Be sure to mix them in by hand at the very end to maintain the chip shape!
Even More Gluten-Free Recipes for You:
Gluten-Free Baked Apple Cider Donuts
Easy High-Protein Breakfast Bites You Can Make in a Muffin Tin