
Because it’s spring, and the first ever Ask Melissa column, I thought it would be most appropriate to offer up some advice on spring-cleaning related questions!

I get thousands of comments, questions and emails a month, so I picked a few out and will answer them in hopes of helping the original asker, but perhaps you may be facing the same cleaning and organizing challenges as well. If you ever have a cleaning or organizing question, don’t be shy! Reach out, I just might answer your question next! OK – here goes:
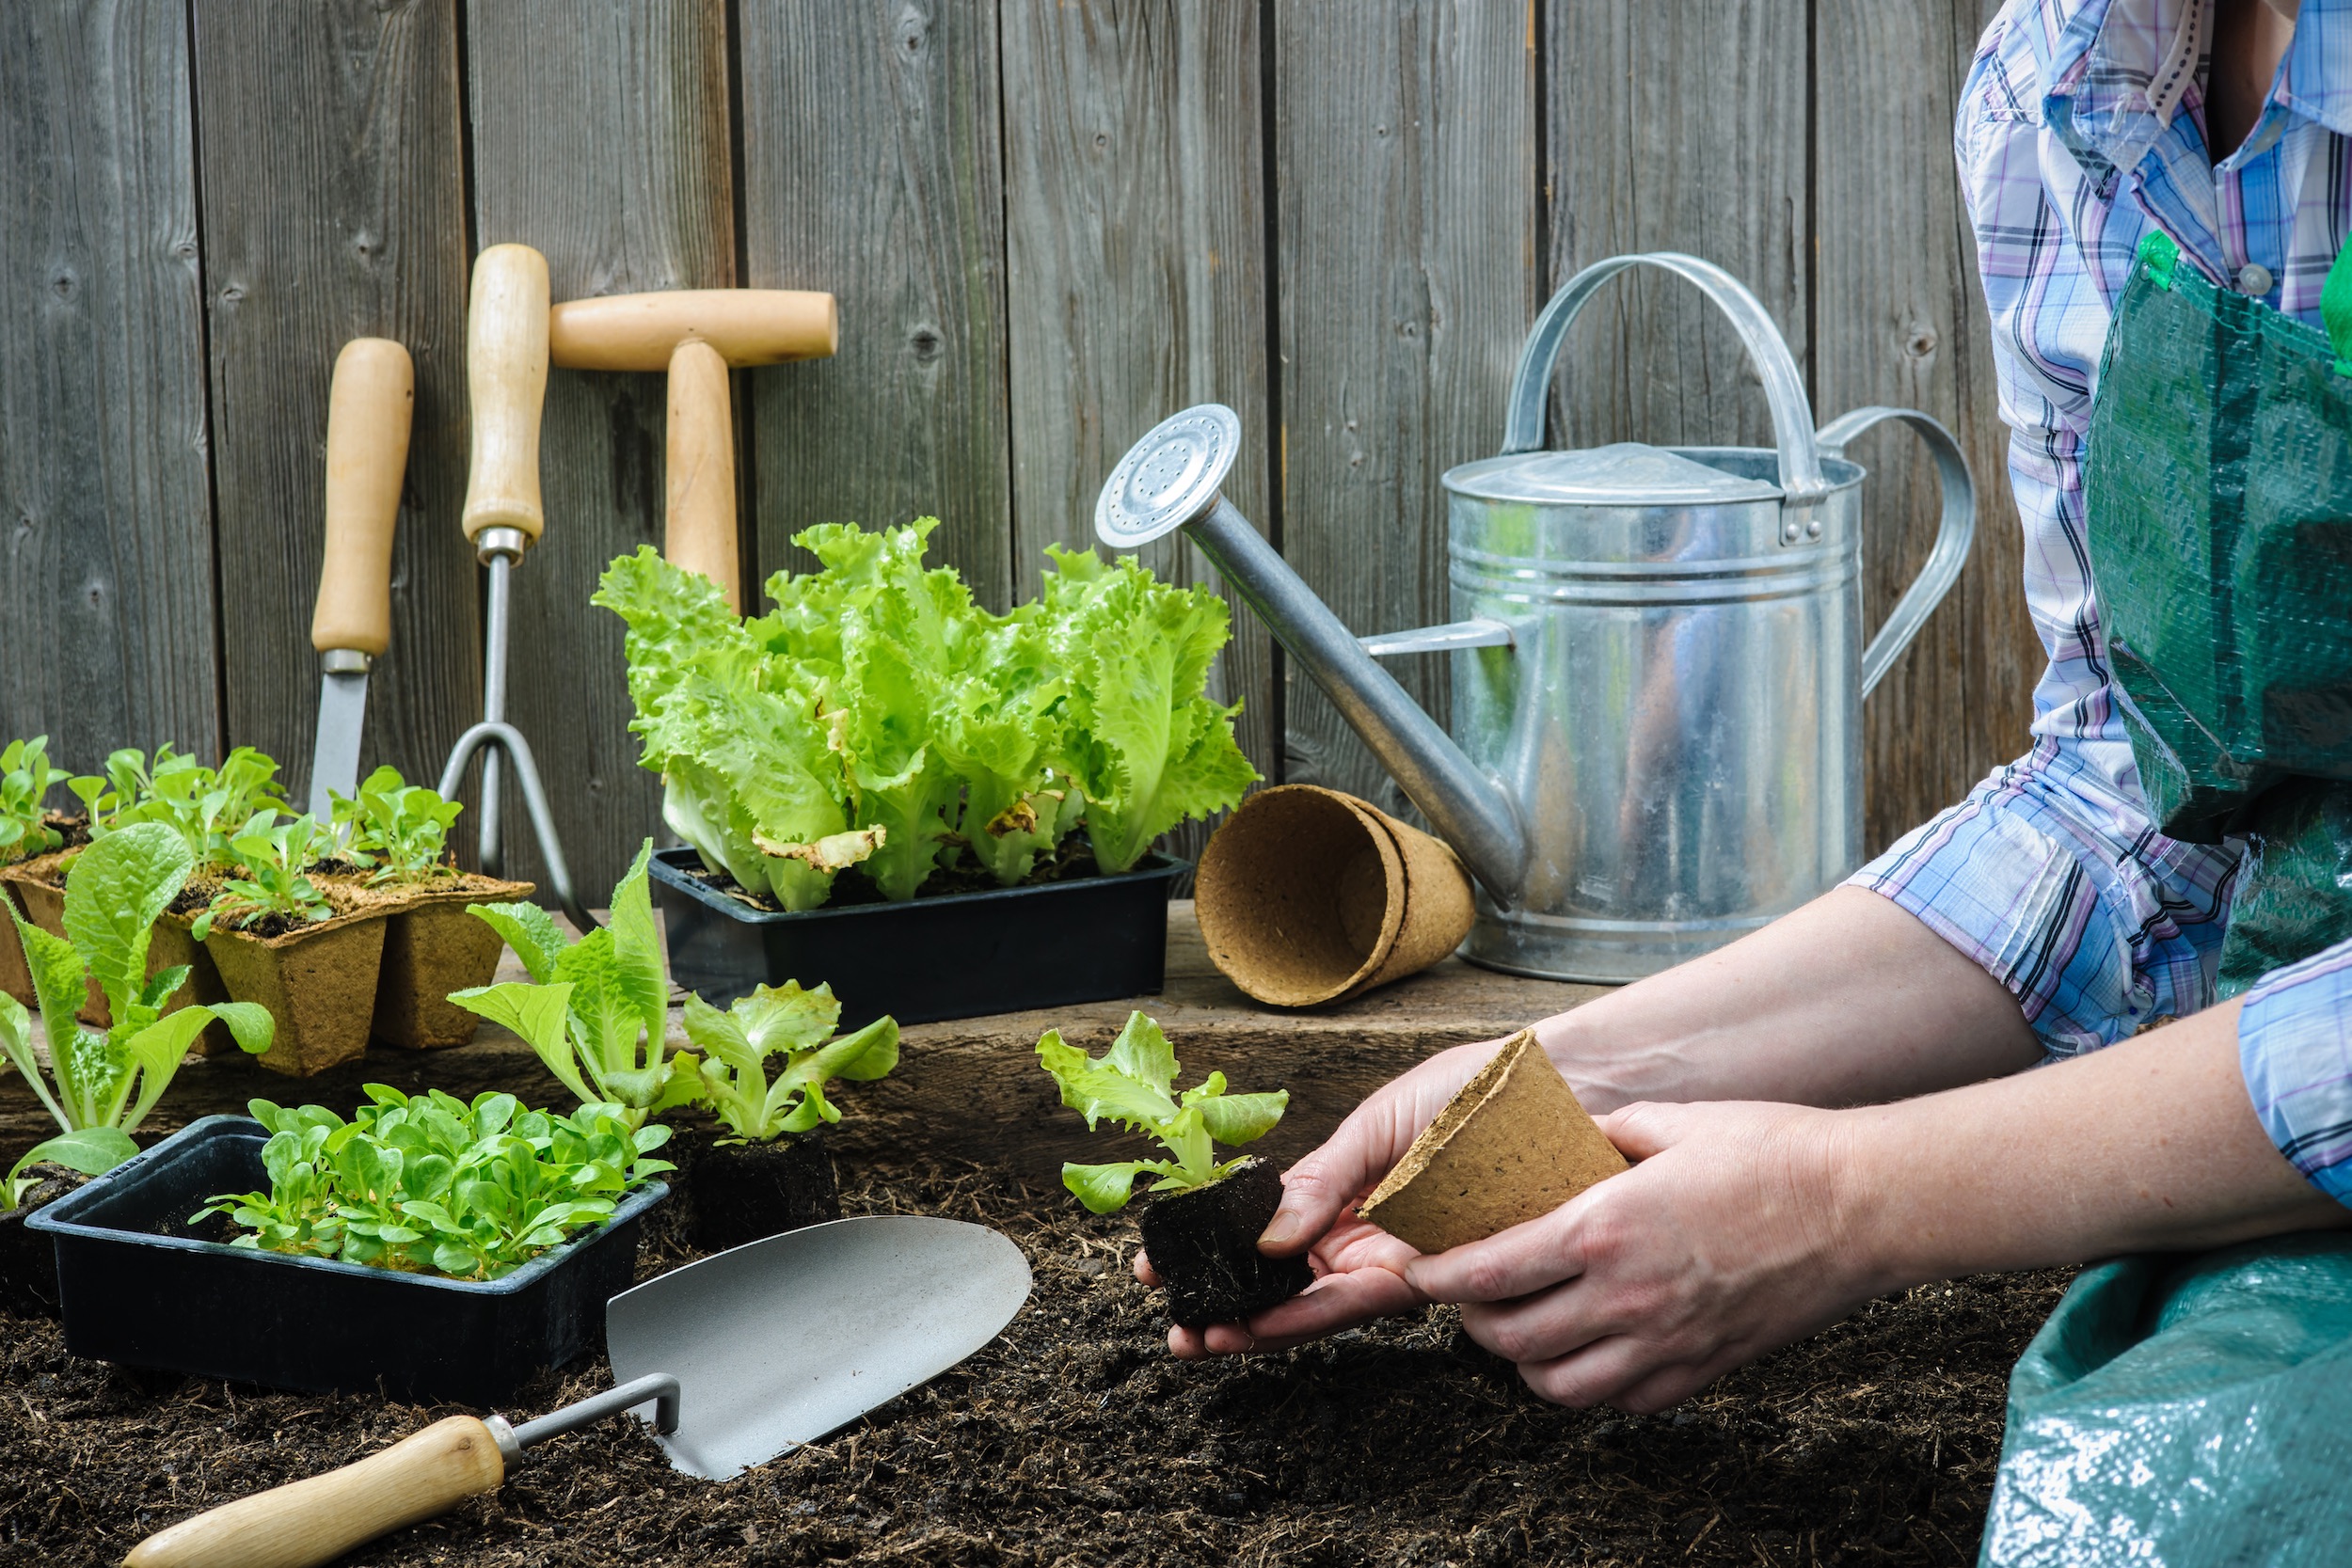
What’s the best way to clean/disinfect my gardening tools?
– Sylvia D
Ah yes, garden tools. Not only do they look gritty and can be hard to store, dirty garden tools can also carry with them insects, fungi, weed remnants and larvae (sounds like the making of a witch’s brew!). Cleaning them is important not only to the cleanliness of your garage or shed but for the health of your plants. Metal tools have the propensity to rust, so we need to be mindful about cleaning them in a way which is safe, effective and promotes longevity.
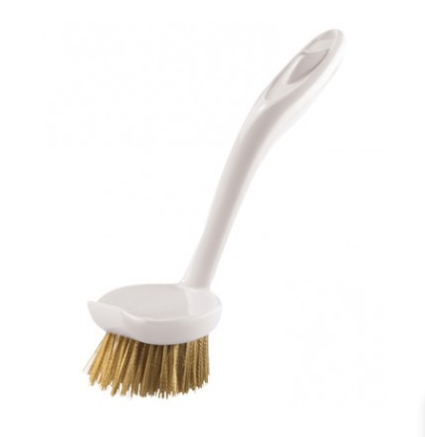
After each use, start by brushing off any excess dirt and cleaning each tool off with water, the garden hose will provide a steady and strong stream to do this. If necessary, you can use a scrub brush (nylon bristles won’t scratch) to get into those nooks and crannies. I like this one because the handle gives me good leverage and I can get into those tight spaces with the smaller brush head. To clean really dirty tools, I typically mix a teaspoon of dish soap in a bucket filled with hot water and add two cups of vinegar and soak the tools for a few moments and then proceed with the brushing. The key to long-lasting tools is to dry them really well (that means no rust!) and polish metal parts with a soft cloth dipped in a bit of oil (vegetable, linseed are fine choices) to prevent rust from forming. If you use the tool to handle something sappy, remember to wipe it off immediately after use. If the sap hardens, try removing it with a dab of mineral oil and a nylon bristle brush. Rinse well and dry thoroughly.
For quick post-garden cleaning If you notice a bit of rust forming, use a bit of fine grit sandpaper to gently buff away the rusty patch. Remember to always hang your tools in a space where water can’t get in, this prevents rusting and dulling of the tools.
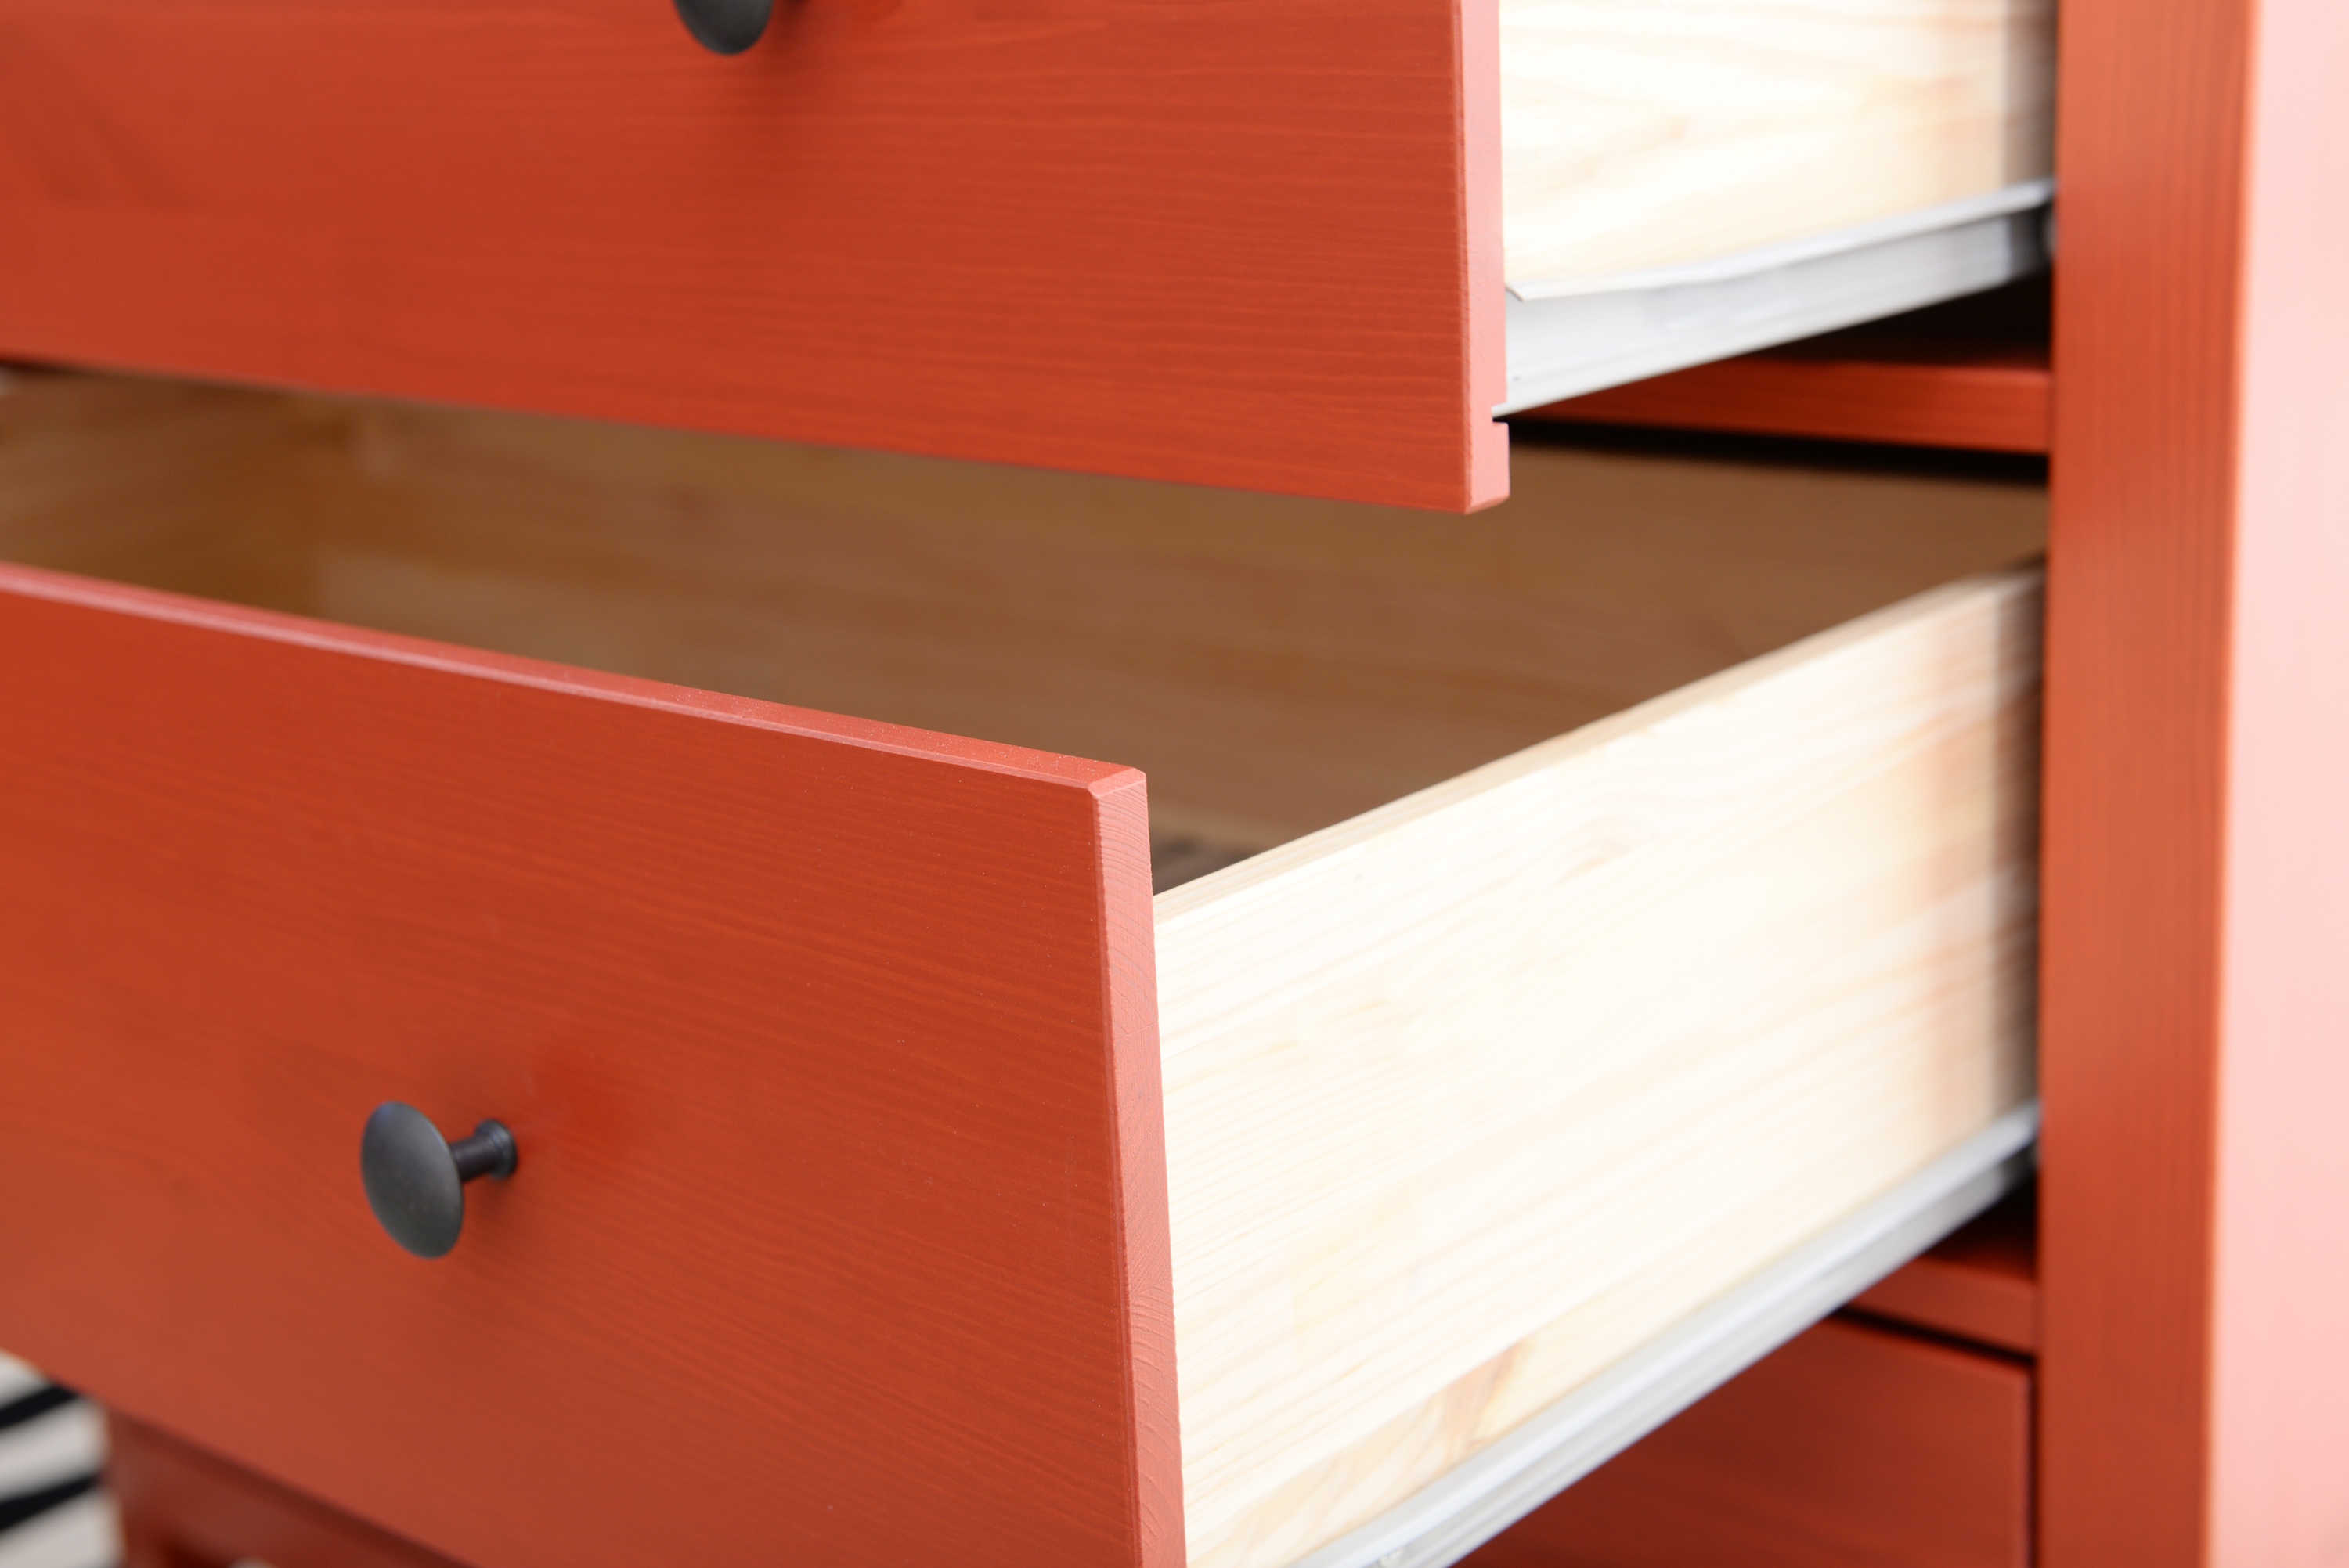
Can you share some tips to help me declutter and organize my drawers?
– James M
Spring really is the season to go through your drawers and do away with the holey underwear, the out of style tees and the burned out socks.
Here’s how I like to do it:
I empty out the entire drawer area onto a clean, flat surface – a bed works great. Set up two bins: toss and donate. Anything that you pick up either gets kept, donated or tossed – typically socks and underwear are simply discarded.
Now that everything is clumped up on my surface I can start my work; looking at each item and deciding what to do with it. As I pick up each item, I do a quick examination of it (we’re talking 5 seconds max here); do I like it? Is it still in good shape? Do I wear it often? Being honest is key, no matter who gave me the item, what I paid for it or any sentimental value it previously held, if I am not using it the rule is that it just has to go.
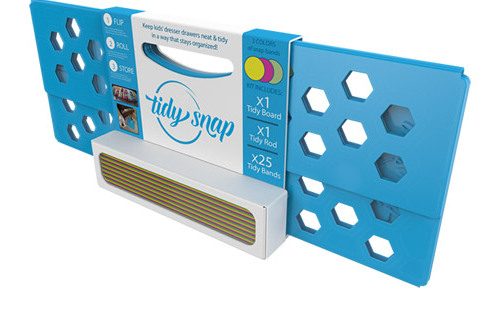
Once I’ve sorted through and decided what I am keeping, I have the pleasure (and it really is) to reorganize my drawers. It’s surprisingly enjoyable to put drawers back together when they aren’t overstuffed, and I feel like I get to pick from the best of the best when I’m getting dressed. I like to roll or fold my clothes into tight packets, the TidySnap is a helpful tool to accomplish this quickly. I tend to use drawer organizers like these to keep things simple and clearly delineated when I do this task, it helps me keep everything organized and sorted when quickly putting laundry away after my day of organization has come and gone.
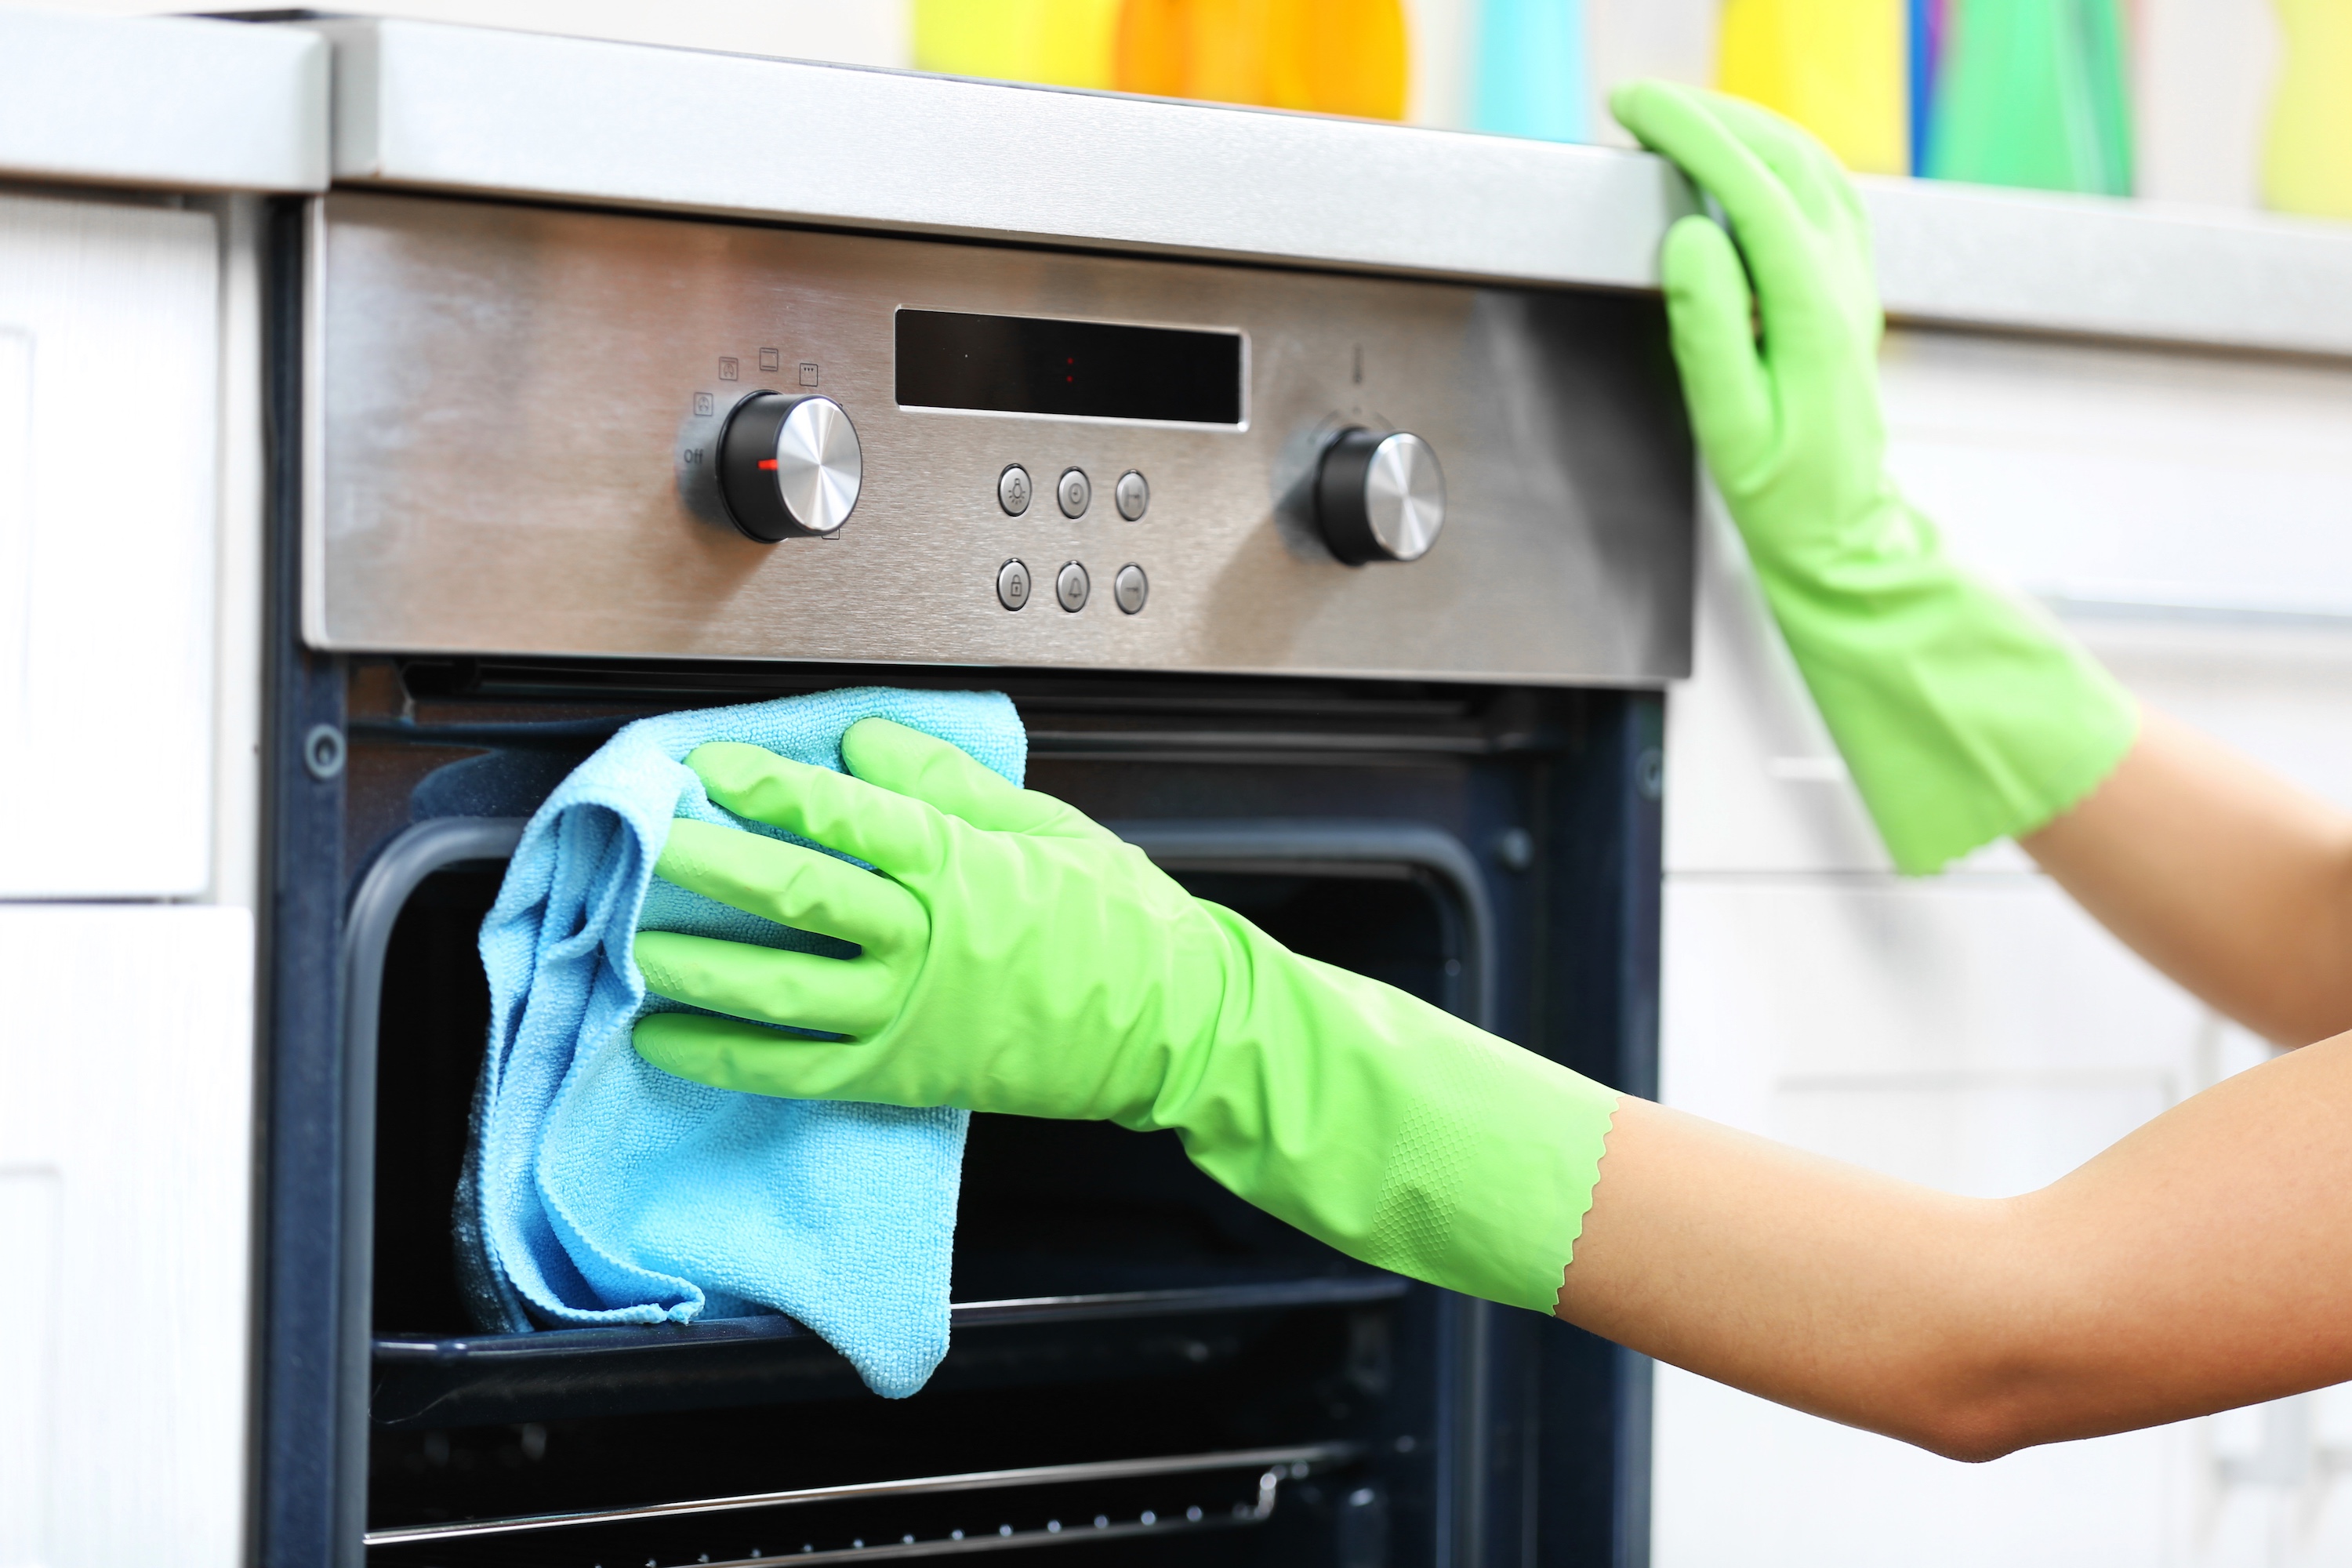
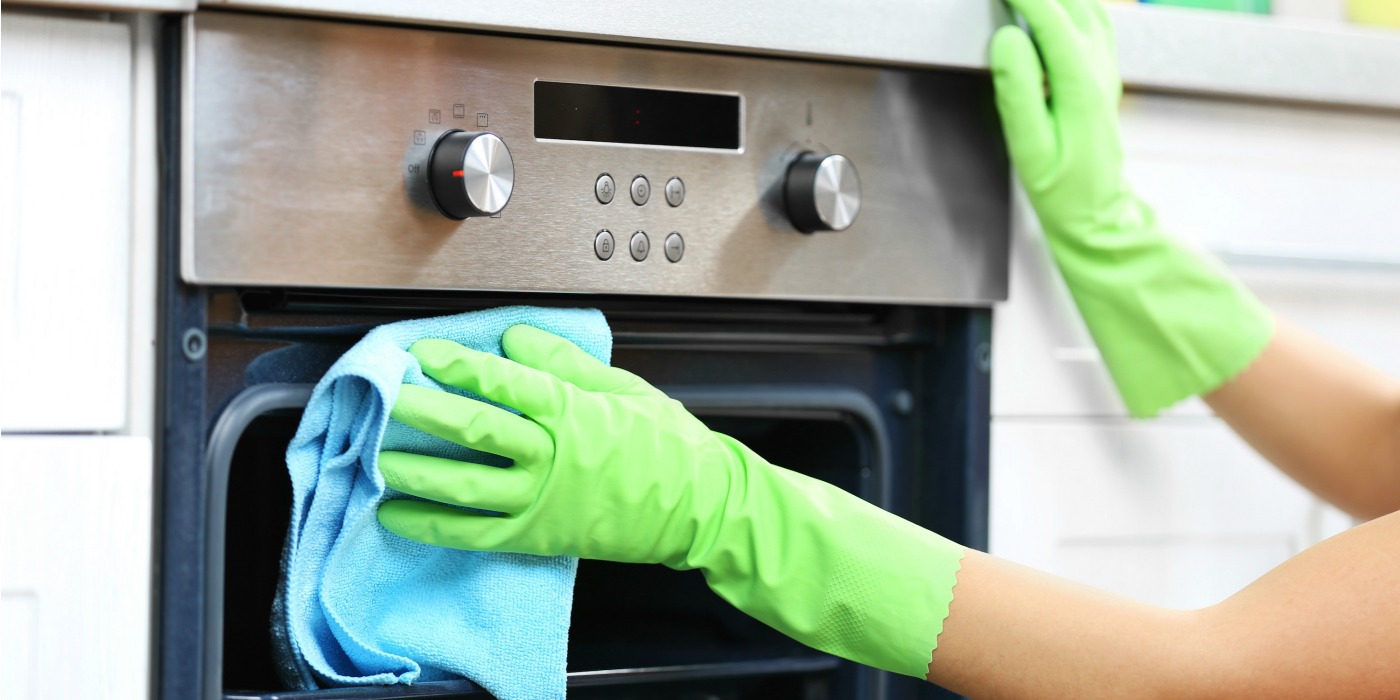
How do I use my self-cleaning feature on my oven??
– Fiona R
This is a perfect spring cleaning job, and if you’re fortunate enough to have a self-cleaning feature on your oven, it’s one of the laziest cleaning jobs you can do! If your oven is self-cleaning, refrain from scrubbing it with anything harsh (product or tool) as the abrasion can lift off the pyrolytic coating which allows the oven to self-clean in the first place. I know it can feel scary and overwhelming but trust me, it’s a simple task and no, your house won’t burn down.
Here’s what to do: Remove everything from the oven including any spices lining the top, any drip pans and coils, oven racks and anything in the warming drawer. Next, gently scrape off any really obvious debris from the walls or base of the oven that can loosely come off and remove it from the oven with a damp paper towel. And finally, set the oven to the self-clean cycle which usually lasts 3 hours. You may hear some clicks or bangs when you set it up; don’t sweat, that’s your oven door locking so that you can’t open it while it’s a fiery self-cleaning inferno (this is a good thing). Don’t touch the oven while it is cleaning, it gets hot! Be sure to turn on your overhead exhaust fan and open windows and be prepared for some ‘burnt toast’ smells and heavy smoke if your oven hasn’t been cleaned in a while. Your smoke detector may even go off. But even still, your oven won’t got on fire (pyrolytic coating for the win!). Once the three hours have passed, the oven will go into a cool down mode and after about 30-60 minutes you can safely open the oven door and wipe any ashes remaining out with a damp paper towel. Wipe out the warming drawer and replace racks, coils as you like.
I hope these have solved your spring cleaning conundrums, feel free to send your cleaning questions my way!