
After hosting Thanksgiving for almost 15 years, I have to admit that I’ve never made apple pie (or any pie) from scratch. I know, I know, after preparing the turkey and ALL the sides for almost two days, dessert is the last thing on my mind. But today, I’m making my first pie and I’m inviting you all to bake along with me!
Pie making for whatever reason seems intimidating. If your ingredients aren’t the right temperature, or if you use the wrong apples, your humble pie can go horribly wrong. But after doing some research from some great pie makers, the number one piece of advice I picked up on was to just have fun and do the best you can. Just like anything else, practice makes perfect. Learn from your mistakes and adjust for the next time!
Pie Making: The Crust
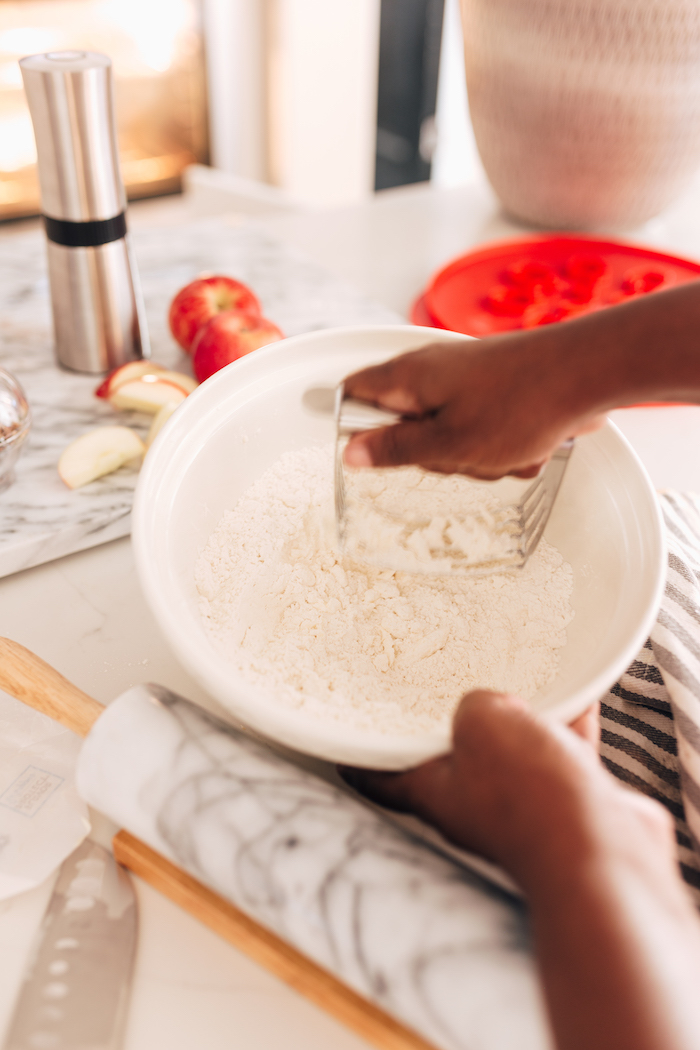
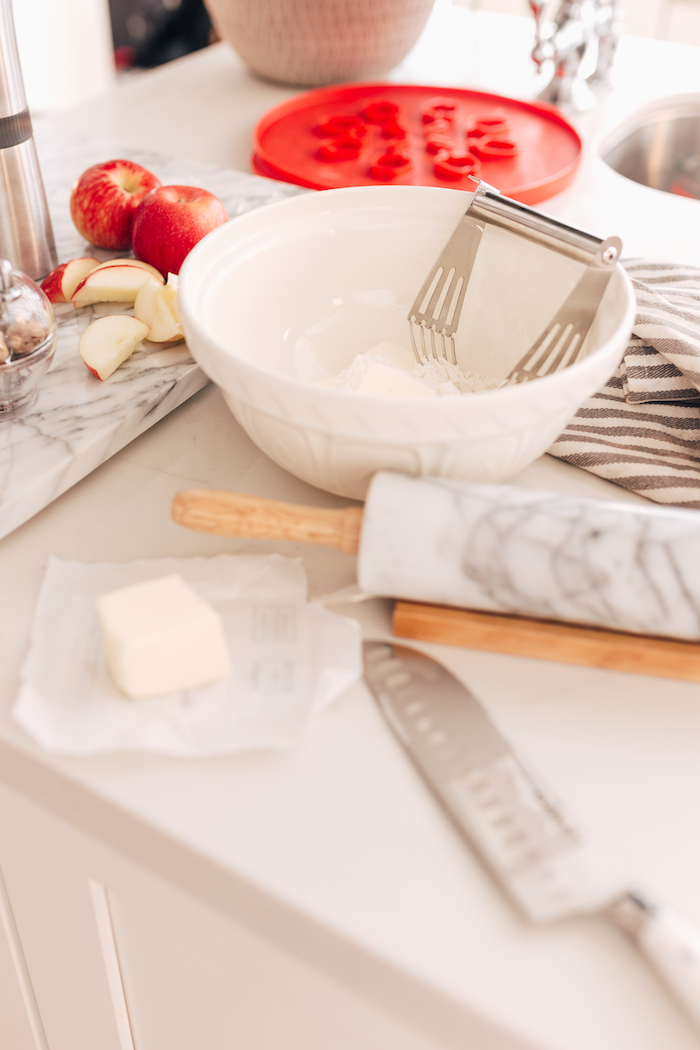
Making the perfect crust seems to be a mix of shortening AND butter. Butter for the flavor and shortening for the crust. In a bowl, combine the flour, salt, and shortening. Work everything together until it’s crumbled.
Next add the cold butter. Use a pastry blender to work the mix into dime sized shaped flakes.
Then add cold water and work until the water in little by little until the dough holds easily together.

Pie Making: The Apples
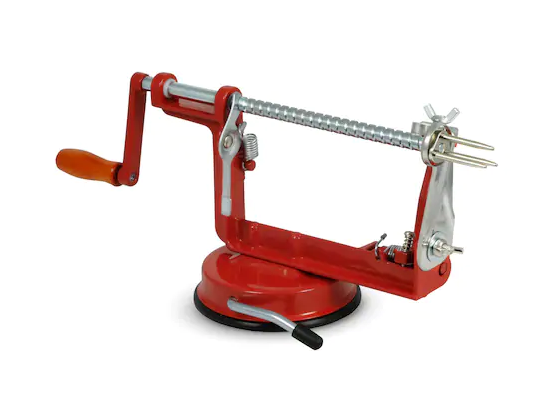
Peel, core, and slice apples using a combination of Russet, Granny Smith and Cortland apples for the best mix. I could only find a few of theses so I used what our local grocery store had in stock. You can use a stand mixer with a spiralizing attachment or a classic apple peeler to help fly through the peeling, coring and slicing process! I love to save time in the kitchen and this little tool helps.
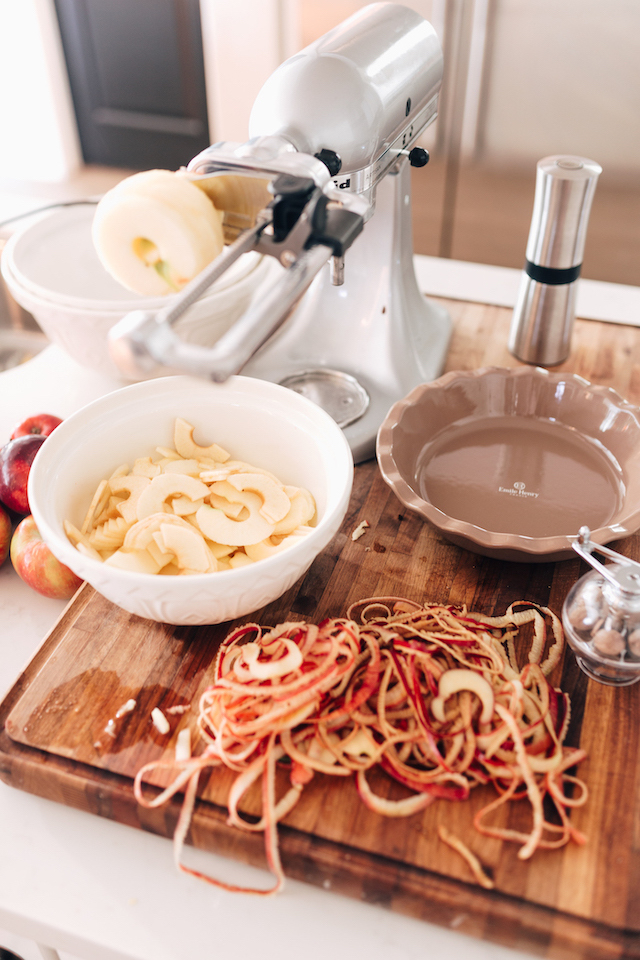
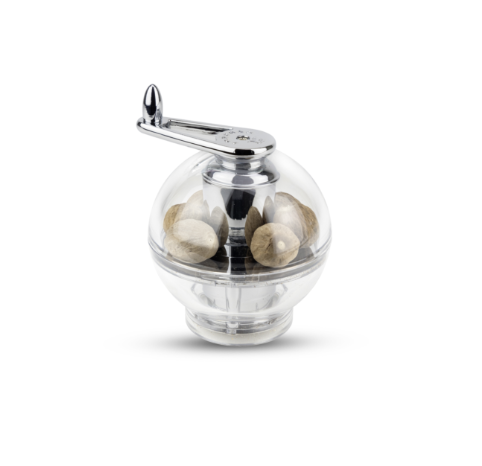
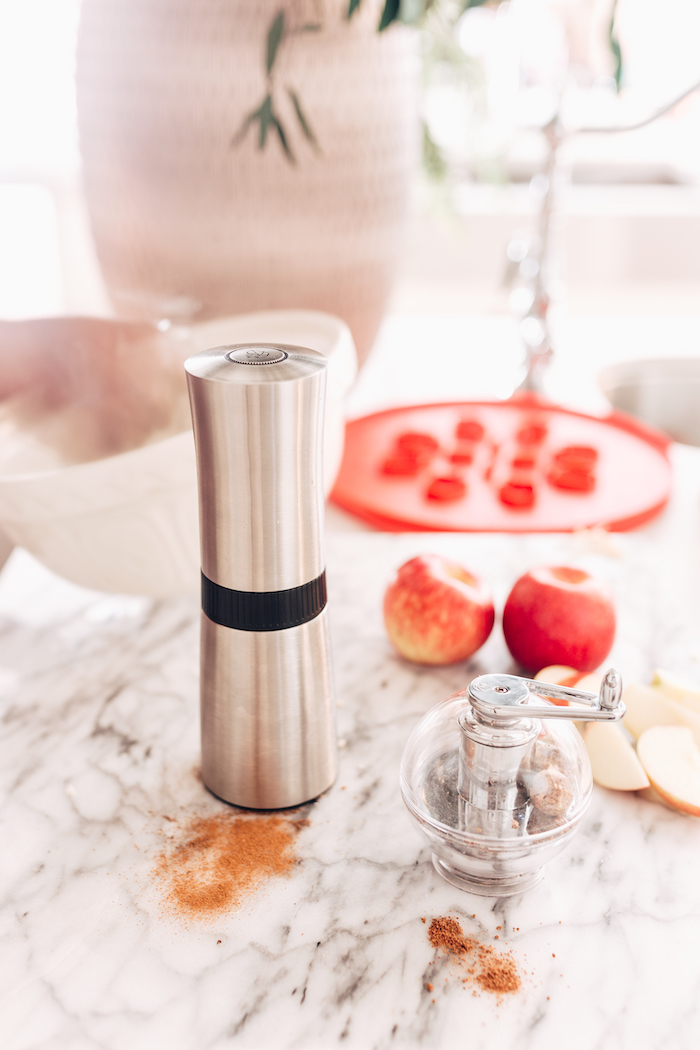
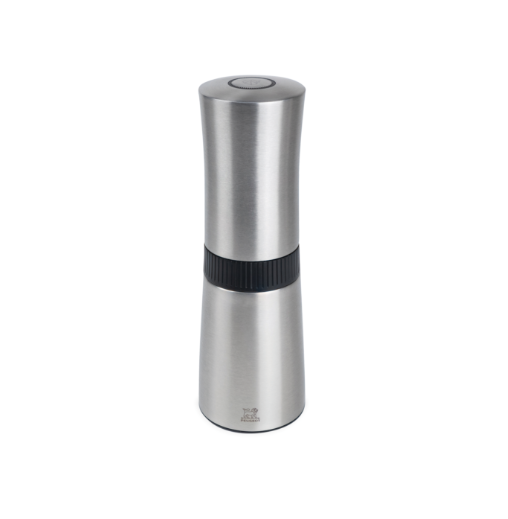
I also love using fresh herbs and spices whenever I can, so the nutmeg mill and cinnamon mill from Peugeot really came in handy! The smells of freshly grounded spices are the best. Plus these aren’t bad to look at!
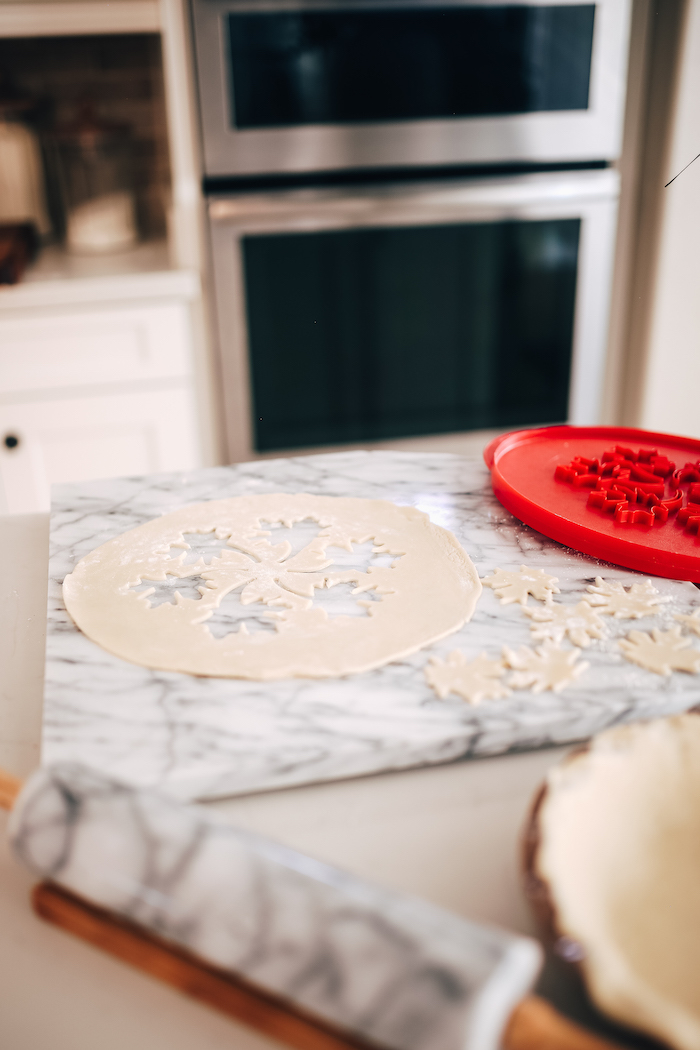
Pie Making: Rolling the Crust
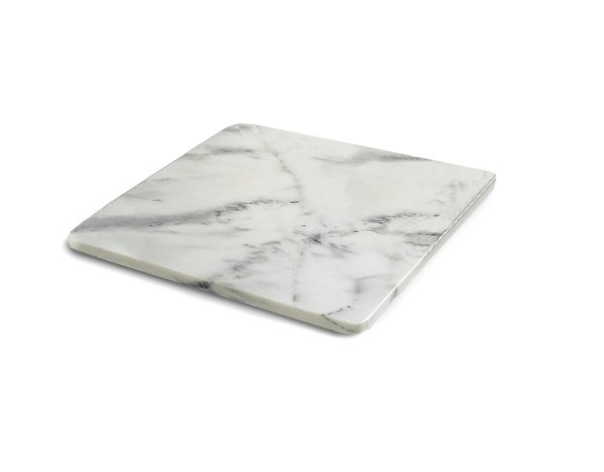
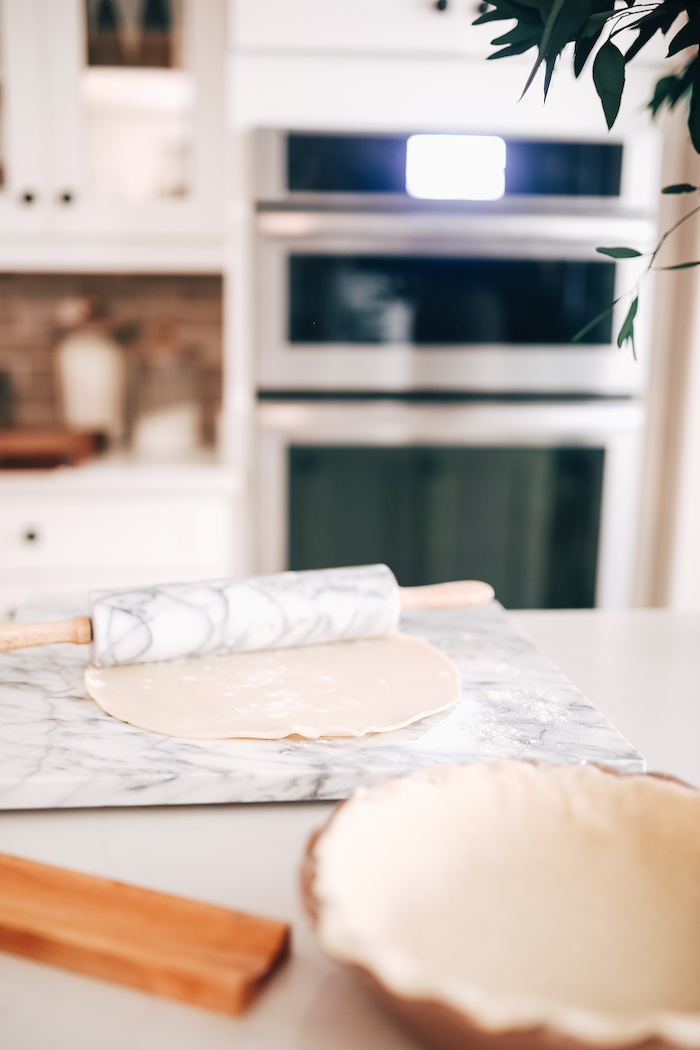
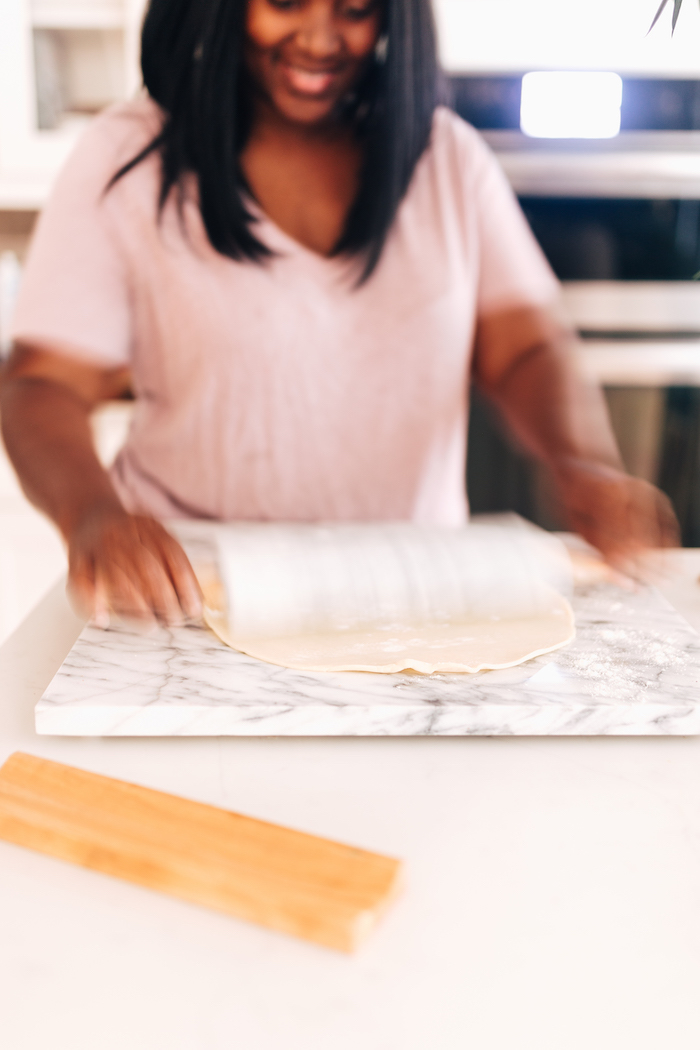
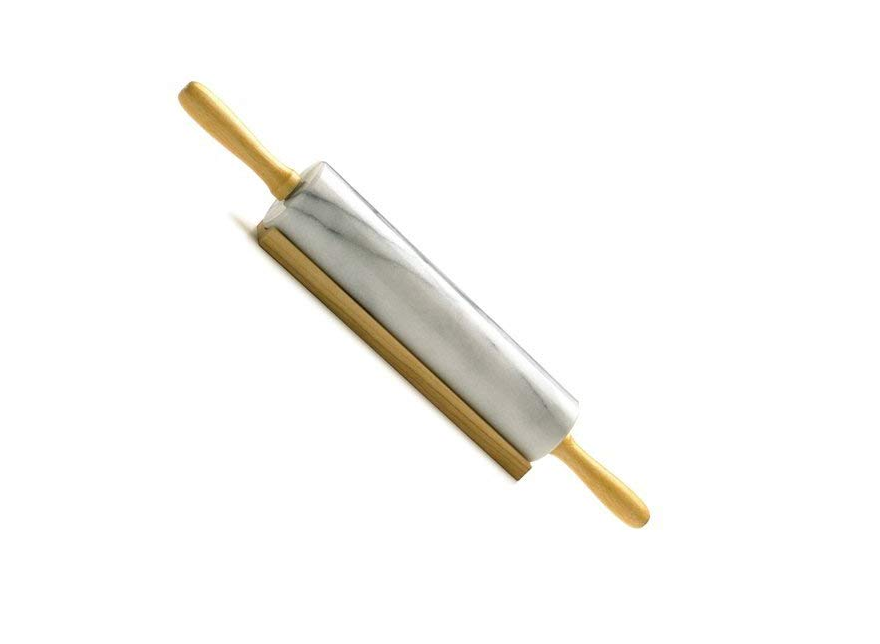
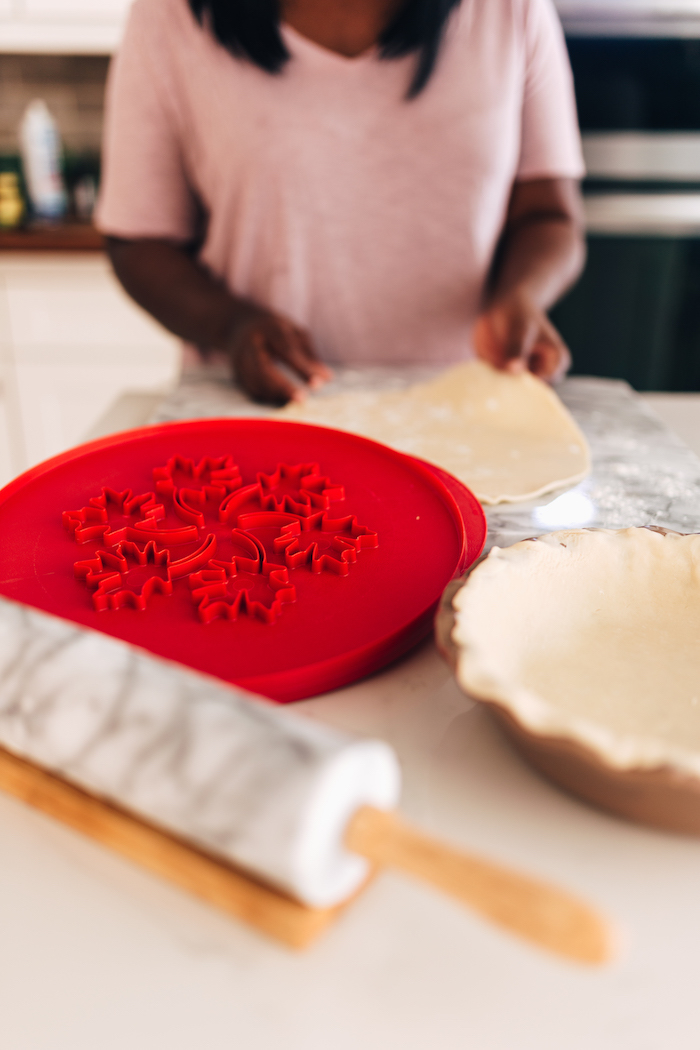
Once the fill is done, removed the dough from the fridge and rolled out the crust using a cold marble pastry board and marble rolling pin. Marble is the perfect material to use for pie making because it stays cold!
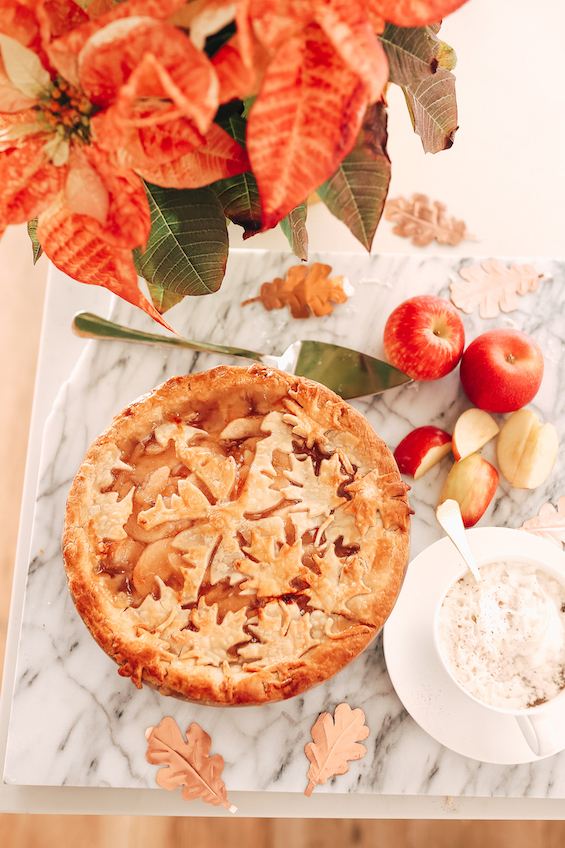
Pie Making: Covering the Pie
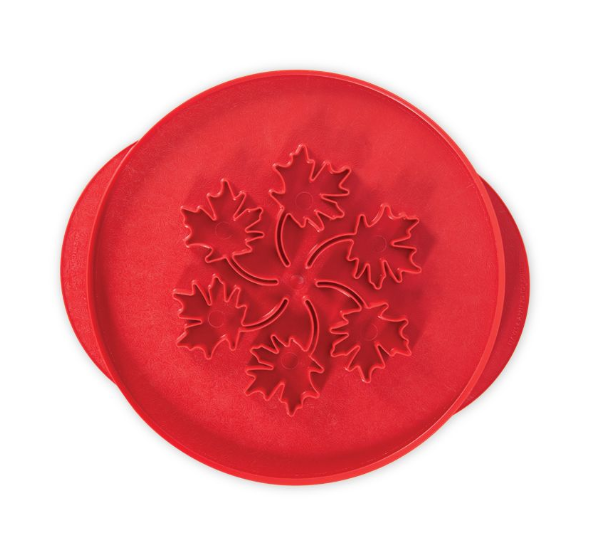
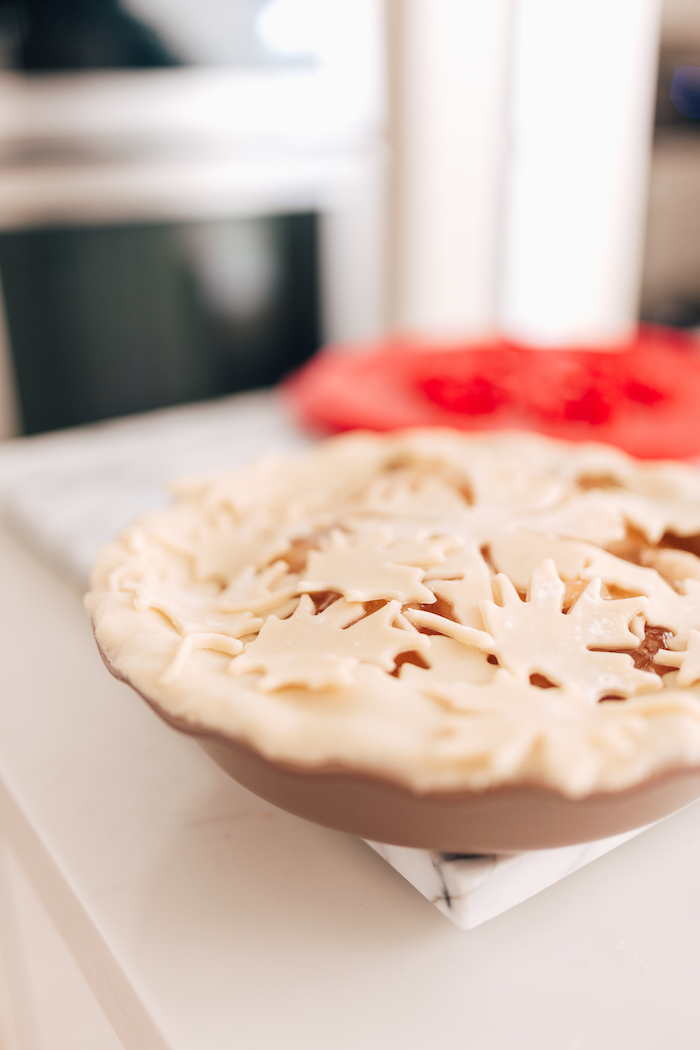
Because we are using a fruit filling with high moisture content, I vented the top of the pie using this adorable leaf pie top cutter. I used the extra leaves to add some decorative accents to the pie.
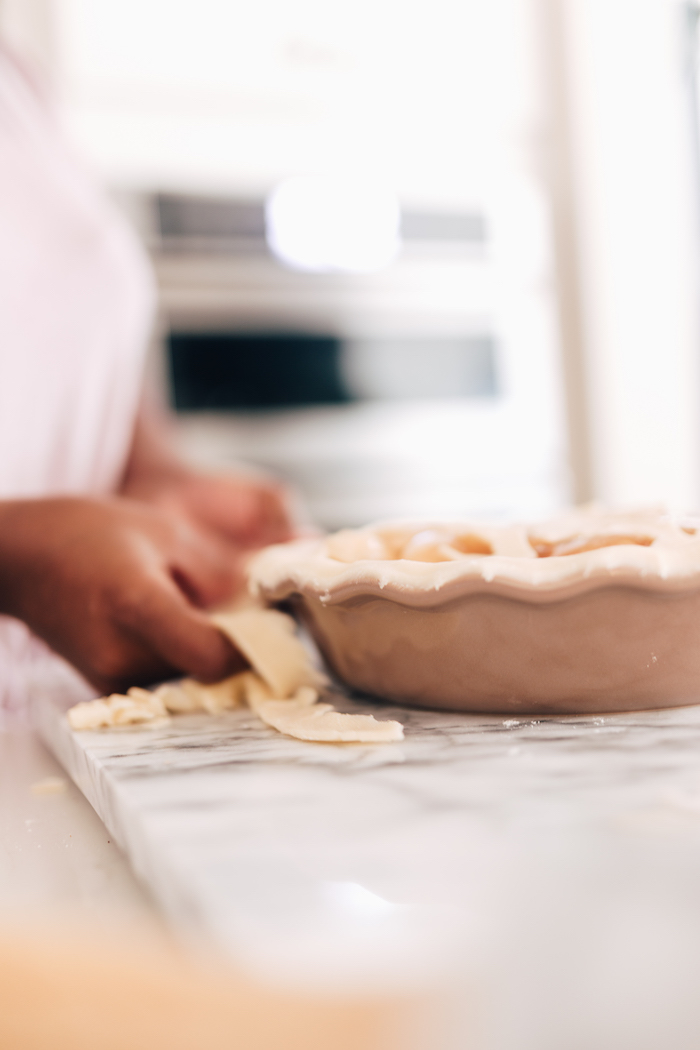
Once you’ve placed the top on, pinch the sides to seal the bottom crust to the top crust.
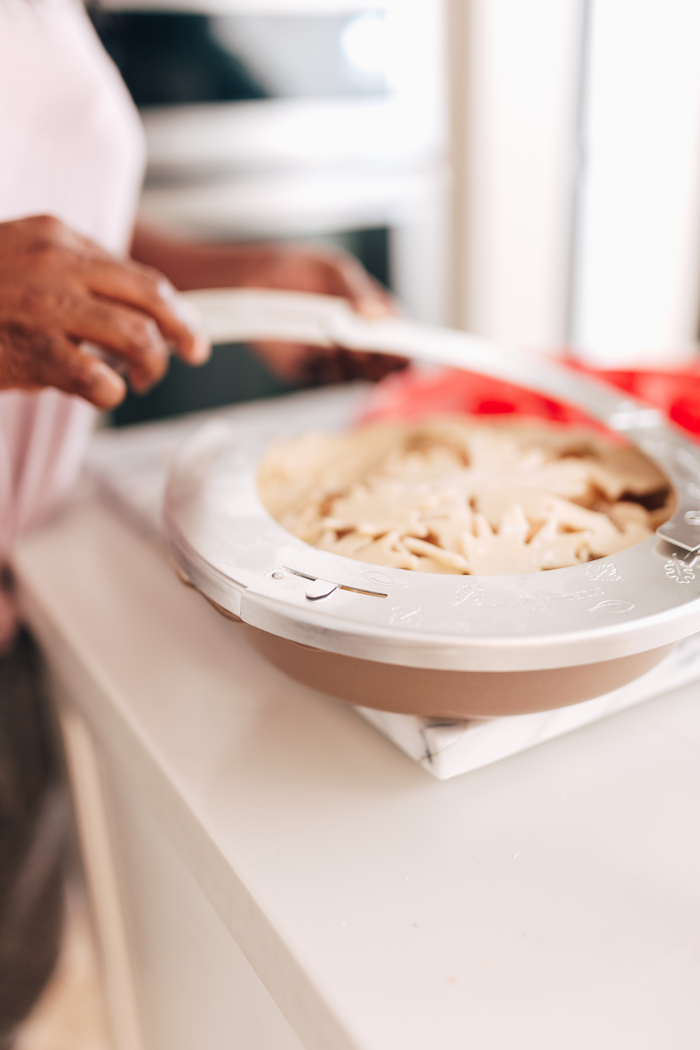
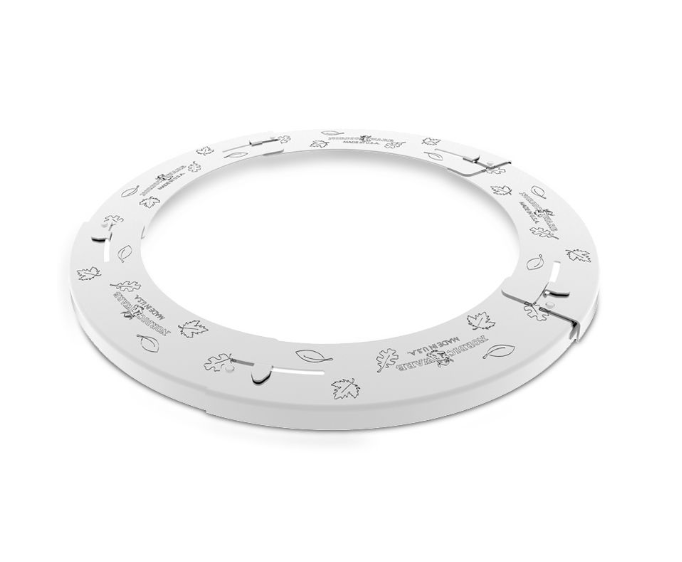
Burned pie crust is something that I deal with even when I make frozen pies. So, using a pie crust shield is perfect to keep that flaky crust delicious. This one from Nordic Ware is fully adjustable and oven safe. Just snap it into place and cover your crust before you put it in the oven.
Pro Tip: For a glossy pie with a golden top, use brush on egg whites over the top before you put the pie into the oven!
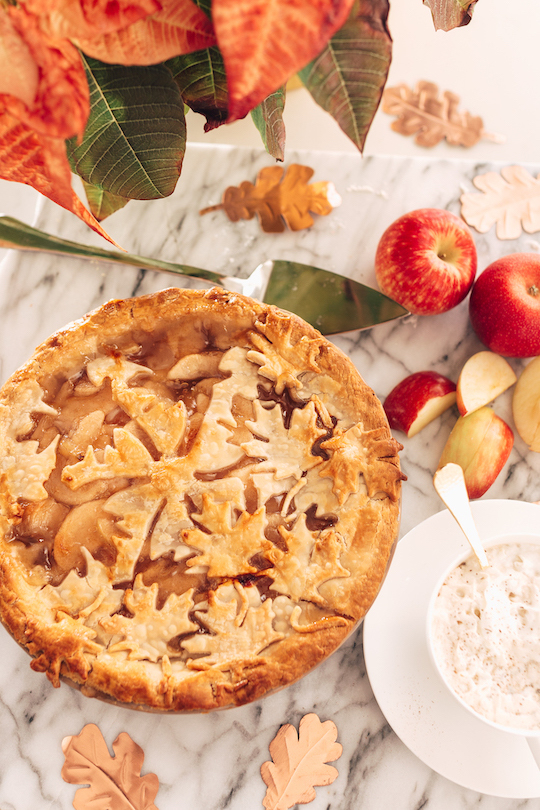
Now you’re ready to stick your very own pie it in the oven and wait for your entire home to smell like pie! Eat and enjoy!