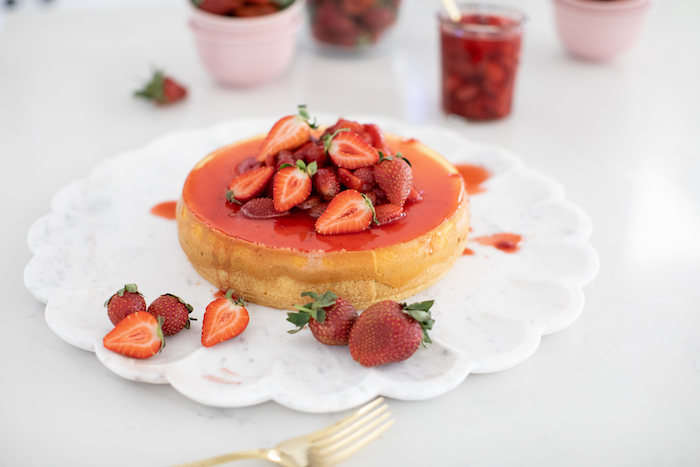

A Swedish Princess Cake is one of the most popular posts on my blog. However, this cake is my twist on the original as I have changed up the filling and the look!
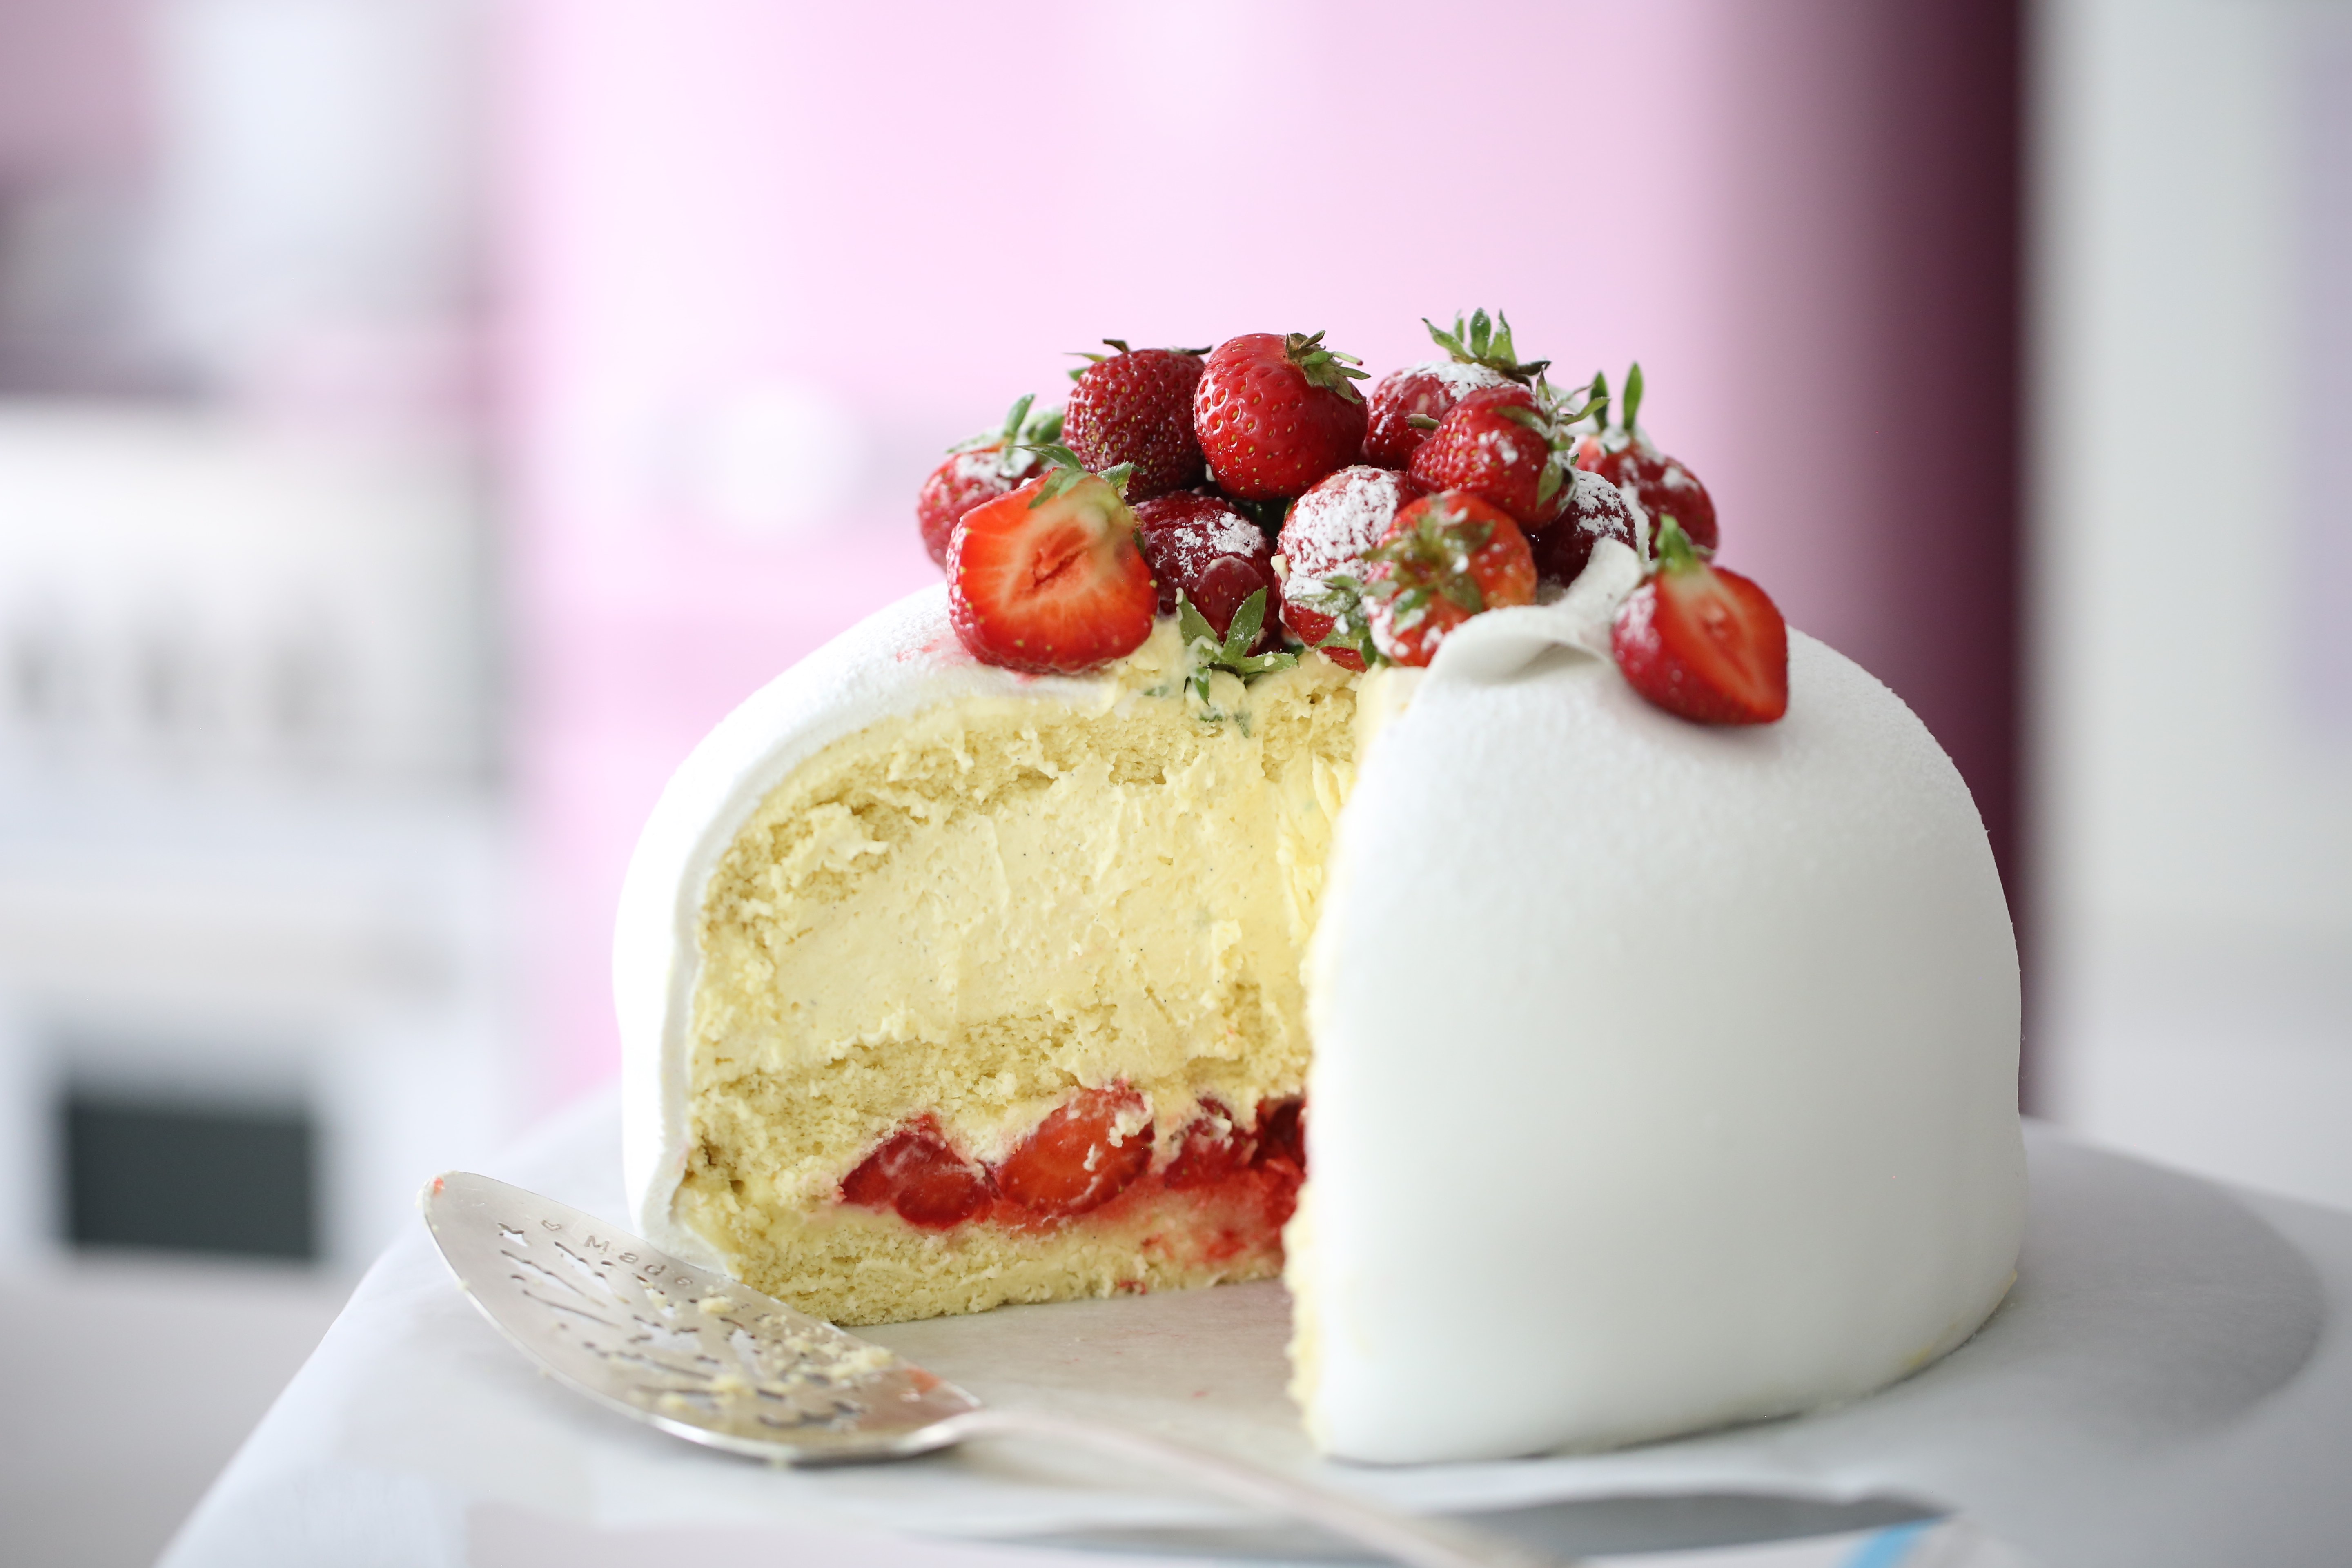
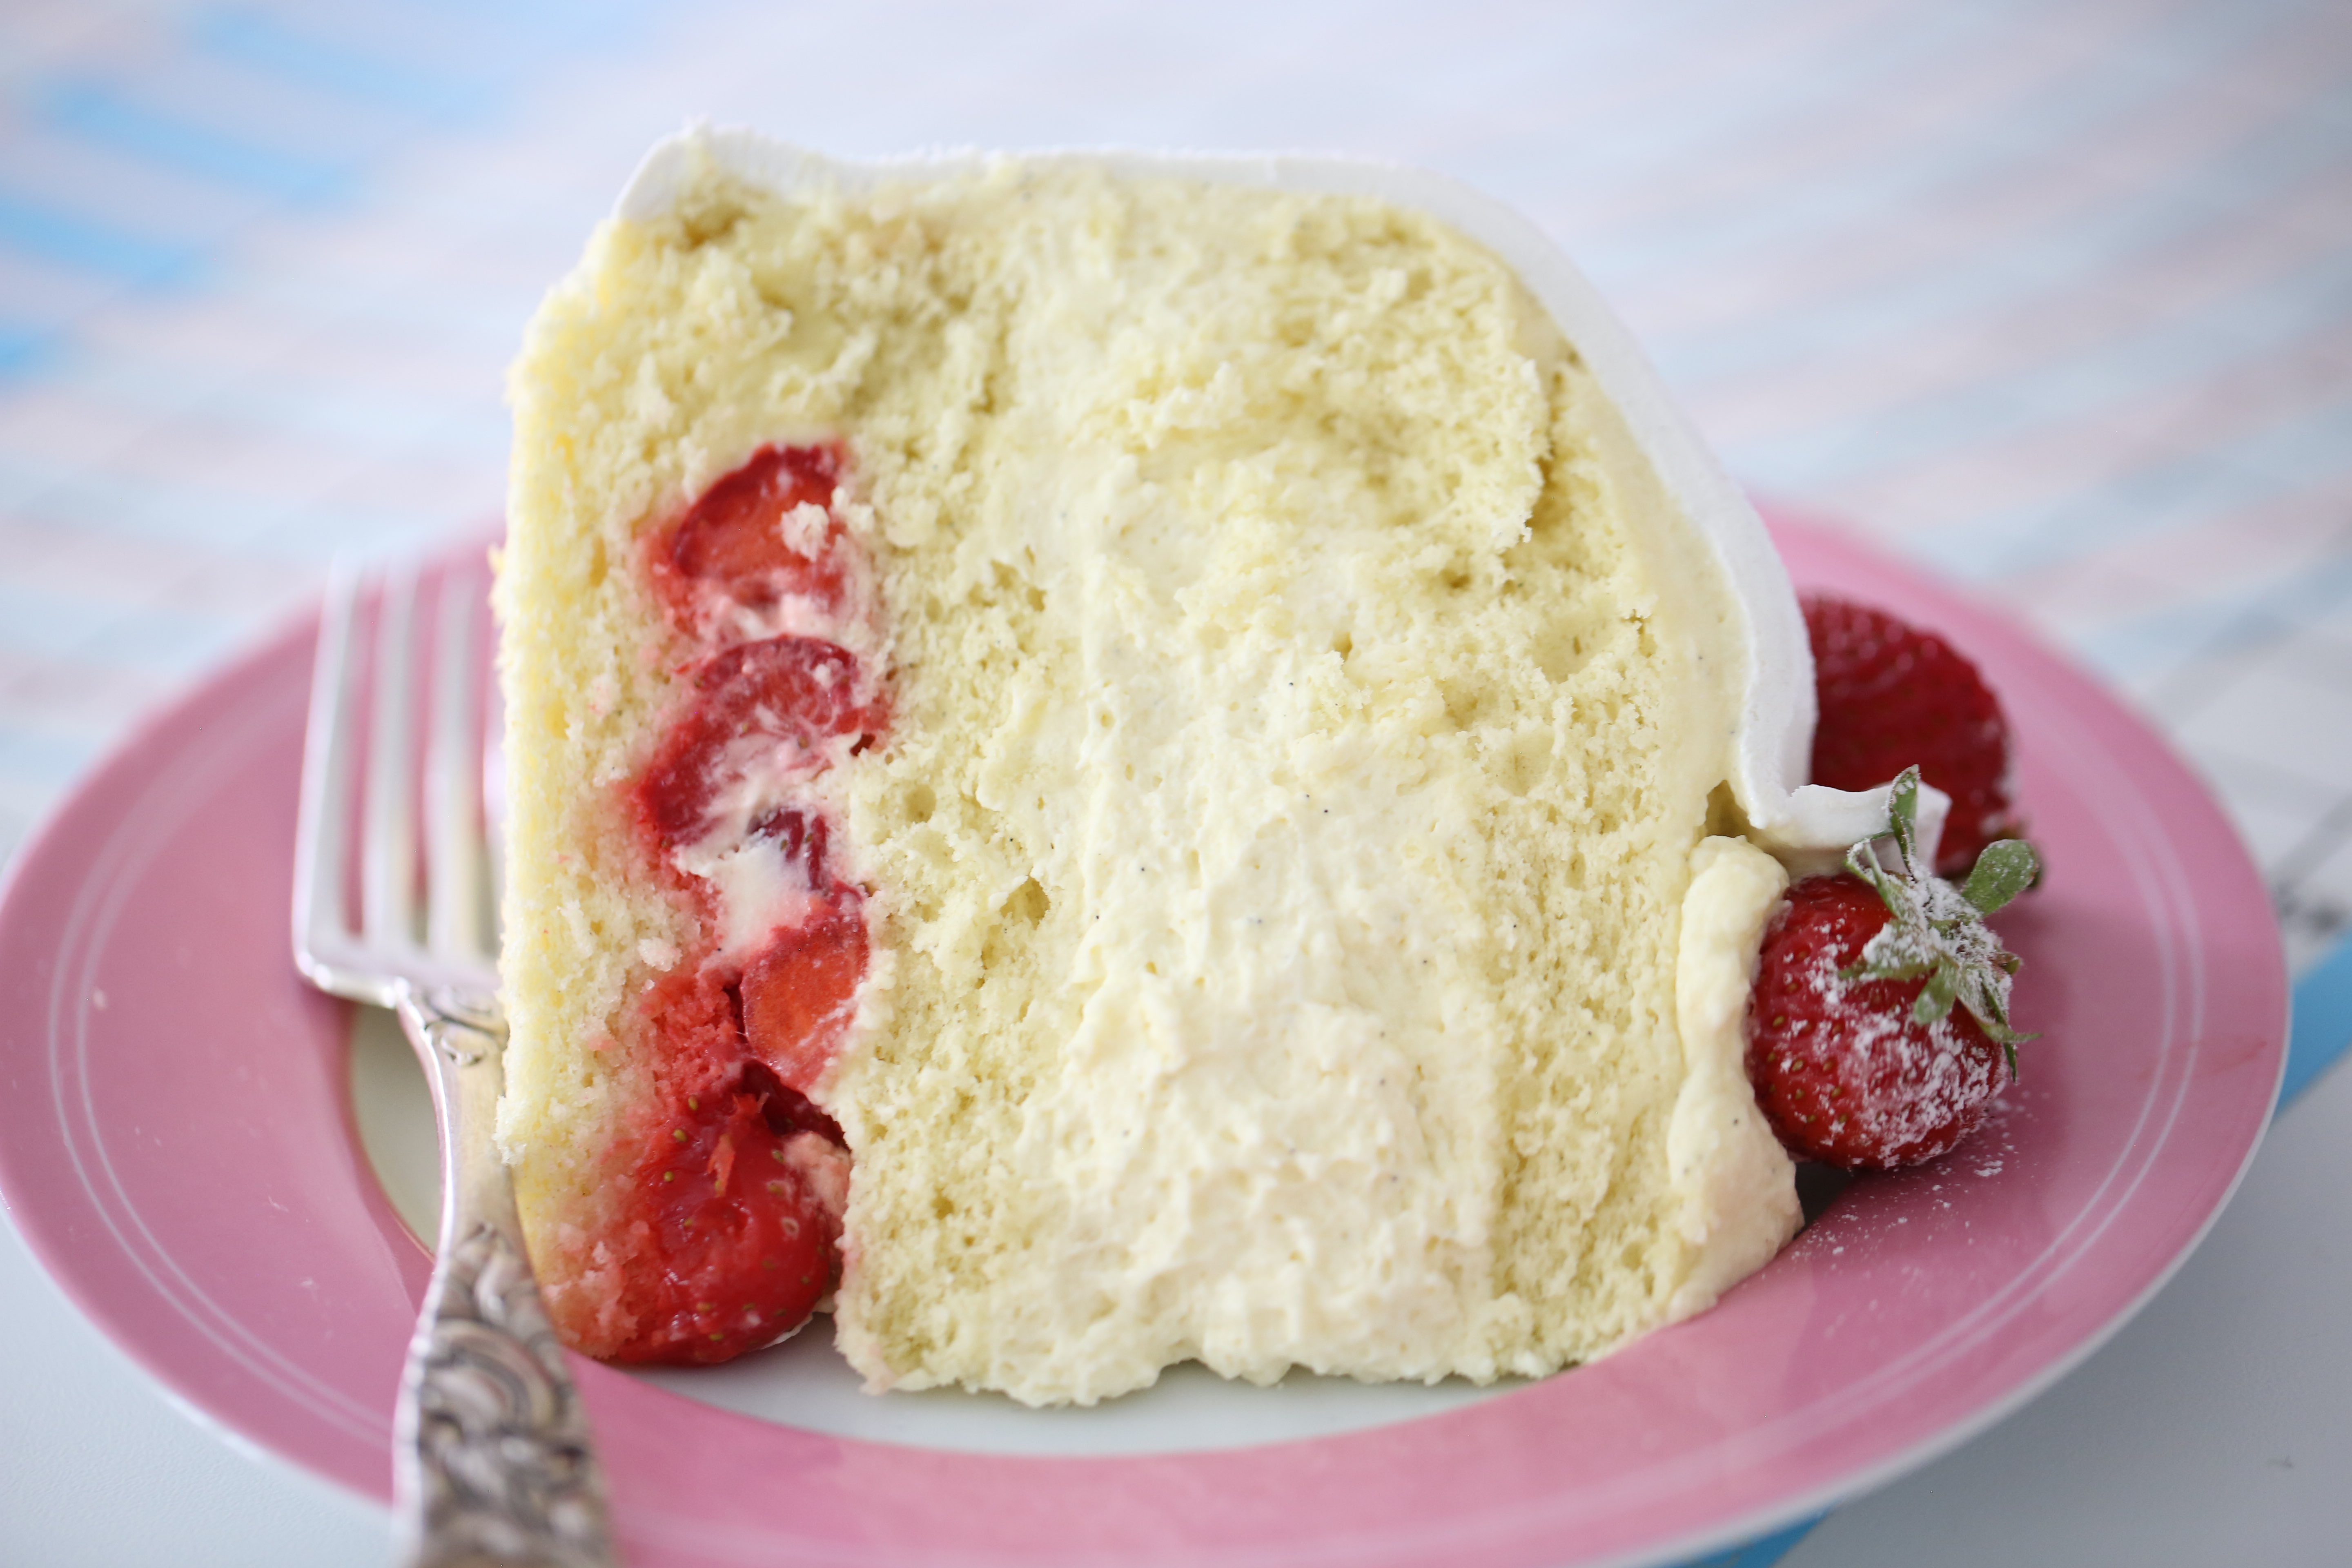
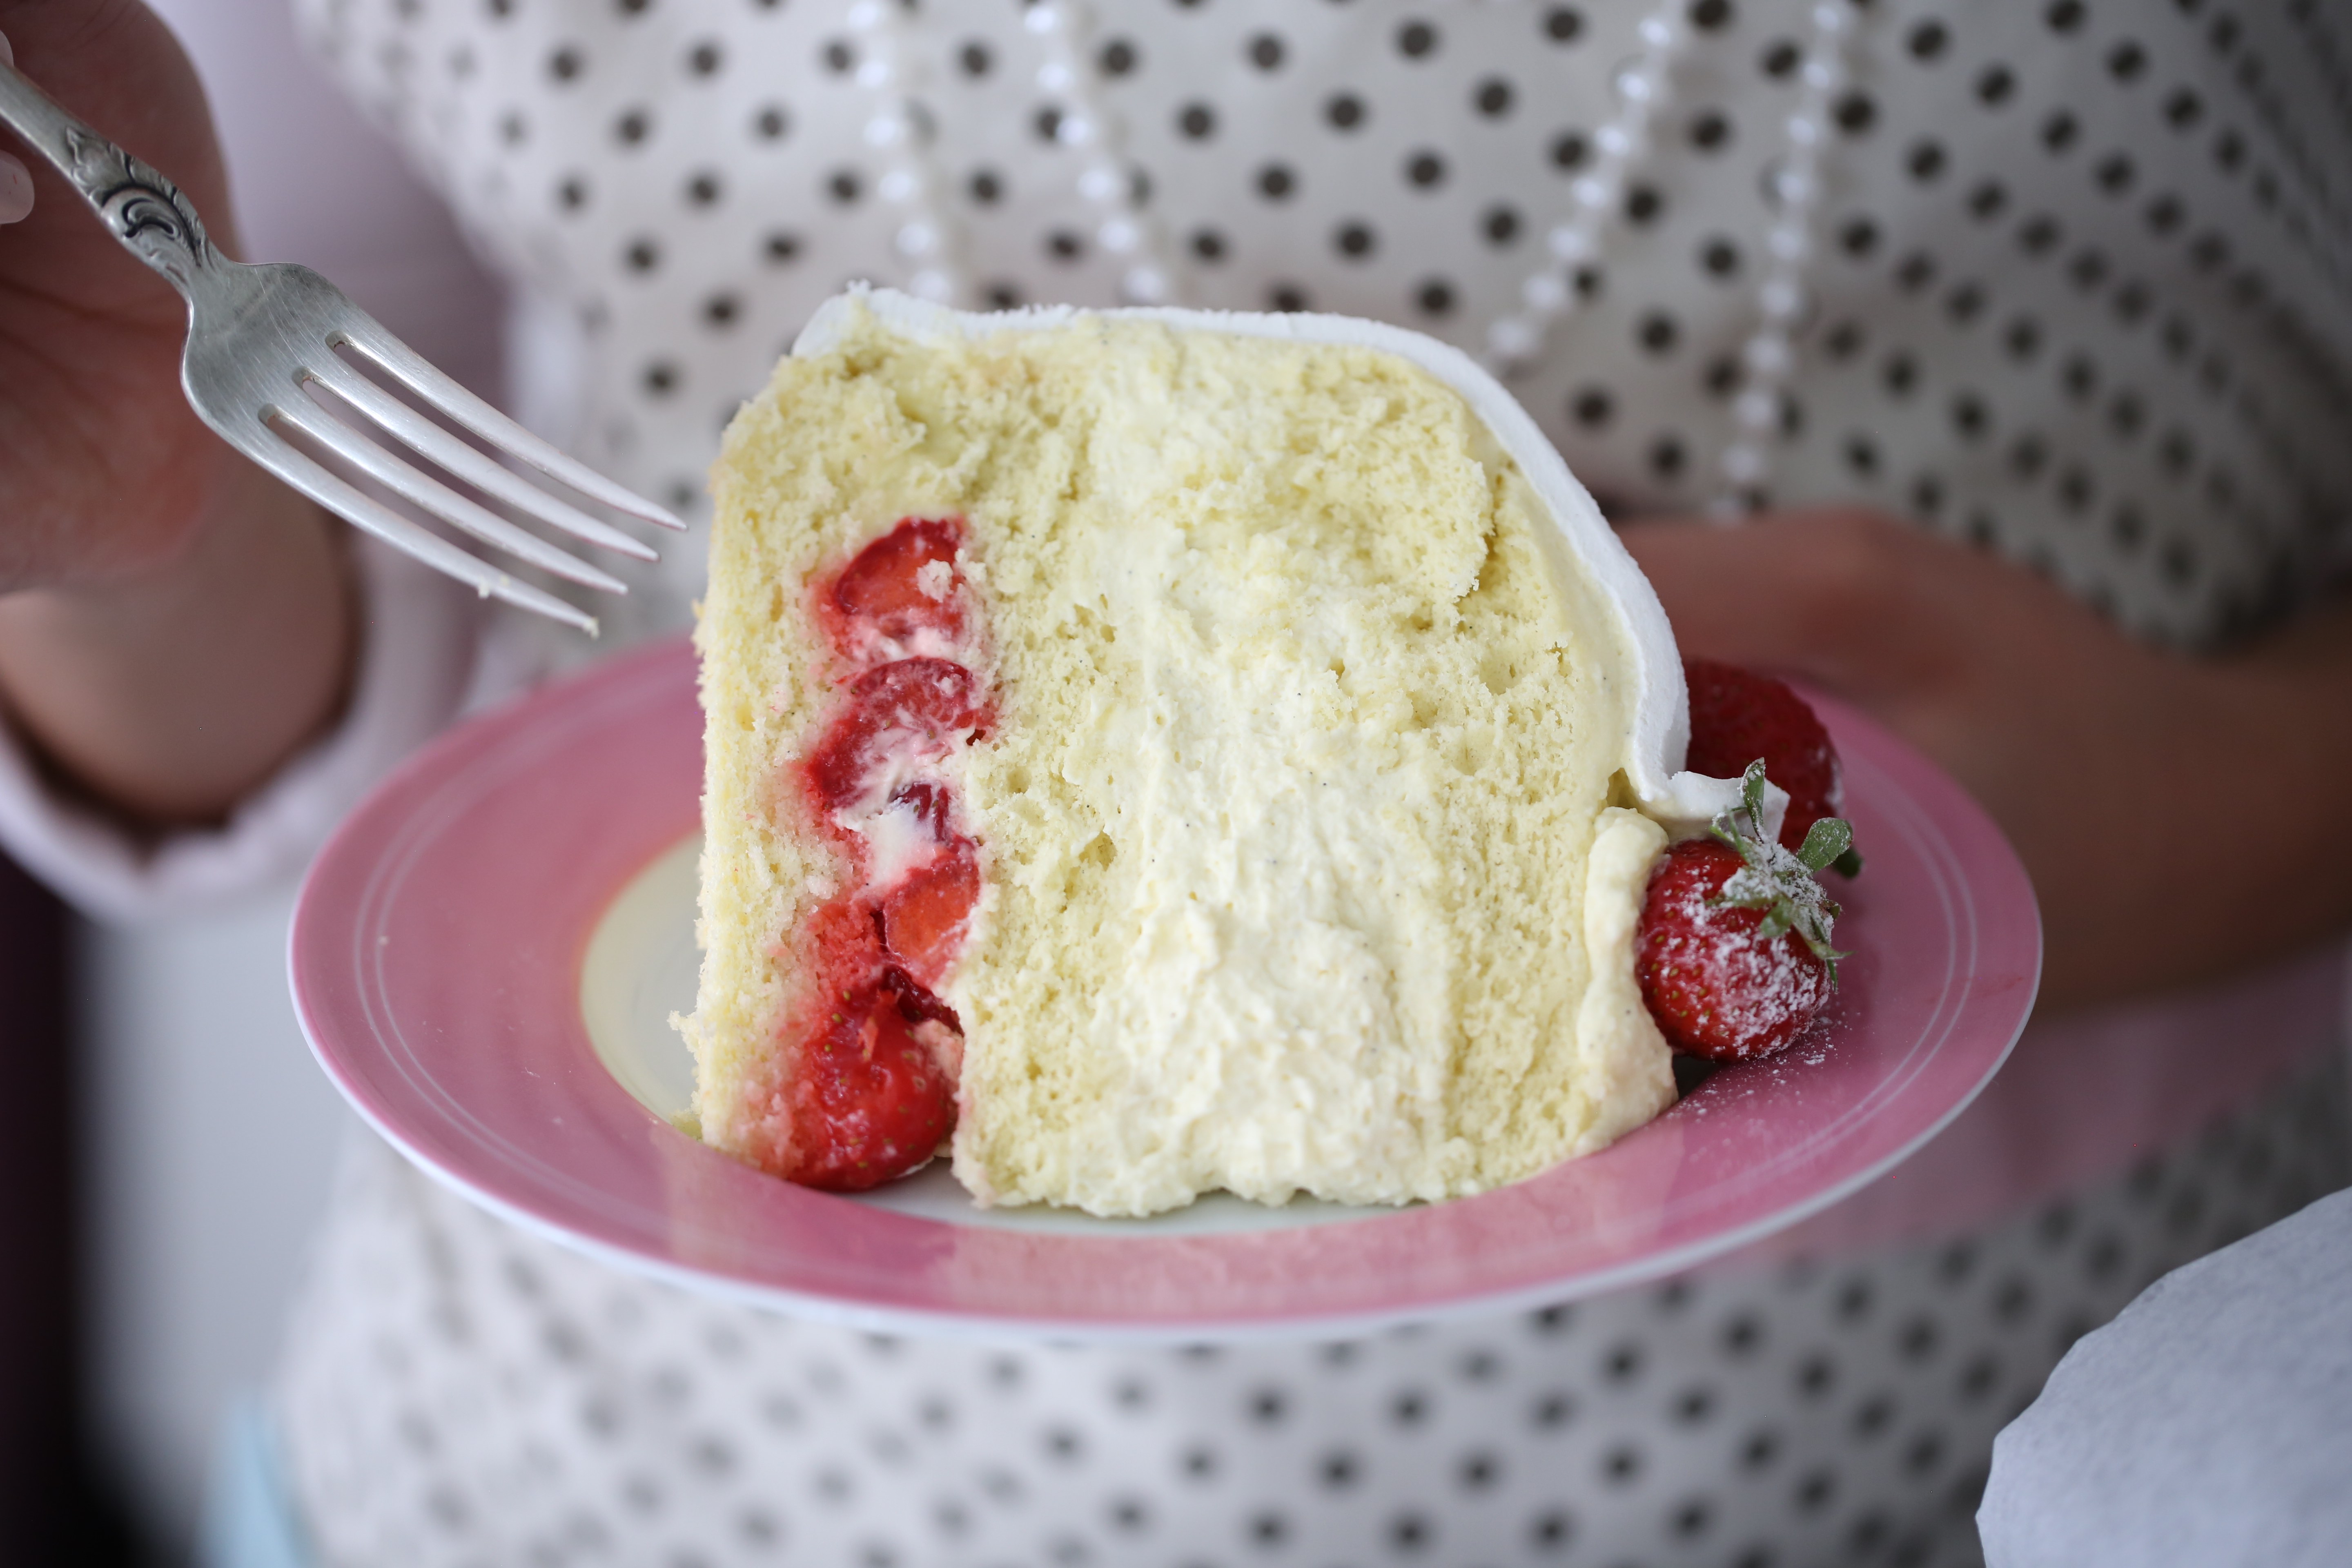
This White Strawberry Princess Cake has a delicious filling of strawberries, lemon juice, and sugar, and is layered with a lot of vanilla cream and whipped cream. To top it off, I love to cover my cakes in white marzipan. The combo of the cake layers, the vanilla cream, the juicy strawberry filling, and the white marzipan is out of this world!
If you find it difficult to assemble this cake, I do have a video of A Classic Swedish Princess cake on my YouTube channel that show you how to assemble it. If you want to make your own white marzipan you can find a video on my channel as well.
This cake recipe is perfect for summer, it is fresh and so delicious!
With love from Sweden,
Manuela, xo
White Strawberry Princess Cake Recipe

INGREDIENTS
- 2 cups (500 mL) whole milk
- 2 tsp vanilla bean paste
- ⅜ cup (85 g) sugar
- 4 Tbsp cornstarch
- ¼ tsp salt
- 6 large egg yolks
- 3 tablespoons (45 g) chilled unsalted butter, cut into pieces
- 6 large eggs, room temperature
- 1⅛ cups (240 g) sugar
- 2 Tbsp water
- 1 tsp vanilla bean paste
- 1¾ cup (180 g) all-purpose flour
- ¾ cup (80 g) cornstarch
- 2 cups strawberries, sliced + juice & zest from ½ lemon + 3 tbsp sugar
- 2 cups whipped cream, slight sweetened + 1 tsp vanilla bean paste
- 1 portion of pastry cream
- 18 oz (500 g) white marzipan
- Powdered sugar for dusting
- 1 cup whole strawberries
INSTRUCTIONS
- In a saucepan over medium heat, heat the milk and vanilla bean paste, stirring occasionally until the milk is hot but not boiling!
- Meanwhile, in a medium bowl, combine the superfine sugar, cornstarch, and salt. Whisk in yolks all at once until light and fluffy and batter reaches the ribbon stage.
- As you continue whisking, slowly add one-third of the hot milk to the yolk mixture to temper the egg yolks.
- Whisk remaining milk into yolks and return entire mixture to saucepan.
- Place over medium heat and whisk frequently until the mixture begins to boil.
- Whisk the mixture vigorously for 2 minutes, while boiling until the cornstarch dissolves completely.
- Remove the pan from the heat, whisk in the butter in small increments.
- Strain the vanilla cream mixture through a fine-mesh strainer into a bwol.
- With a silicone spatula, spread the vanilla cream into a thin layer on a small baking sheet.
- Lay a sheet of plastic wrap directly over the vanilla cream. Allow it to cool to room temperature, then refrigerate for a few hours.
- When ready to use, loosen the cream with a spatula or whisk.
- Pastry cream should be refrigerated and used within 3 days of making.
- Preheat oven to 350°F (180°C). Grease 3 x 8-inch baking pans and line them with parchment paper.
- Sift the flour and potato starch two times in a medium bowl.
- In a stand mixer bowl fitted with the whisk attachment, beat the eggs and sugar on low-medium speed for 1 minute. Increase the speed to medium, and continue beating for 5 minutes longer.
- Stop the mixer and scrape down the sides and bottom of the bowl. Beat for another 5 to 7 minutes on medium-high speed.
- The batter should be very thick. When the whisk is lifted, the batter fall back into the bowl in a ribbon shape and slowly sink into the batter.
- Add water and vanilla bean paste and mix for 1 minute.
- Sift half the flour mixture over the batter and gently combine with a spatula a few times to ensure the flour mixture has been fully incorporated. Be careful not to deflate the batter. Repeat with the remaining flour mixture.
- Divide the batter in the baking tins - I use an ice-cream scoop for this.
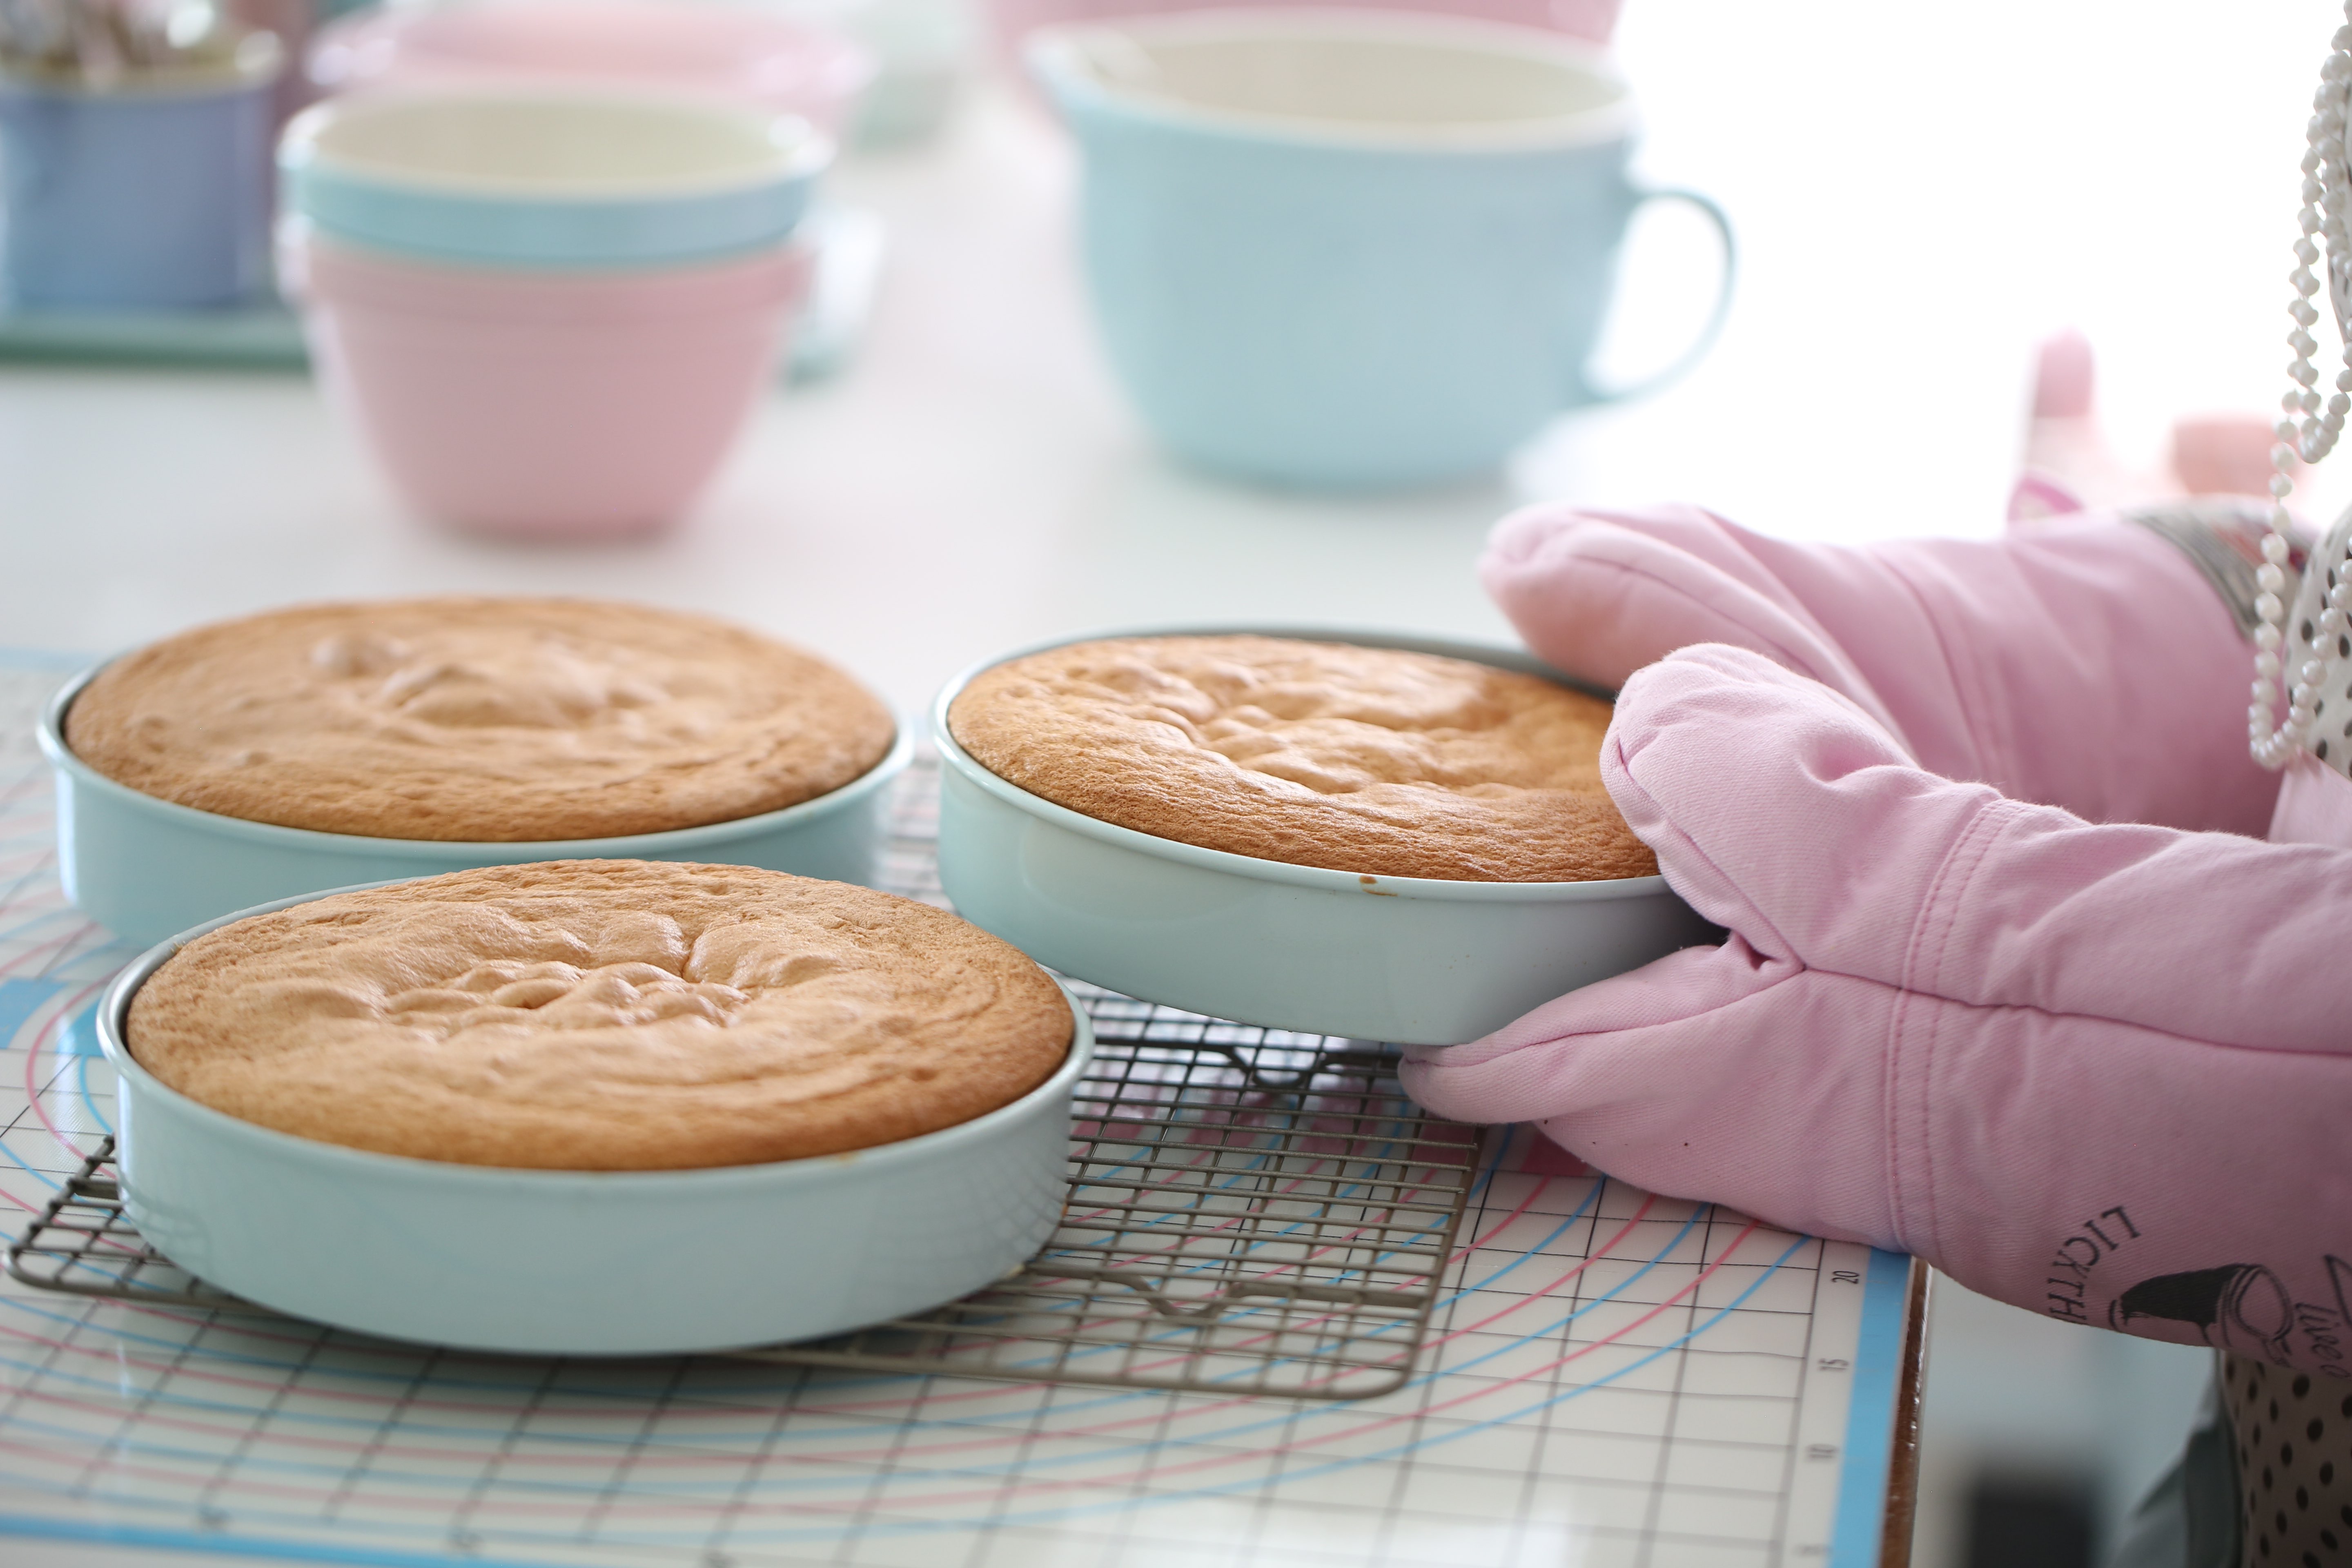
- Bake in the middle oven rack, 15-20 minutes, or until a cake tester inserted into the center of the cake comes out clean. It should have a beautiful golden color.
- Transfer the tins to a wire rack to cool for at least 5 minutes,
- Then carefully turn the cakes out from the cake tins onto a wire rack, remove parchment paper and allow to cool completely.
- I like to trim my cakes with a sharp knife before I fill them, but this is optional.
- Combine the sliced strawberries with lemon zest and juice and sugar and let it stand on the kitchen counter for 5 minutes.
- When the cake layers are cooled, fill a pastry bag attached with a wide round nozzle with 1/3 portion of the pastry cream.
- Pipe a thick layer of pastry cream on the first cake layer all the way around the edge of the cake.
- Fill the middle with the sliced strawberries.
- Layer the second layer on top, press it down slightly
- Beat heavy cream with powdered sugar and vanilla bean paste until stiff peaks form, combine it with the rest of the vanilla cream.
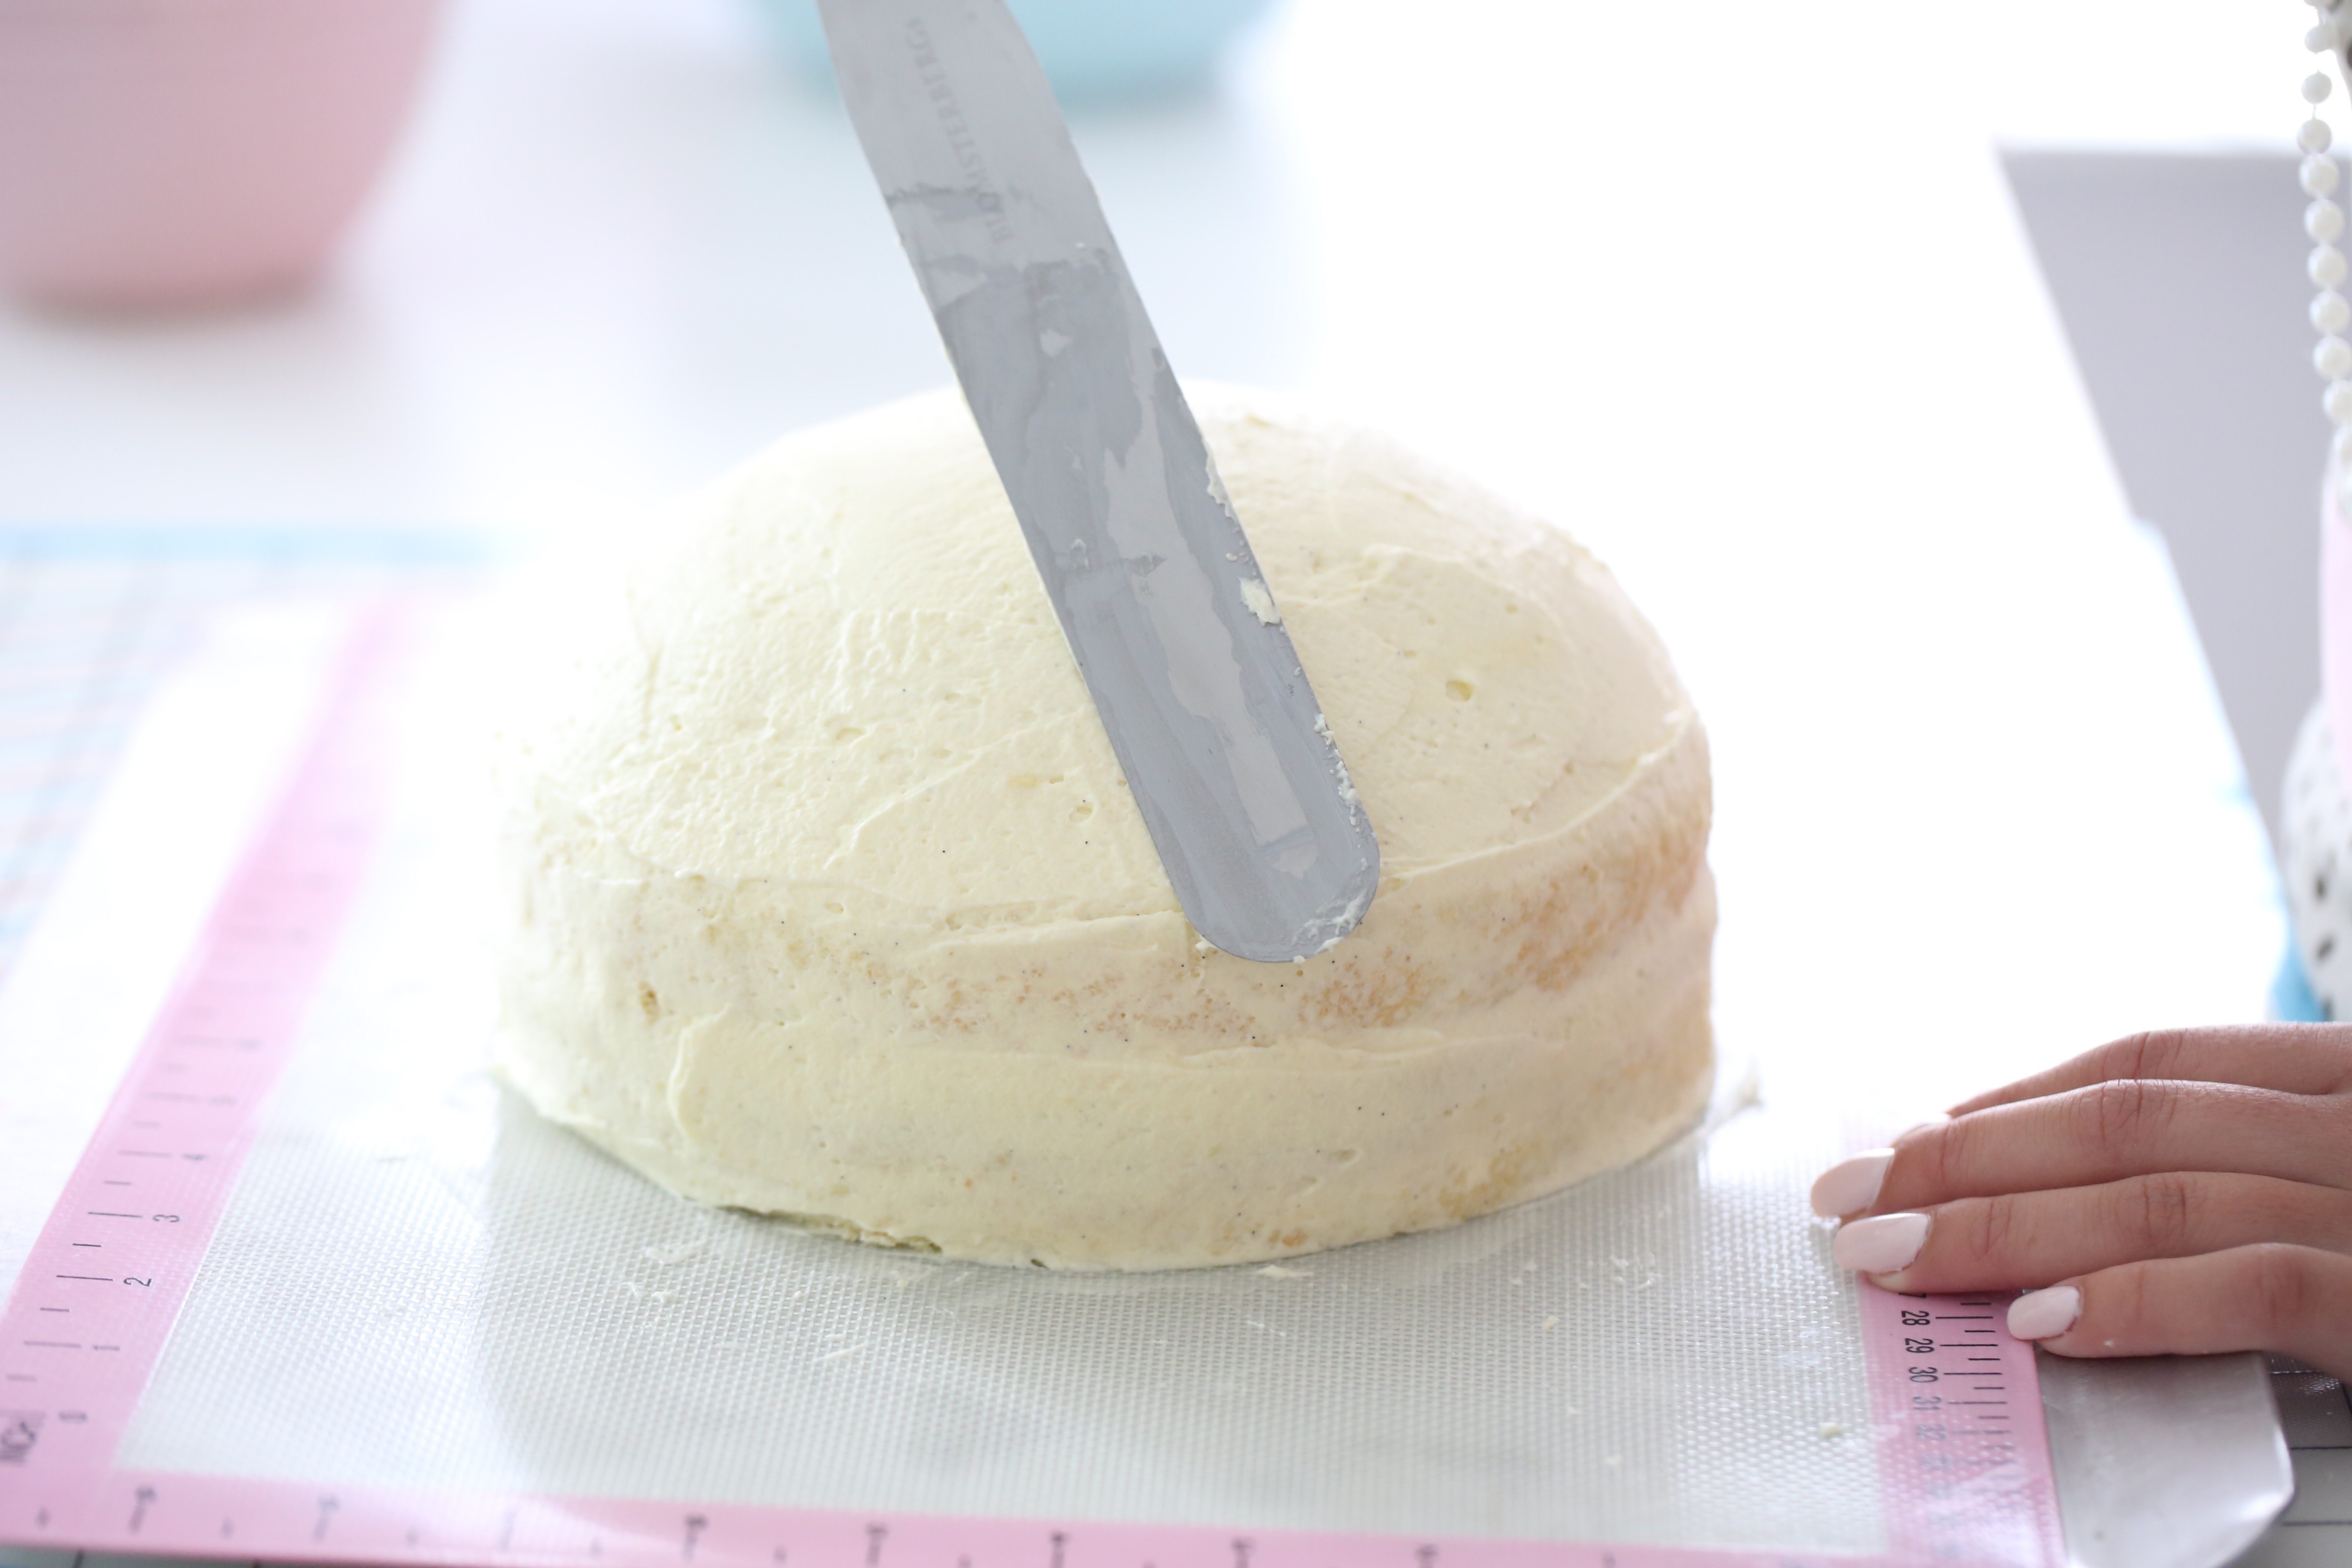
- Add a generous amount of whipped vanilla cream on top and smooth it into a dome shape.
- Add the third layer of sponge, on top bending it to the shape you want. Cover the sides and top of the cake with a thin layer of the remaining whipped vanilla cream. Set aside in a fridge while you roll out the marzipan.
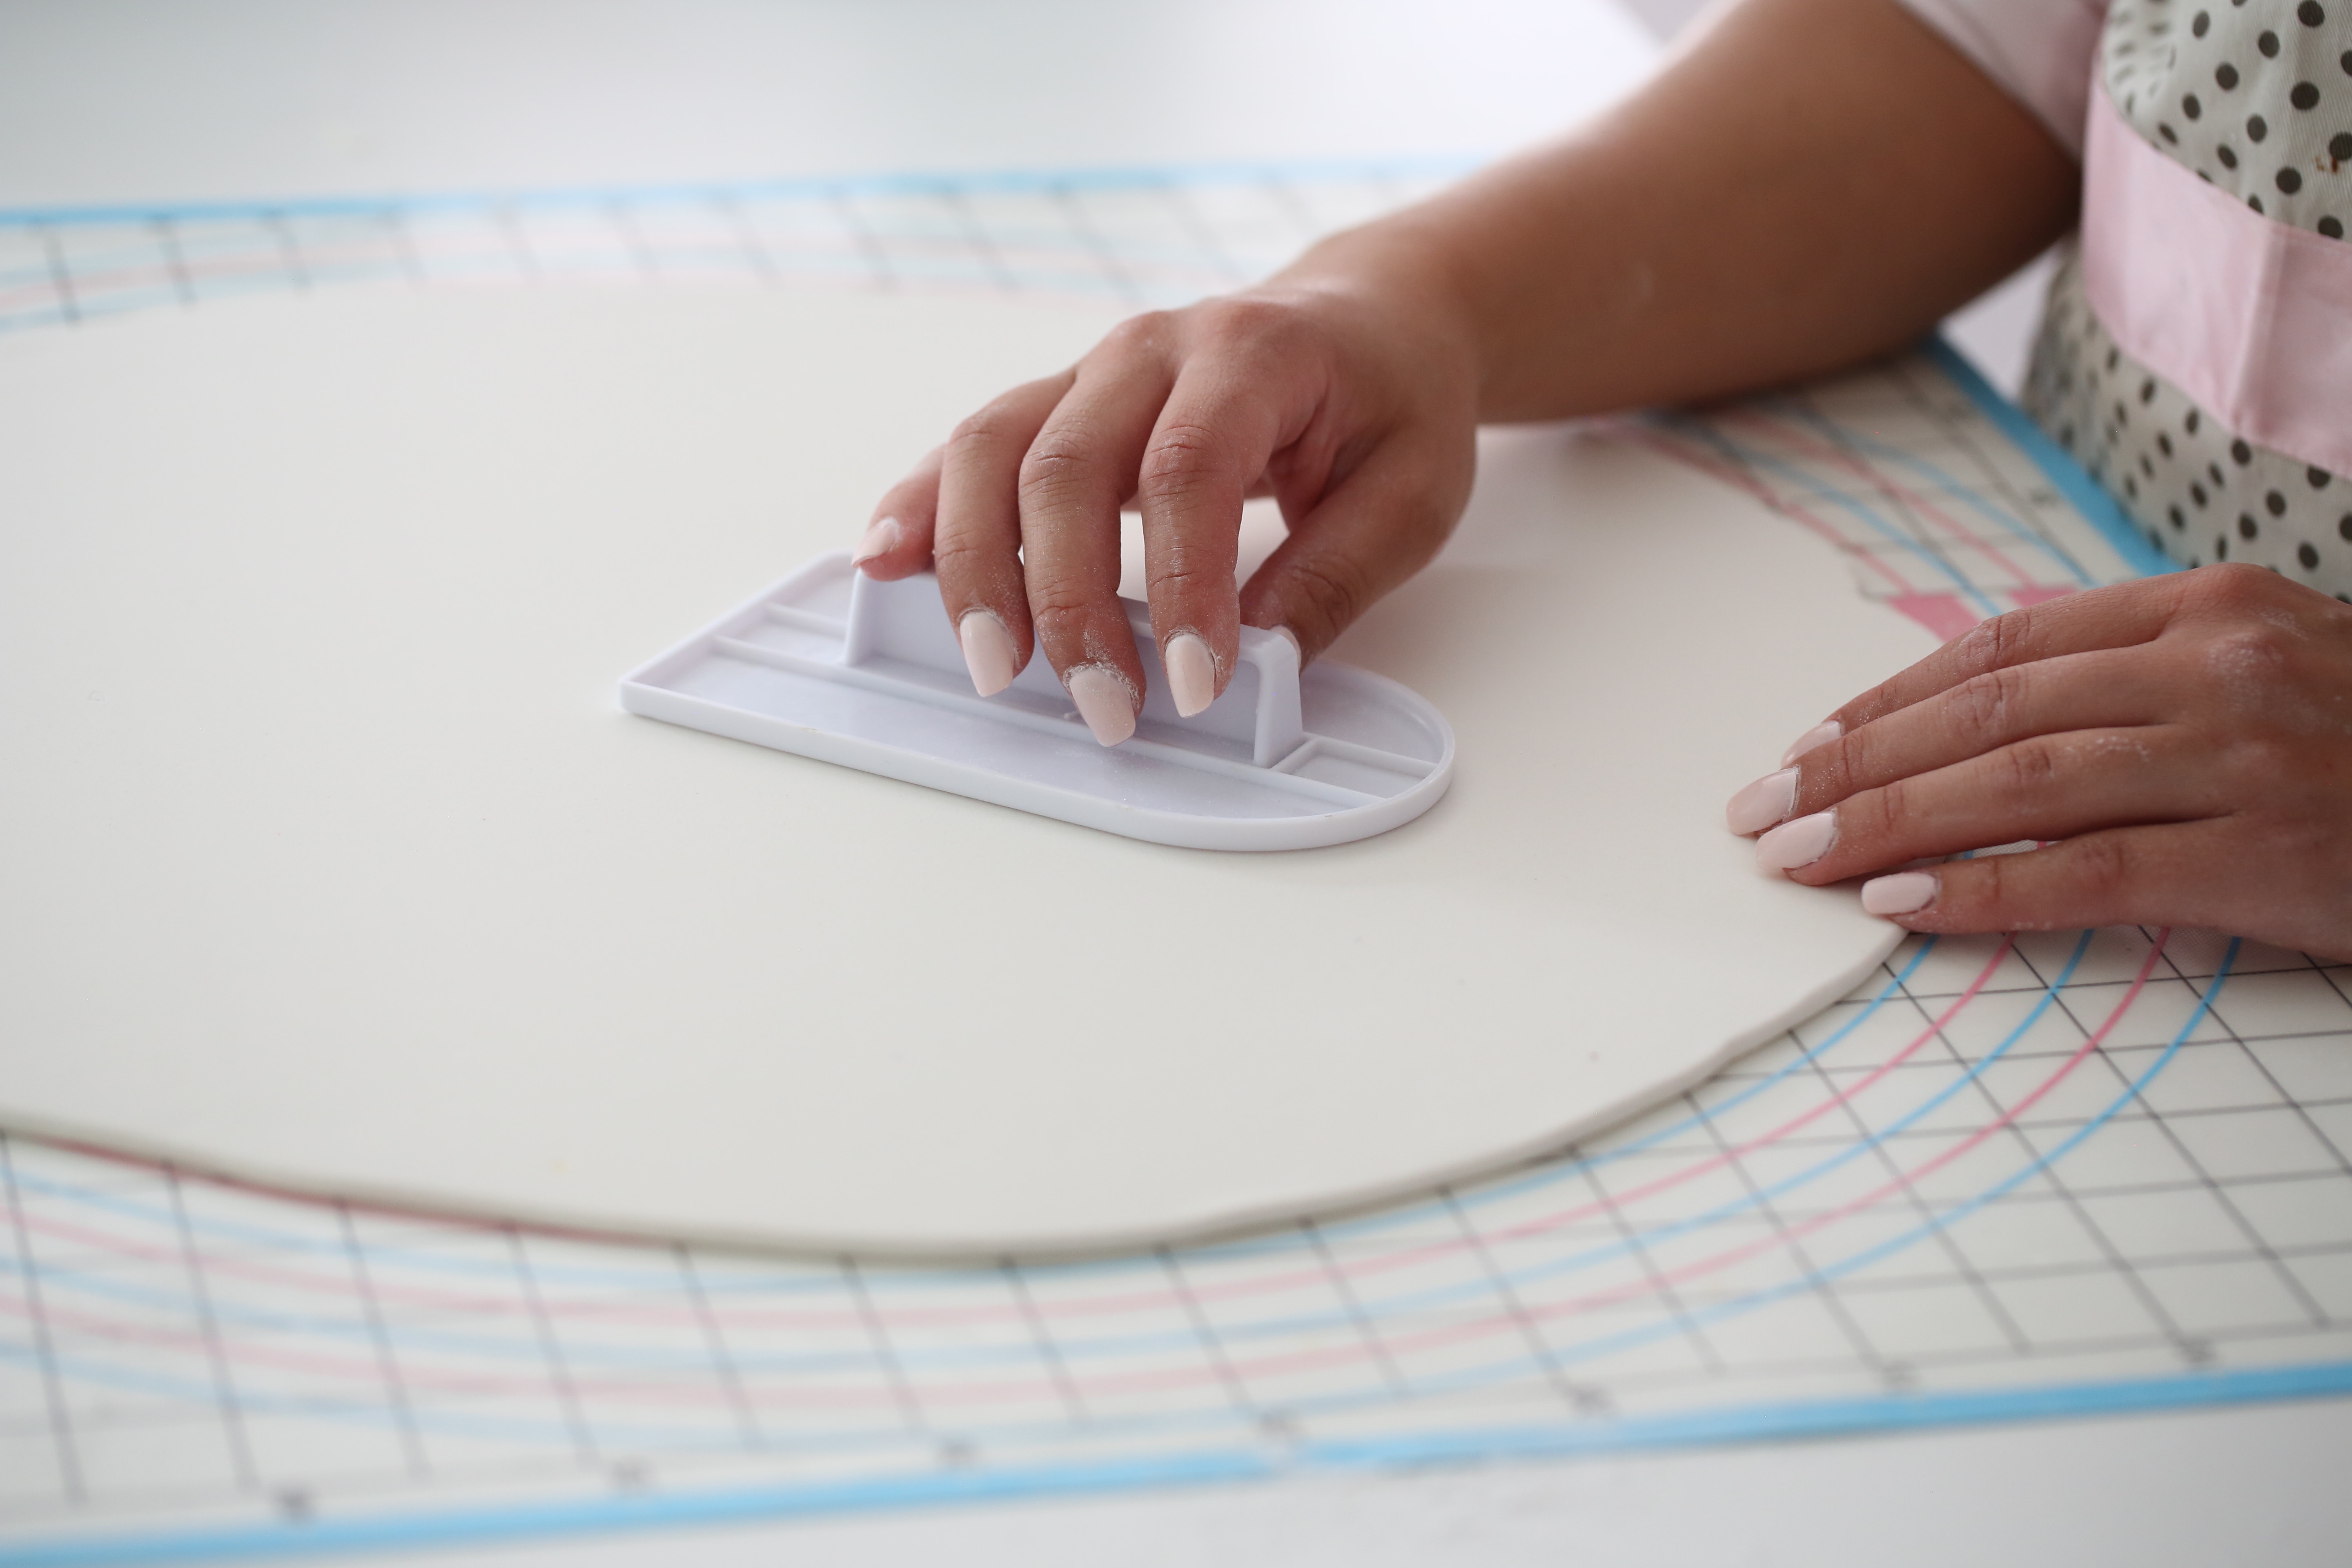
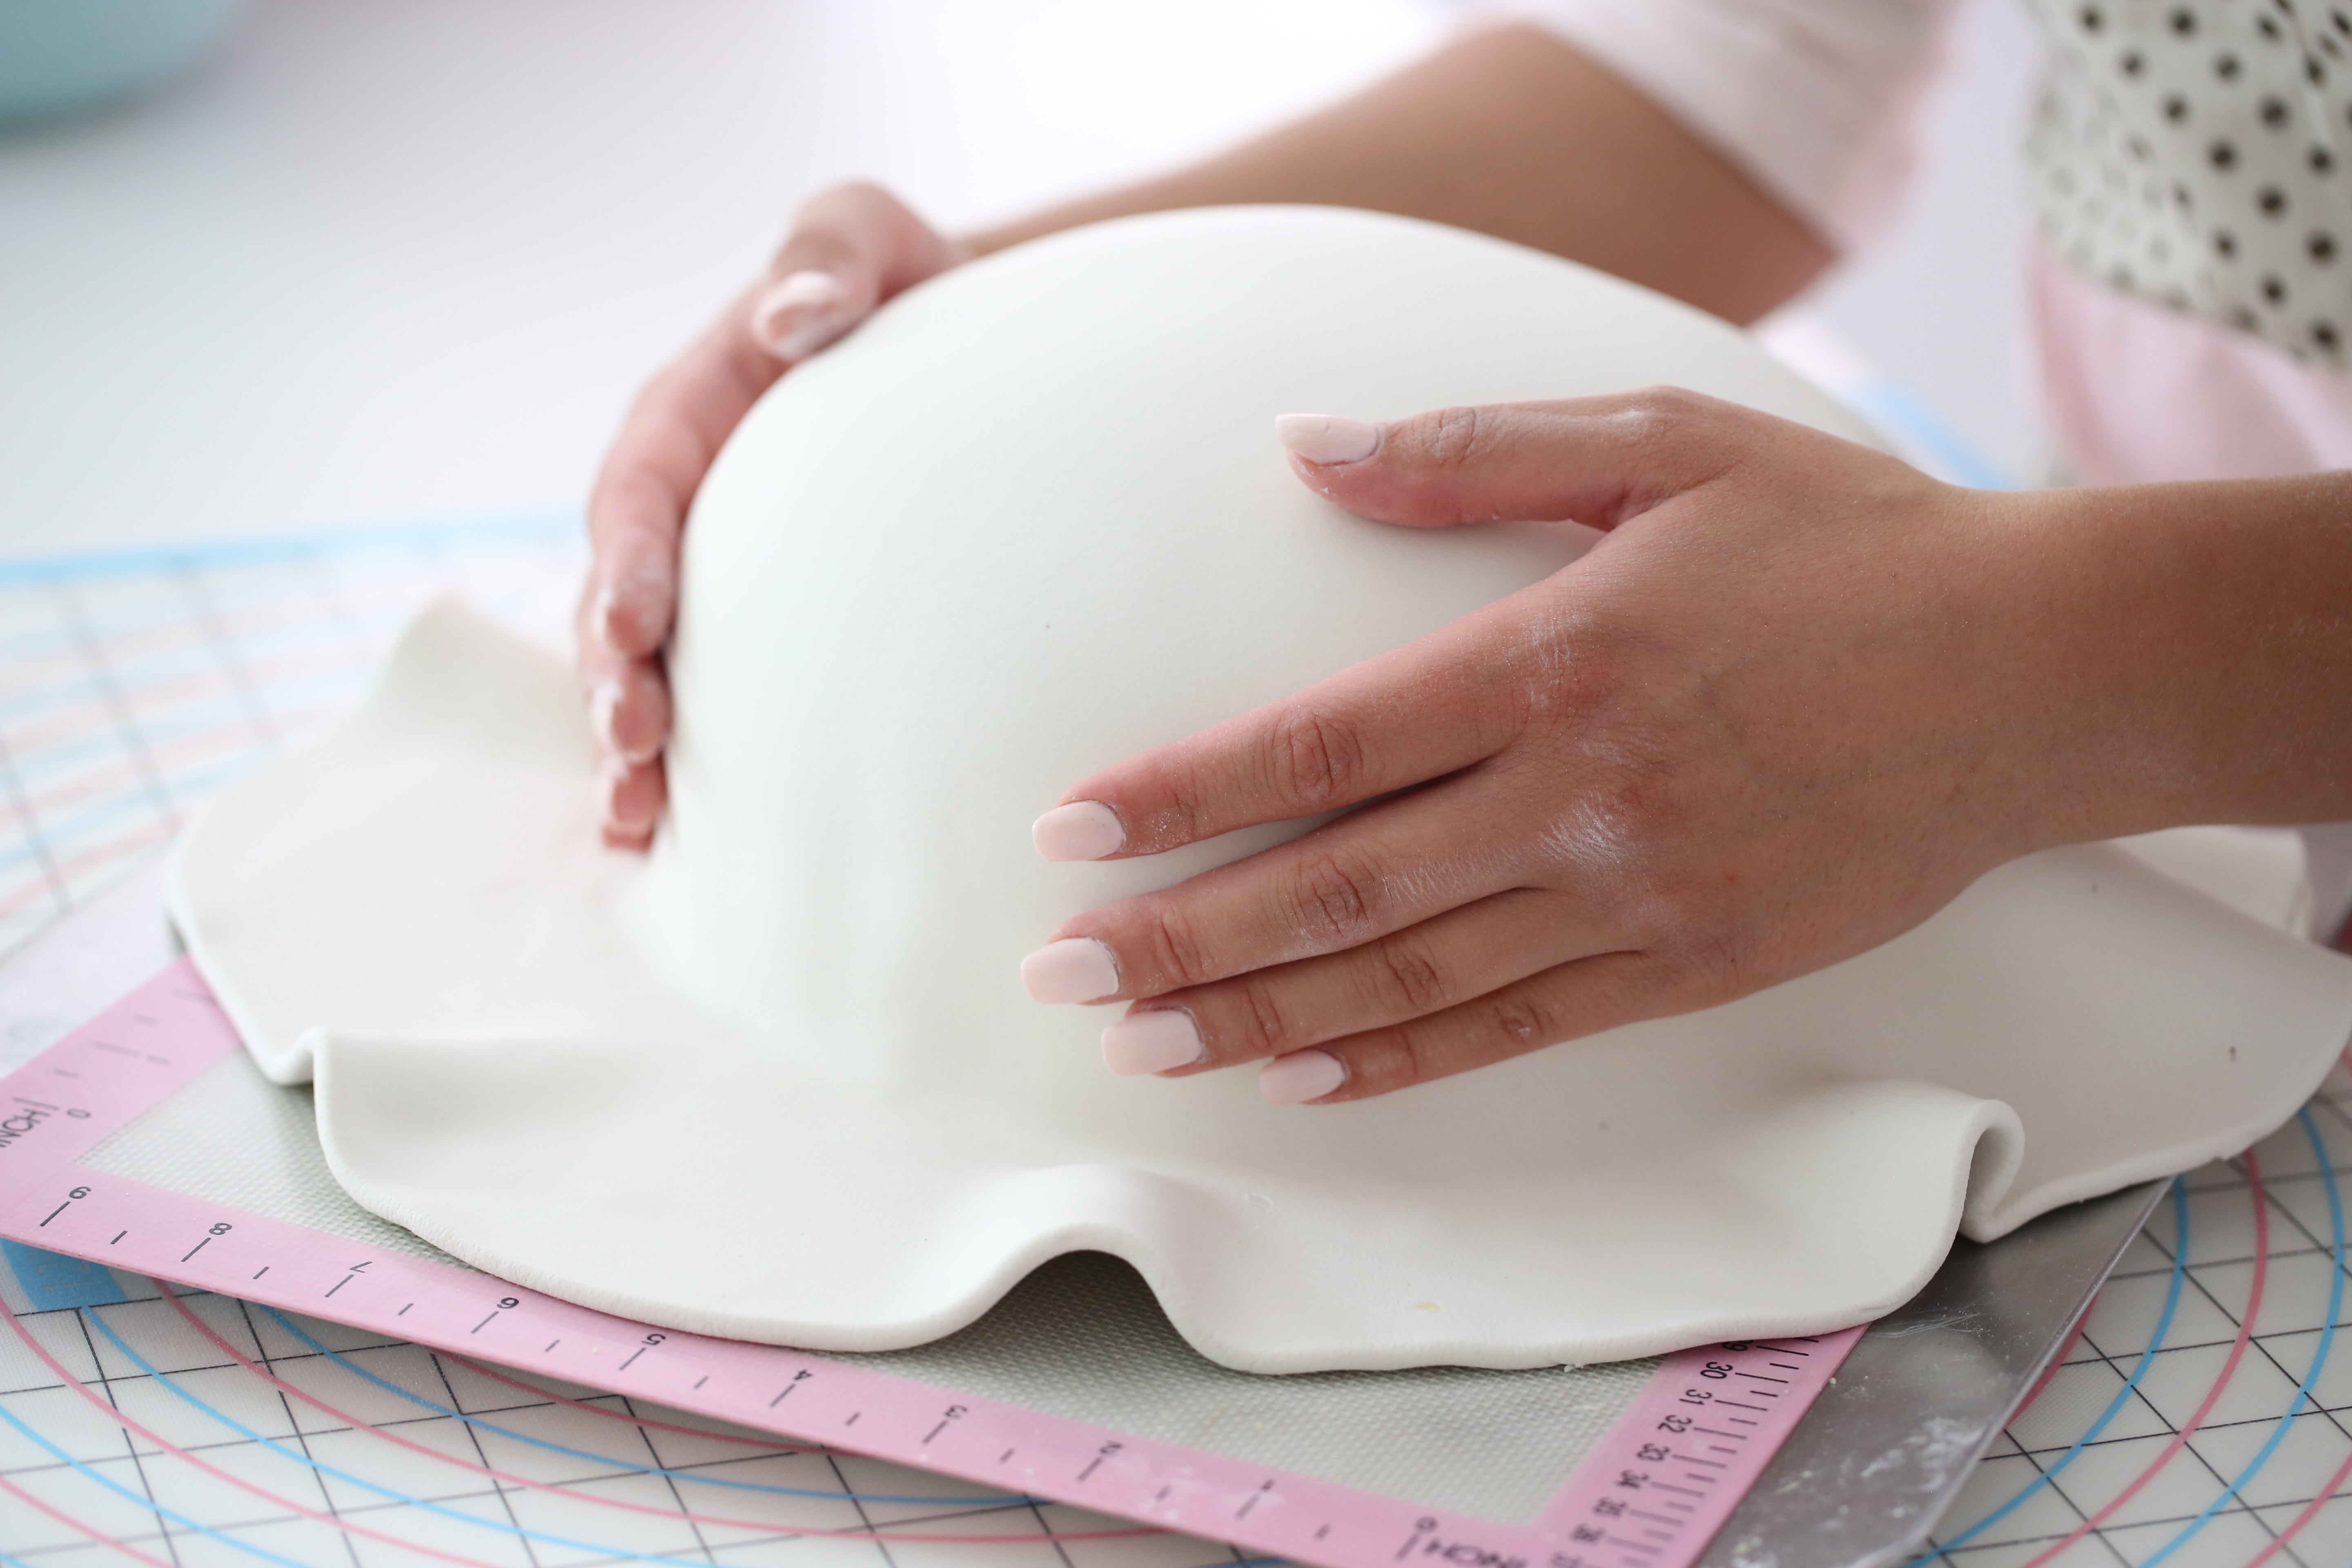
- Knead the marzipan, sprinkle some powdered sugar on to your work surface Roll out the white marzipan to create a circle, enough to cover the cake.
- Keep turning the marzipan over and re-dusting the work surface with powdered sugar to avoid it sticking.
- Lift the marzipan over the cake using your hands, shape the marzipan around the sides of the cake with your beautiful hands to create a smooth finish without any folds.
- Carefully trim any excess so the base is neat.
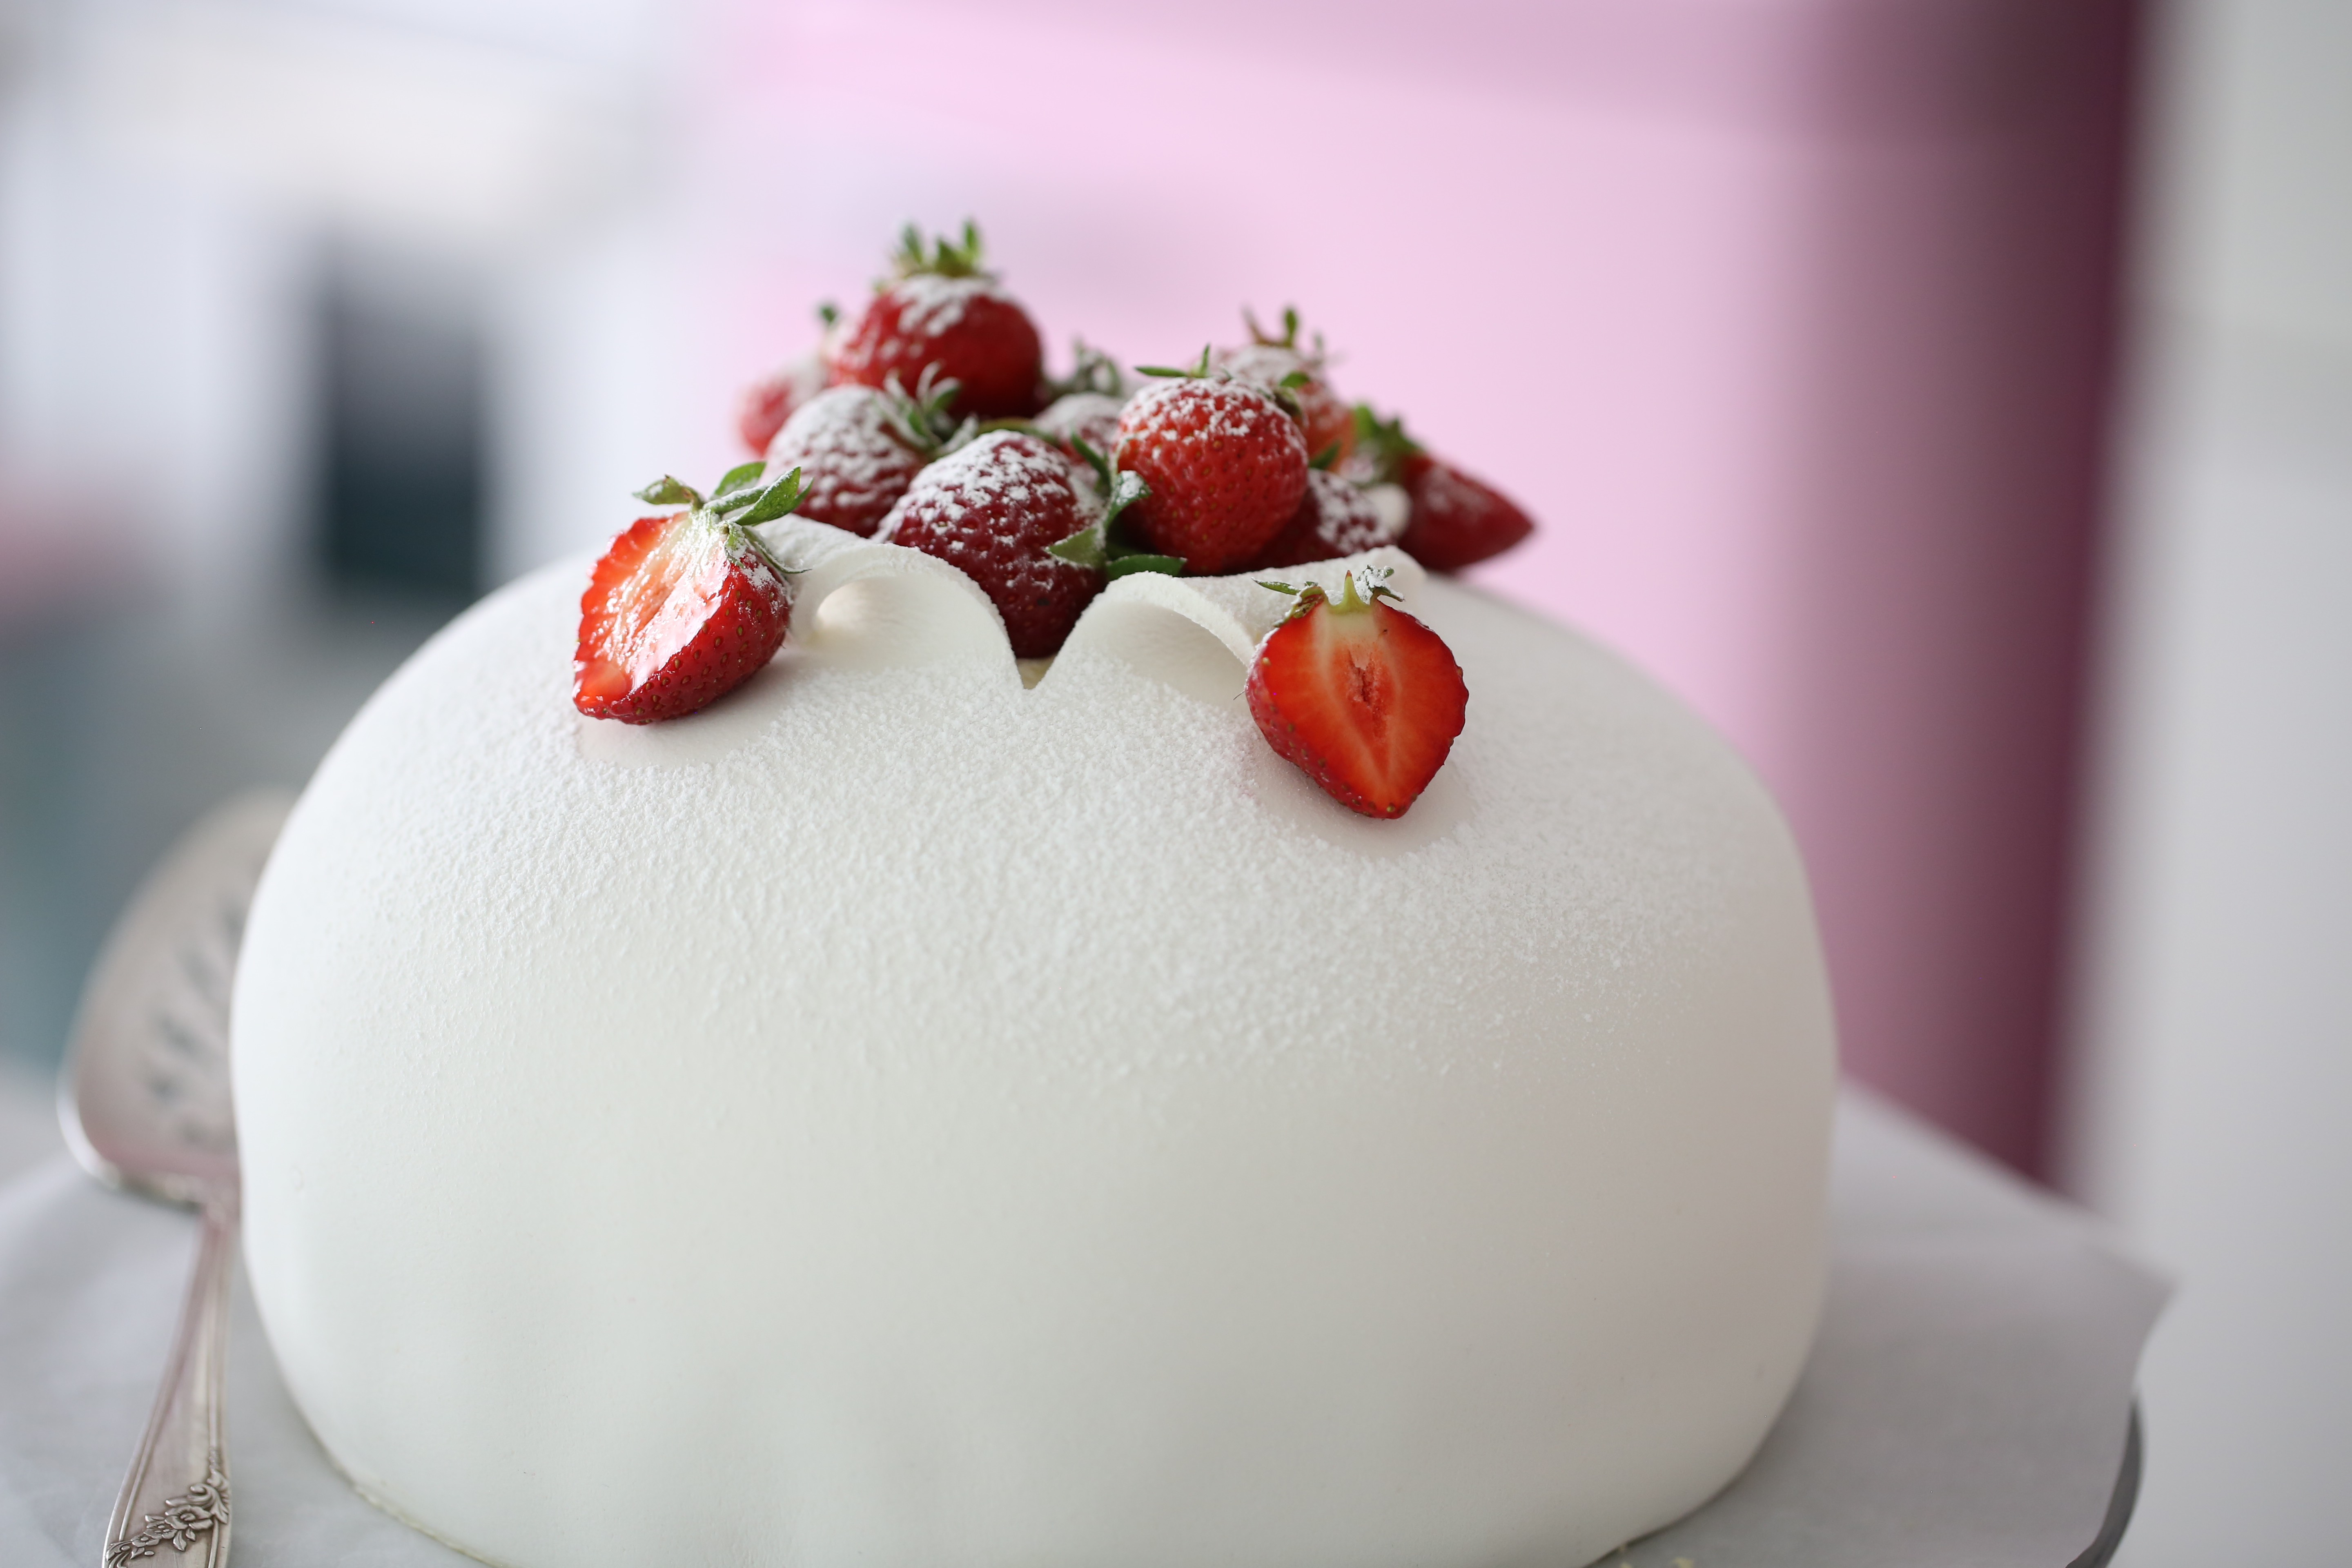
- Dust the cake with powdered sugar.
- This part is optional - With a sharp knife make two cut on top of the cake, roll it open and fill the top with strawberries
- Cut the cake and enjoy!