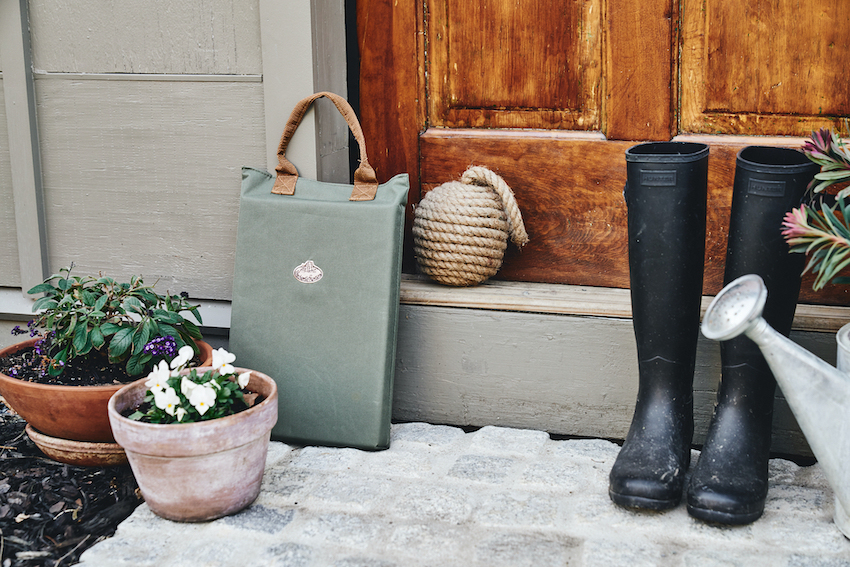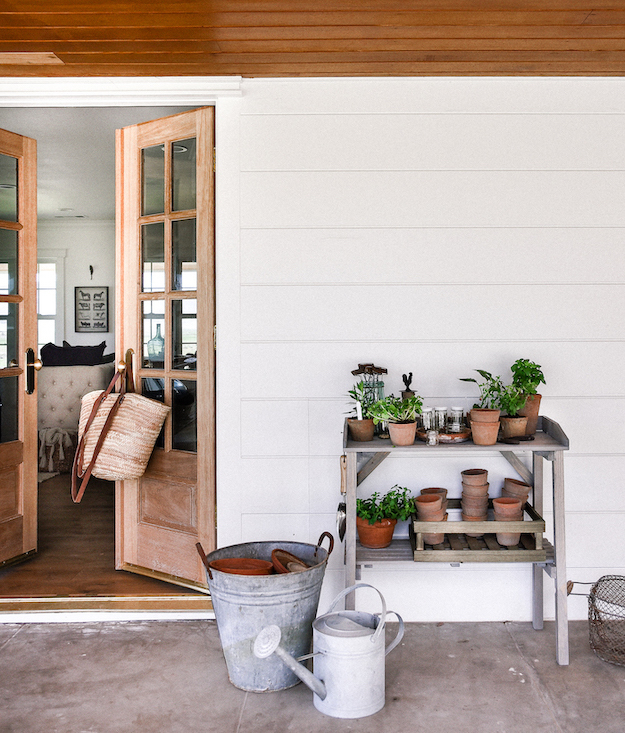

Growing your own food is easier than you might think! Even if you just have a little bit of space, you can grow lots of different things: lettuce, tomatoes, peppers, squash, melons, rhubarb, artichokes…the list goes on and on! A lot of fruits and vegetables are climbers and will grow on a space saving trellis, making it so easy for anyone to grow their own food!
Seeds vs. Plants
When growing your own food, you can purchase pre-started seedling plants (fruits and vegetables that have already been sprouted) or start your own plants with seeds. It’s much less expensive – and just as simple – to start your own plants. You can find seeds at garden shops, online, and even some grocery stores. Make sure to buy organic, non-GMO seeds from a trusted source.
Starting Seeds
Check the seed packages to determine if your plants prefer to be started indoors or if they thrive better when sowed directly into the bed where they will live.
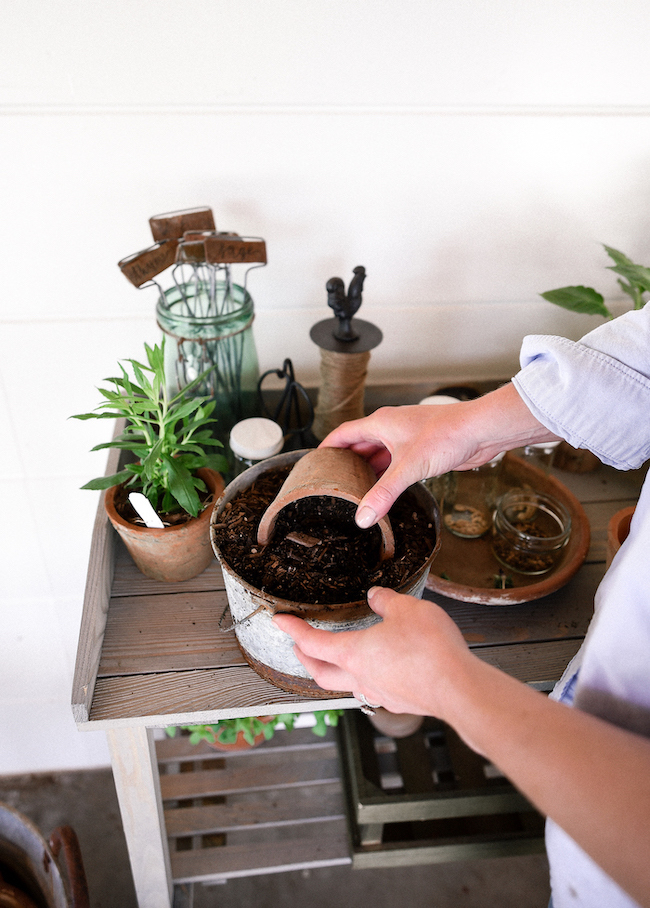
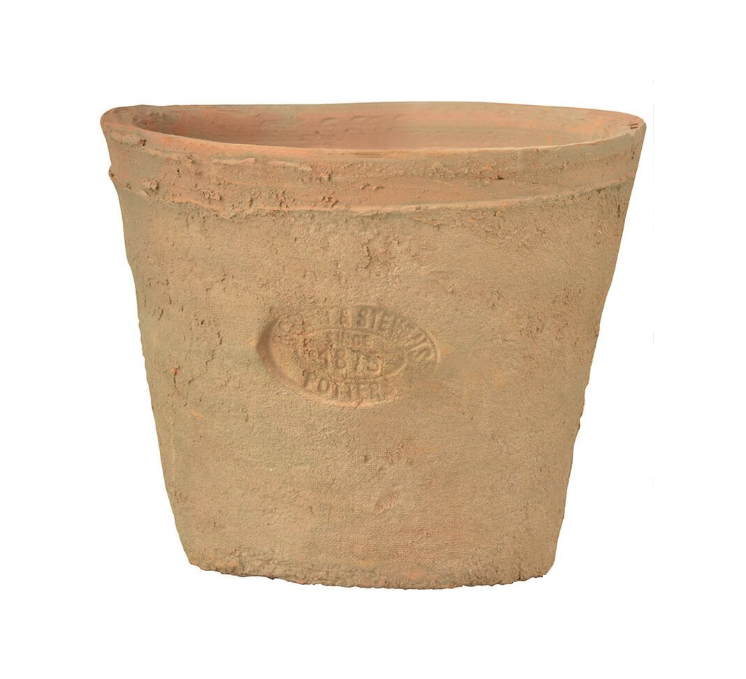
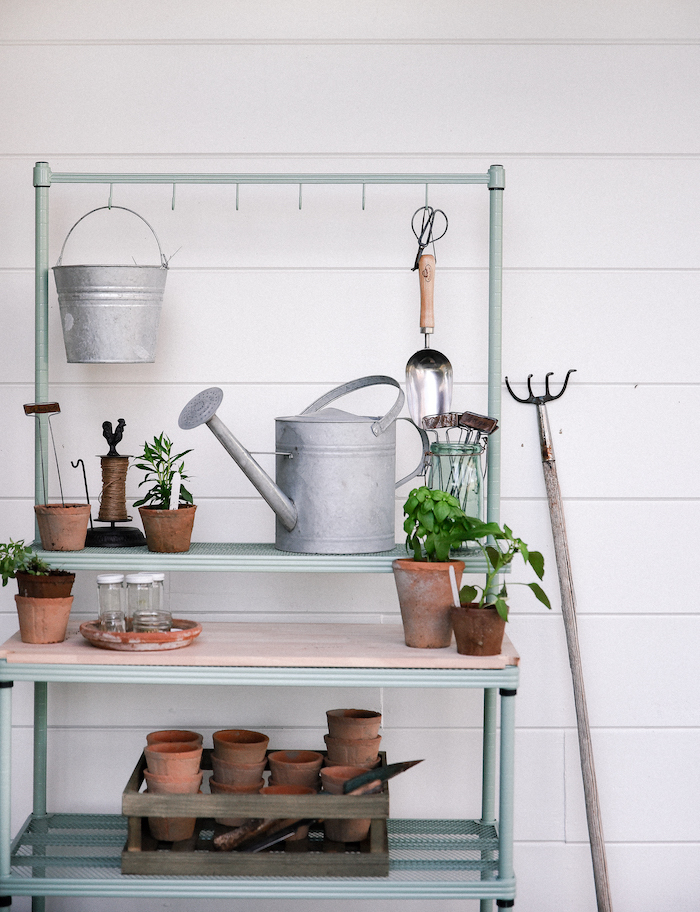
If starting seeds indoors or in a greenhouse, you’ll need a small container to sow them in. You can use something as simple as old egg cartons or compostable seed starting pots which allow you to plant your seedlings directly into the ground without transplanting due to their biodegradable nature. You can also use small terracotta pots, plastic seed starting trays, or even recycled plastic containers like yogurt cups – these will require you to transplant.
Transplanting sometimes causes the delicate plants to go into a little bit of a shock, so the less you handle them the better!
When to Start Seeds
To determine when to start seedlings, just check the seed packet. You will be able to start some seeds indoors, this is very nice if you have a short growing season and don’t have the luxury of a long harvest. By starting seeds indoors, you are able to grow fruits and veggies that take awhile to ripen and mature.
However, it’s important to double check the plant information and only start plants that will do well with an indoor start. Some plants really won’t thrive, and it’s best to wait until you can start them outside in your garden. The seed package will clearly tell you if the plant can or cannot be started indoors.

Things like tomatoes and peppers are great to start indoors. However, root vegetables or climbing vegetables don’t always transplant well, so just check your seeds packaging to determine what seeds you should start outside and which seeds you should start inside.
How to Plant
For indoor seeds: start by filling you seedling container with seed starting soil which contains the proper nutrients for the seeds. Regular soil will not yield great results, and can cause plant disease.

Before planting the seed in the soil, check your seed’s information to determine how deep to place the seed. Marking a pencil and using it to create the seed holes is a great way to make sure you’re not planting to shallow or too deep!
Seed Labeling
Once you’ve planted your seeds, make sure to label each container to keep track of important dates.

It’s helpful to keep a log of planting dates, transplant dates, and expected harvest dates – all of this information can be found on the packaging. Some seeds take as little as two weeks to begin to sprout and some take much longer. This log will be helpful in referencing when things should be sprouting, and when plants can be transplanted outdoors.
Seedling Needs
Your young seeds will need: soil, air, water, and sunlight. Seedlings thrive in an environment that’s around 65 to 70 degrees, higher temperatures can cause the plants to shoot and become leggy.
At first, your seeds will not need much sunlight, they’ll simply need air, water, and soil. Place the containers in a warm spot and cover with a plastic or glass top to create a little greenhouse for the seeds. Make sure air can circulate by poking holes in the top of the plastic or by using a specific seed starting cover (plastic soda jugs cut in half are a great option!).
Keep the soil moist (like a sponge) – do not saturate the soil with water. Place the container in a spot where it will receive bottom heat, on top of the refrigerator is a commonly recommended place.
Once you see growth emerge, the seeds will need lots of sunlight! If you don’t have an area that receives a lot of sun, you’ll probably want to purchase a grow light. You can buy these in any garden or home improvement shop. This constant steady light will produce the best results for seedlings. Remember to raise the grow light as the plants begin to grow.
Once you see the first set of leaves on the plants, you can begin fertilizing with an organic fertilizer once a week.
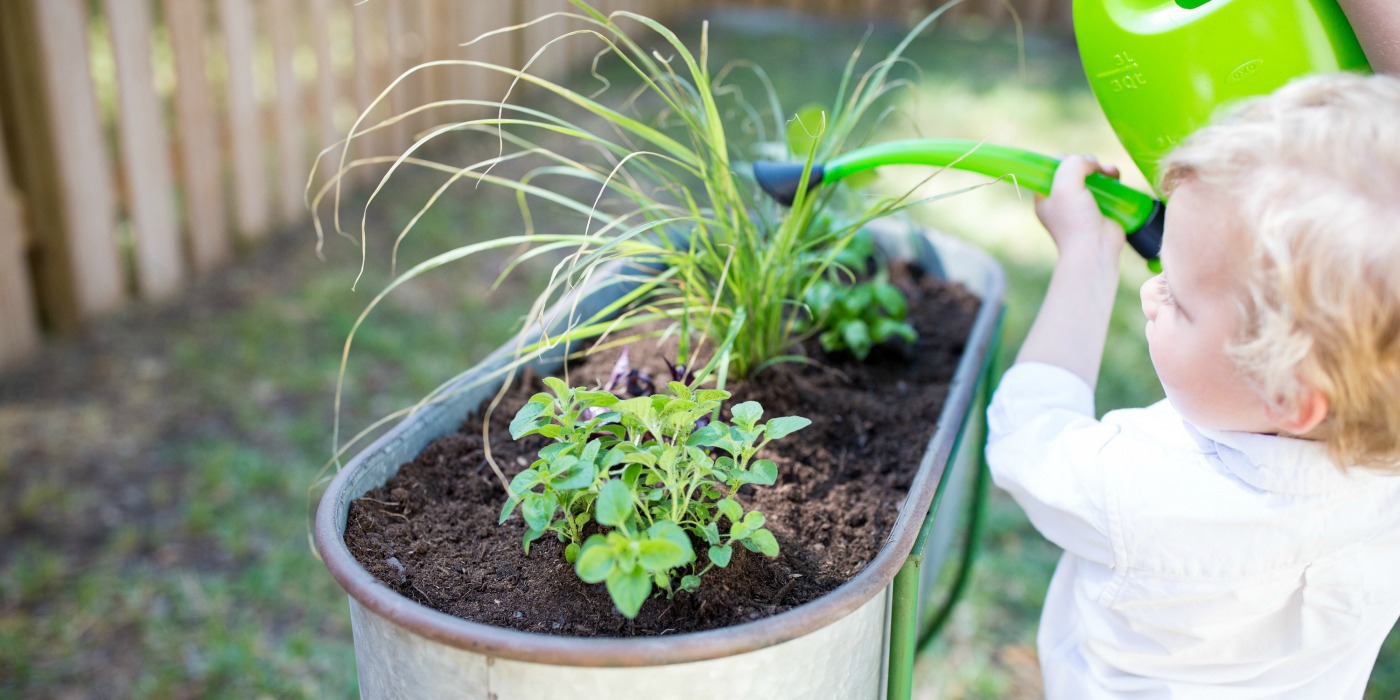
Transplanting
Once the plants begin to sprout, reference your log book to determine when it is safe to transplant outdoors. This depends on your gardening zone’s last expected frost date.
Before transplanting, you’ll need to “harden off” the plants. This preps them for their new life outdoors on their own. About a week before you plan on transplanting begin to withhold fertilizer and water a bit less.
Start taking the plants outdoors, place them under dappled sunlight for a few hours at first and then for longer periods throughout the rest of the week. Bringing them back indoors when it begins to cool down in the evening.
When it comes time to transplant, do so in the late afternoon after the sun has reached its peak. The hardened off plants may wilt once transplanted, but will recover after a few days.
Troubleshooting
If you’re not seeing things sprouting or if your plants are yellow, leggy, and ill, it’s time to troubleshoot. It could be that you’re not watering enough, you’re watering too much, there isn’t enough sunlight, there isn’t enough air flow, the temperature is off, or your plants have become infected with a disease.
Seedlings do best in a cool environment, ideally 65-70 degrees. Air is a very important factor for seedlings, so adding a small fan to promote airflow is helpful.
If your seeds appear to be growing in one direction or if shooting up in a “leggy” manner (tall and flopping over), they’re most likely not receiving enough sunlight.
Plants can become infected with diseases, commonly: damping off. Make sure to garden with clean tools, clean hands, and soil specifically formulated for seed starting. If you are using tools from previous years, clean them ahead of time with a diluted bleach solution.
I wish you a fruitful gardening season, and hope you enjoyed these seed starting tips! Visit me at Boxwood Avenue for more gardening tips, like How to Grow Peonies, How to Grow Fall & Winter Veggies, and Selecting the Right Plants for Your Garden!