
If a few days have passed and that beautiful summer fruit I bought has yet to be consumed, I simply turn that fruit into a few jars of delicious, homemade jam.
We have all had the experience of watching our farmers’ market or CSA fruits start to get a bit long in the tooth as the week wears on. Maybe you bought two quarts of peaches thinking you would make a cobbler and then time got away from you. Maybe the member of your household who you can usually count on to eat pint after pint of cherries and blueberries went on strike. These are the times when knowing how to preserve fruits and vegetables prevents me from wasting food and money.
Making jam is a little bit tricky – at least, trickier than pickling vegetables which is the other preserving project that I recommend people try. Nevertheless, turning the best summer fruits into delicious jams and jellies, and preserving those spreads for the winter to come, should be part of every home cook’s repertoire. So consider this your introduction to making jam!
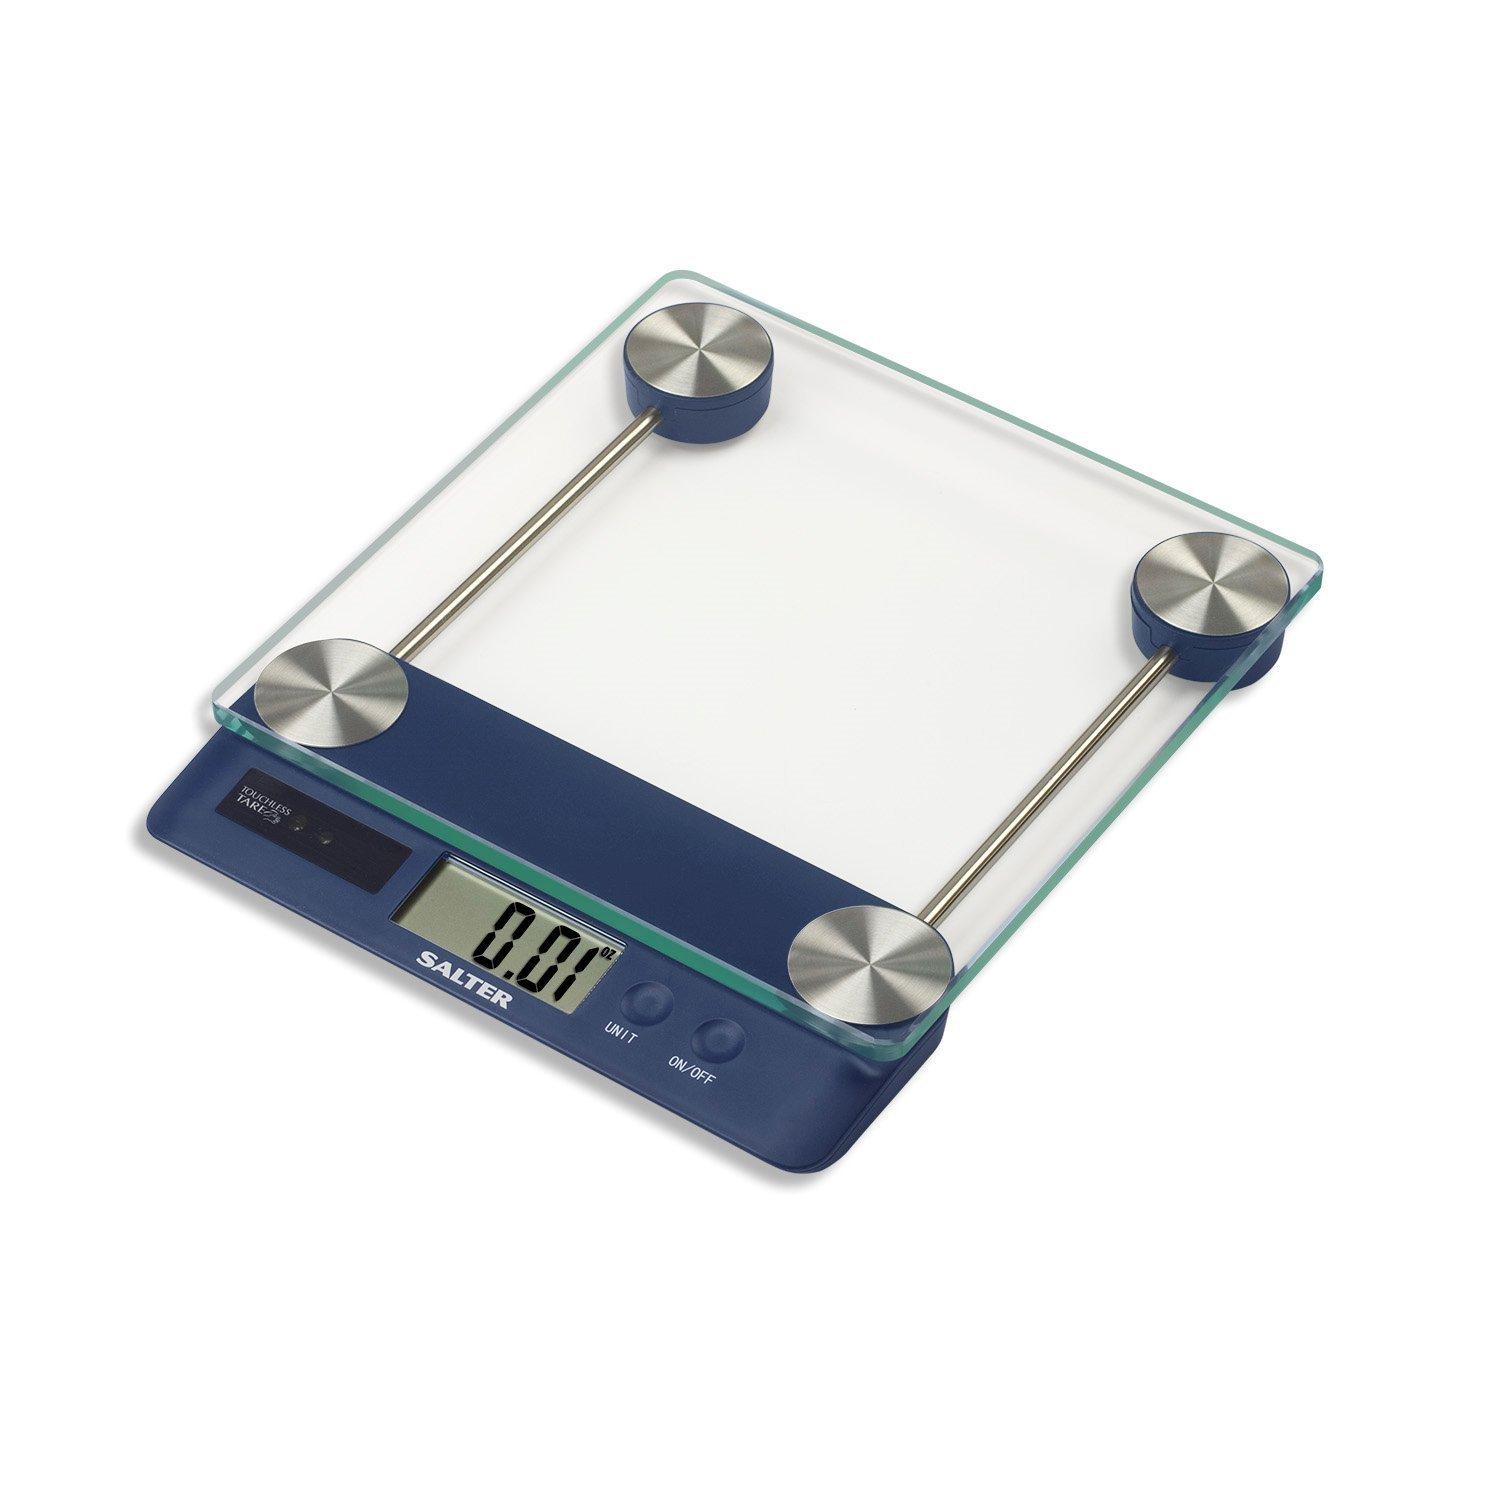
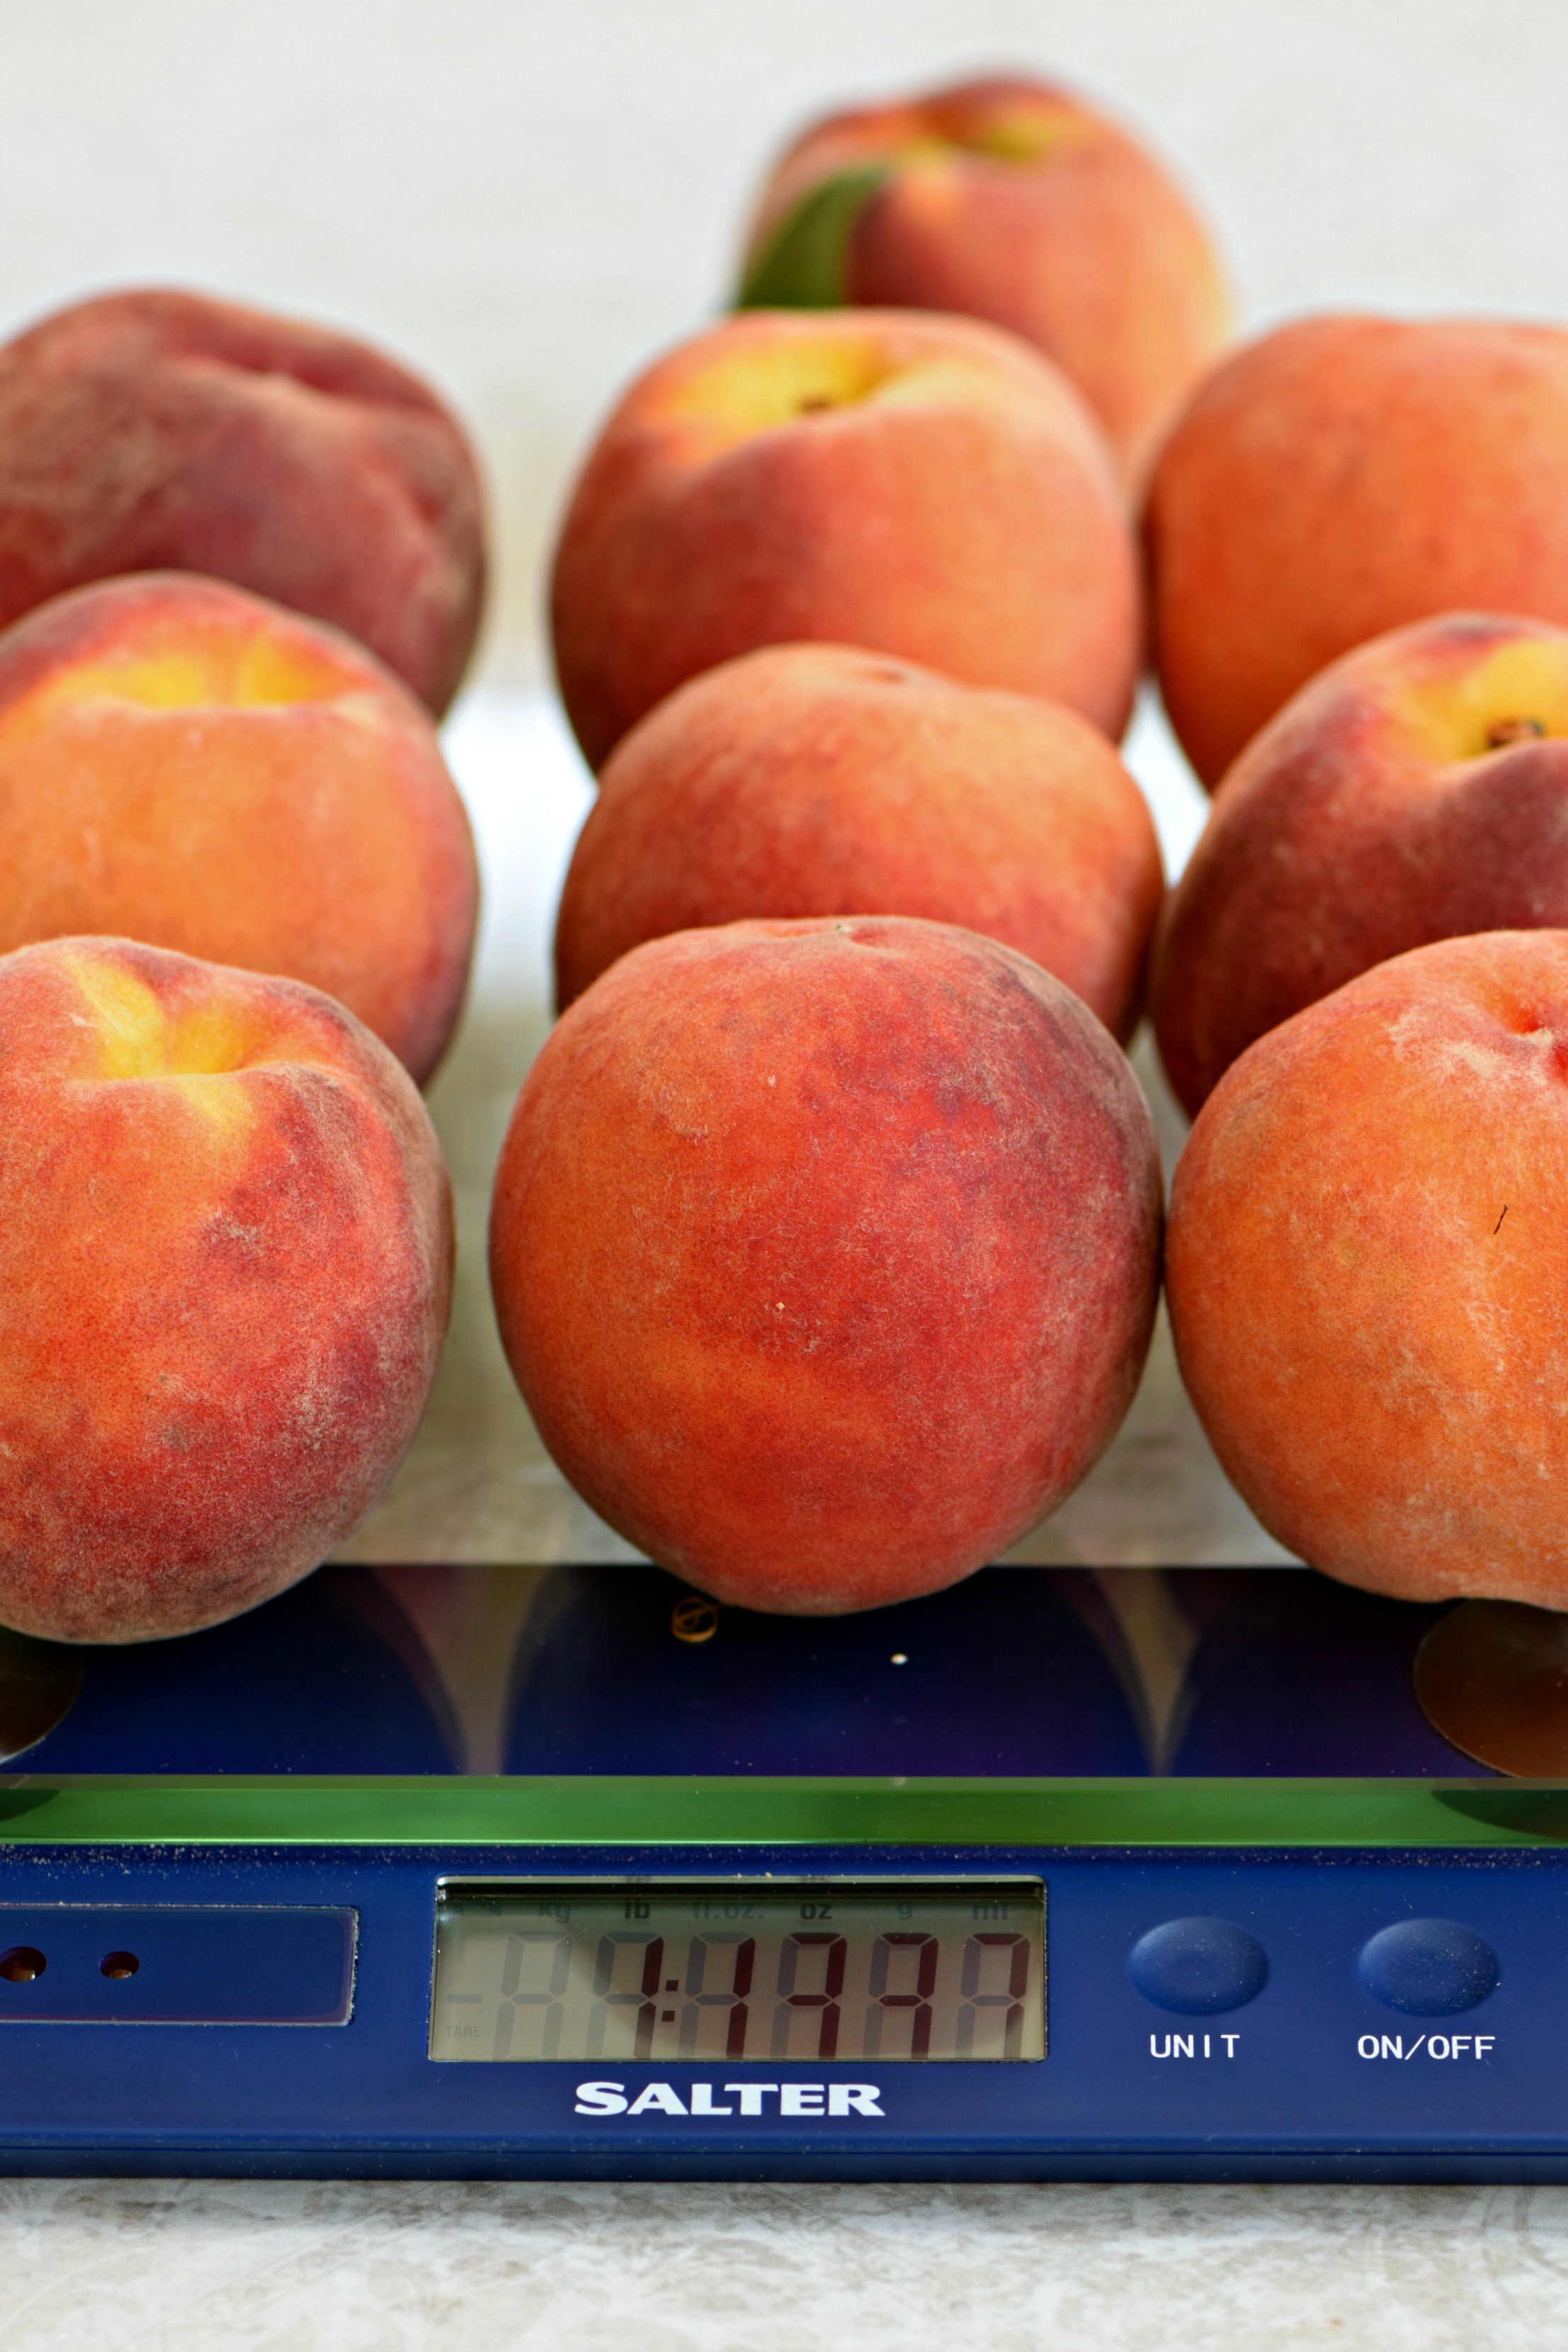
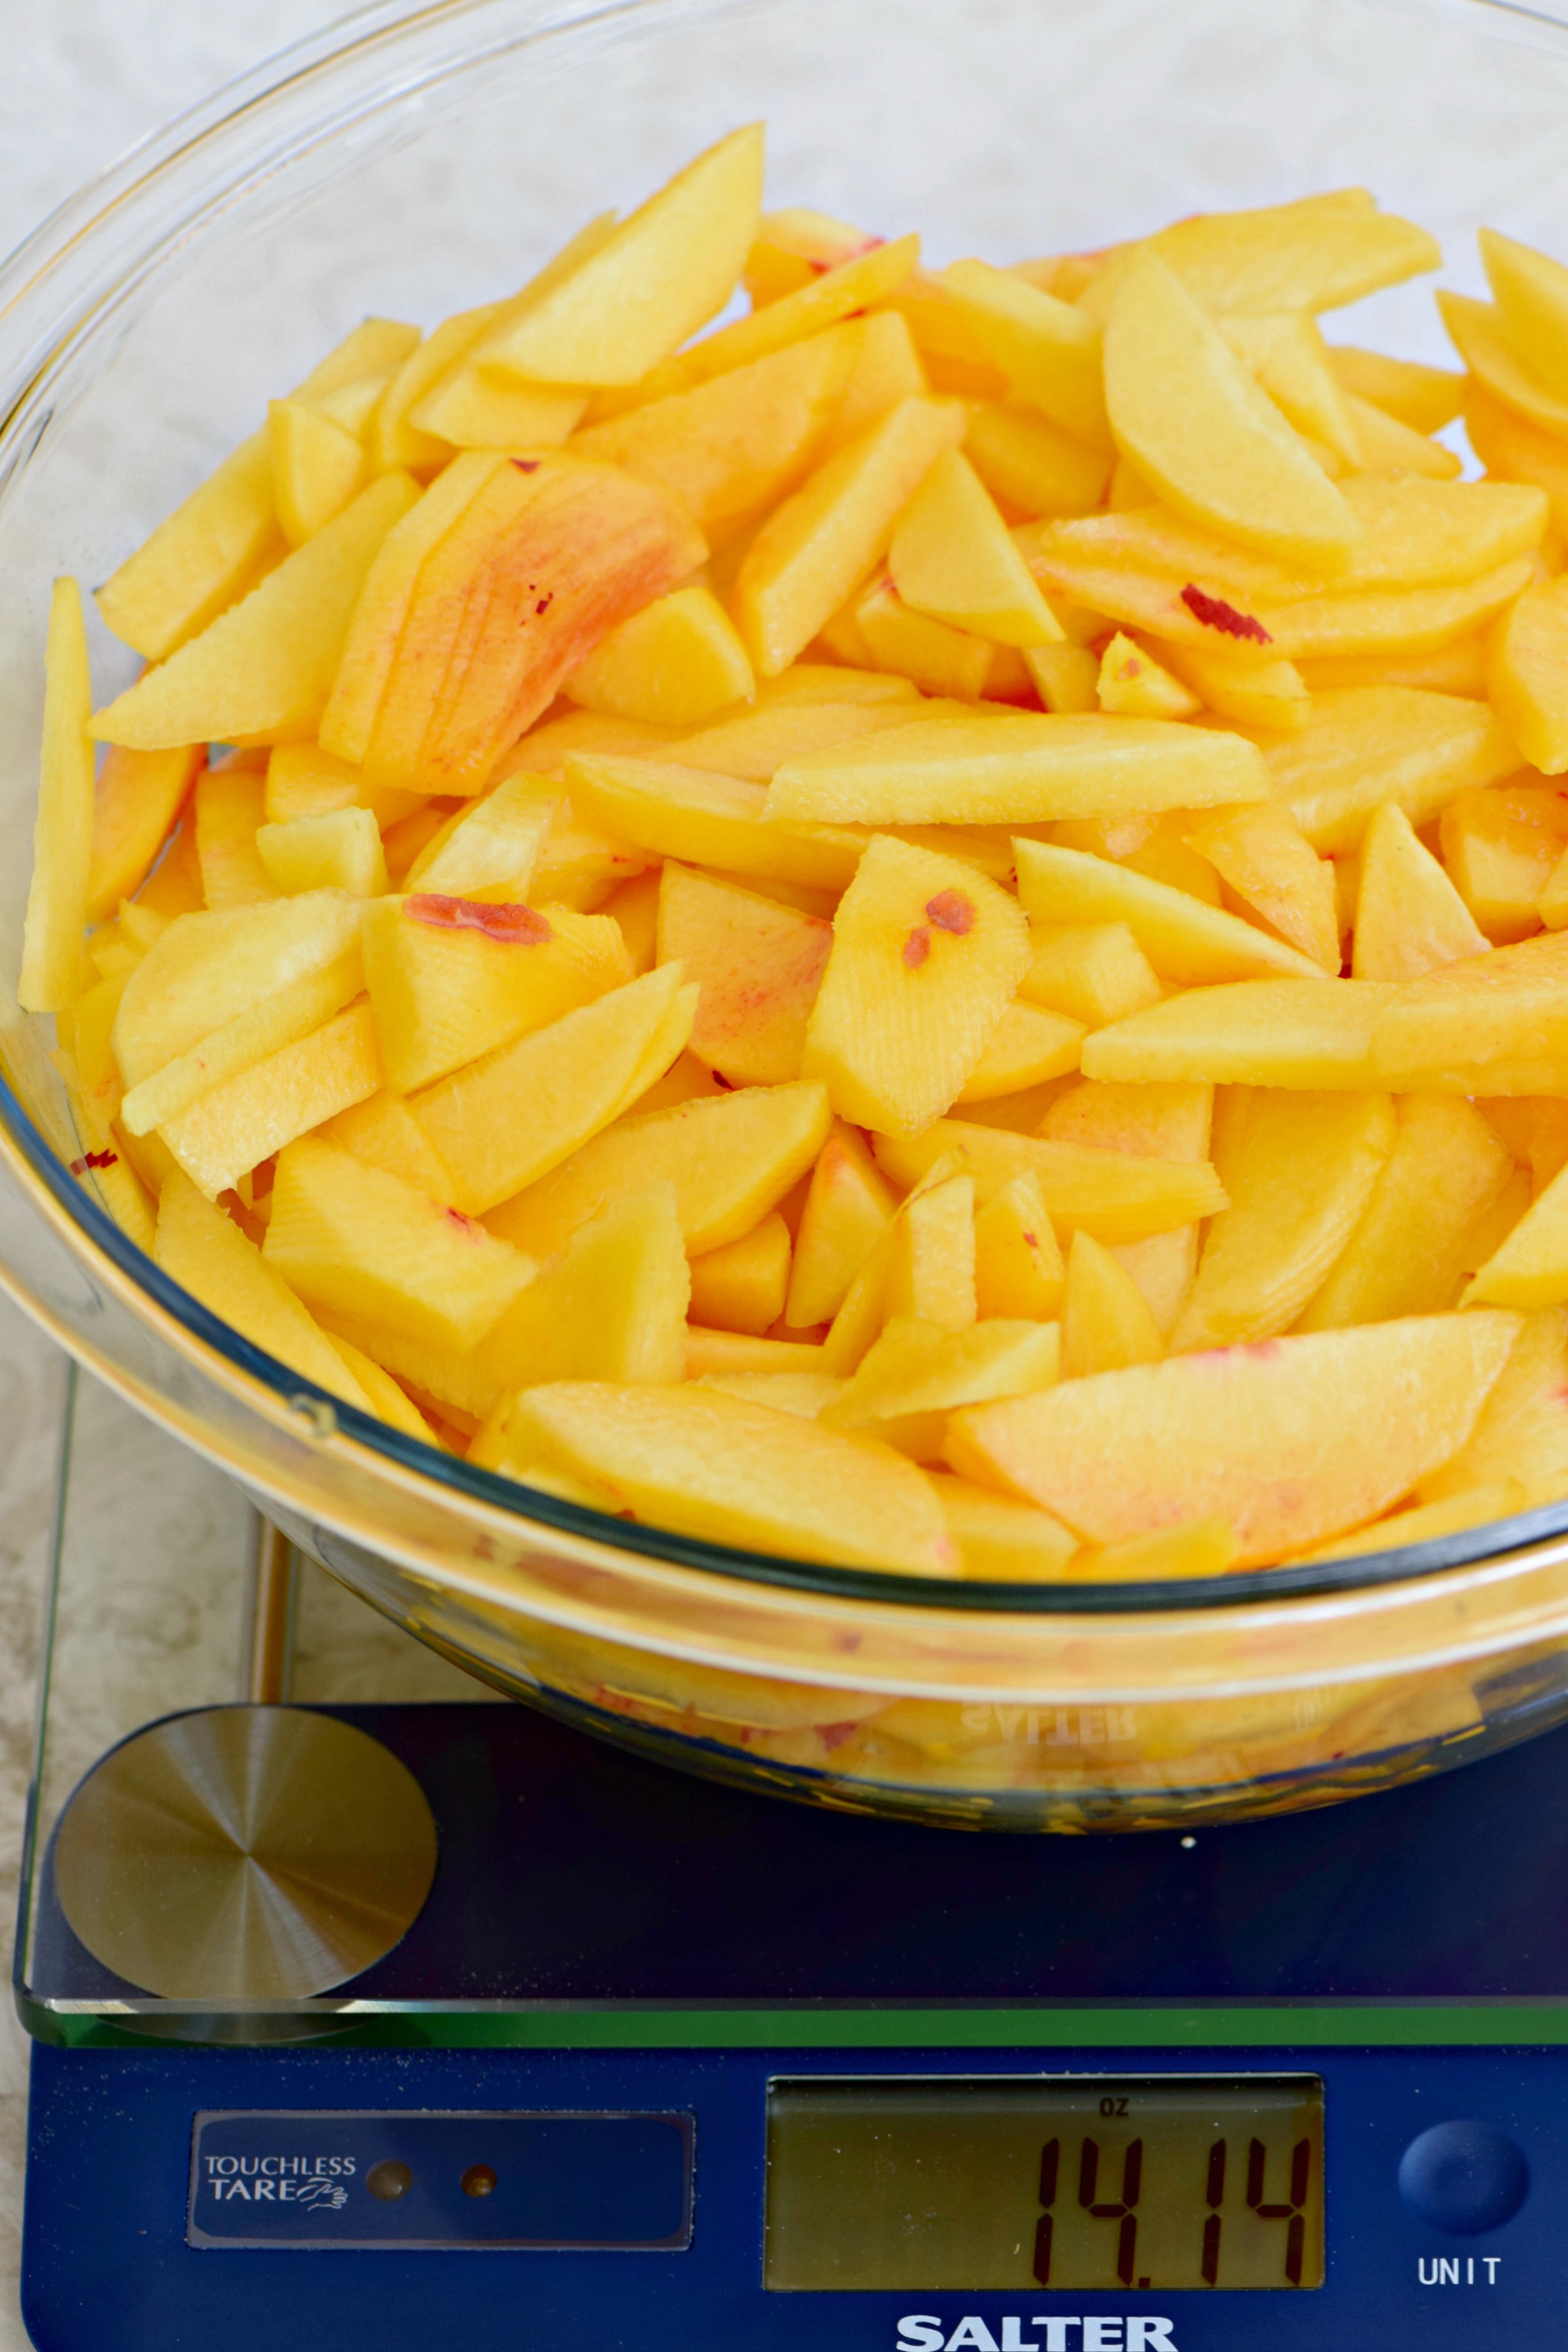
When preserving fruit at home, the key is to follow tested recipes and to maintain the ratios specified in those recipes. For this reason, I recommend that you invest in a good-quality digital scale for weighing your produce, such as the Salter Housewares Touchless Tare 30 lb. Scale. (In truth, weighing ingredients is always more accurate than using dry measurements. So, try using your digital scale in baking as well. I think you will be pleased with the results).
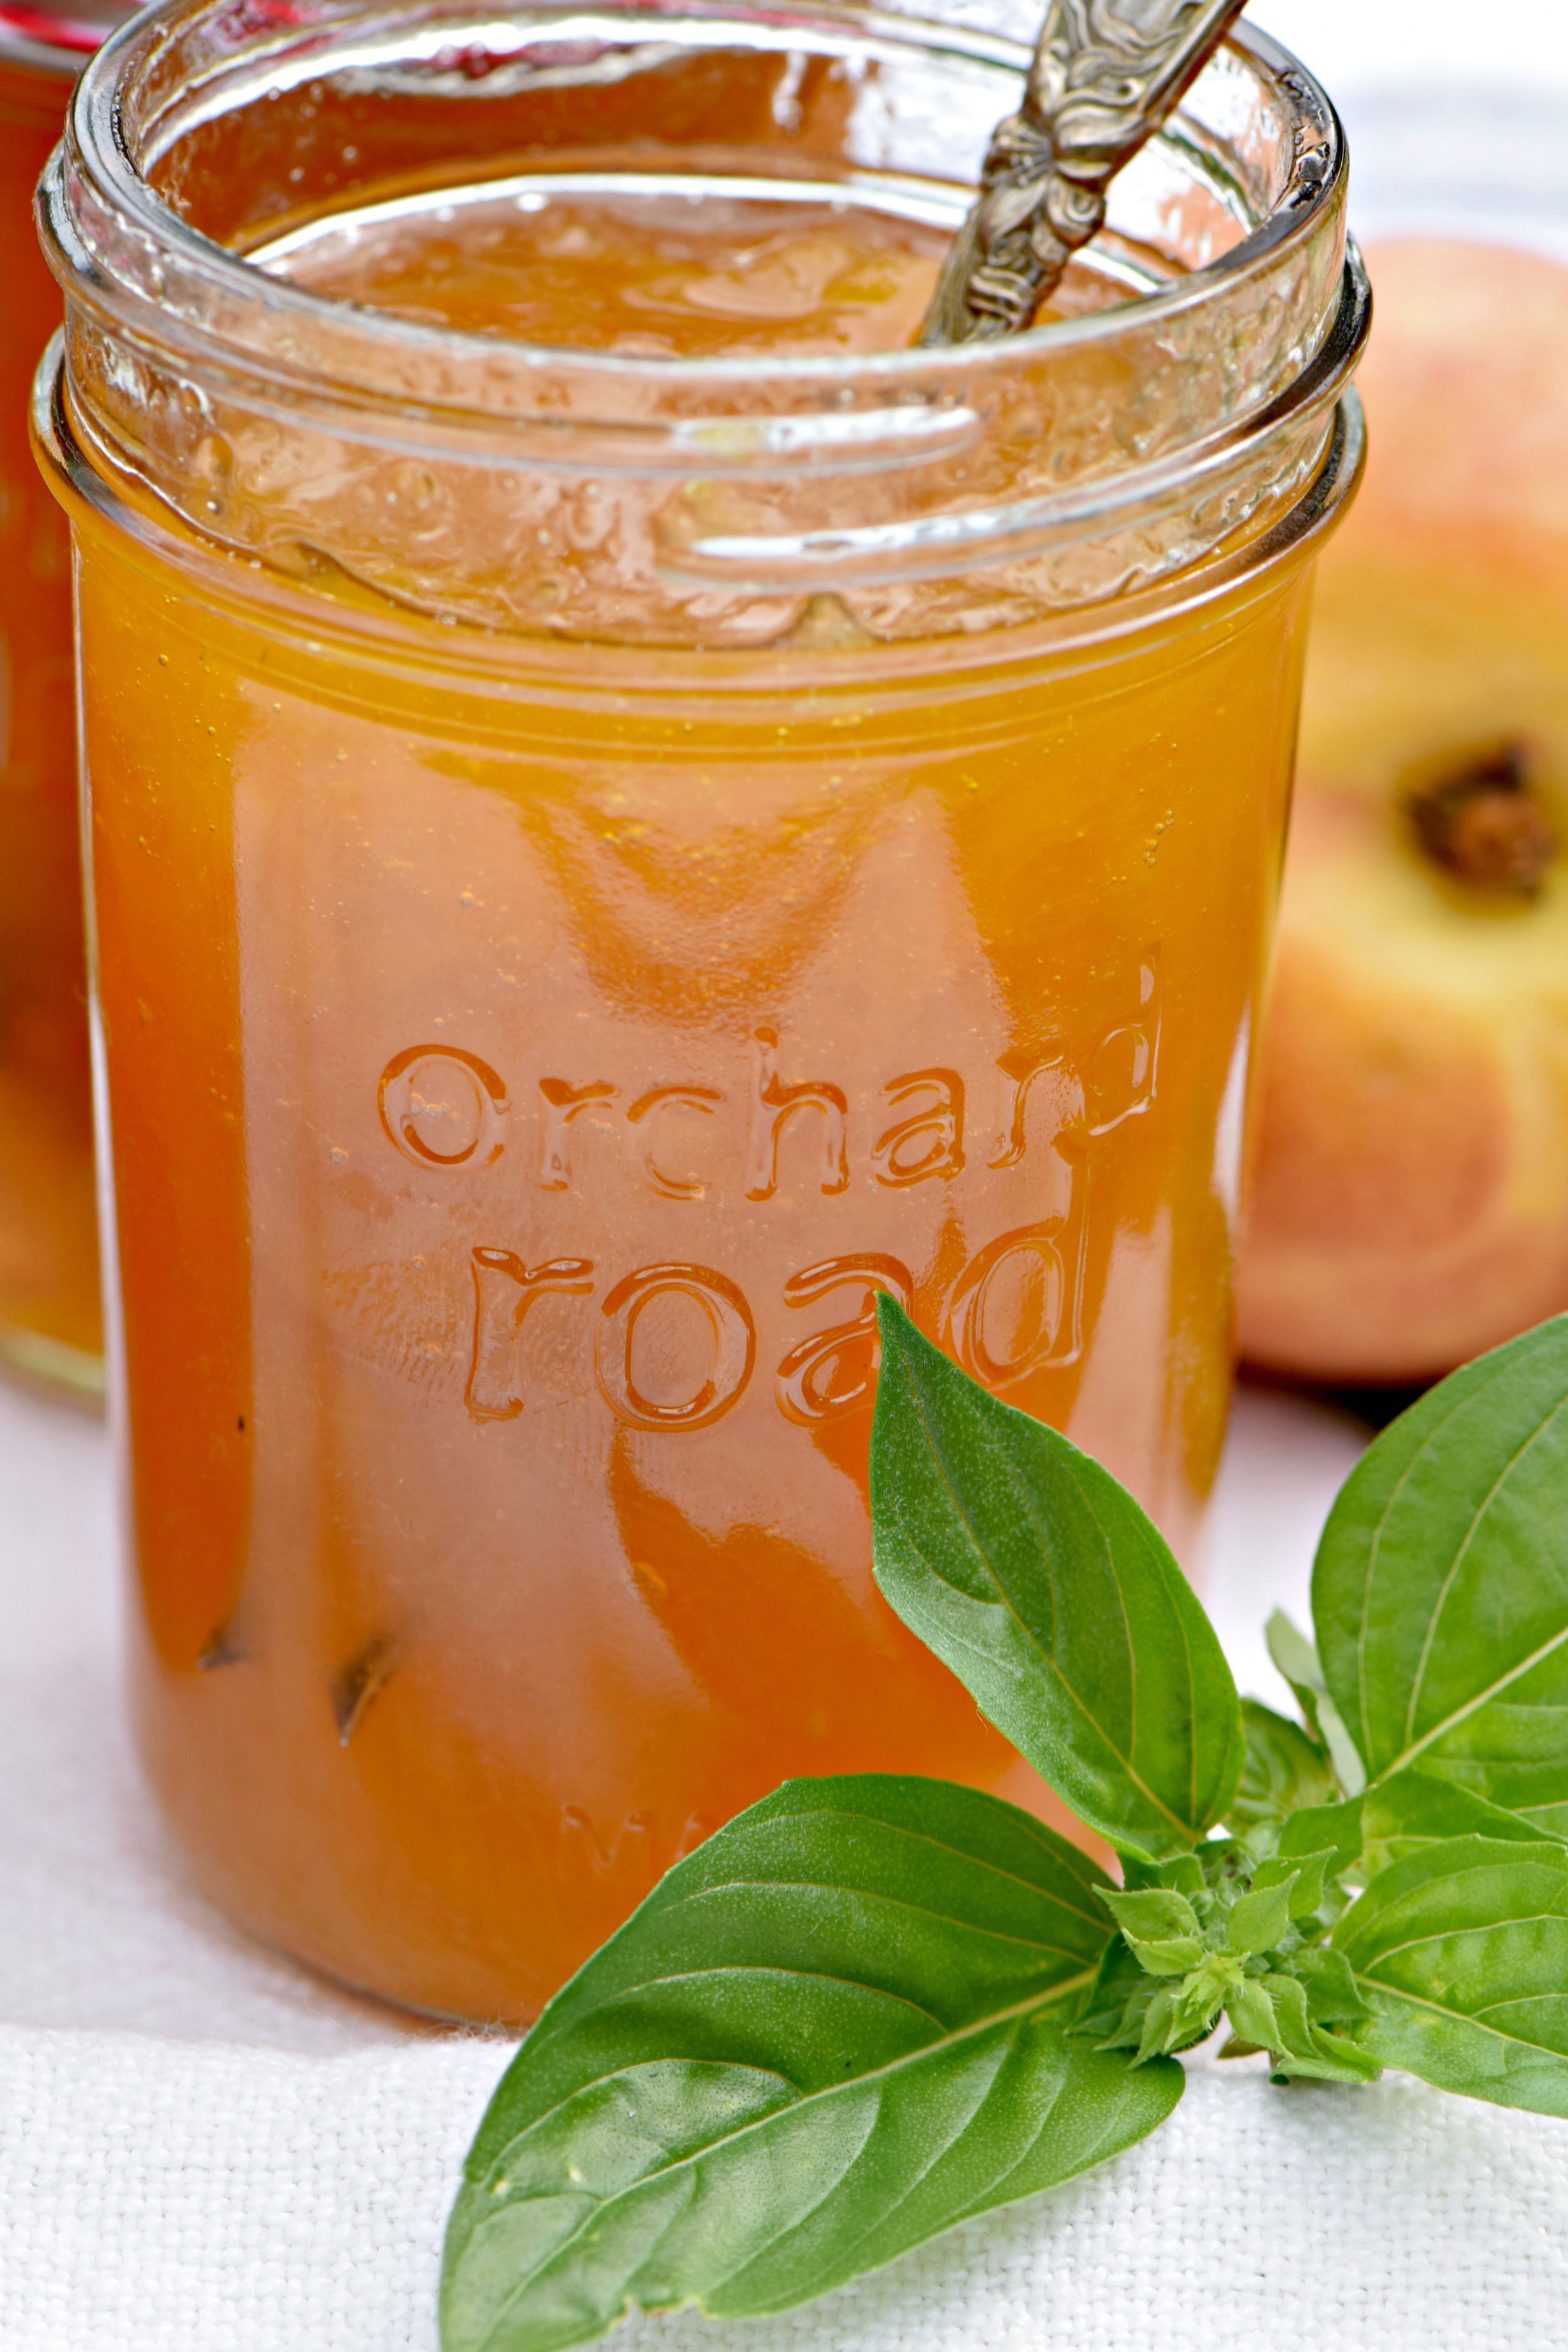
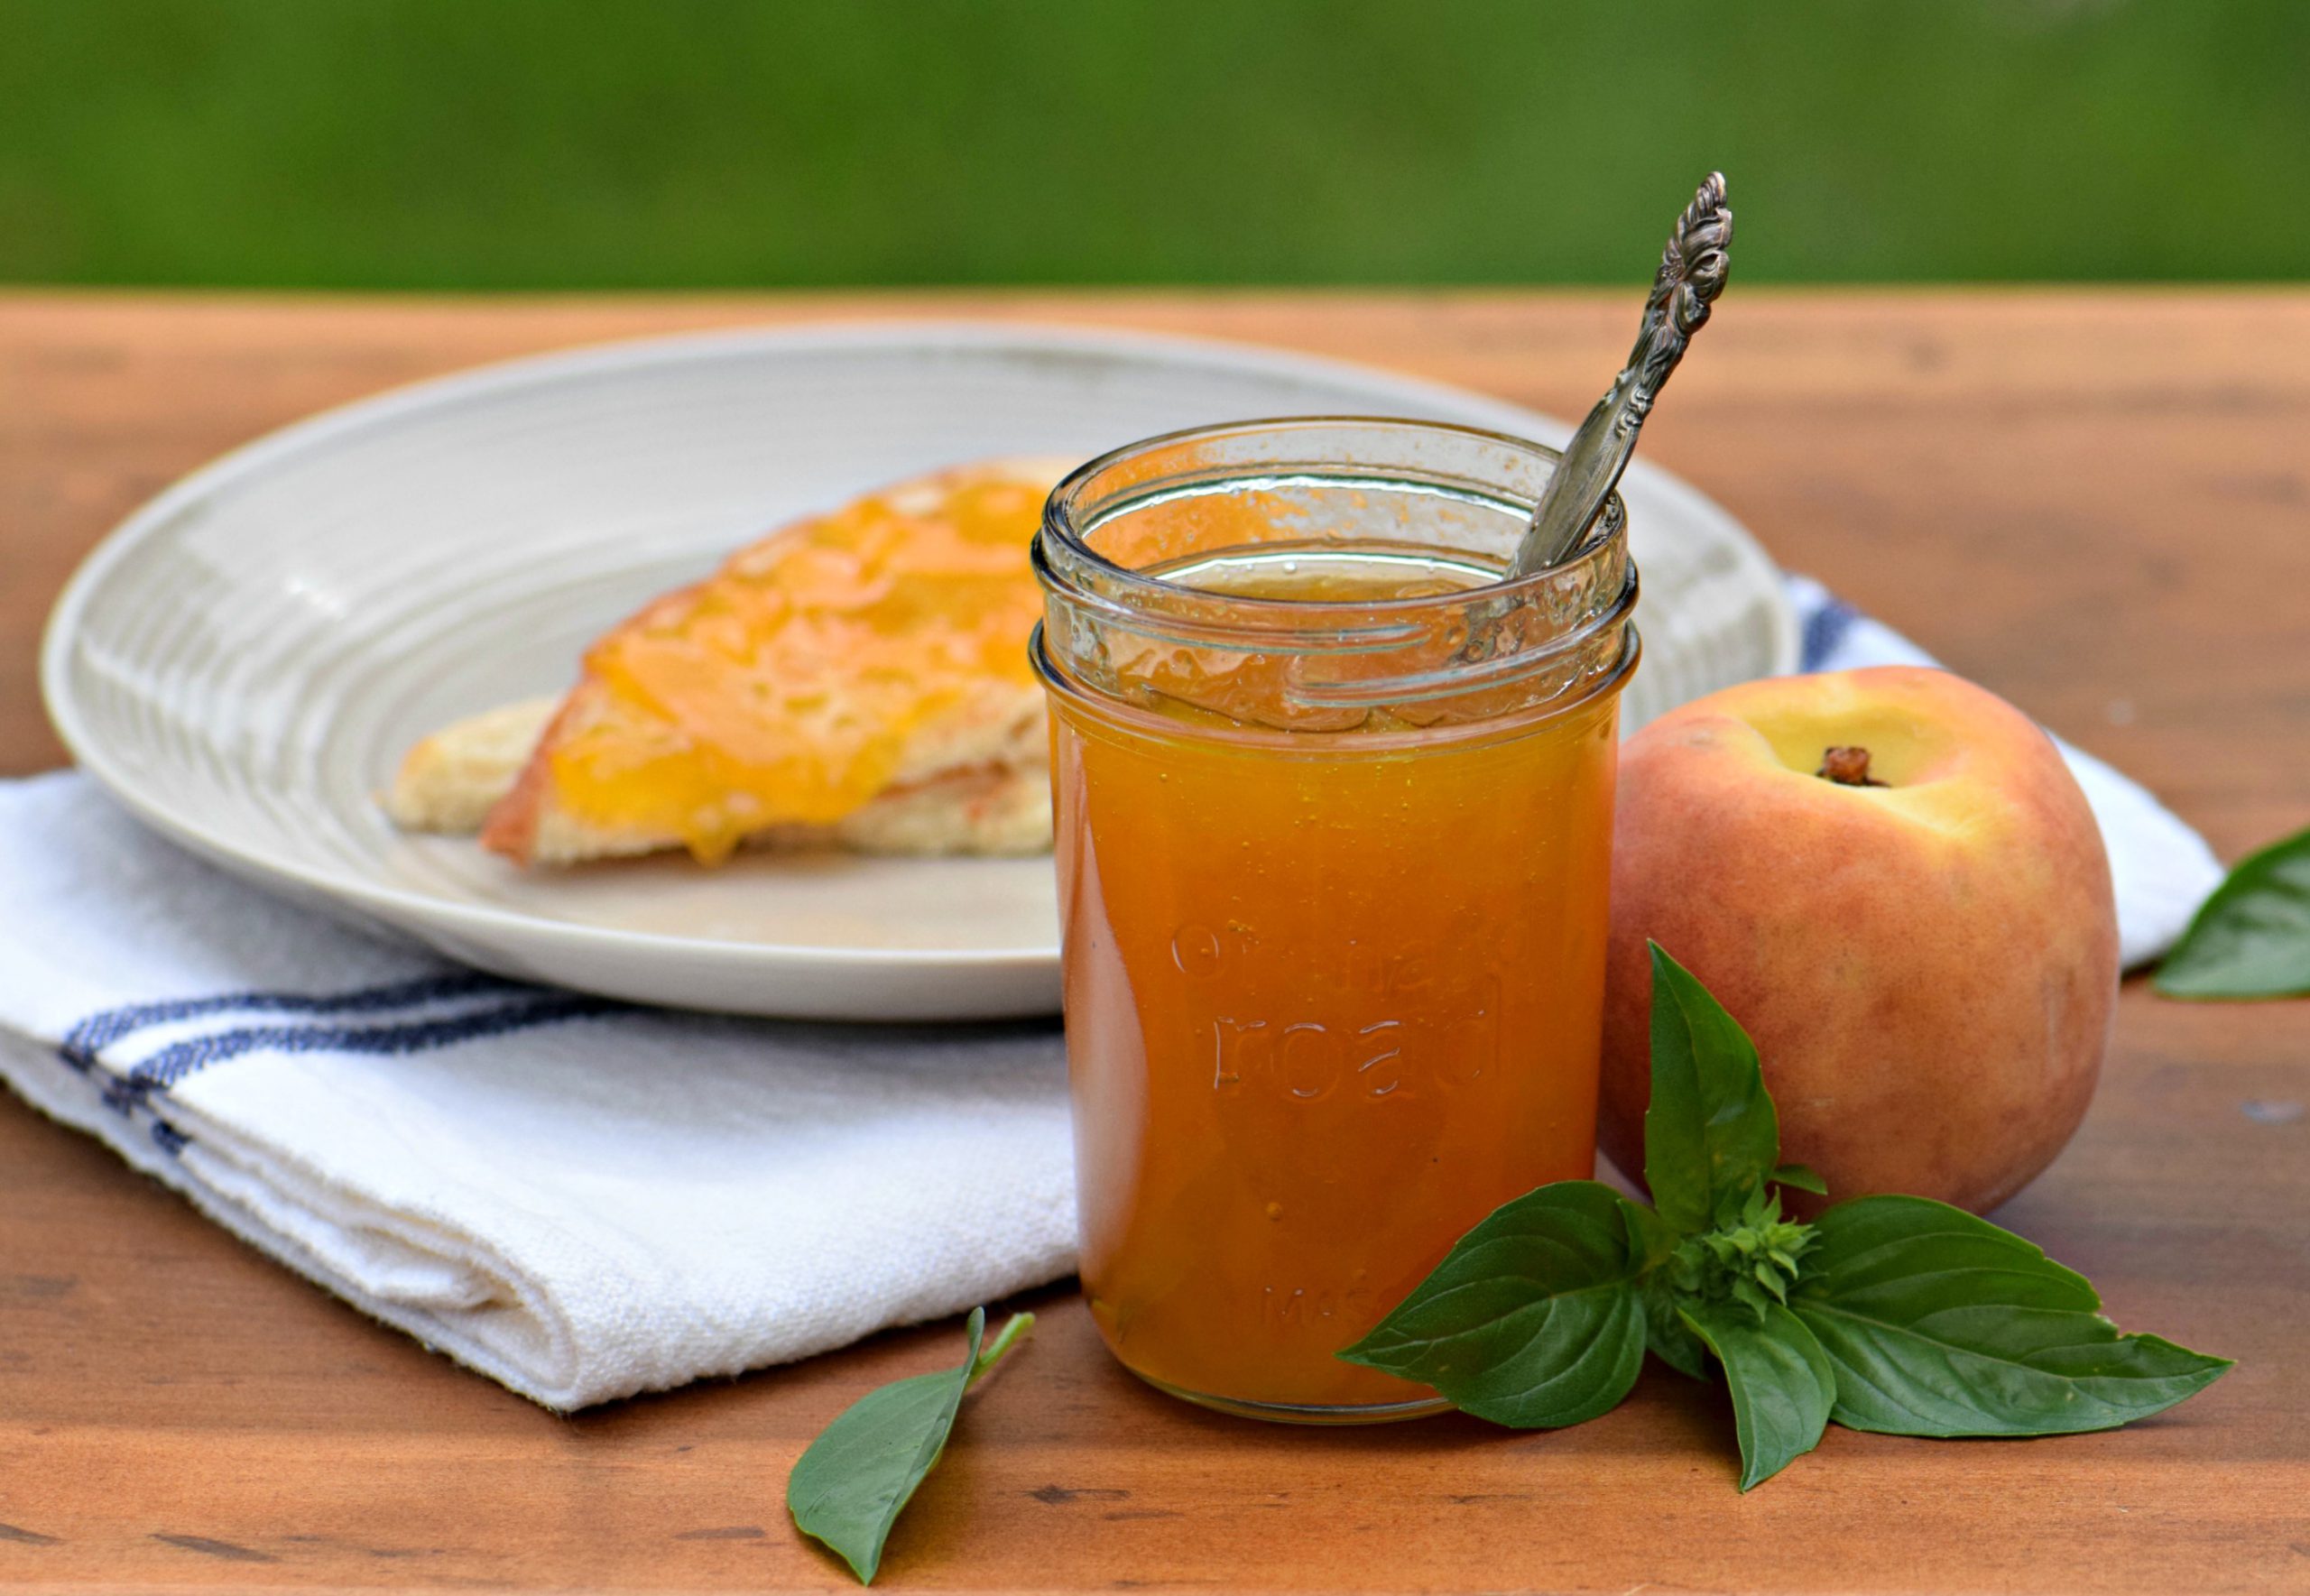
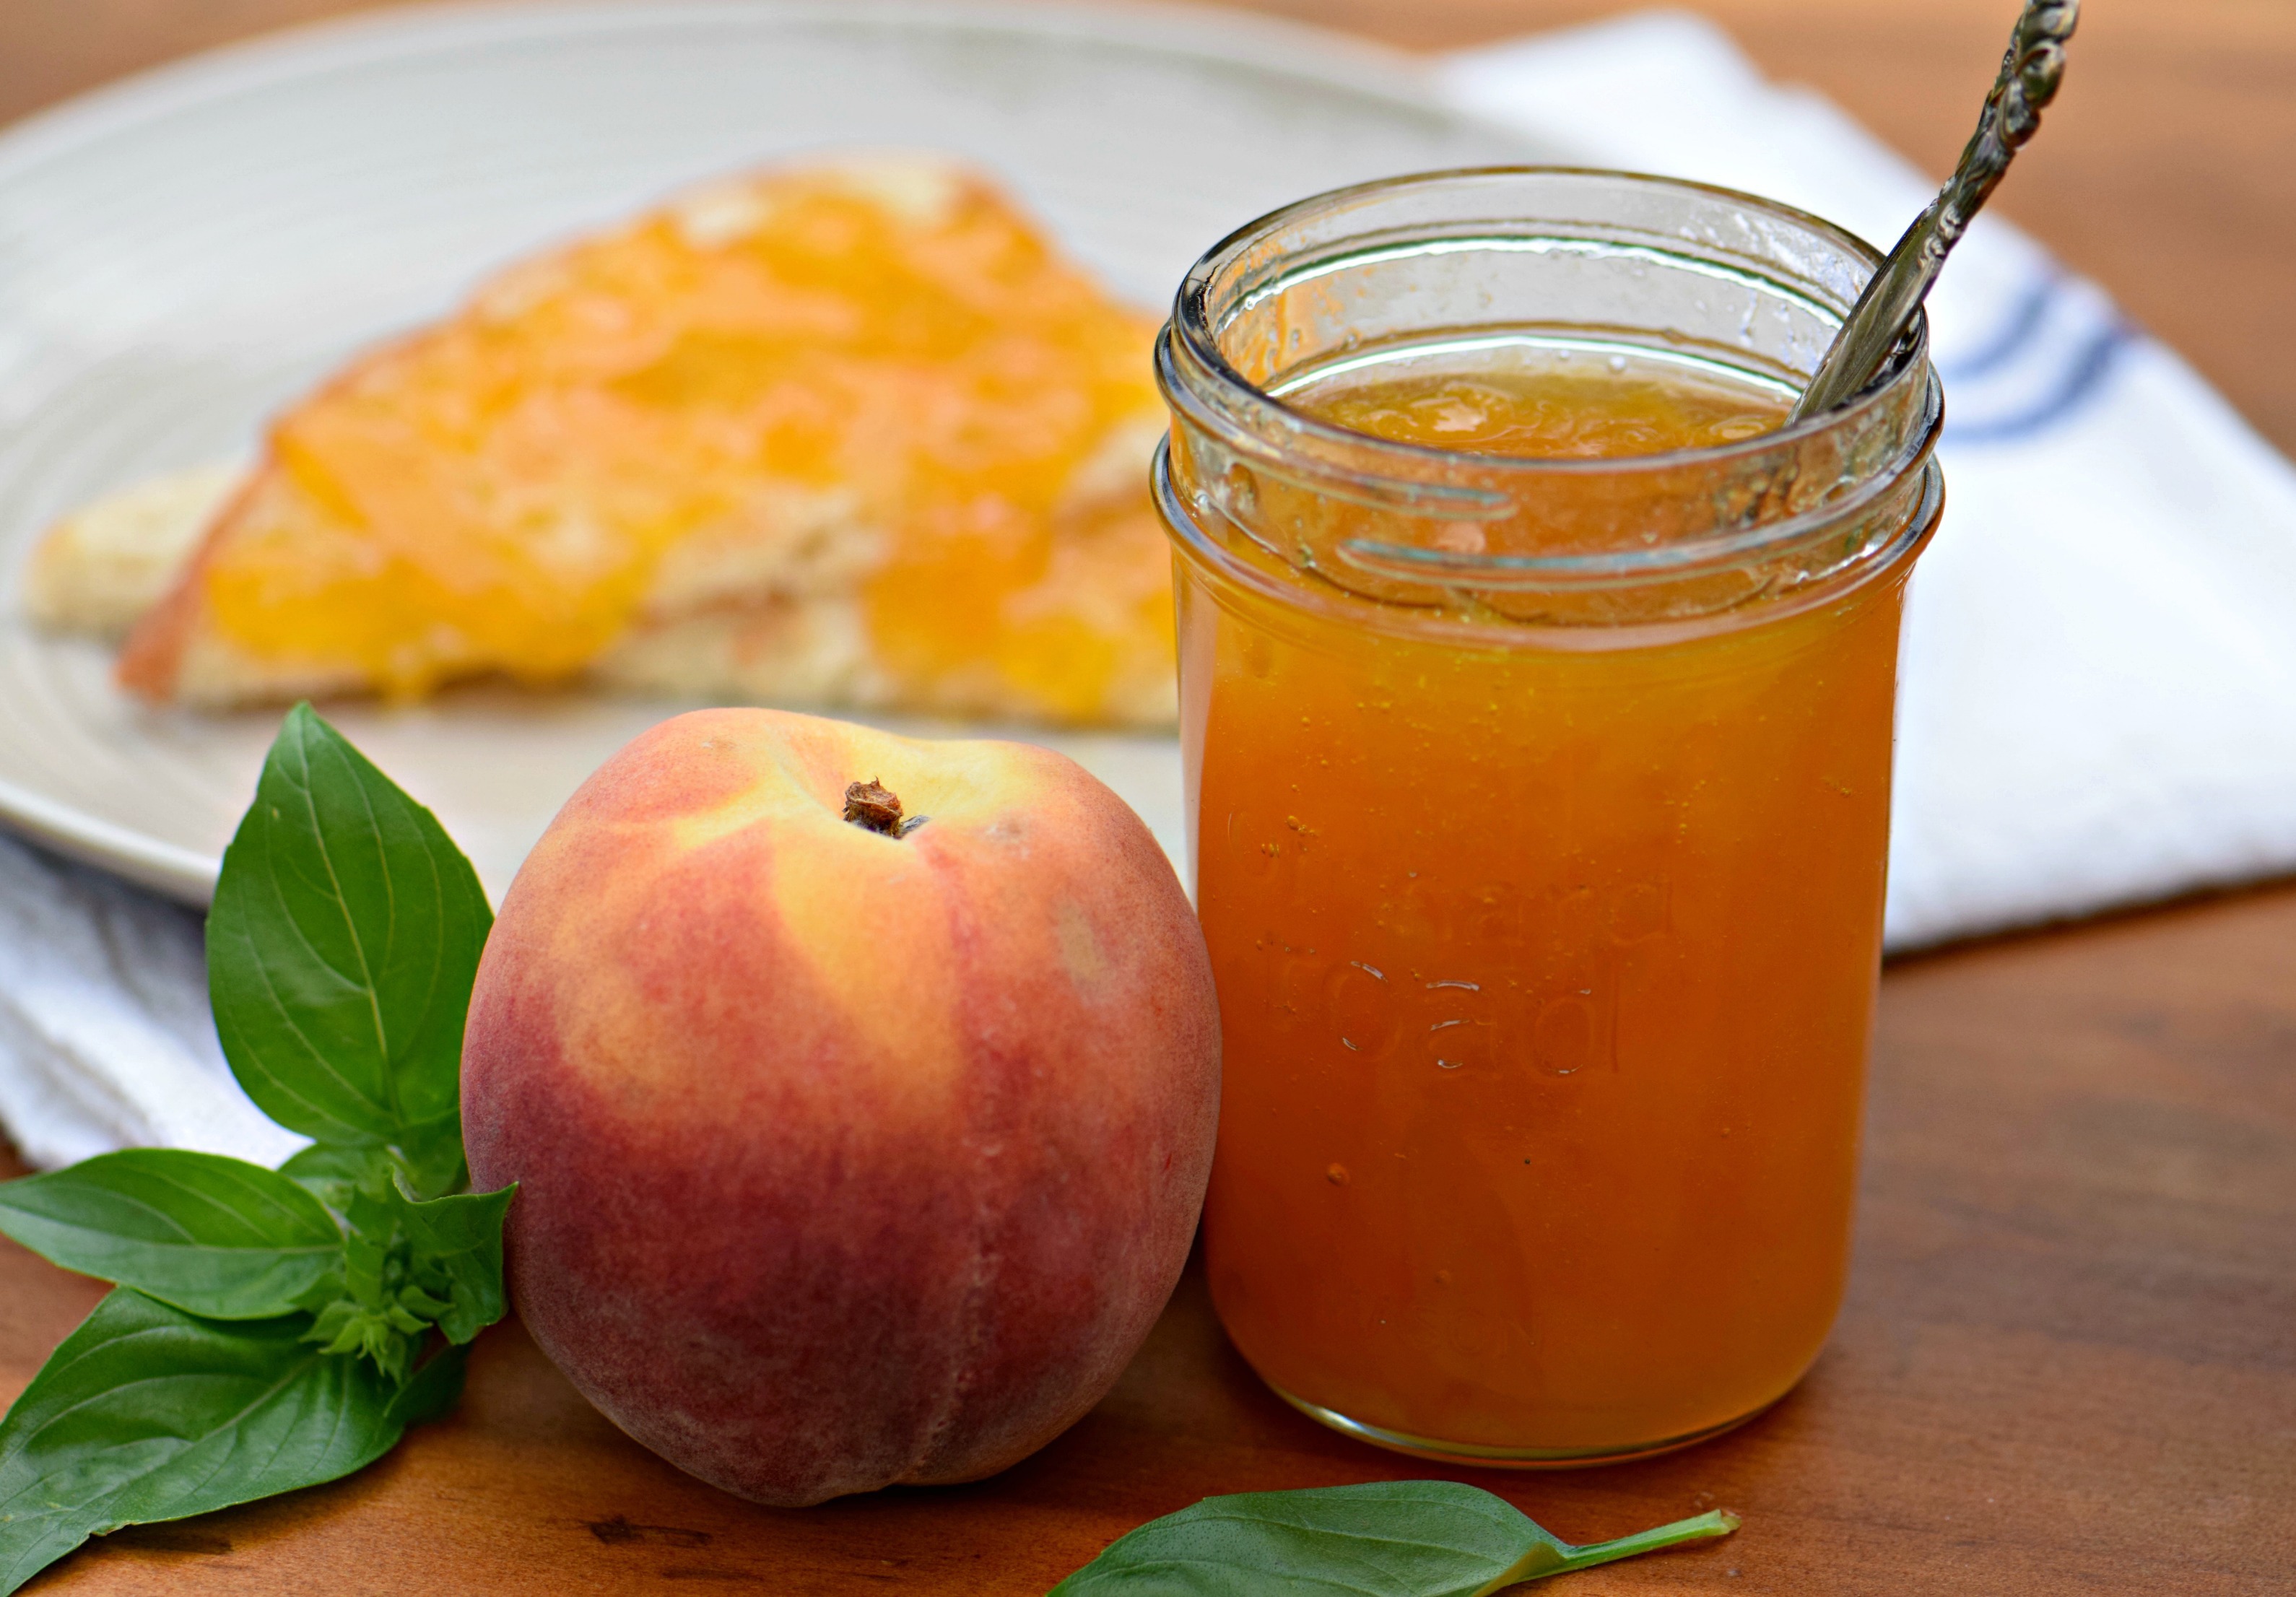
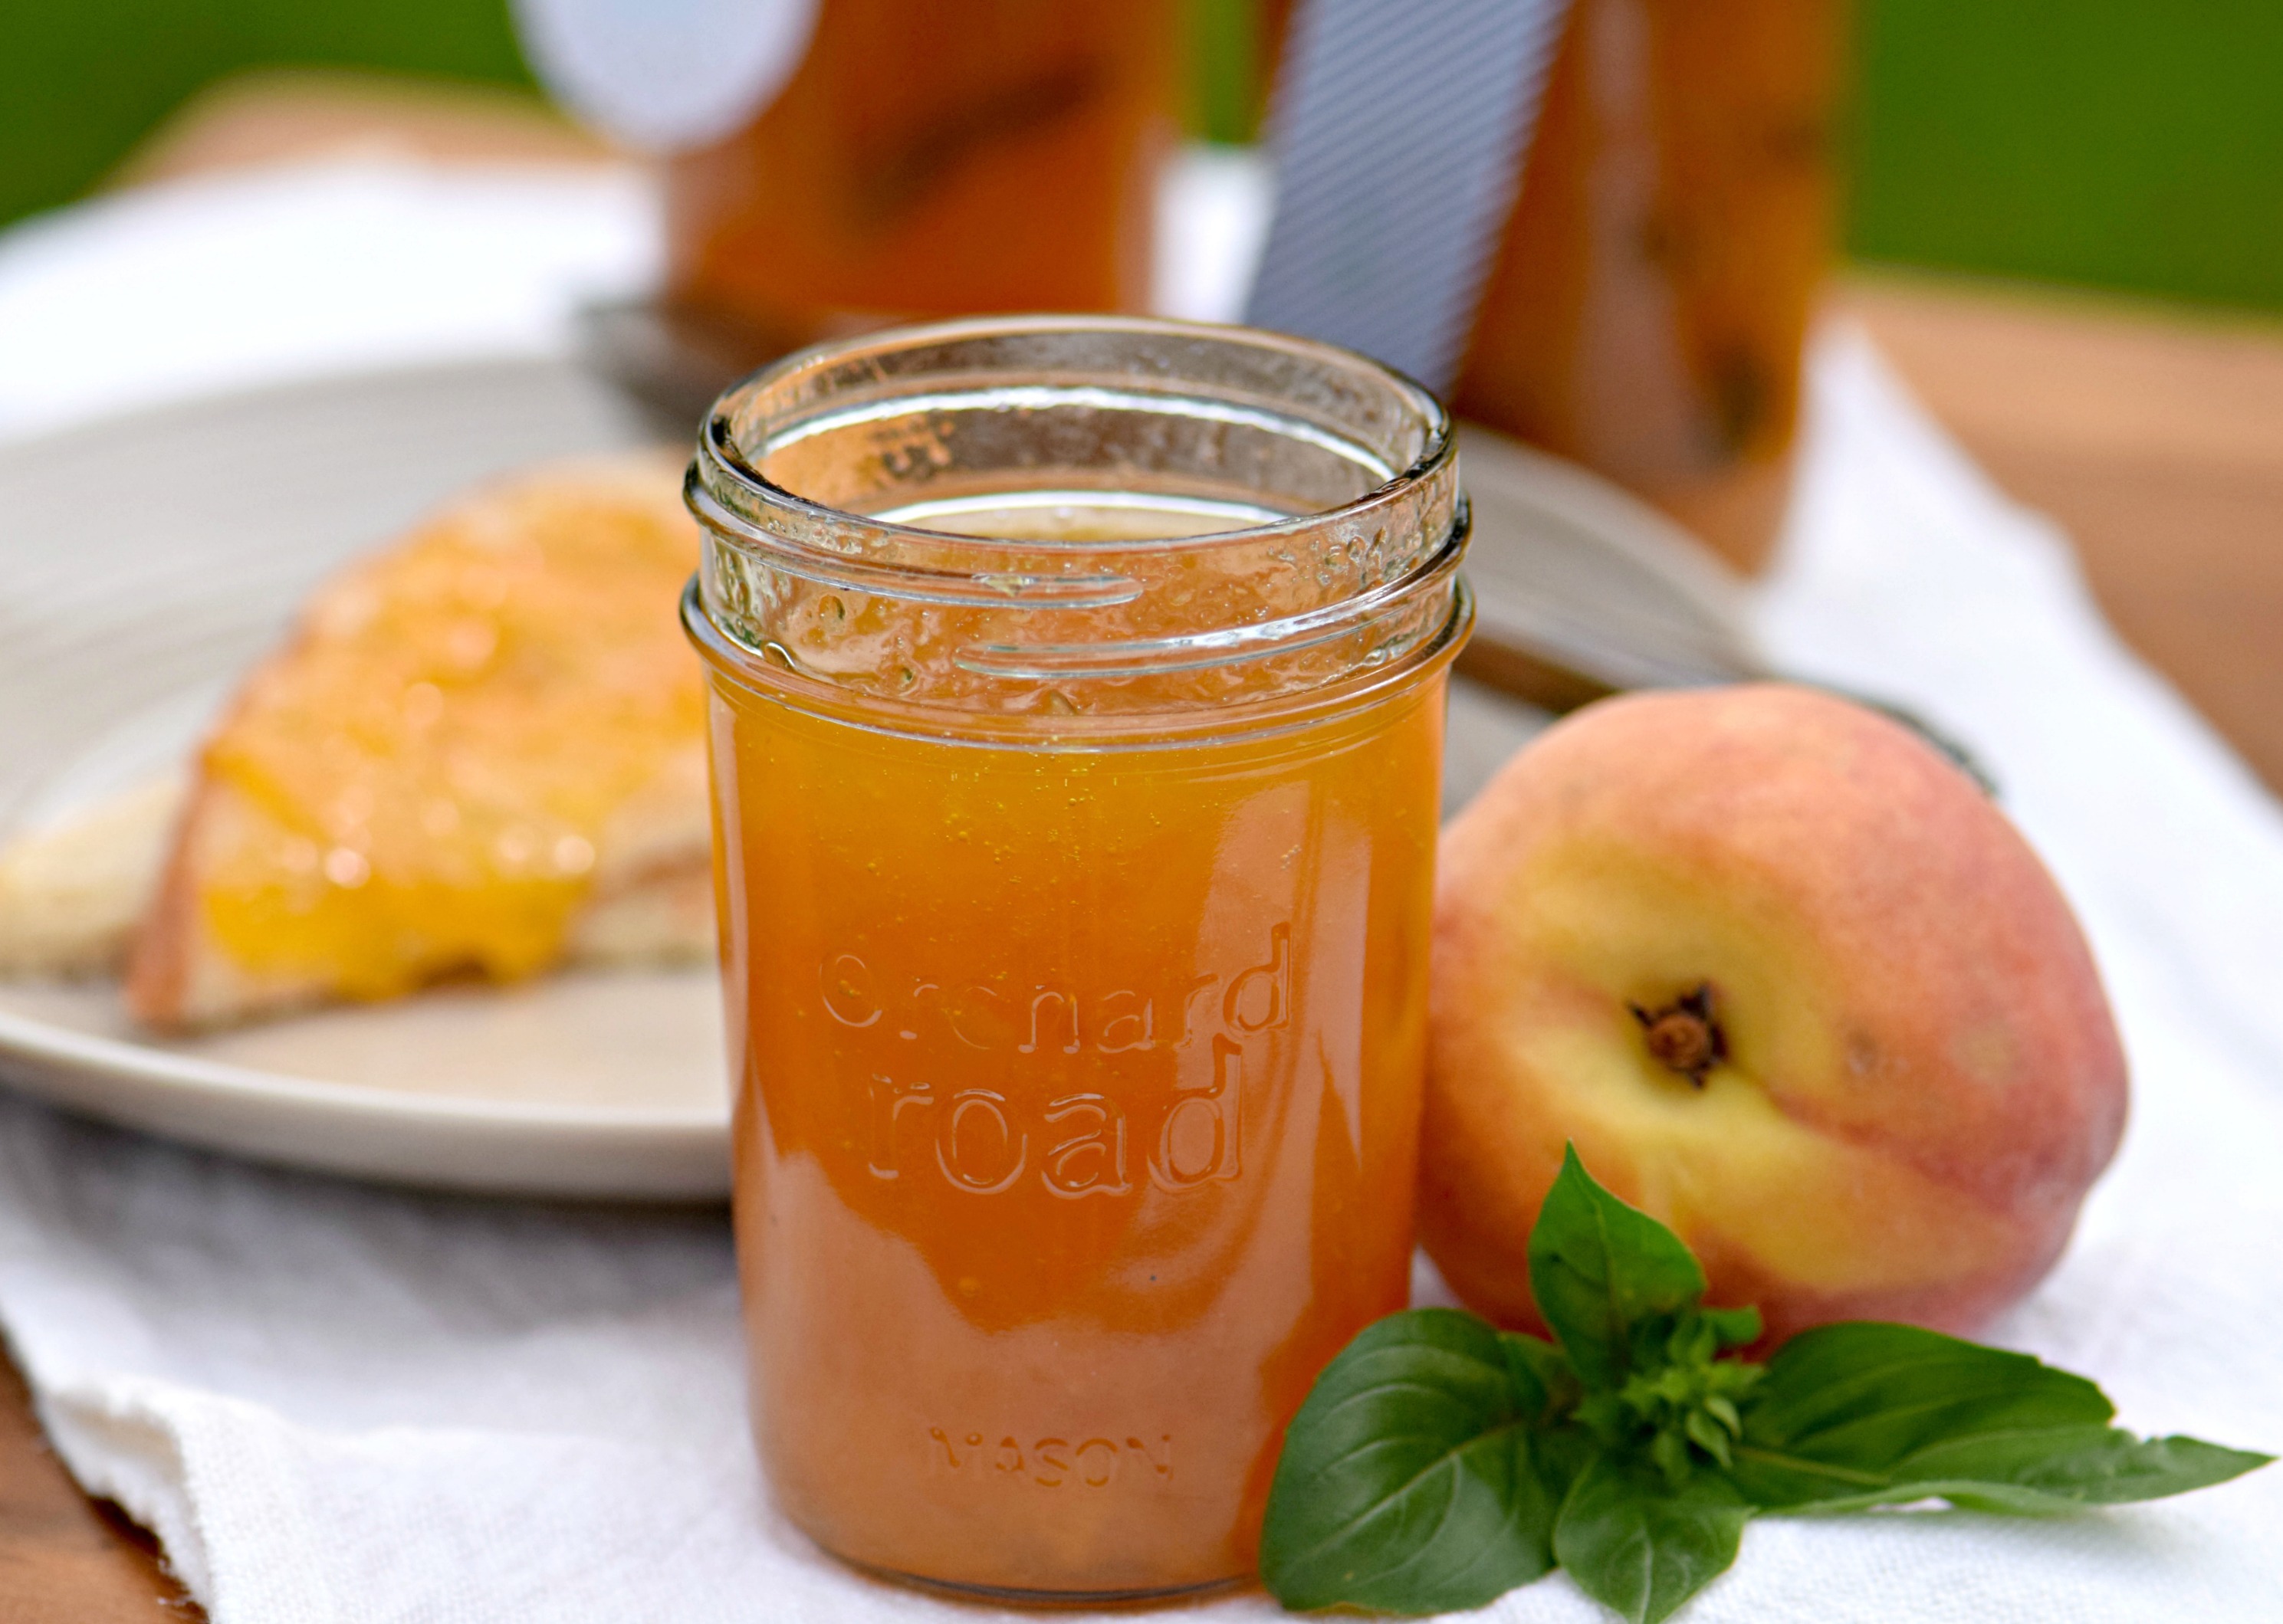
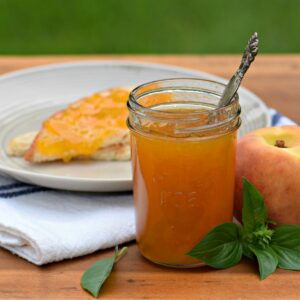
In the interest of keeping things simple, for this introduction to making jam, we are going to make an old-fashioned peach jam. Just fruit, lemon juice and sugar! Okay, we are also going to add a little fresh basil from the garden for an intriguing flavor combination. Doesn’t peach-basil jam sound heavenly? That’s one of the many benefits to making homemade jam: you can customize it to your family’s tastes.
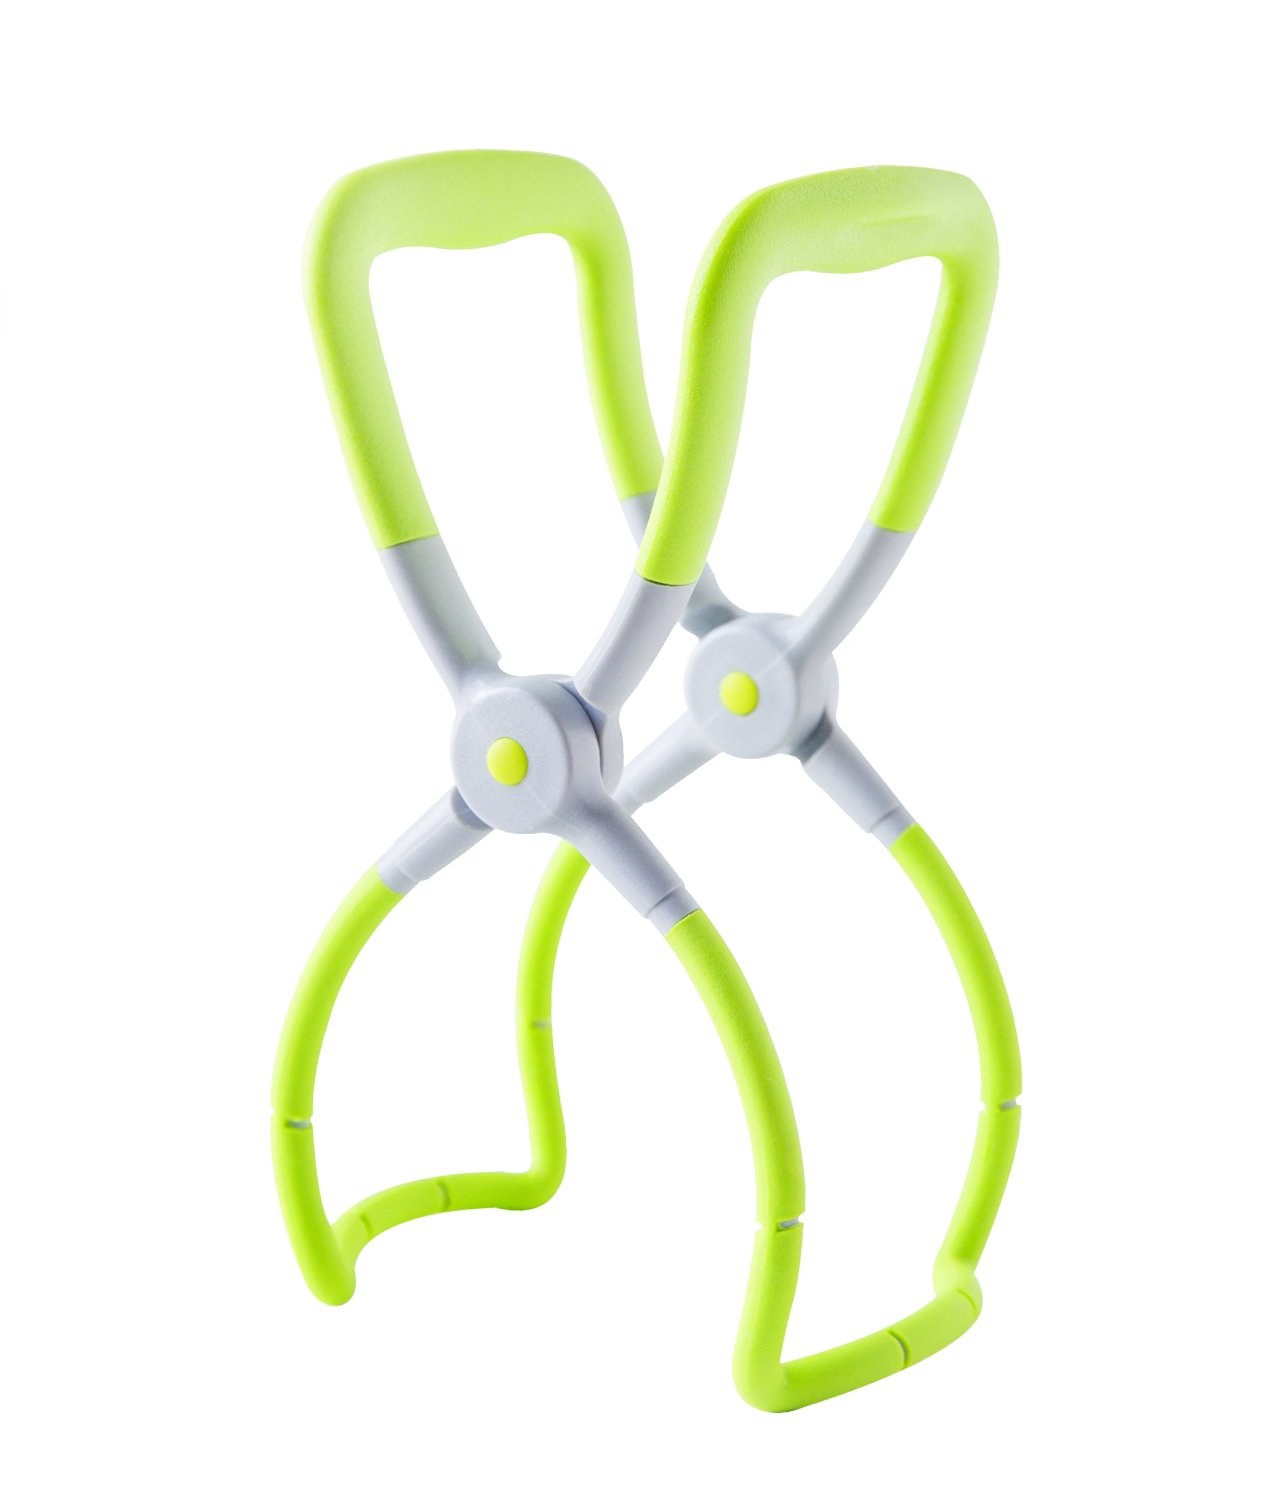
Begin by combining peeled, sliced peaches with sugar and lemon juice and allow the mixture to sit for several hours or even overnight. This has the advantage of dividing the work of making jam over two days, which can be helpful. The sugar also breaks the fruit down and draws out its natural juices, resulting in a luscious, spreadable jam. To peel peaches, you can blanch them in boiling water for a minute and slip the skins off or invest in a soft-skin peeler such as the one by Zyliss.
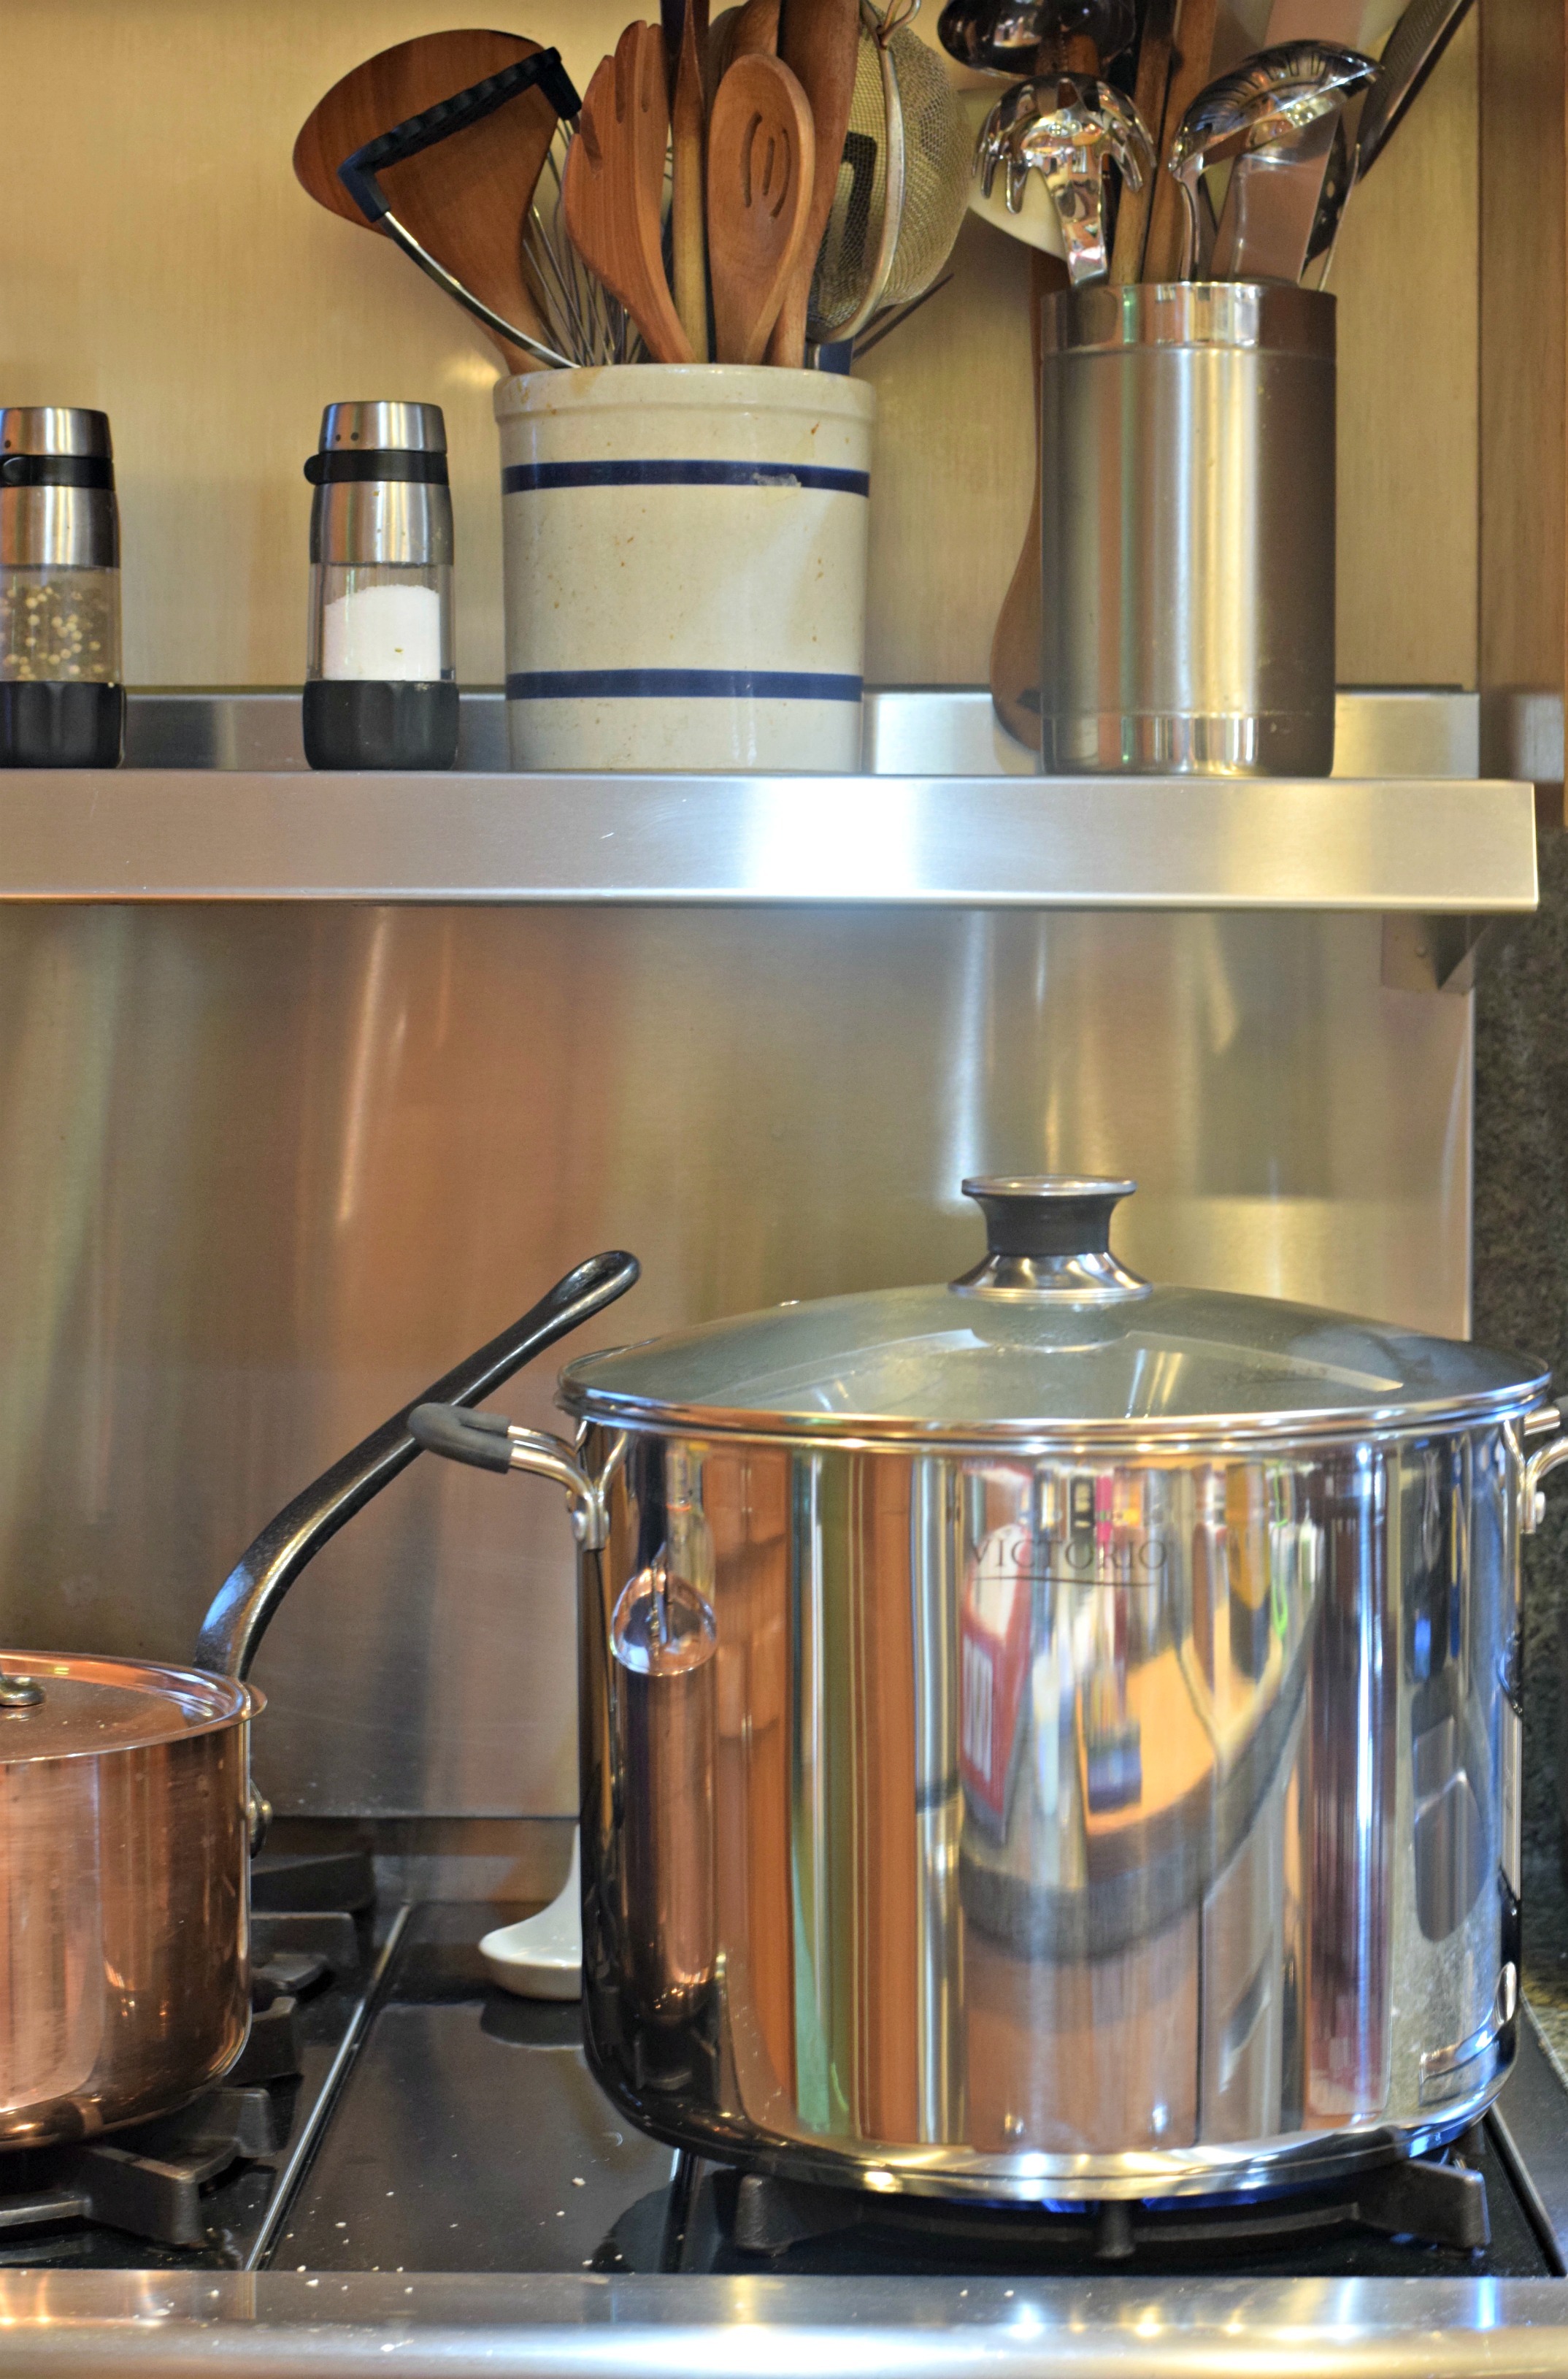
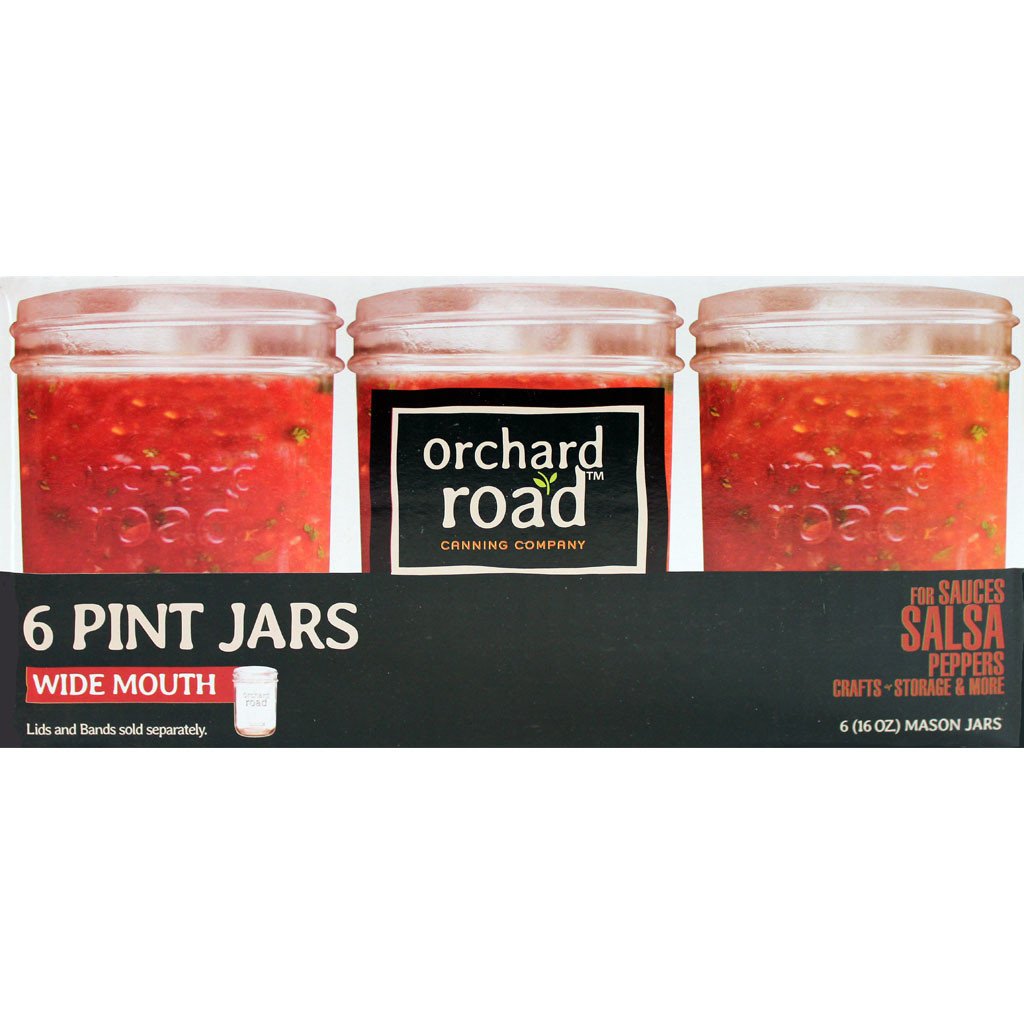
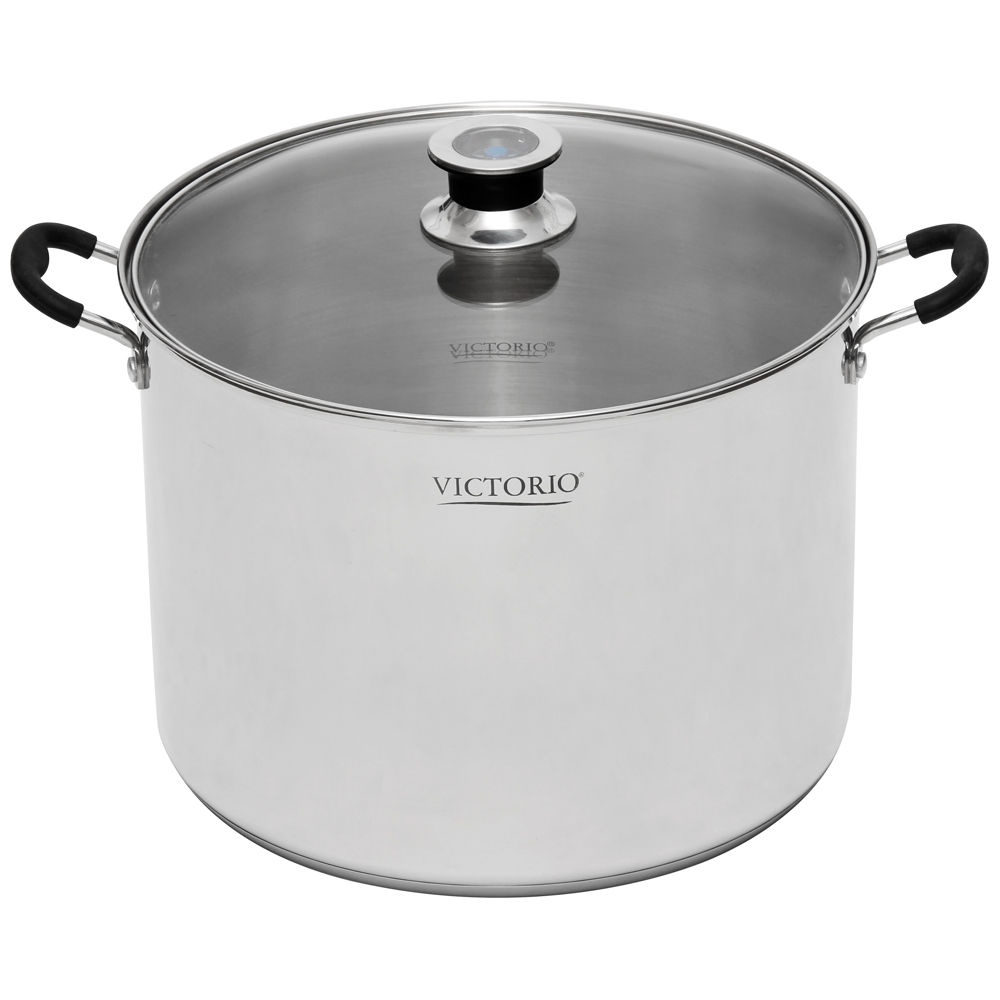
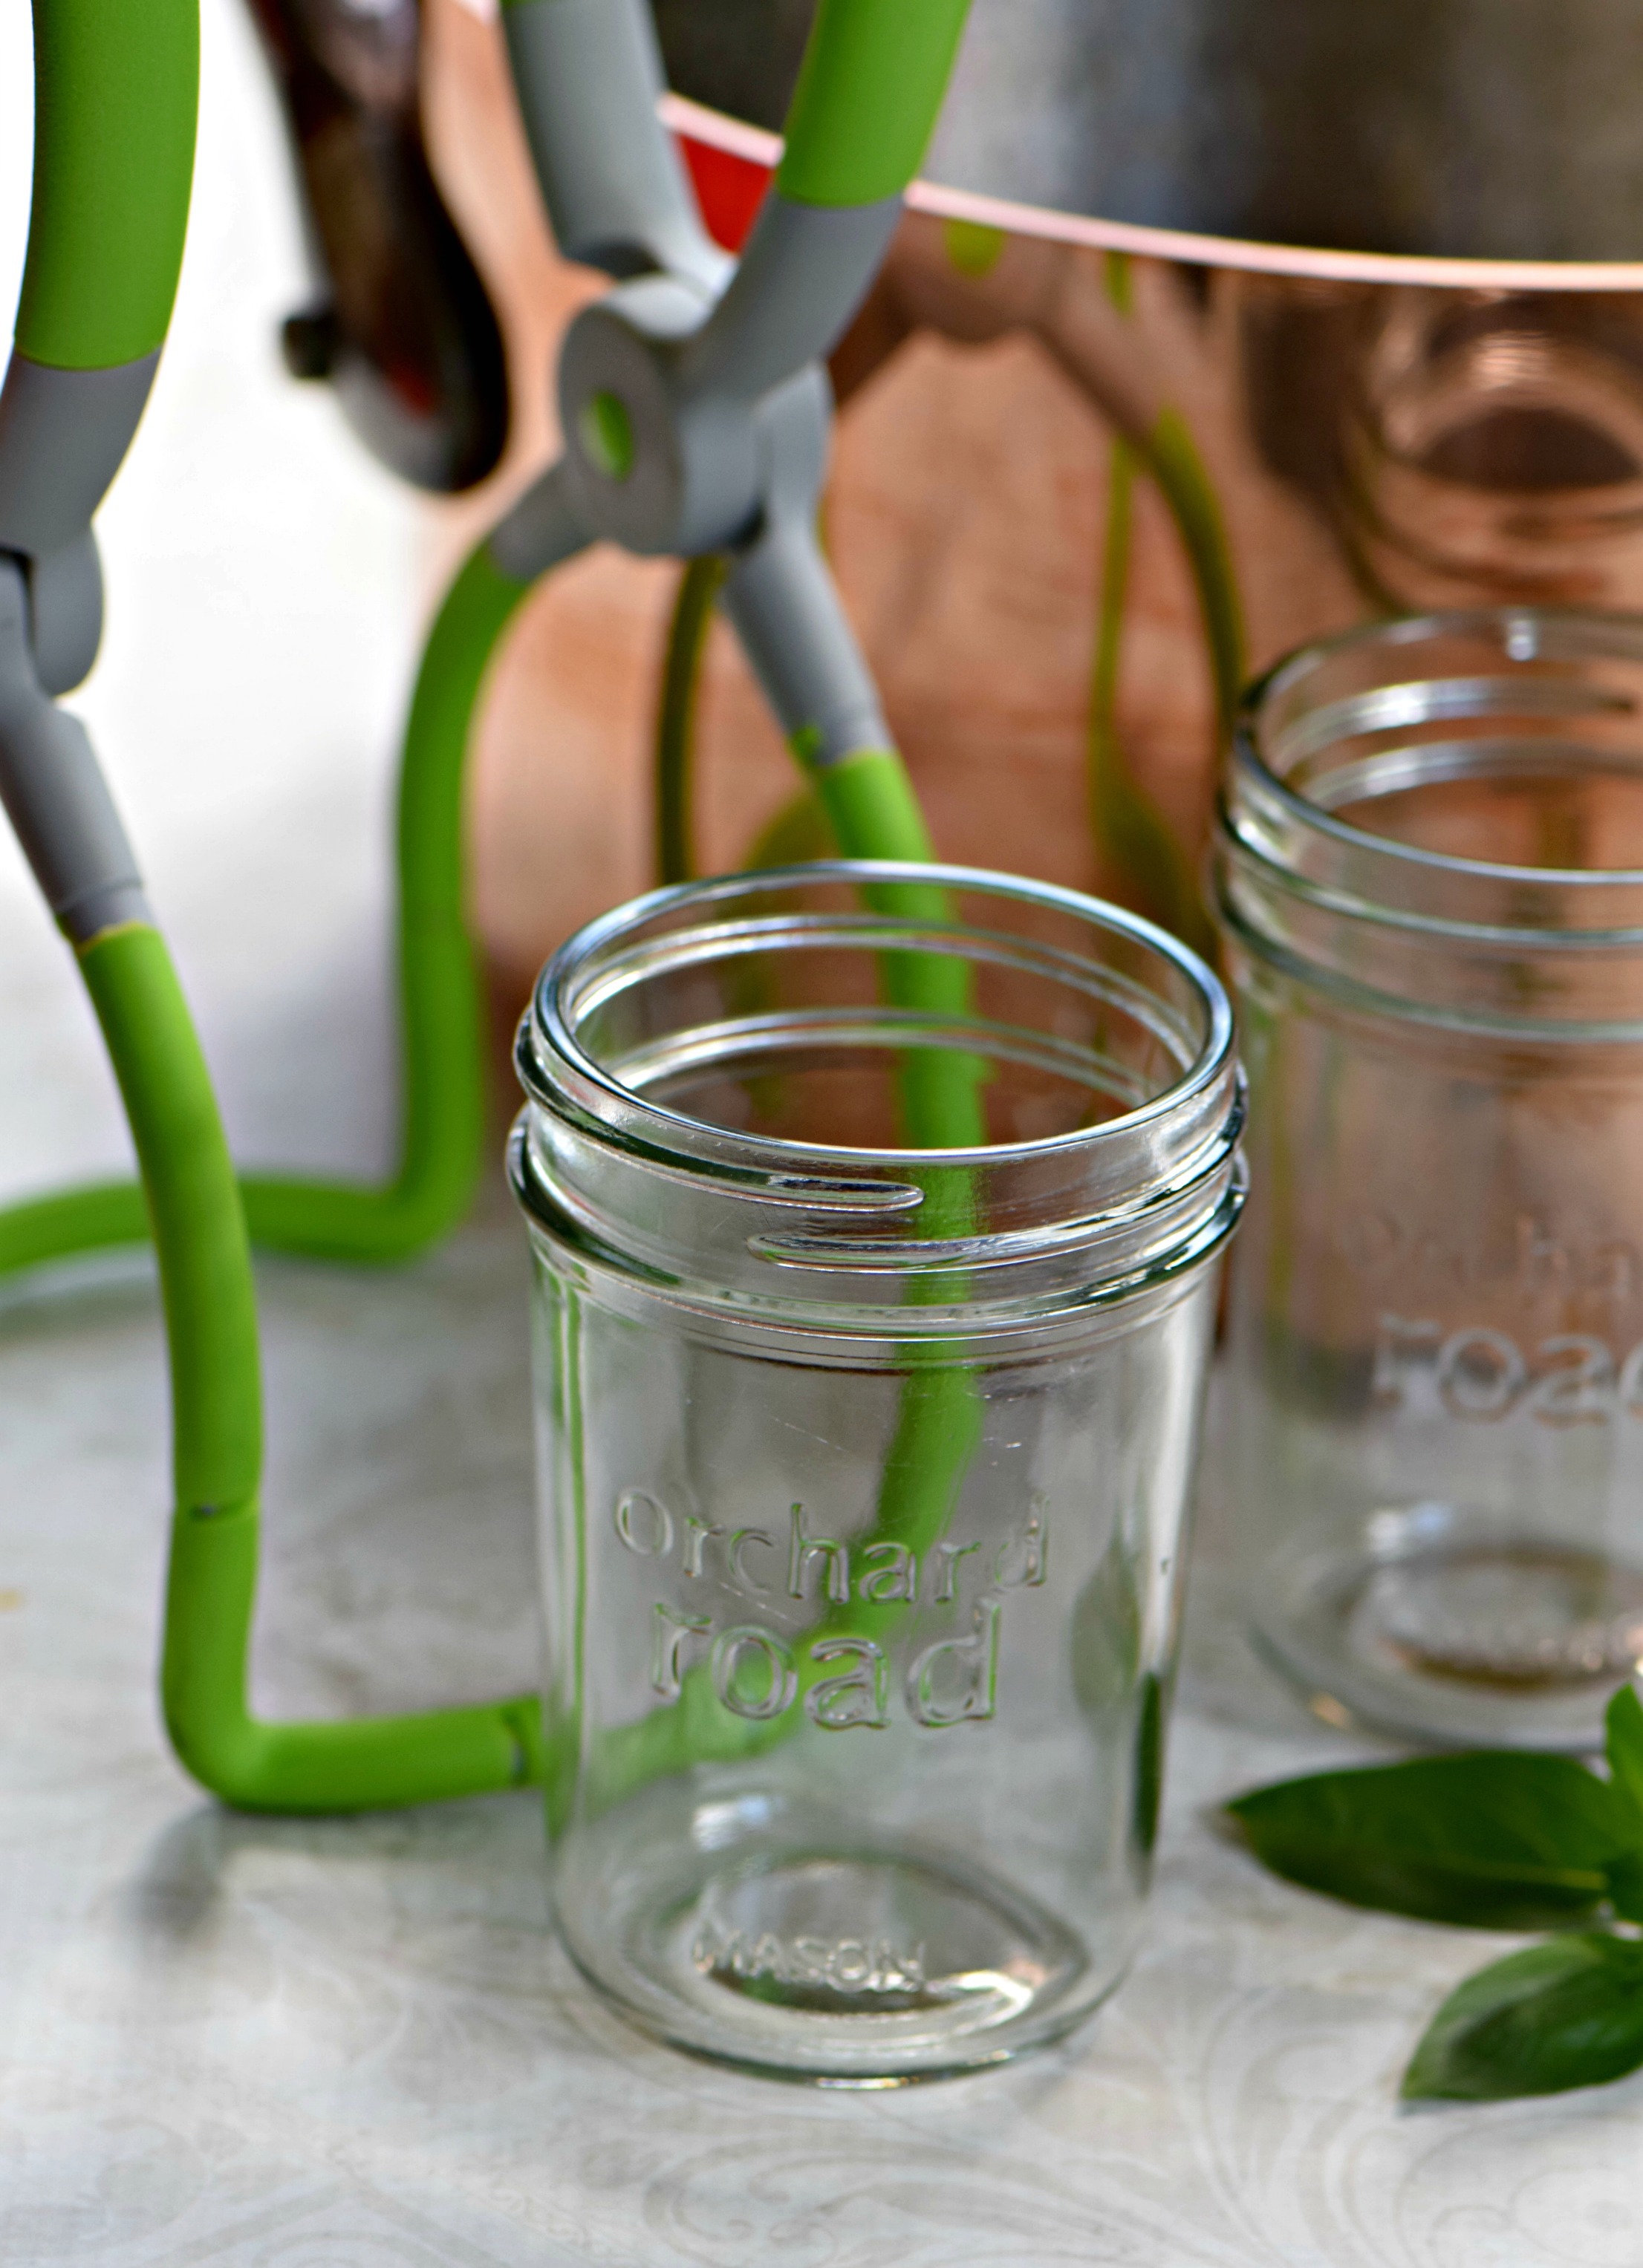
After the fruit has had a chance to macerate in the sugar, you are ready to make the jam. Begin by placing eight-ounce glass canning jars in a canning pot outfitted with a rack, such as the Victorio Aluminum Multi-Use Canner, so that the jars are not sitting directly on the bottom of the pot. Fill the pot with water and heat to a boil. If the water boils before you are ready to fill your jars, simply turn the heat down to a simmer to keep the jars warm until you need them.
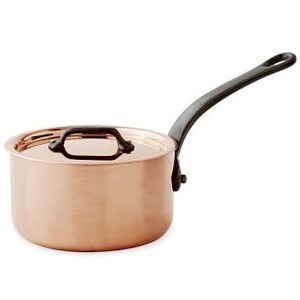
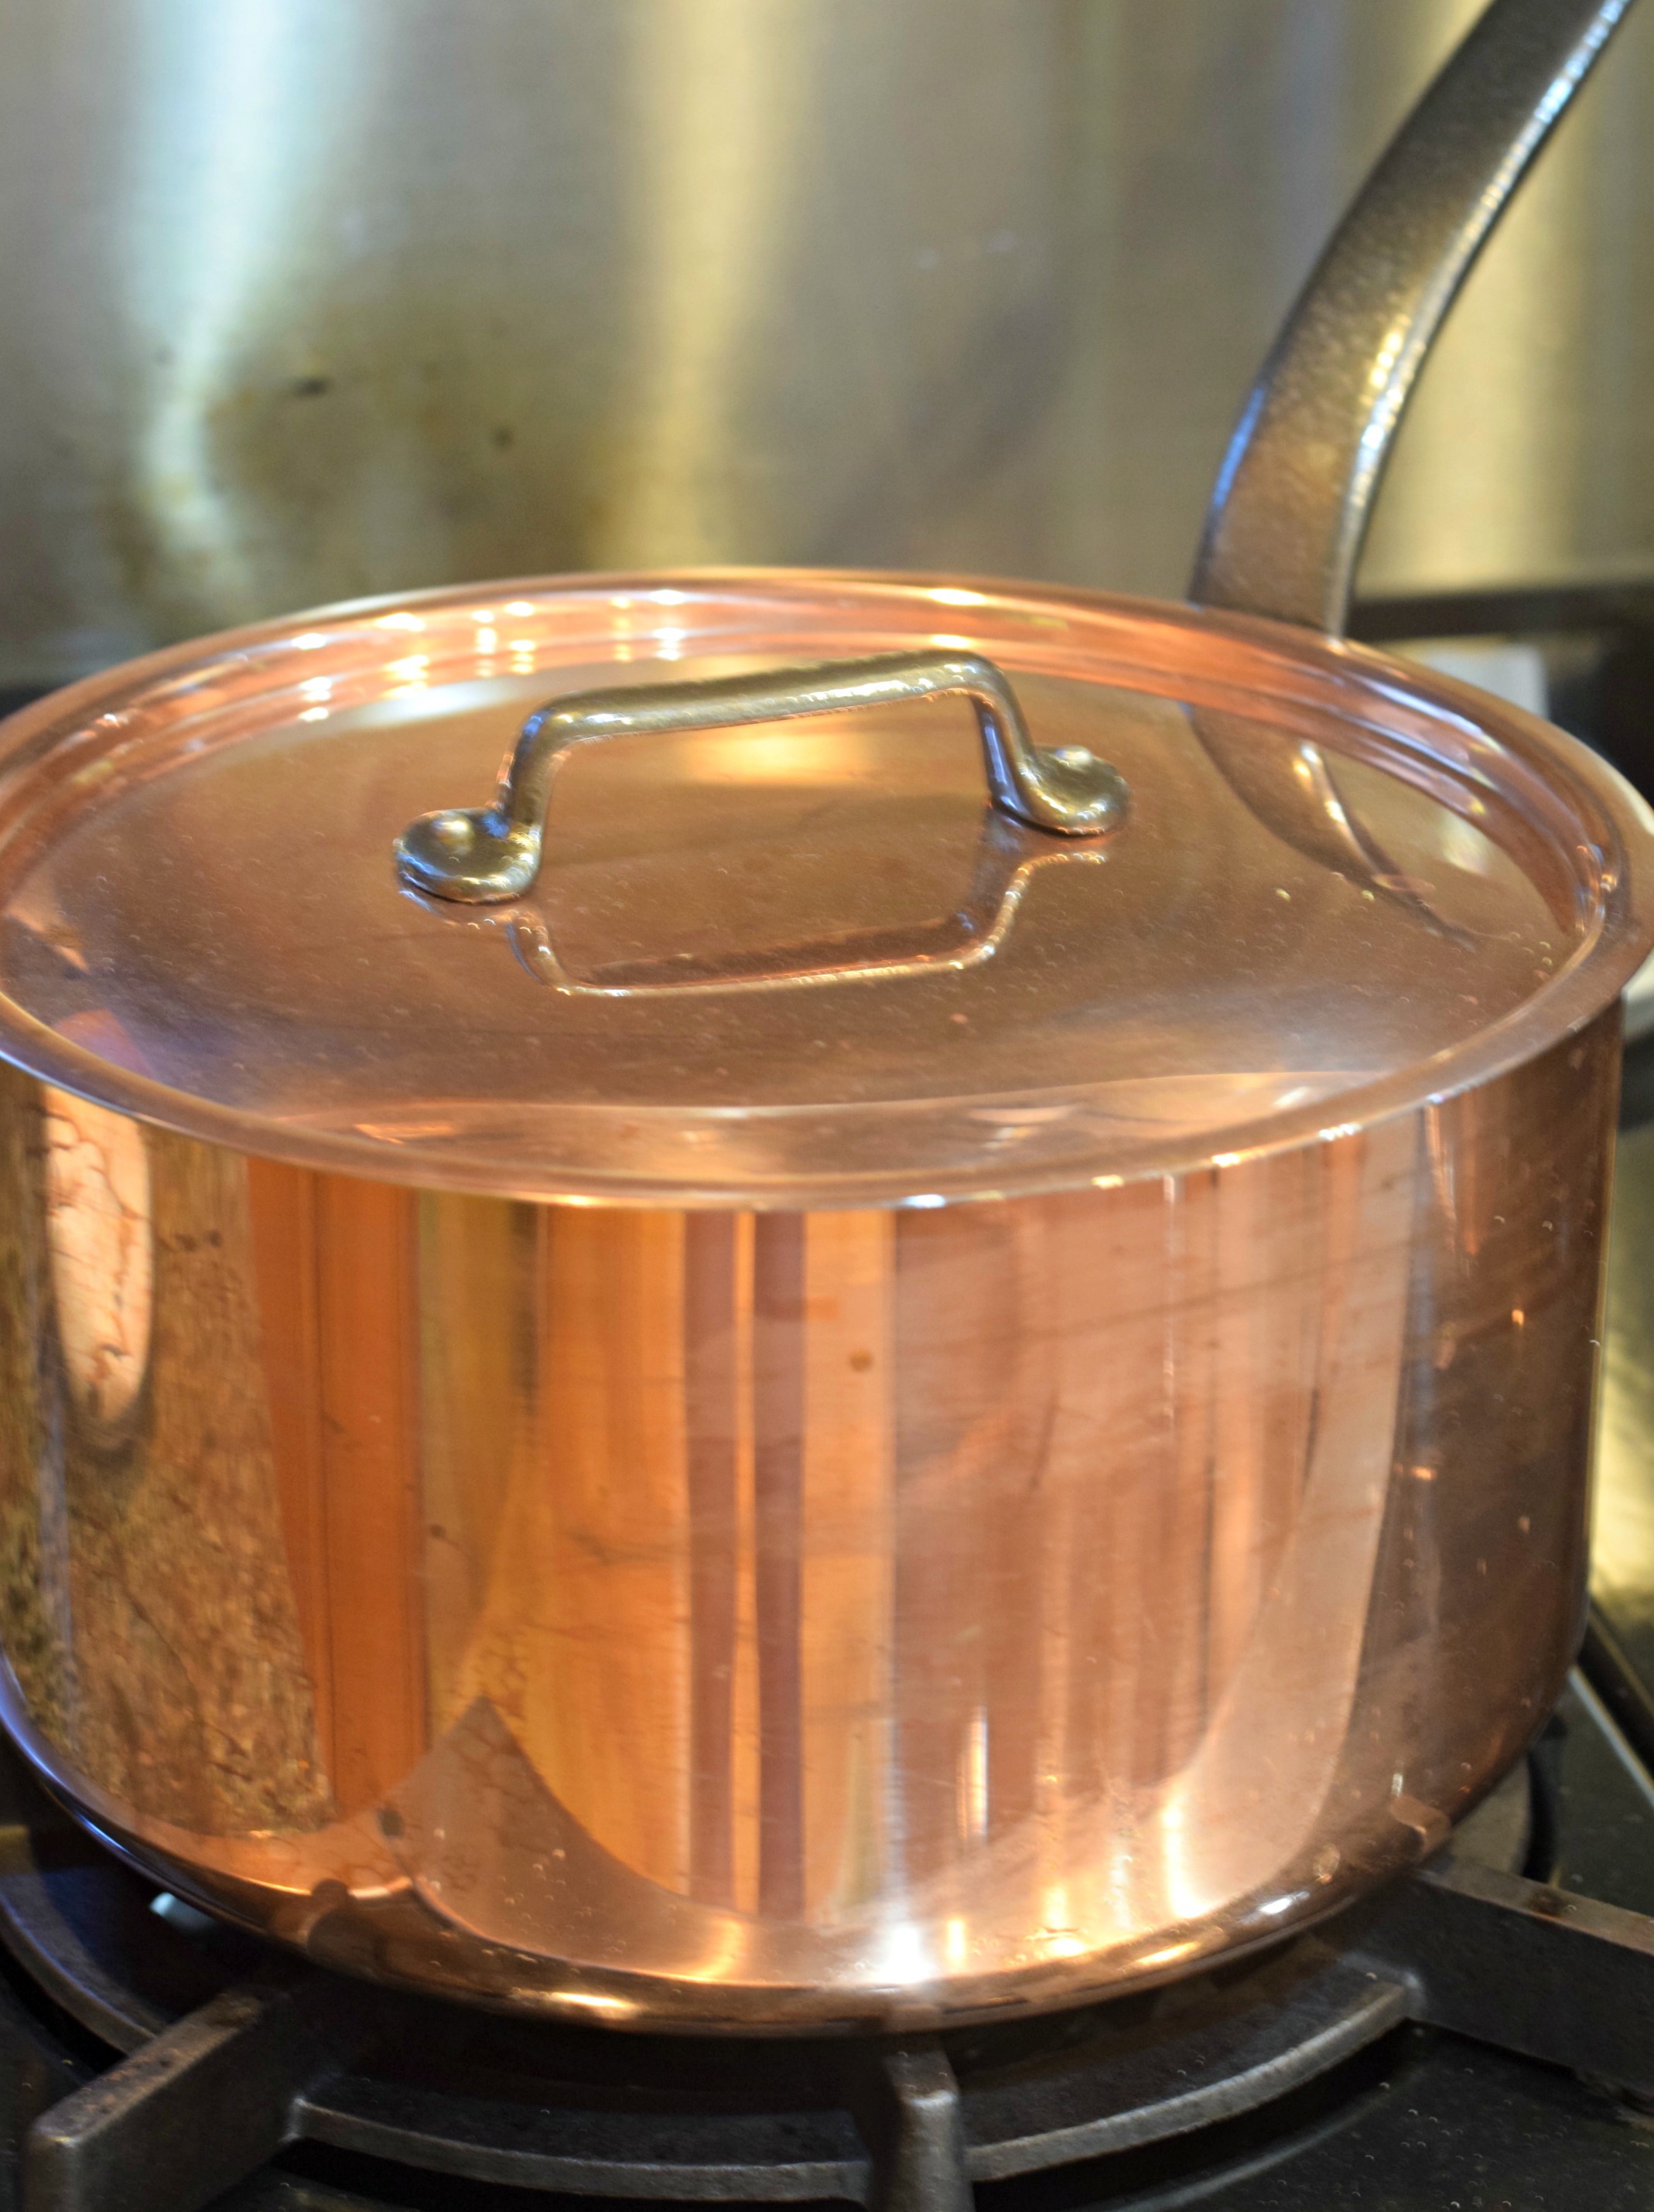
To make the jam, pour the fruit and sugar mixture into a large deep saucepan. Any wide, heavy-bottomed saucepan will do, but jam-makers revere copper pots, like those by French maker Mauviel, for their smooth surface and responsiveness to heat, which producing a silky, glossy jam. Plus, they look beautiful in your kitchen!
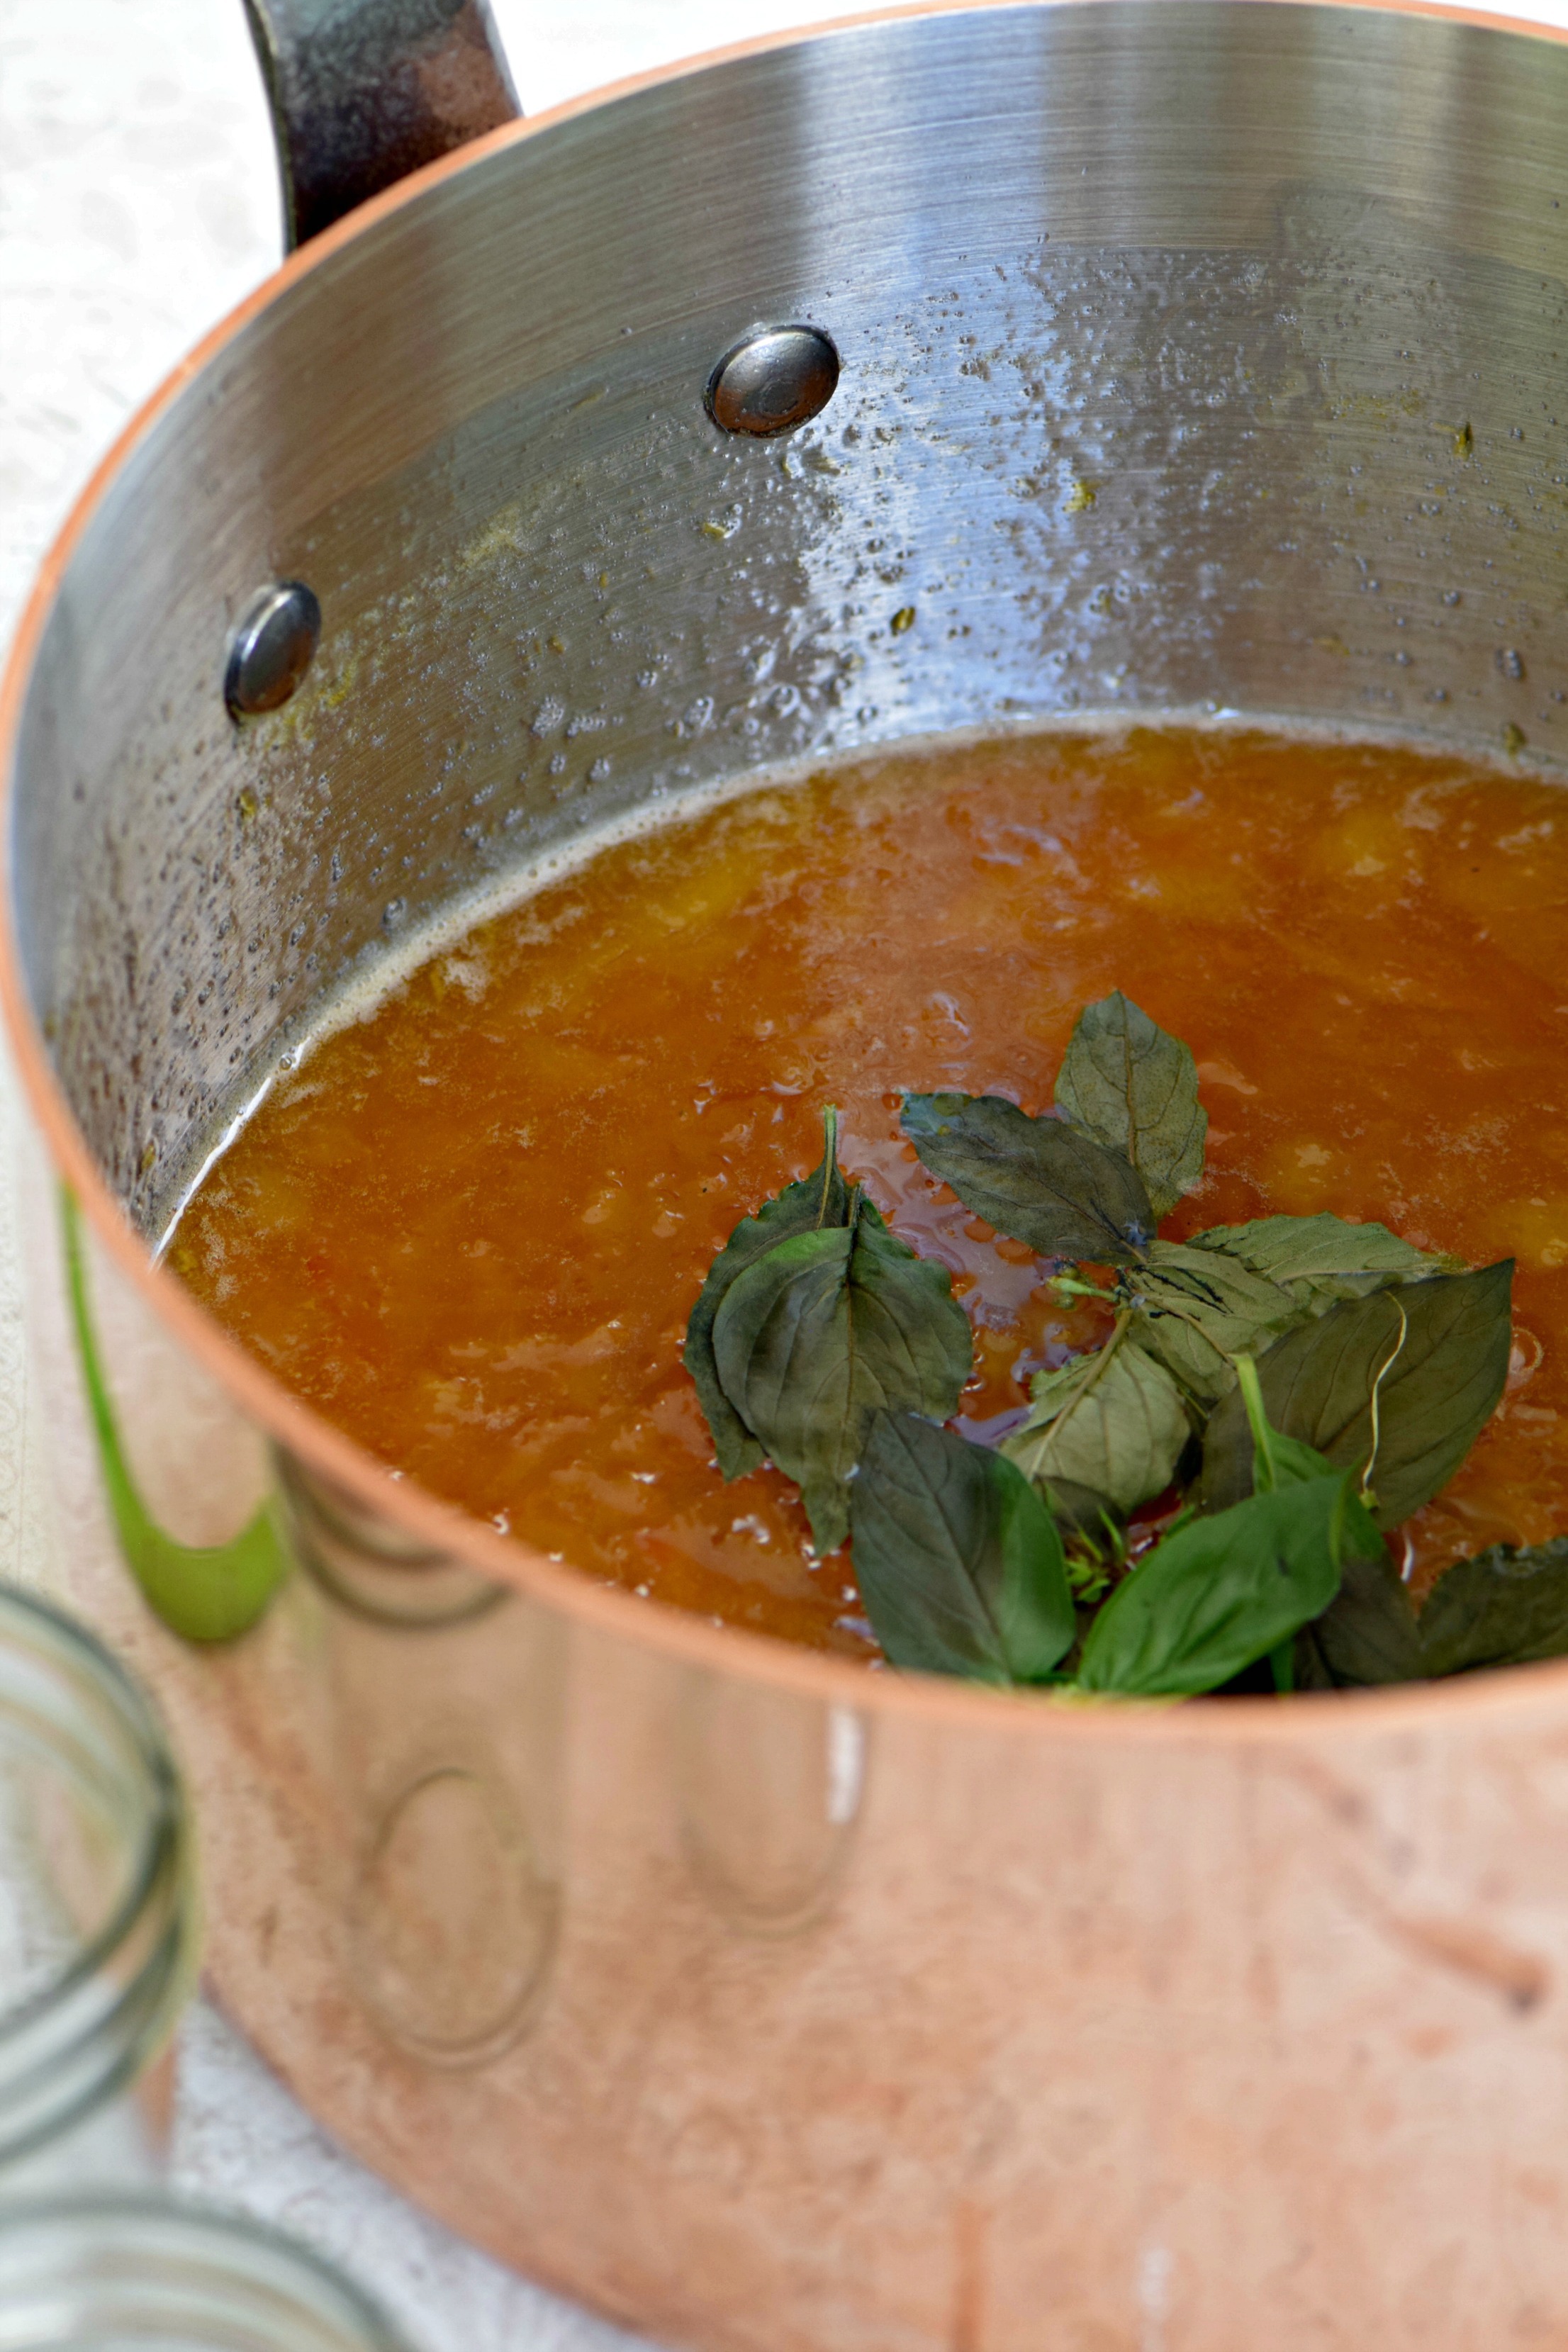
Bring the jam to a boil and cook it at a steady but not rolling boil, stirring frequently, until set, usually about twenty minutes. For recipes that do not call for added pectin, like this one, you need to cook the preserve to the gelling point of 220 degrees. A candy thermometer is useful for checking the temperature.
There are also many old-fashioned ways to test whether your jam has gelled and despite owning a candy thermometer, I sometimes rely on those methods as well. One method I like is the freezer test: place a saucer in the freezer when you begin cooking your jam. When you think the jam is done, place a small dab on the chilled saucer and return it to the freezer for one minute. Then remove the saucer and push the jam with your finger. If it wrinkles and appears to be set, it is ready.
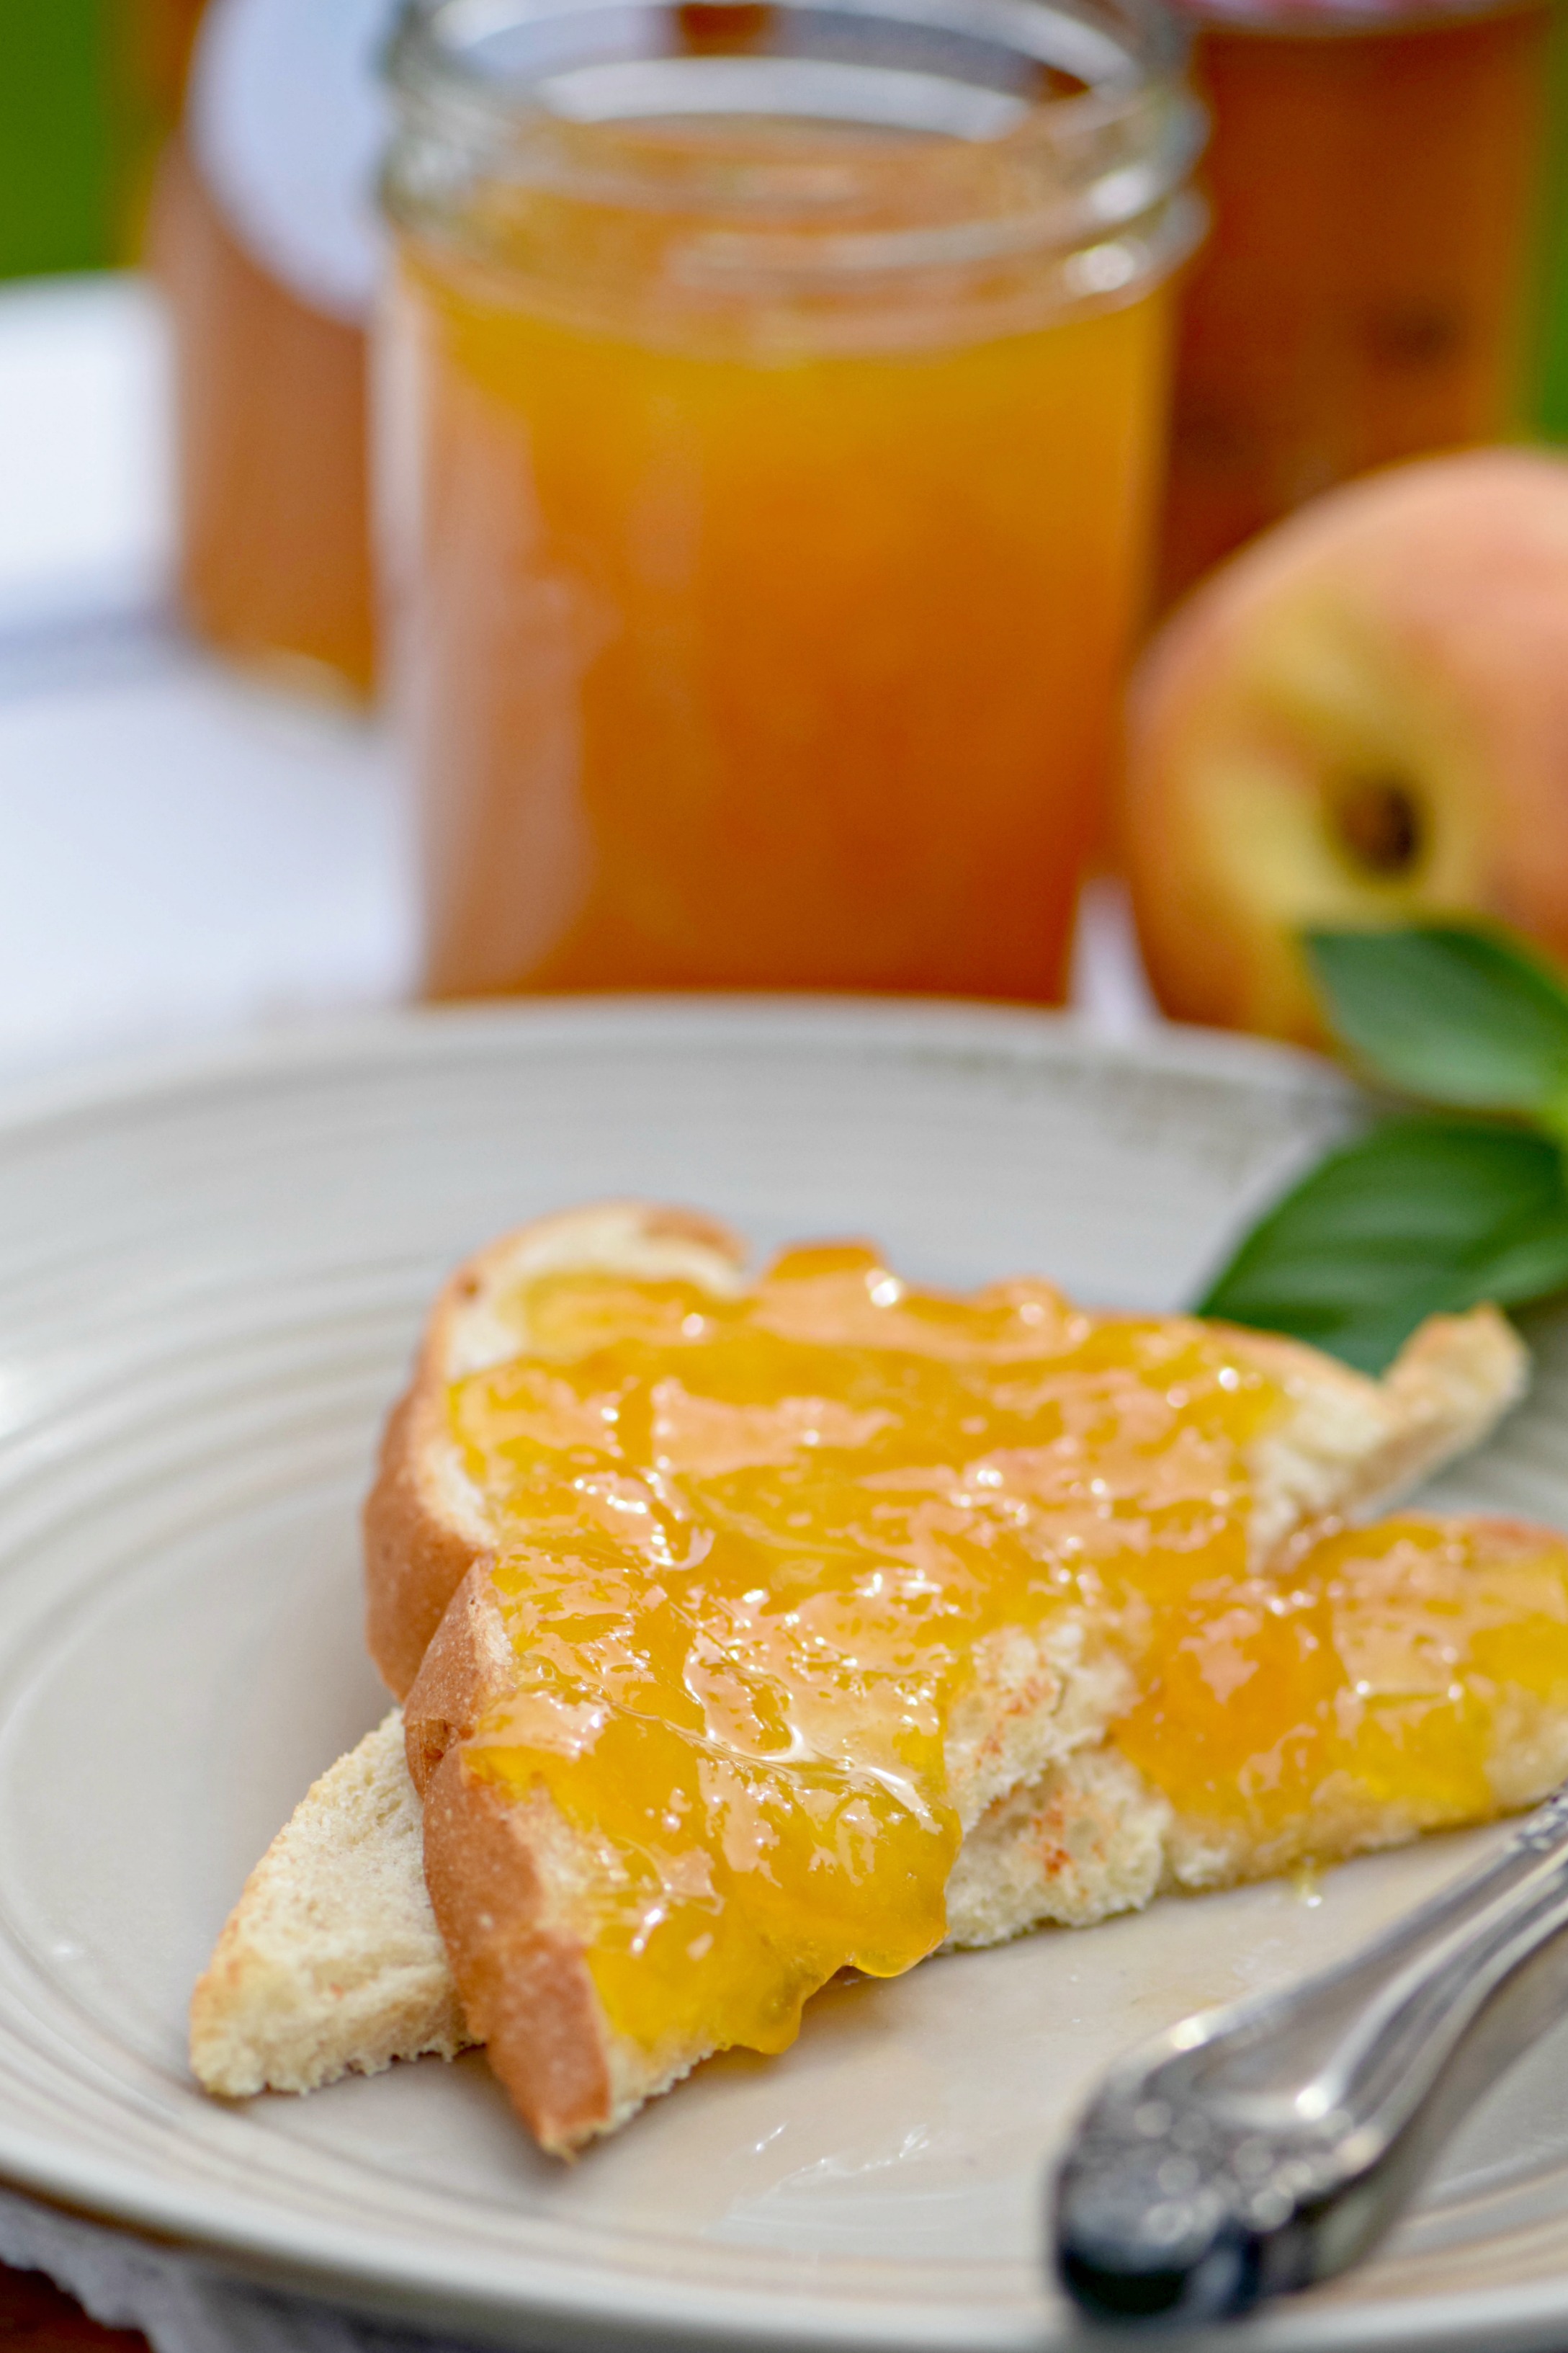
Once your jam is ready, ladle it into the warm jars, leaving space at the top to allow the air to escape. This extra room at the top is known as headspace and every canning recipe will specify how much headspace to leave, from 1/4 inch in jam recipes to as much as 3/4 or a full inch in other types of preserves.
After the jar is filled to the height specified, run a thin plastic utensil around the inside of the jar to release air bubbles. This is known as bubbling the jars. Lastly, clean off the rim of the jar with a damp cloth. Then place the lid on the jar and tighten it just until you feel resistance. Do not close it too tightly because that could prevent any air inside from escaping which would interfere with the seal.
The jar then goes back into the boiling water, making sure that the water covers the top of the jar by several inches. The Fox Run Farm-to-Table Jar Lifter makes the task of handling these slippery, wet jars a breeze – tongs simply do not cut it! The jar should remain in the boiling water bath for the time specified in the recipe, usually ten minutes for most jams. This is known as processing the jars.
After the jars have been processed in the boiling water bath for the requisite amount of time, allow them to remain in the water with the heat off for a few minutes to cool slightly before removing them to a towel placed on the counter. (The towel absorbs the water from the jars and also insulates them from the cold countertop which could cause the jars to crack.) The jars should cool for several hours. You may hear a ping as the jars seal, but do not be dismayed if you do not: the jars may still seal without the noise.
Once the jars are cool, check the seals to ensure that the button in the middle is concave. You can also check the seals by trying to pry off the lid with your fingernails. It should not come off if the seal is good. What if your jars did not seal? Remember that the food inside them is still good, so do not discard it. A failure to seal simply means that the food is not shelf-stable, so store the jars in the refrigerator instead. The failure to seal could be the result of residue on the rim, overfilling the jars or simply a bad lid or two.
Sealed jars can be stored without refrigeration for up to one year. I recommend storing jam in a cool, dark place for the best quality. Once open, jam should be stored in the refrigerator.
With summer in full swing and so many beautiful fruits in season all over the country, right now is the perfect moment to try your hand at homemade jam. I hope that you will be inspired to do so!
Peach Basil Jam Recipe
INGREDIENTS
- 2 lbs. pitted, peeled and sliced peaches (about eight to nine peaches)
- 1 lb sugar (2 1/4 cups)
- ¼ cup lemon juice
- 3 sprigs basil
INSTRUCTIONS
- Combine peaches, sugar and lemon juice in a nonreactive bowl and stir to combine. Allow to macerate for several hours or overnight.
- Place three eight-ounce jars in a canning pot outfitted with a rack and fill with water. Heat over high heat until boiling.
- Place several saucers or small plates in the freezer to chill.
- Pour fruit and sugar mixture, scraping the sides to into a large, deep saucepan and bring to a boil over high heat, stirring frequently to prevent scorching. Skim off any foam that accumulates.
- Turn heat down to medium and cook jam until thickened, about twenty minutes, stirring frequently.
- Take the jam off the heat, and test it for doneness using the wrinkle test: remove the saucer from the freezer and place spoonful of jam on it. Return the saucer to the freezer for one minute. Remove the saucer and push the jam with your finger. If it wrinkles, then the jam is set. If not, continue to cook and try the test again after a few minutes.
- Place the sprigs of basil in the jam and allow it to infuse for five minutes.
- Ladle jam into clean, warm jars, leaving 1/4 inch headspace at the top of the jar. Bubble the jars and wipe the rims with a damp cloth.
- Place the lids on the jars and screw on the rings just until you feel resistance.
- Process the jars in a boiling water bath for ten minutes. Allow to cool in the water for five minutes before removing.
- Store in a cool, dark place for up to one year.