
Baking bread and pastries with whole grain, freshly milled flour is an emerging culinary trend. In this easy to follow how to, you’ll get all the insight you need to start making your own flour at home!
Indeed, some of the country’s best bakeries, such as Josey Baker Bread in San Francisco and Baker Miller in Chicago, only bake with flour they mill themselves. Baked goods made with freshly milled flour not only taste amazing, but they are filled with vitamins, fiber and antioxidants. In other words, bread made with whole grain, freshly milled flour is actually good for you.
But only professional bakers have access to freshly milled flour, right? Grinding flour at home must require expensive, specialized equipment, right? Wrong on both counts! It is extremely easy to mill fresh flour in your home. And there are many affordable and convenient grain mills designed specifically for home use. Investing in one of these grain mills can save you money in the long run and make your homemade baked goods both healthier and tastier.
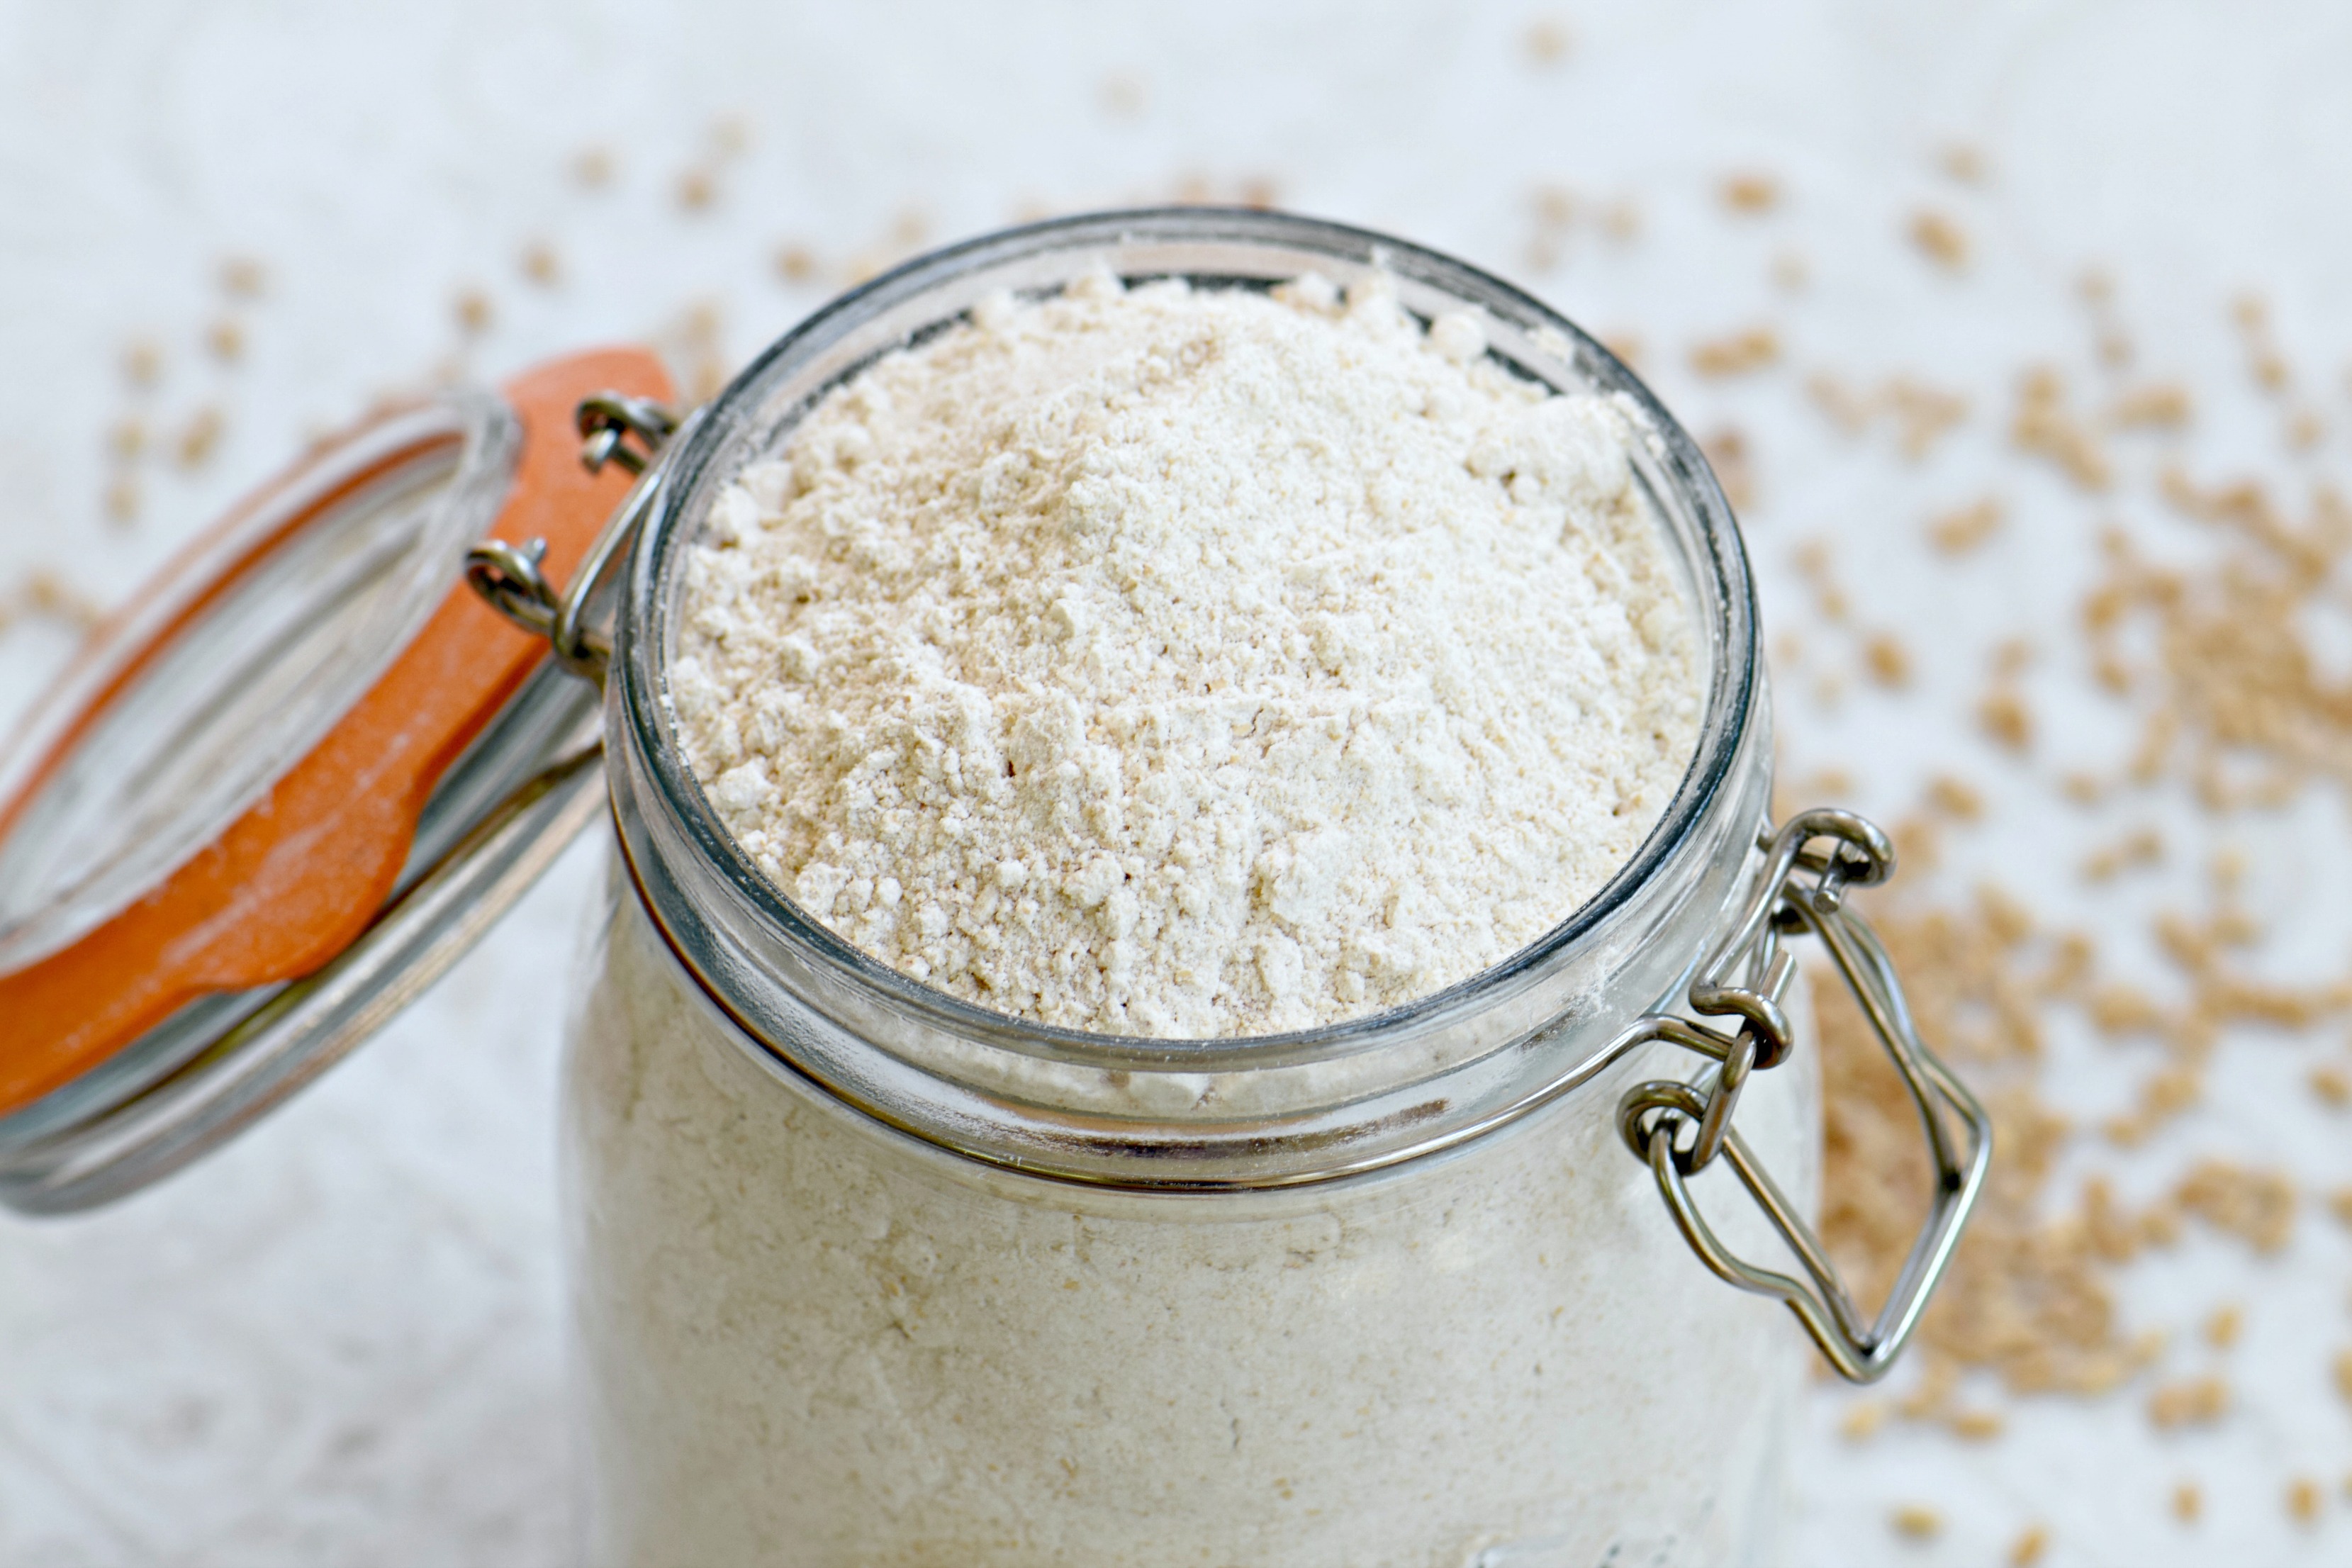
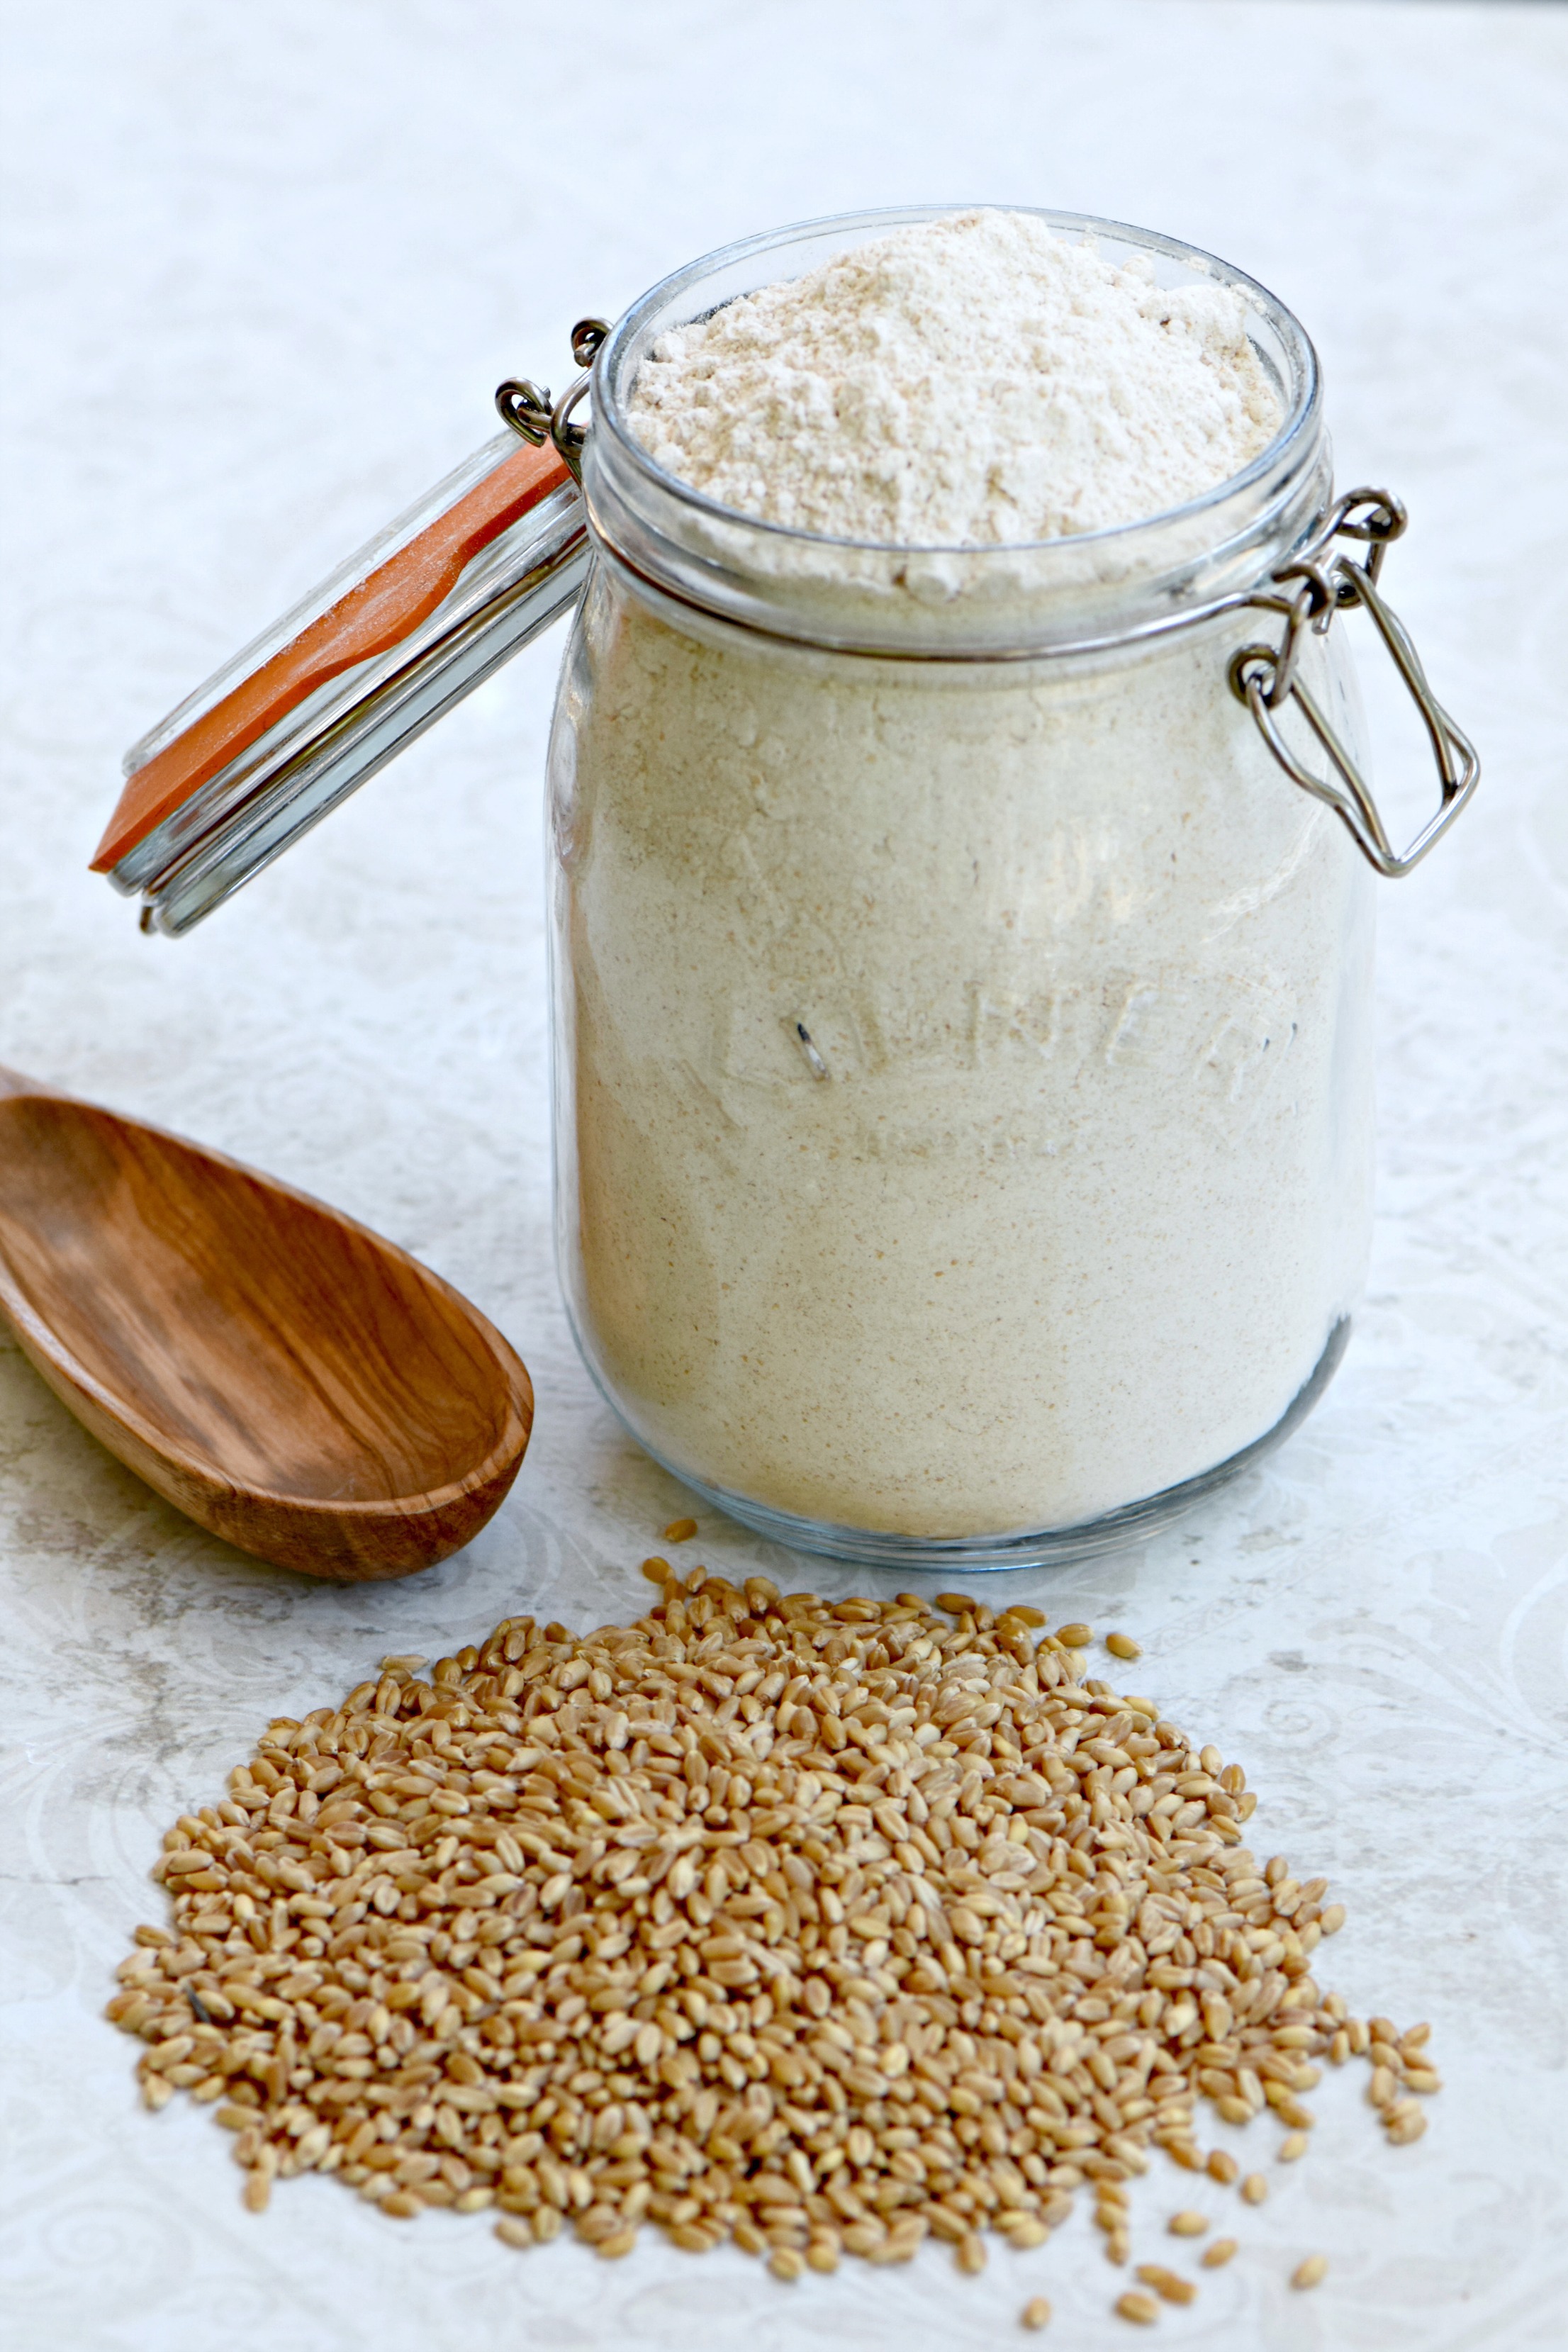
Freshly milled flour uses the whole grain and therefore contains more vitamins, minerals, antioxidants and fiber than commercial flour. When you grind flour from the whole wheat berry, you grind the endosperm, the largest part of the wheat berry and the part with the most starch, but also the bran and the wheat germ — the most nutritious parts — into your flour.
The downside of this process is a shorter shelf life. Wheat germ contains oil and thus can make flour go rancid quickly. That is why processed flour removes these parts prior to grinding and only uses the endosperm: to last longer on a supermarket shelf. But for those of grinding flour for our own use, we don’t need flour that can sit for years on a store shelf. Thus, we can enjoy the flavor and health benefits of freshly milled flour.
By the way, I have mostly talked about grinding your own wheat flour here, but you can grind many different grains, including ancient forms of wheat such as emmer and spelt as well as oats, rice, corn, rye, quinoa and even ancient grains like teff and millet. So, if you are gluten-free, grinding your own gluten-free grains for flour is a great option for you as well and can save you a lot of money over buying specialty, gluten-free flours.
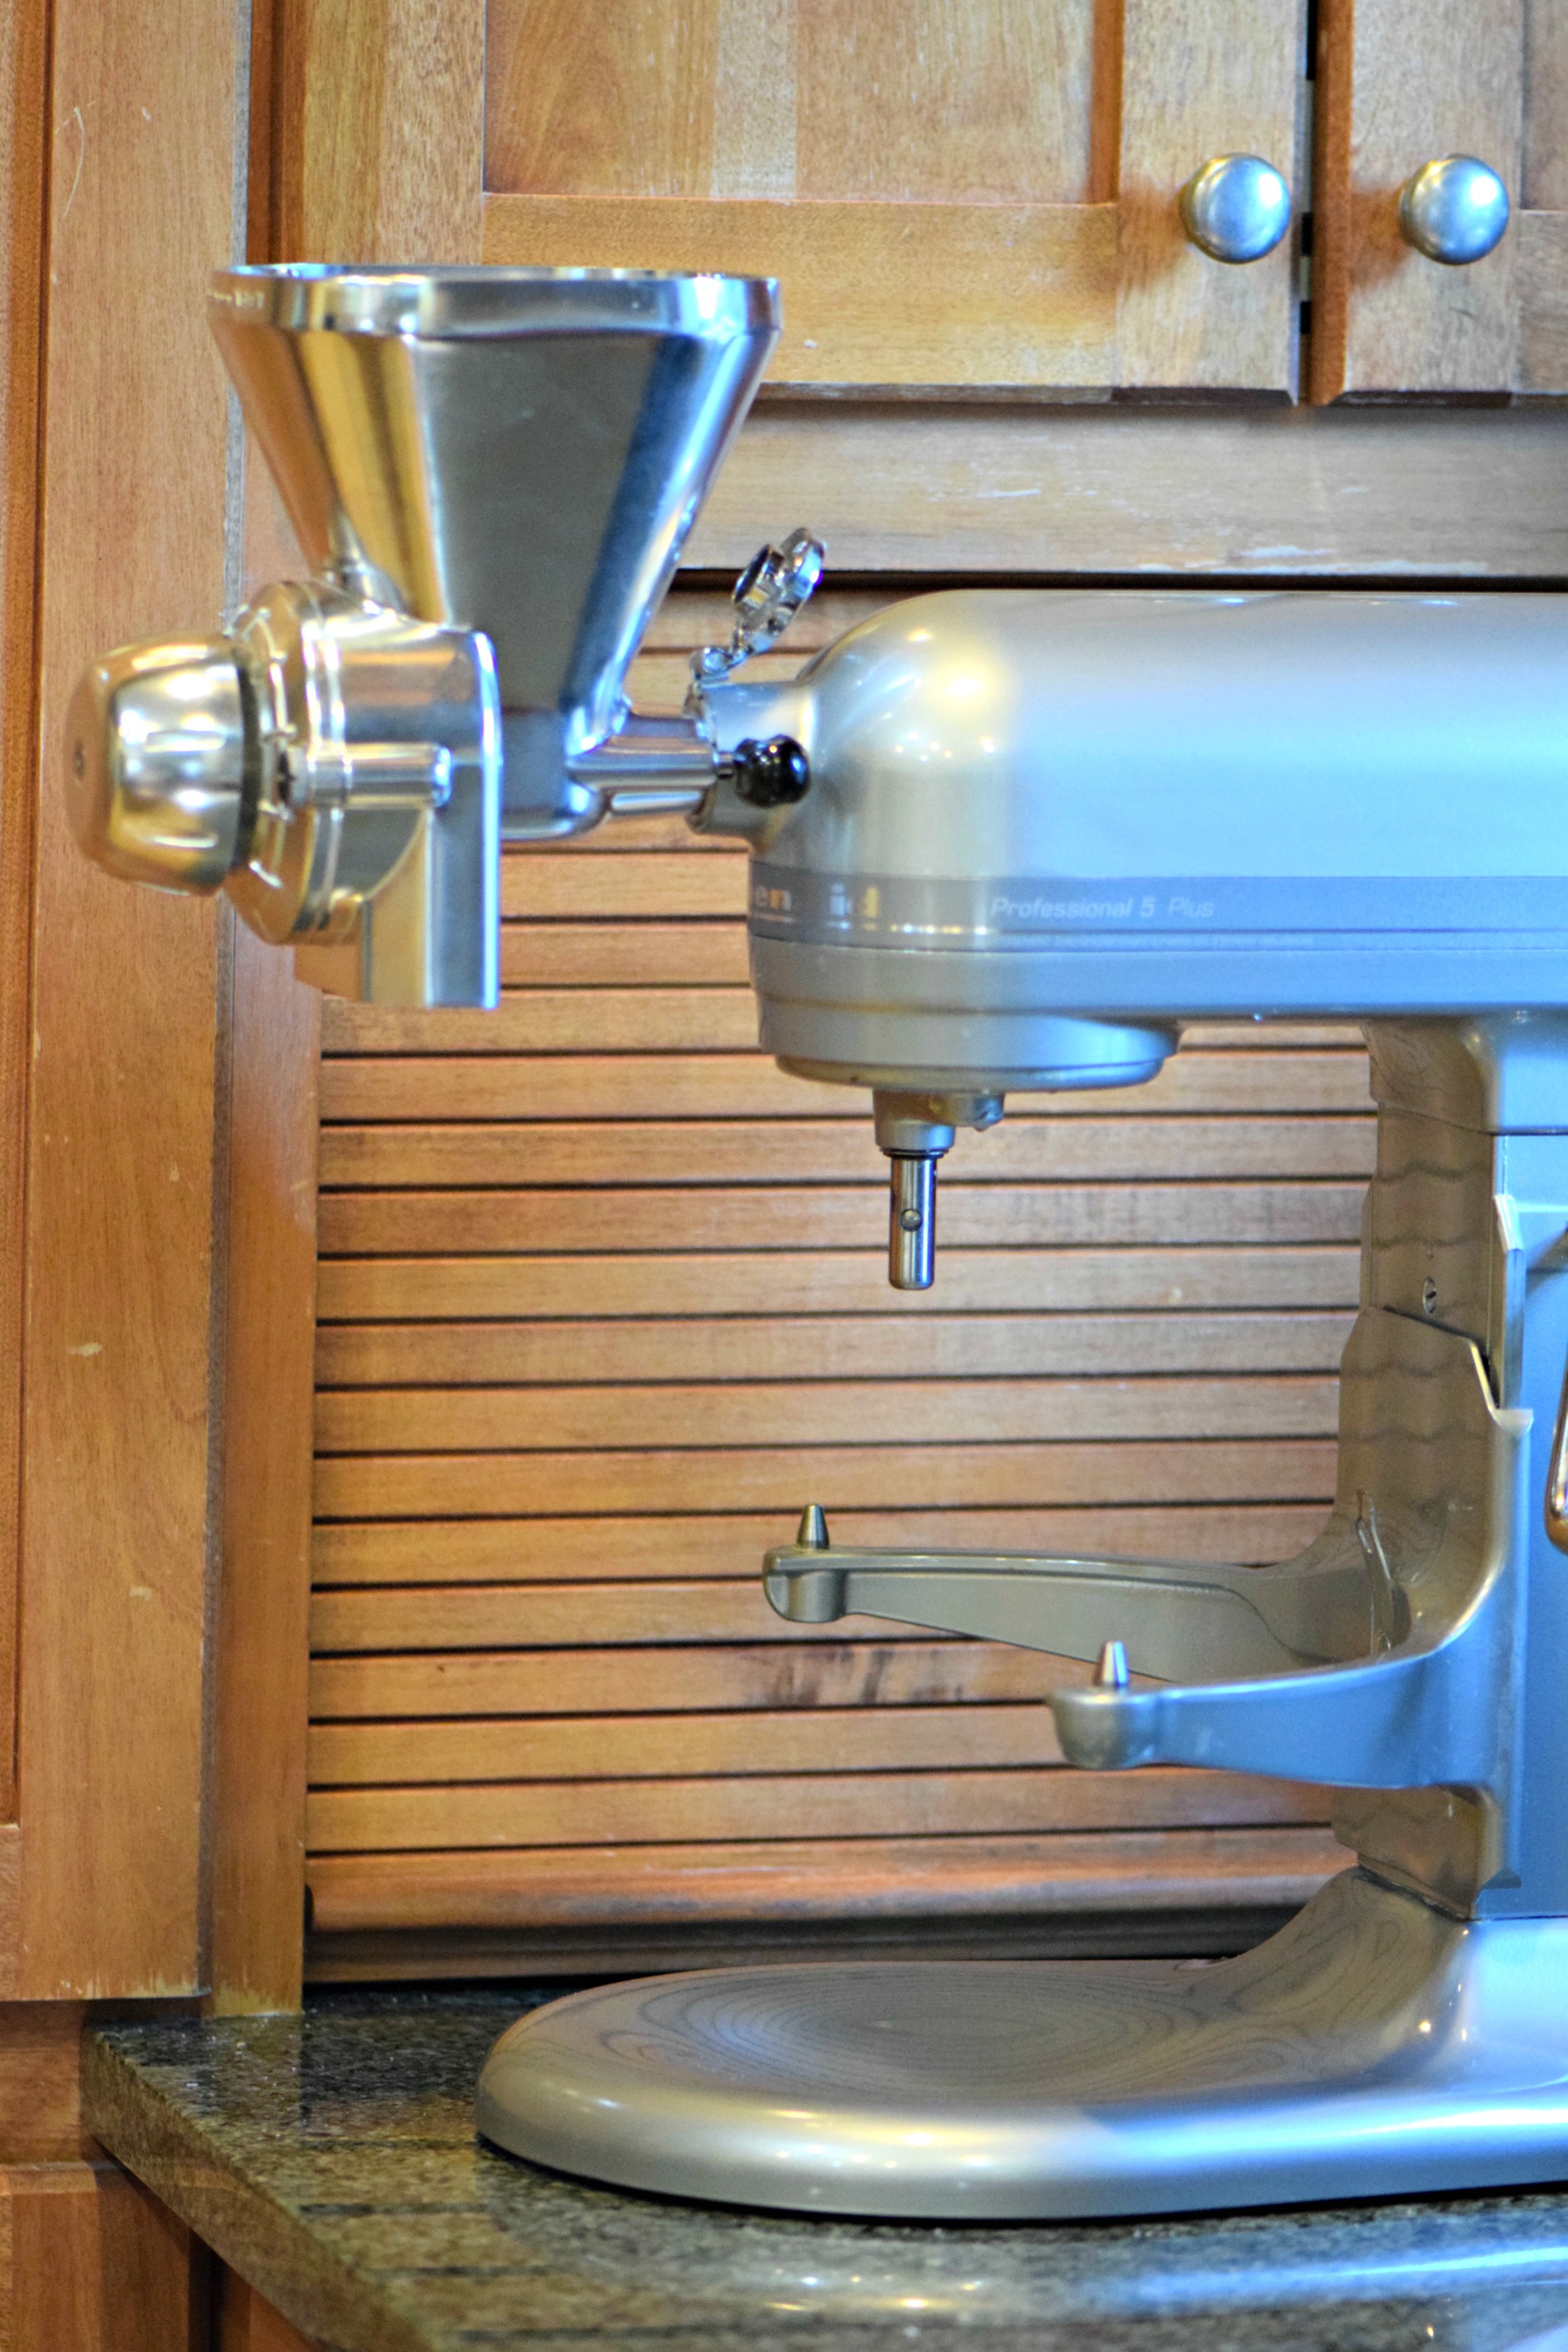
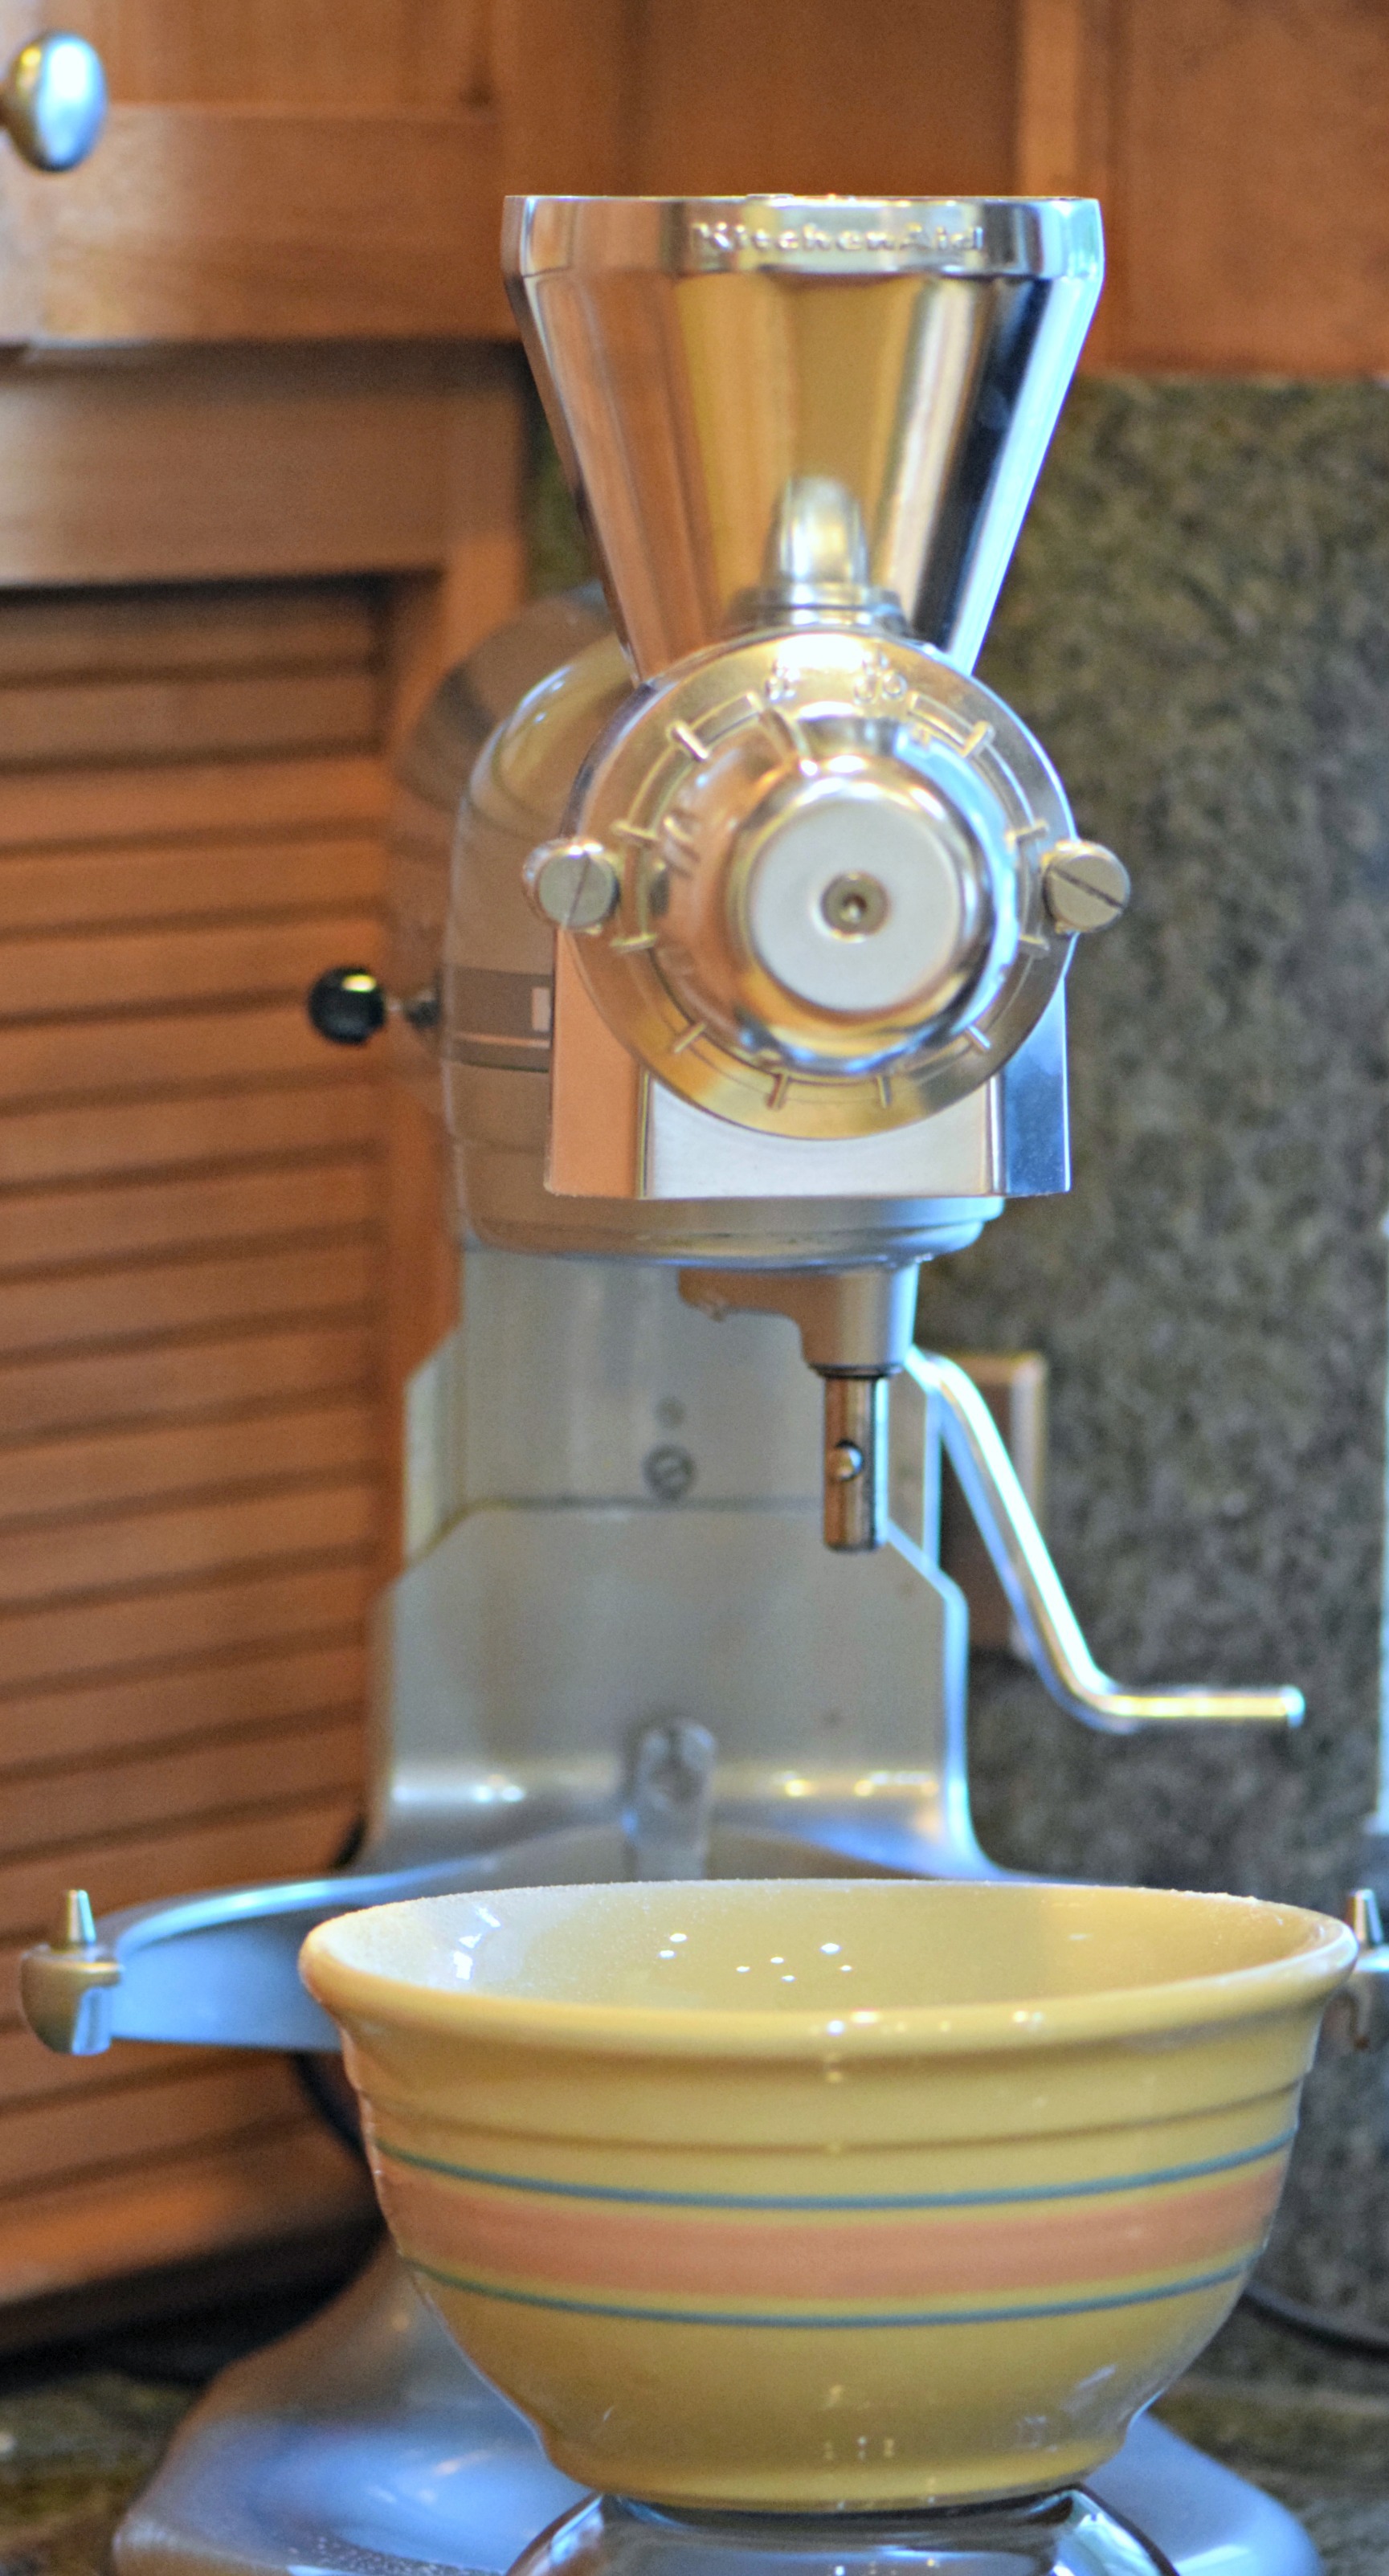
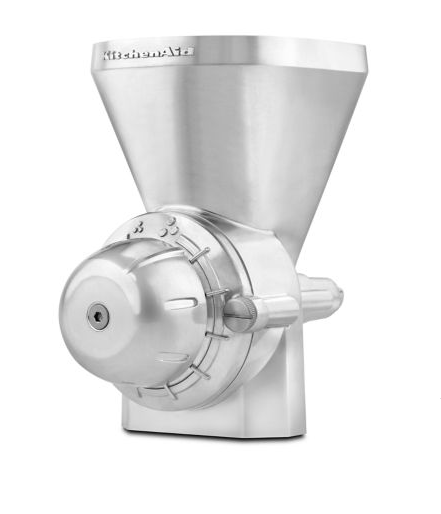
To grind flour at home, you can chose a grain mill that attaches to an appliance you already own or a standalone mill. KitchenAid’s All-Metal Grain Mill attaches to its stand mixers and grinds wheat and other low-moisture grains. You pour the grain directly into the hopper, adjust the dial to select coarse or finely ground flour, depending on your needs, and place a bowl underneath the mill.
Then you turn on your mixer and the flour falls directly into your bowl. The KitchenAid All-Metal Grain Mill is easy to use, relatively quiet and small enough to store conveniently, making it perfect for home use.
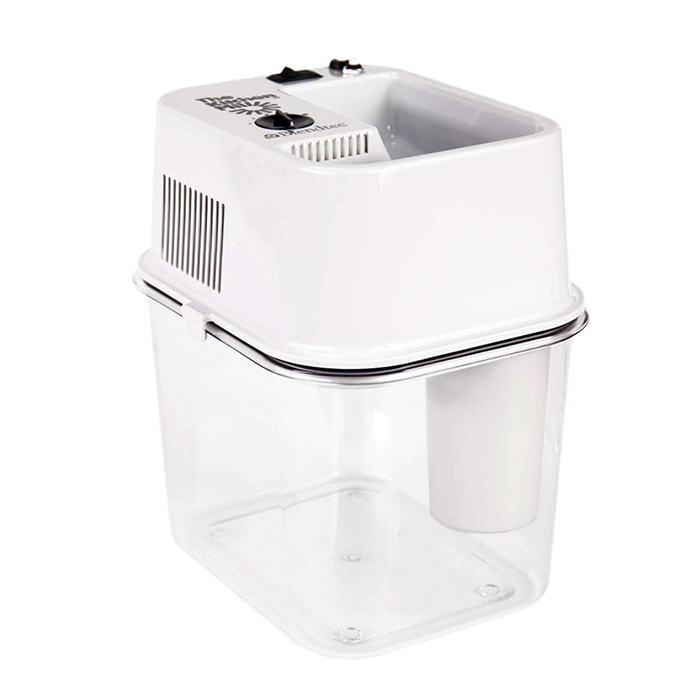
If you don’t own a KitchenAid stand mixer or want to grind larger batches of flour at a time, you may want to invest in a standalone grain mill such as the Blendtec Kitchen Mill.
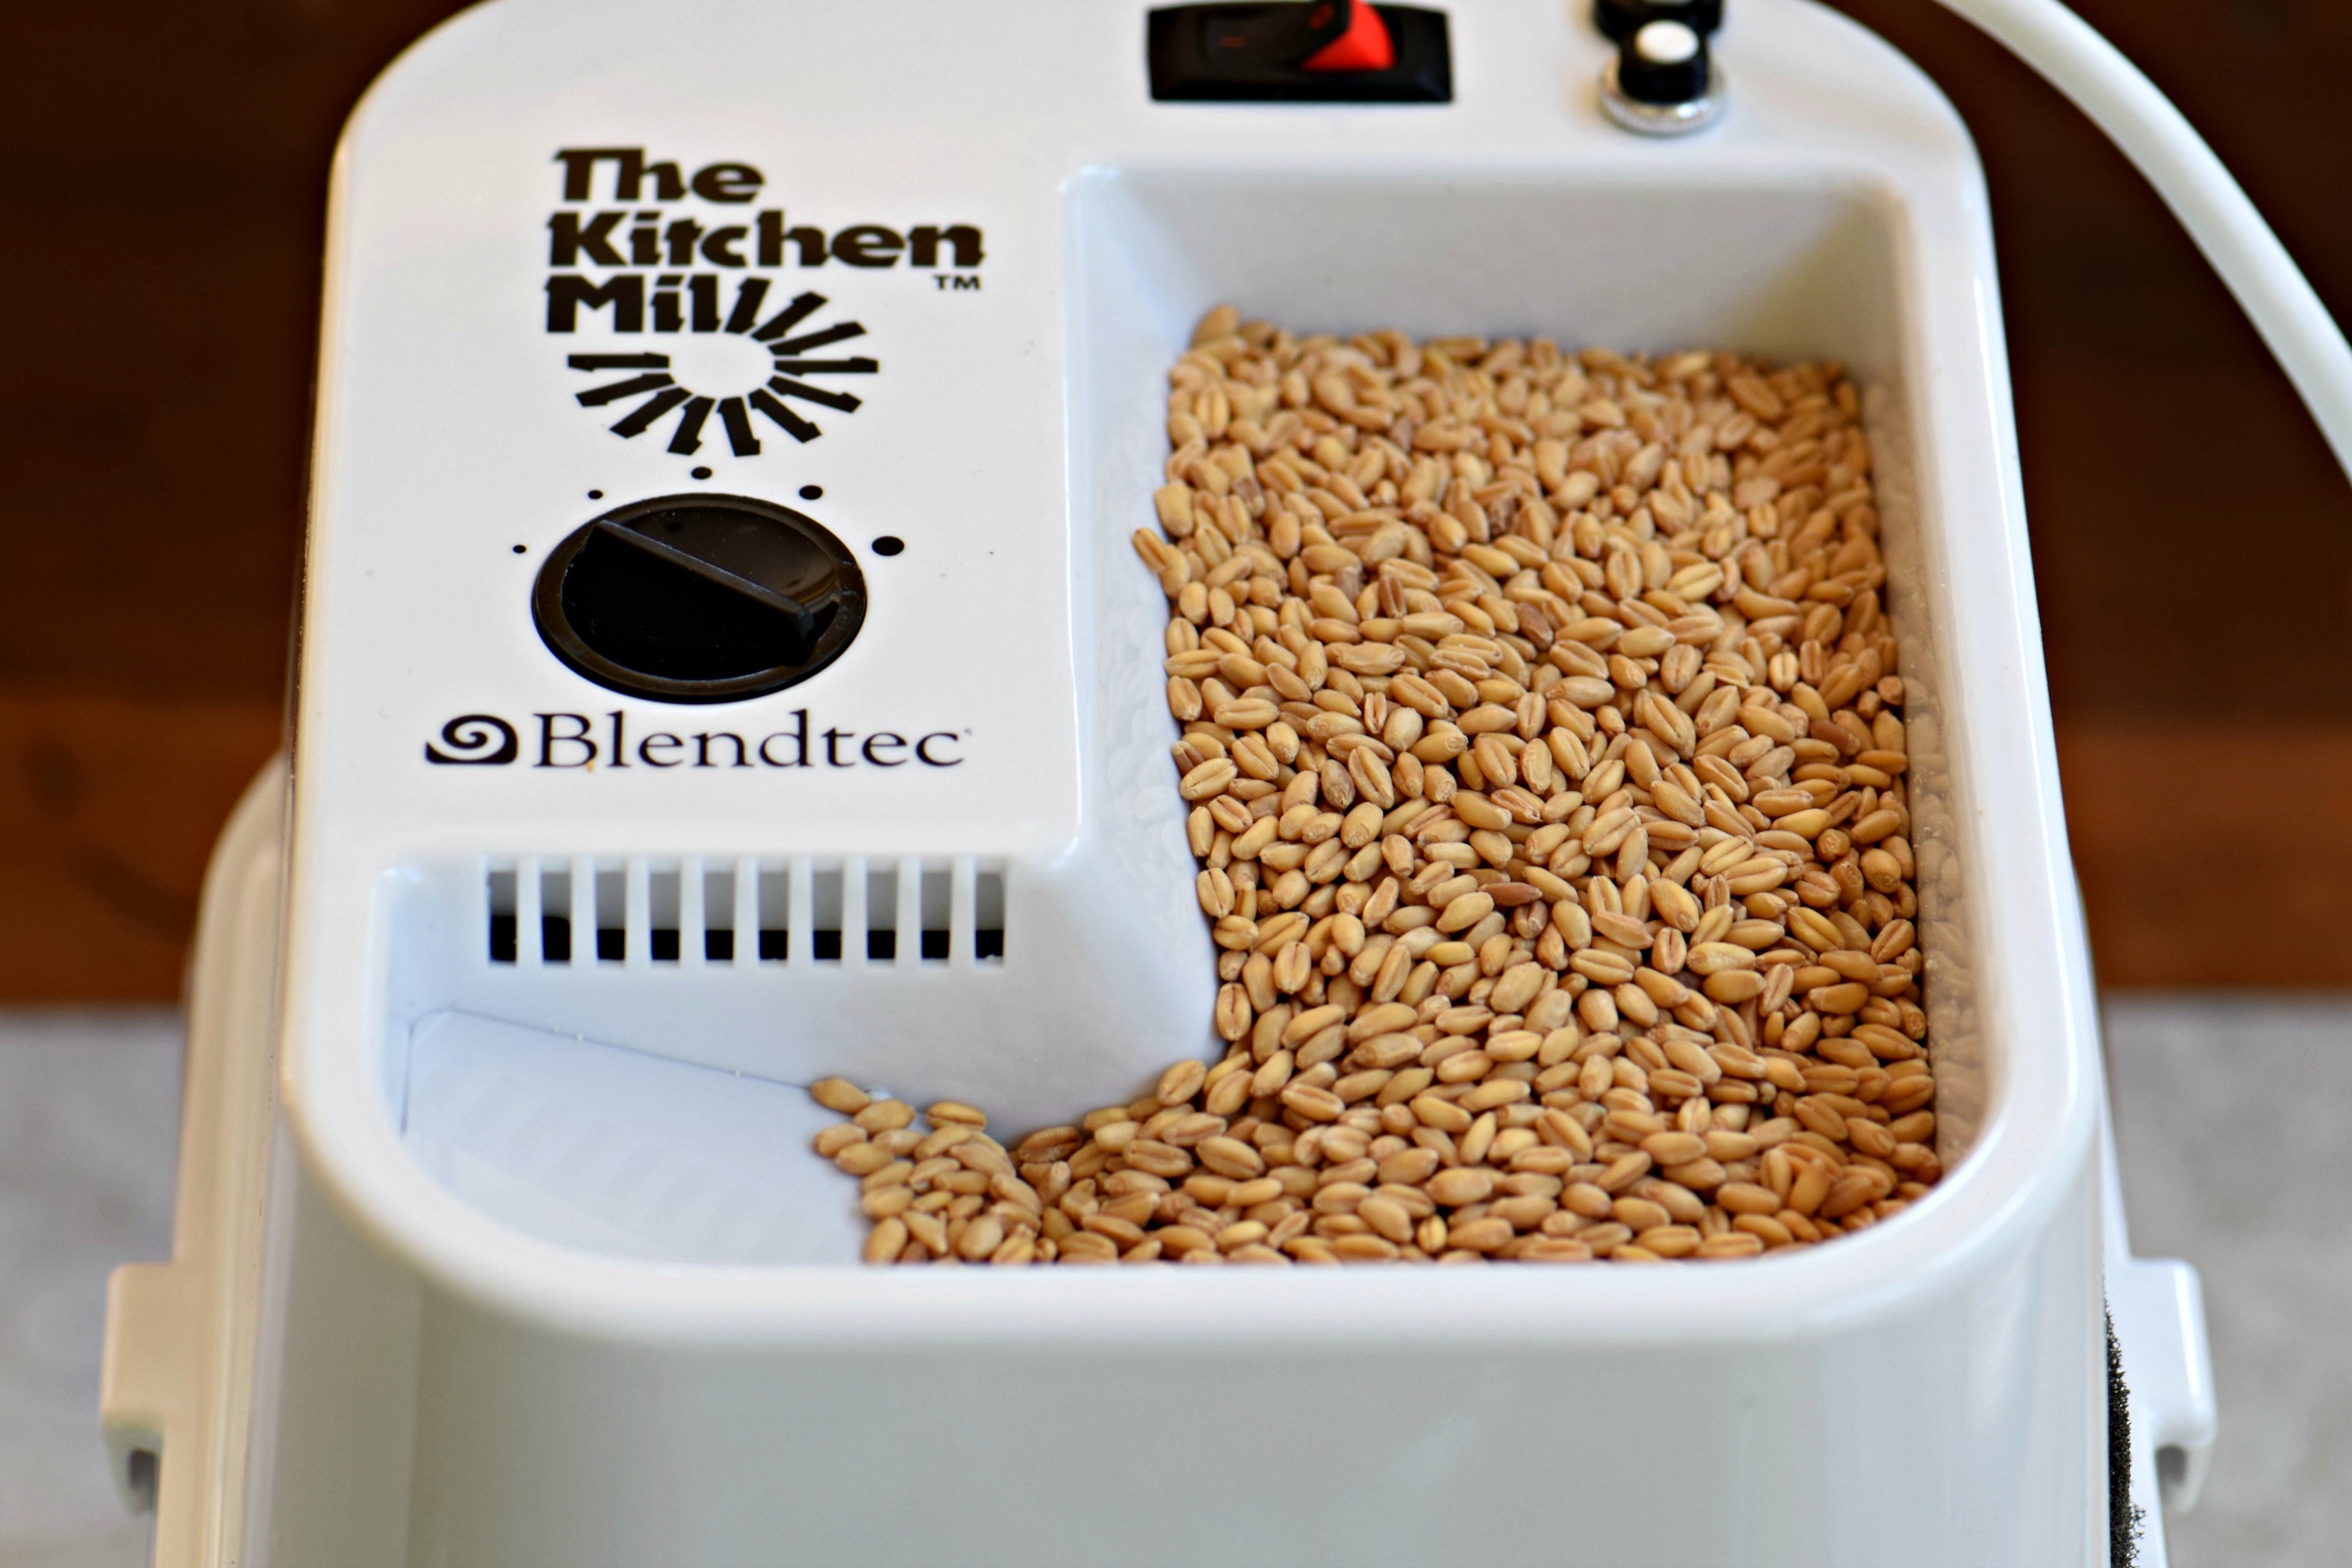
The Blendtec Kitchen Mill grinds large amounts of grain into flour quickly and can grind not only grains but also beans and legumes, making it an excellent choice for gluten-free bakers.

Baking with freshly milled flour is slightly different than baking with store-bought flour. Here are a few important things to keep in mind when starting to mill your own flour.
Tips for Grinding and Baking with Freshly Milled Flour:
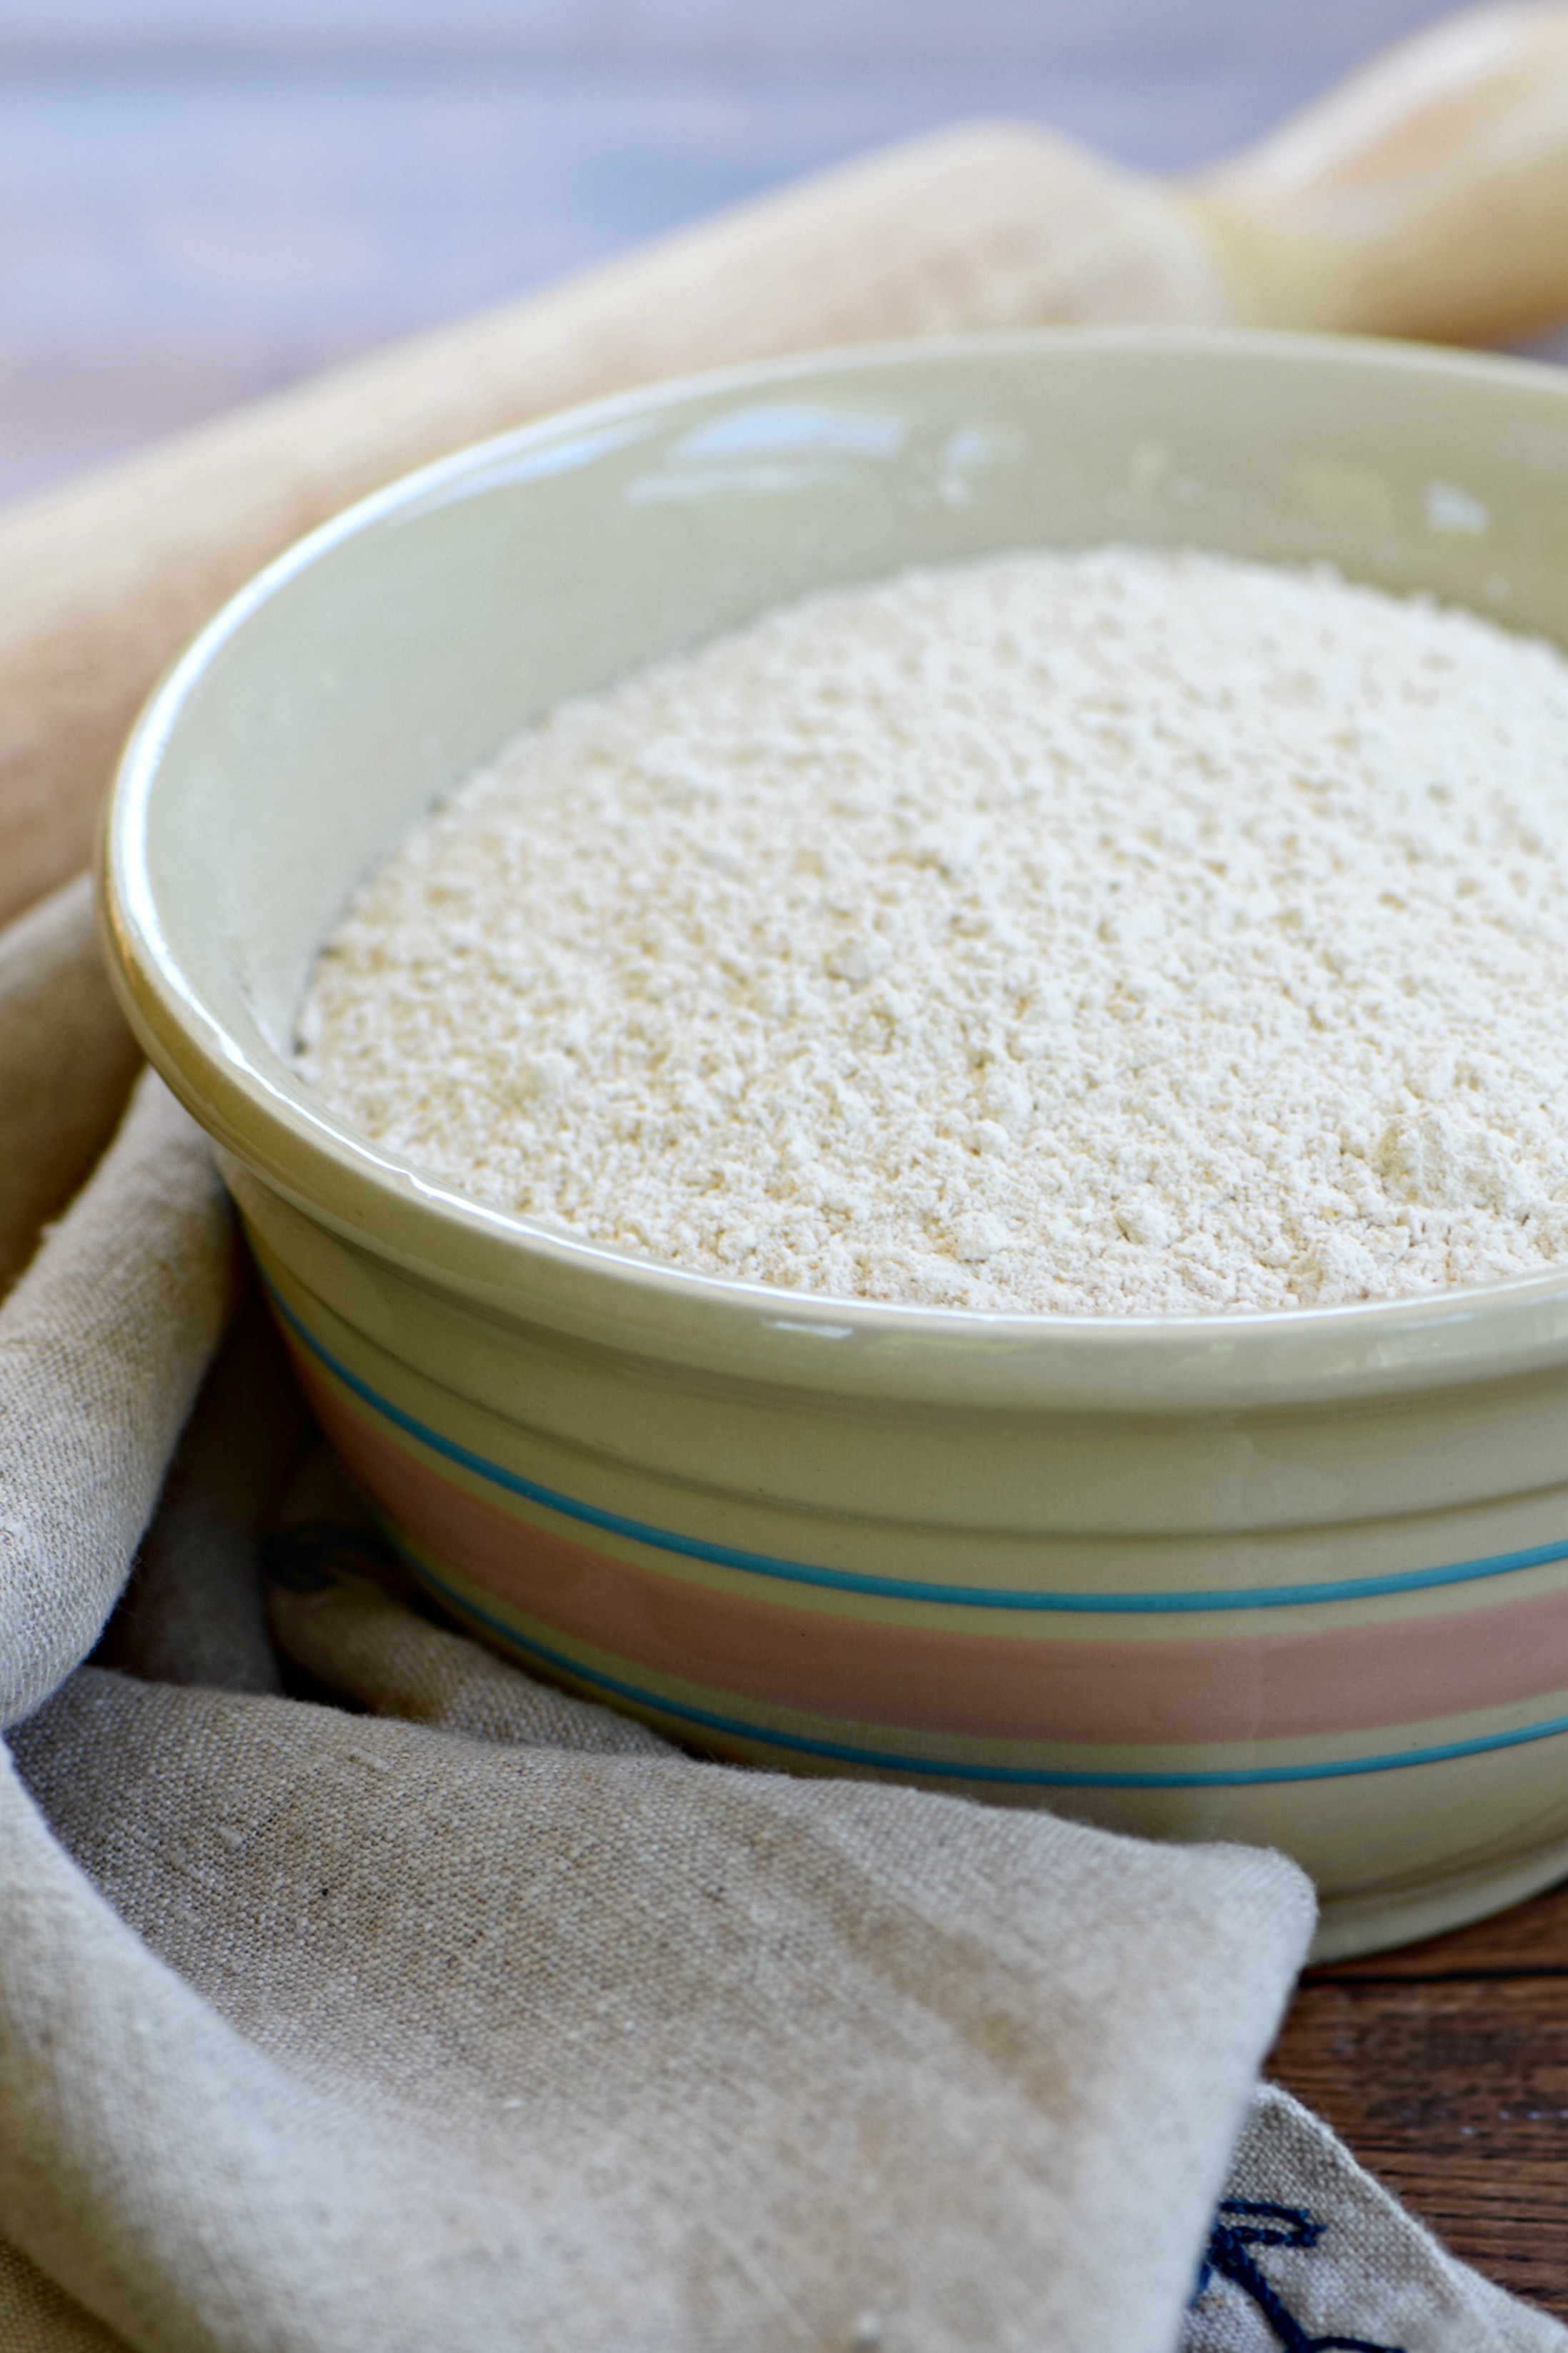
- Only mill as much flour as you plan to use. Freshly milled flour goes rancid very quickly. If you find yourself with extra flour, store it in the refrigerator.
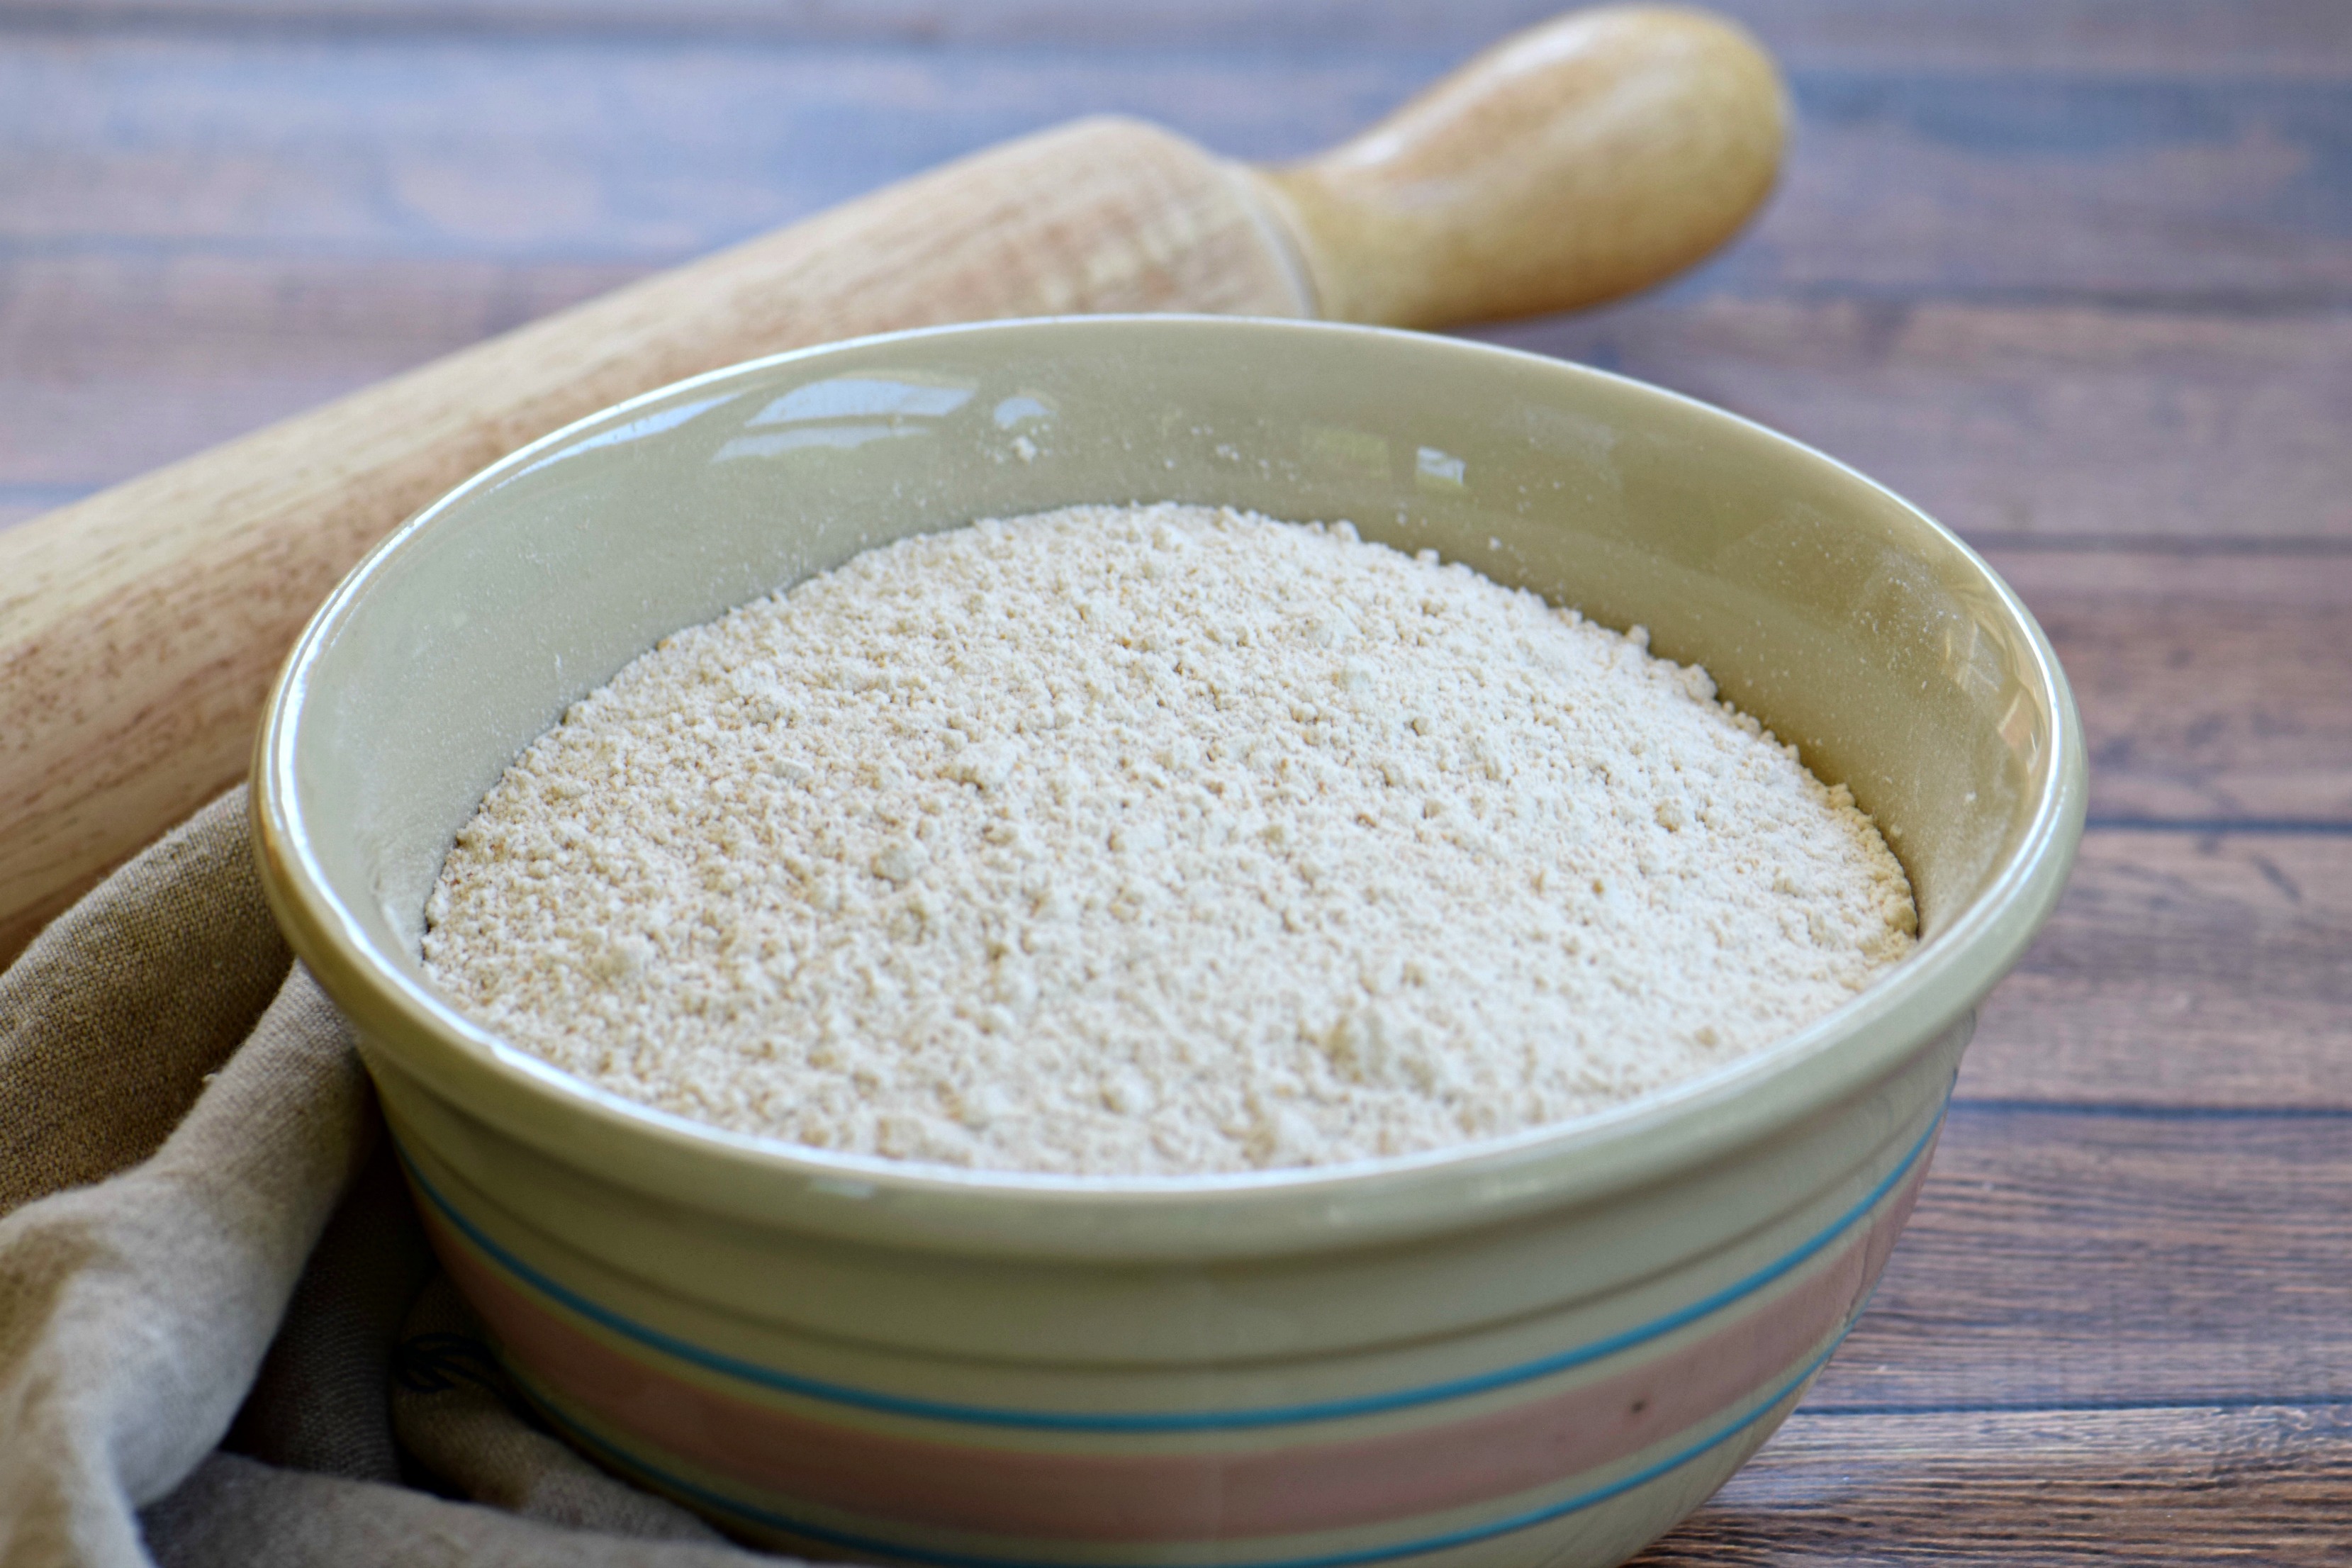
- Follow recipes for freshly milled flour! You cannot simply substitute freshly milled flour for regular flour in recipes; freshly milled flour absorbs more liquid than commercial flour and so you need to use less of it. Begin by following recipes specifically for freshly milled flour, which you can easily find online. As you get more familiar with fresh flour, you can try using it in recipes for regular flour, adjusting the amount downward.
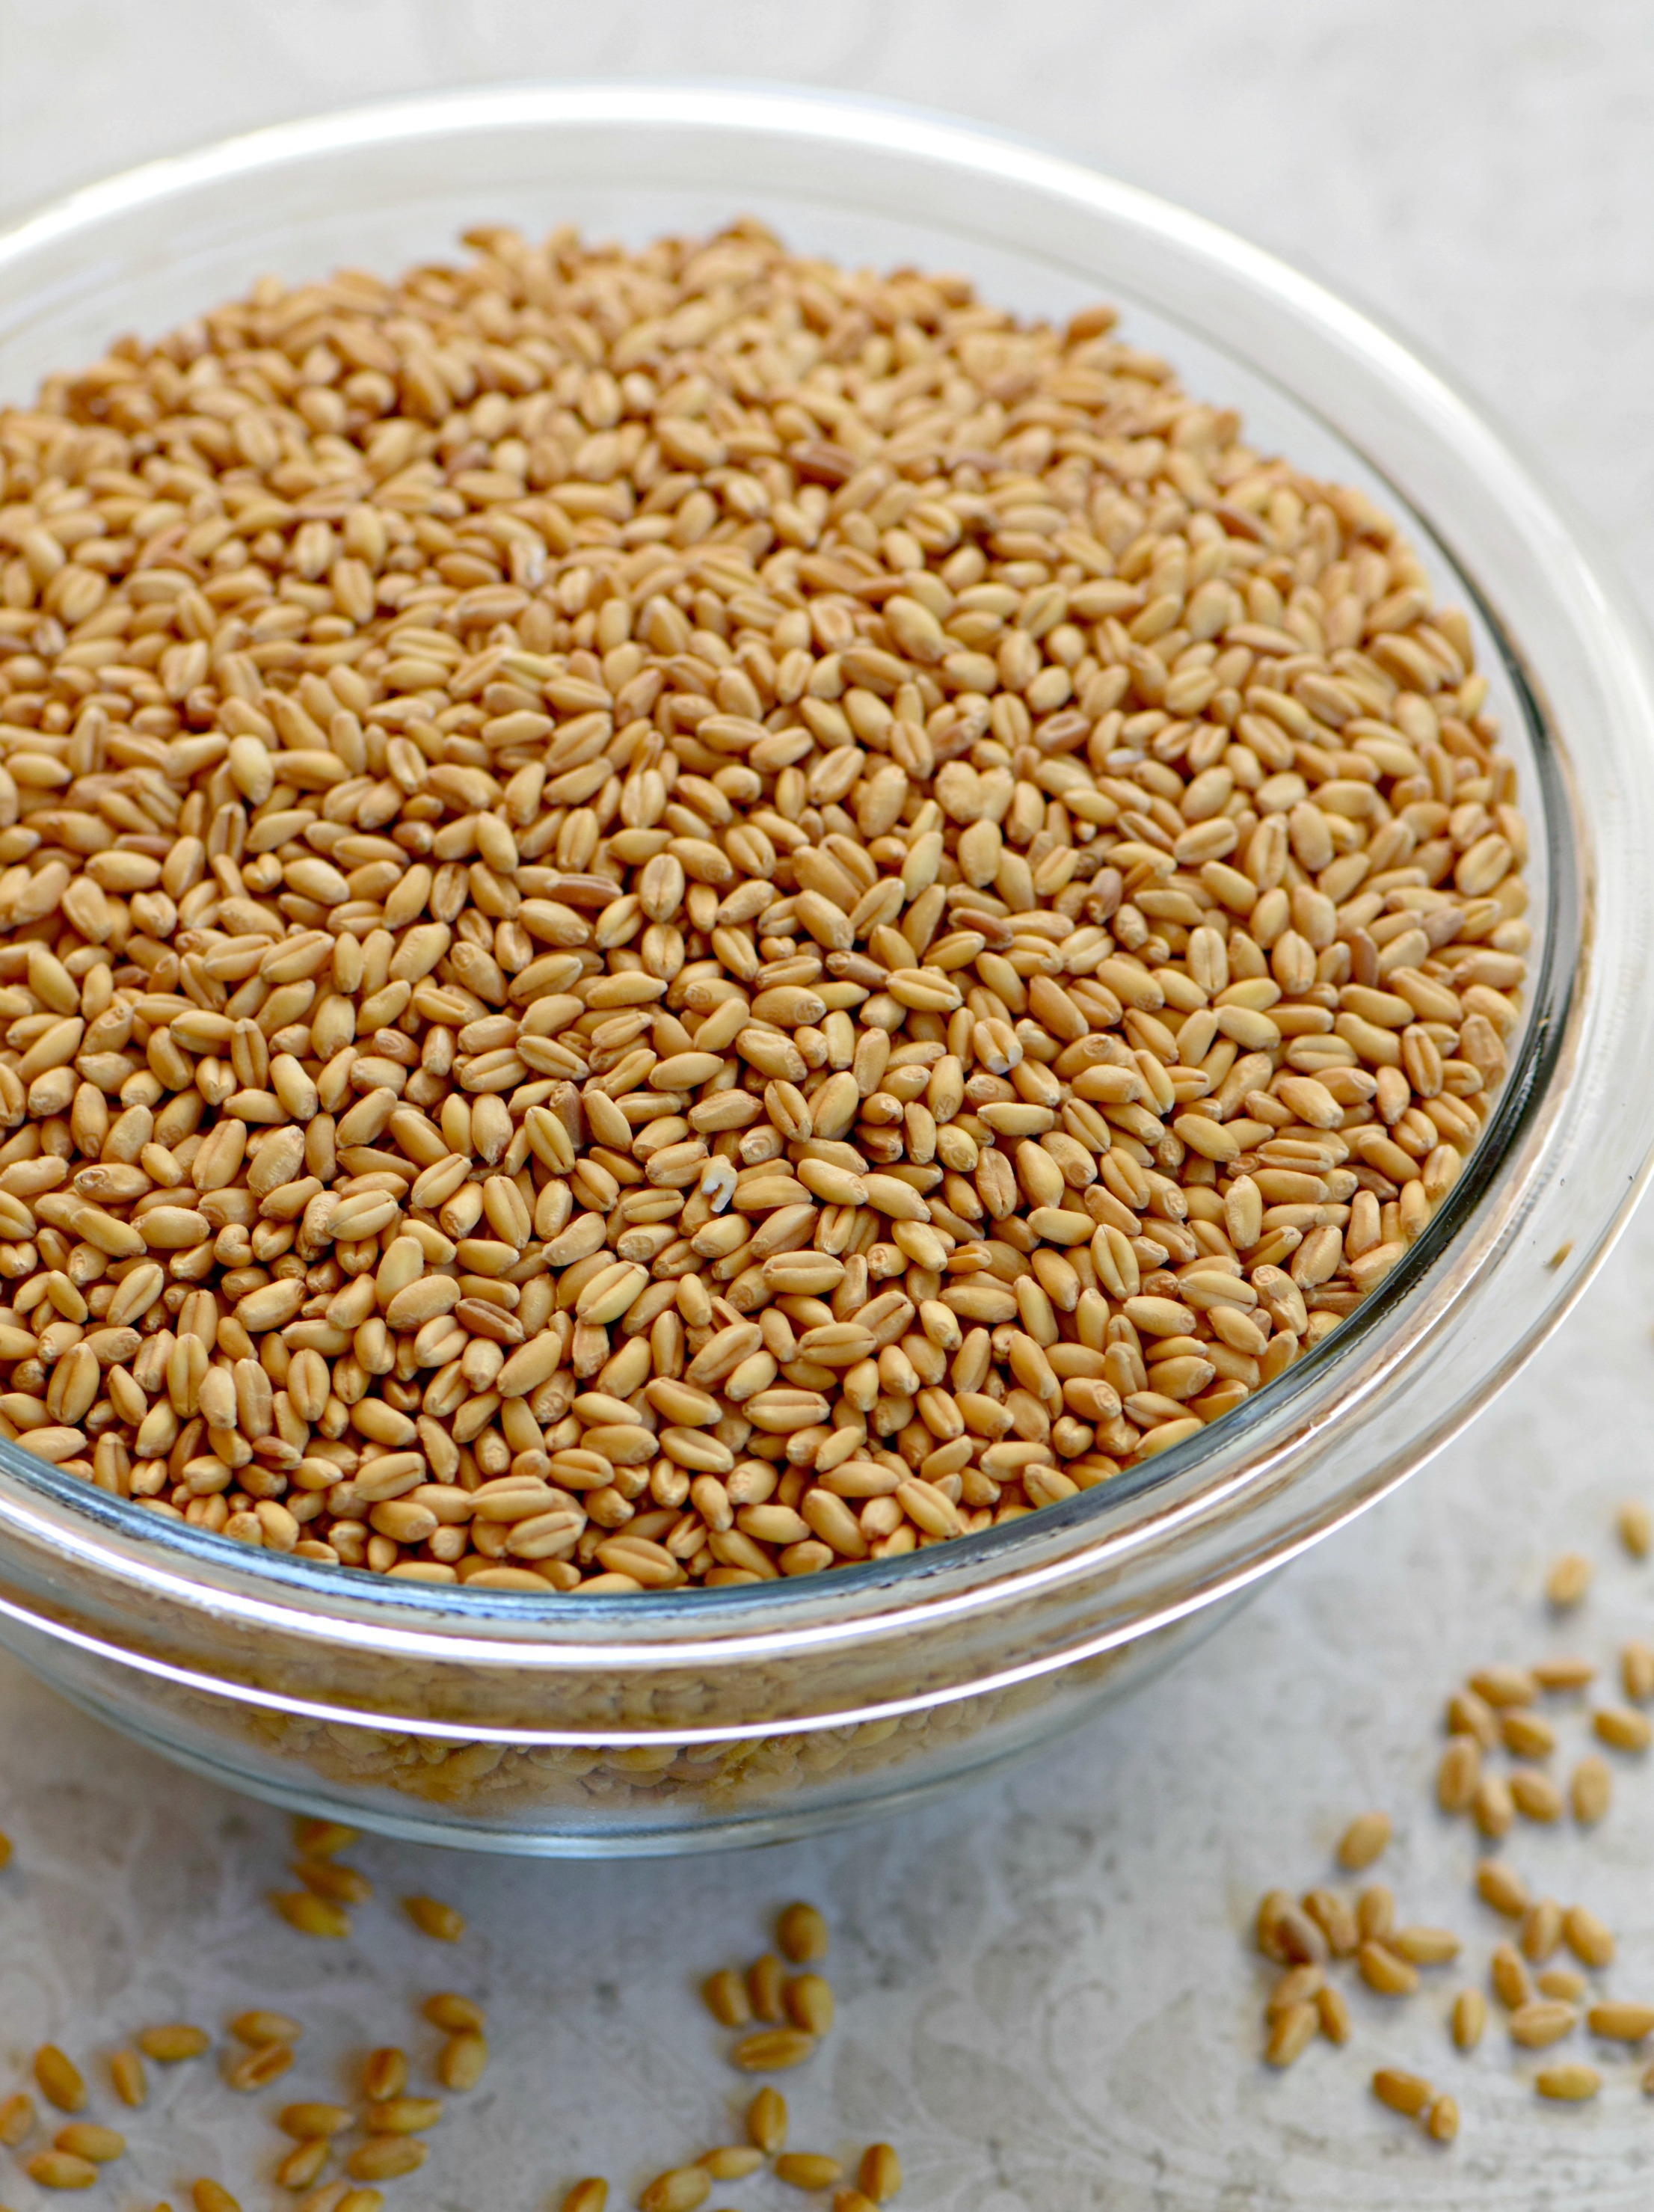
- Buy the right kind of wheat berries. There are two types of wheat berries, hard and soft. Hard wheat berries are better for breads while soft wheat berries are better for pastries. You can find wheat berries online or in grocery stores with bulk sections. Bob’s Red Mill sells both hard and soft wheat berries. A cup of wheat berries gives you approximately 1¬º to 1½ cups flour. Wheat berries will keep at room temperature for ages without spoiling.
- Freshly milled flour is warm and full of air. Let it settle for around 30 minutes before you measure it for baking. If you are making a recipe where you want to keep the ingredients cold, such as pie crust or other pastry, do not use the flour right after milling. Store it for a day in the refrigerator or freezer prior to use.