
Is making bread easy? Well, let me just tell you, I’ve never made bread before and being a mom with three kids, making bread is the last thing on my mind! But because I love to try new things in the kitchen I decided it was time to tackle this age-old pastime of bread making.
But it wasn’t enough to try to make bread just one way. I tried two! One with the bread machine and one from scratch. Check out my experience to see which one you prefer!
The Bread Machine
I’ve read in many articles that when it comes to breadmaking, the bread machine will change your life. You literally set it and forget it, and two hours later you have a fresh loaf of bread. Using the super affordable Hamilton Beach Bread Machine, I did just that.
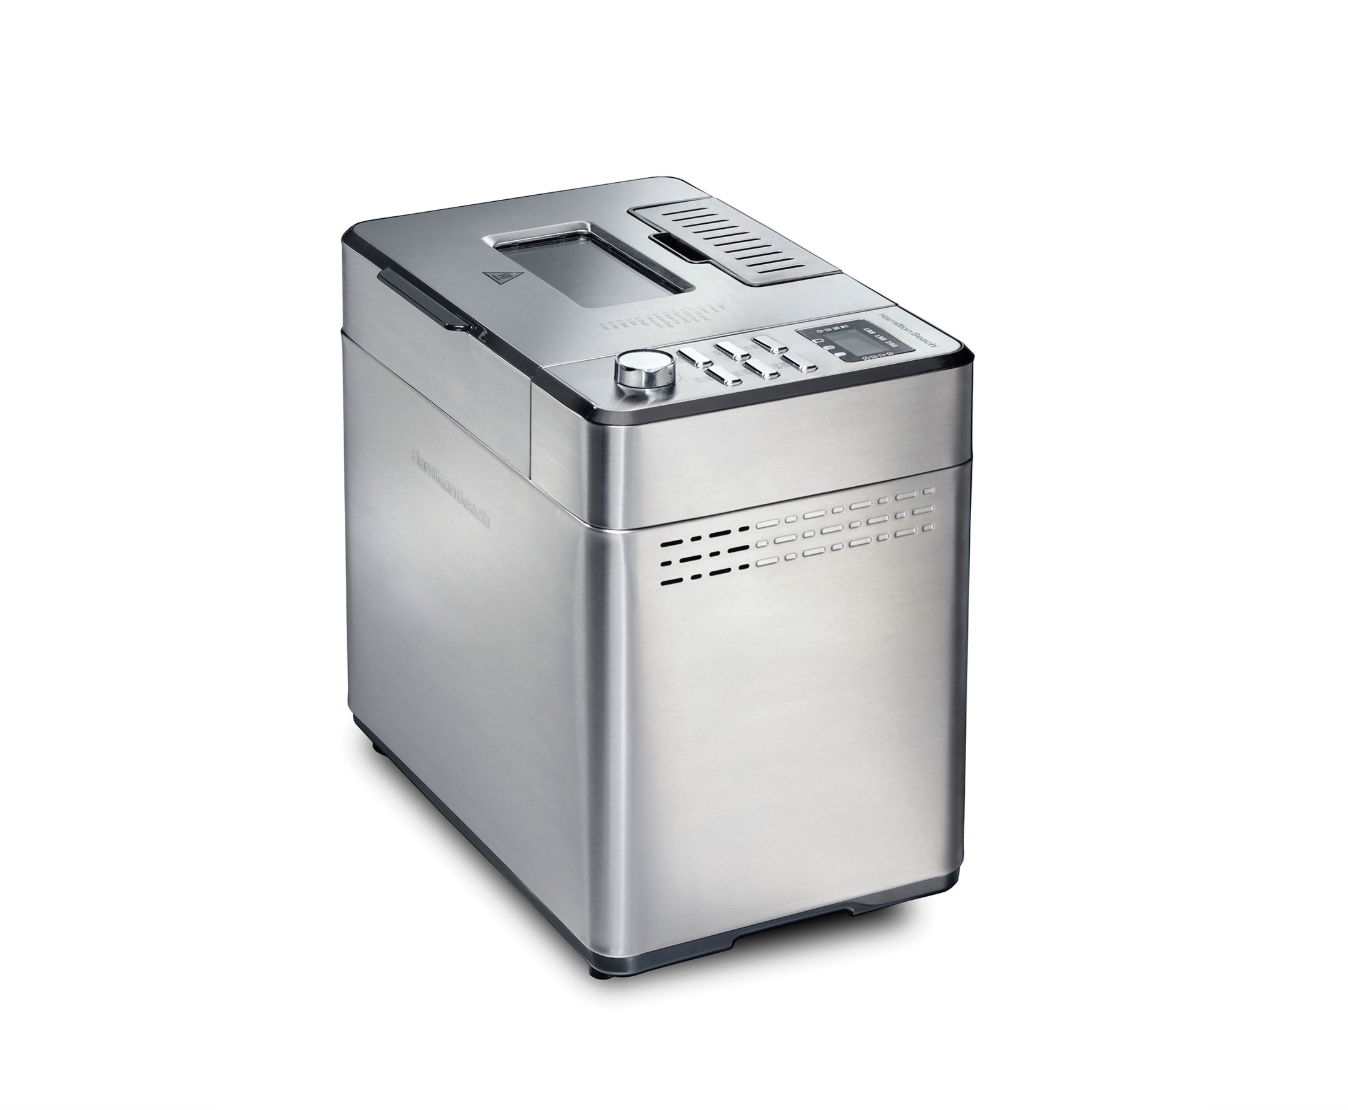
I think what you’ll love about this machine besides the price, is that it has a ton of options that include:
- 14-cycles – for bread, dough, cake, jam, and more
- 3-loaf sizes and 3-crust options – choose 1, 1.5, or 2 lb. loaf and light, medium, or dark
- Viewing window – watch bread as it kneads, rises, and bakes
- Delay timer – lets you add ingredients and start the baking process later
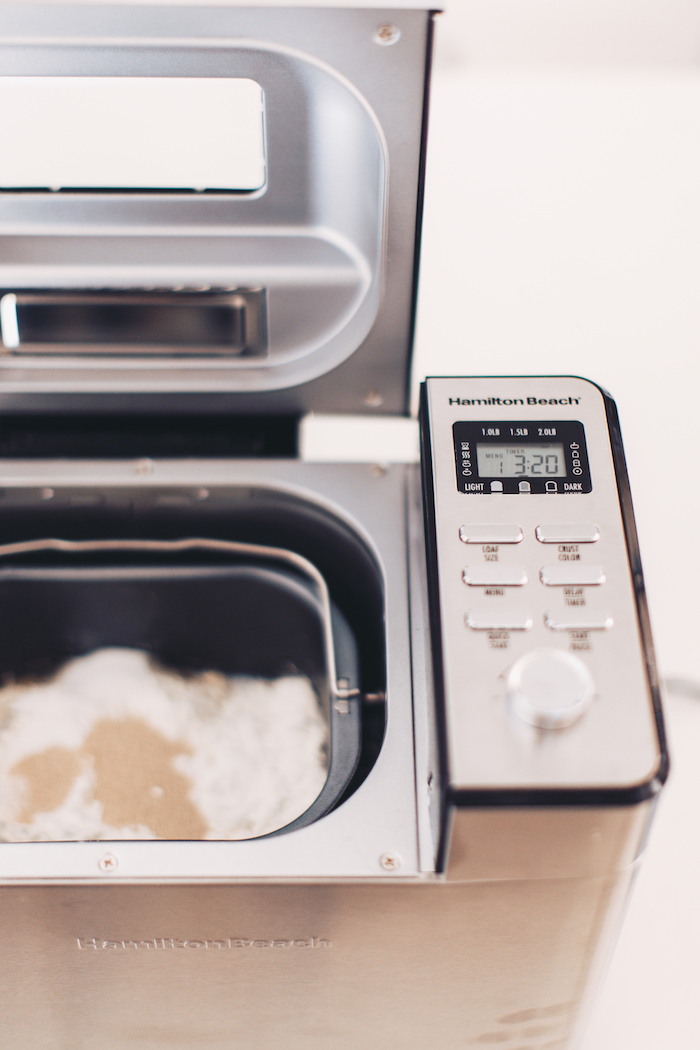
I wish I had more to say about the process but I’ll just show you in pictures because it’s that easy! The ingredients for a basic loaf include sugar, oil, flour and yeast for the most part. You just put all the ingredients in the machine and set the machine to the desired setting.
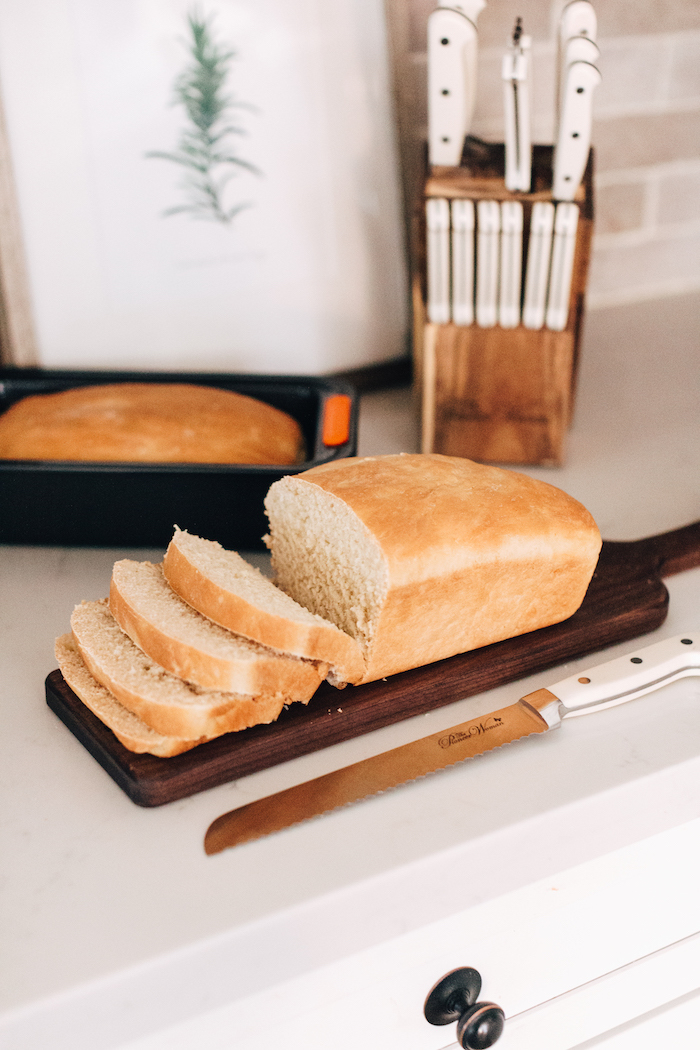
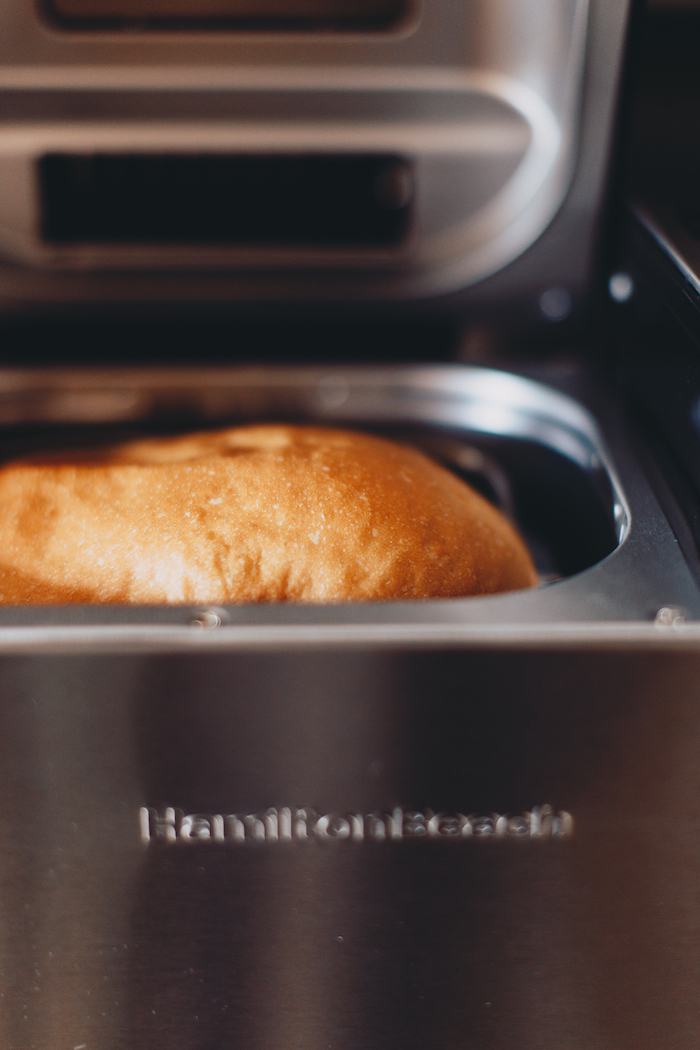
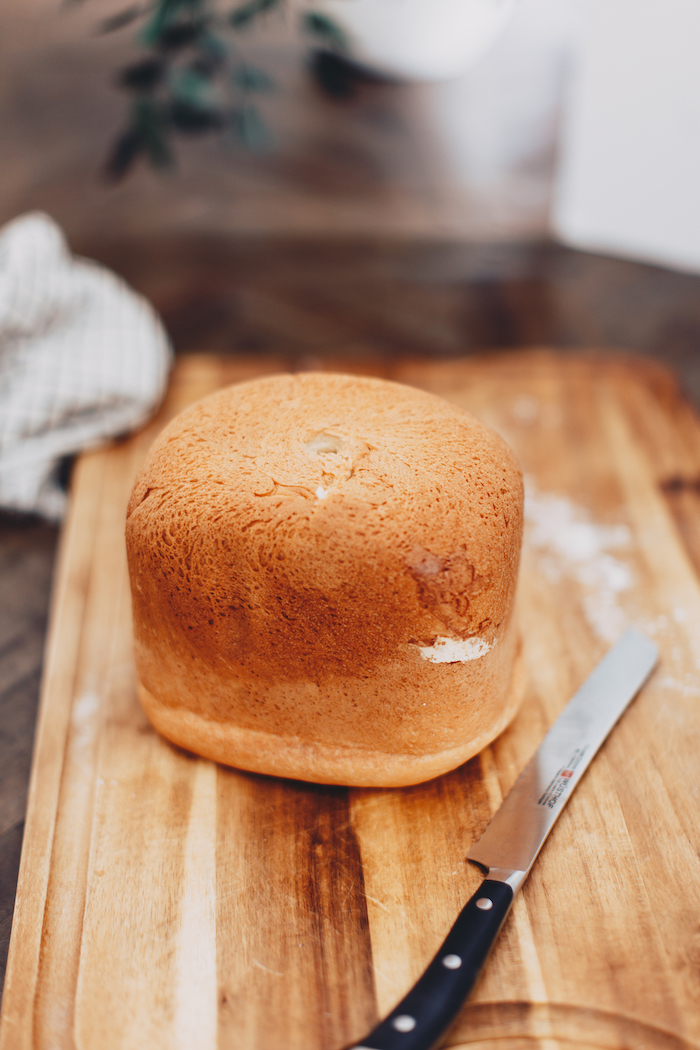
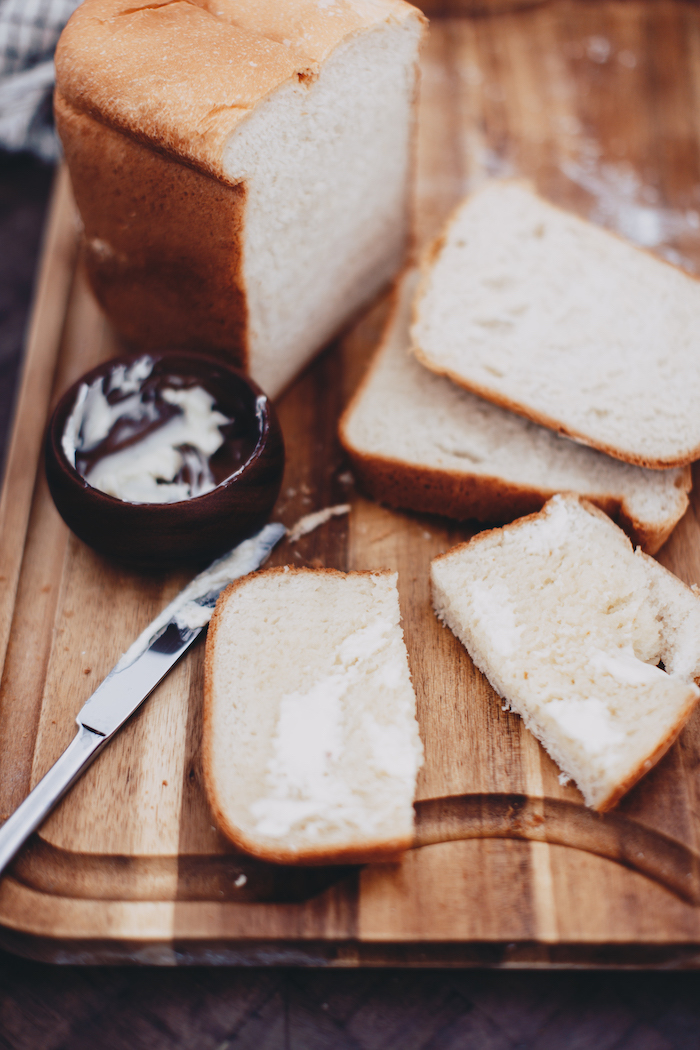
Open your machine a few hours late and like magic, your bread is done! Oh and friends, the bread is DELICIOUS! Light, flavorful and warm!

Basic White Bread for a Bread Maker
Ingredients
- 0.67 cups lukewarm water
- 0.25 cups lukewarm milk
- 2 tbsp butter
- 2.5 cups all-purpose flour
- 5.5 tsp sugar
- 1.25 tsp salt
- 1 tsp active dry yeast or instant yeast
Instructions
- Put all of the ingredients into your machine in the order recommended by the manufacturer. No need to mix.
- Program the machine for basic white bread, and press Start.
- When the loaf is done, remove the pan from the machine. After about 5 minutes, gently shake the pan to dislodge the loaf, and turn it out onto a rack to cool.
- Store, well-wrapped, on the counter for 4 days, or freeze for up to 3 months.
Nutrition

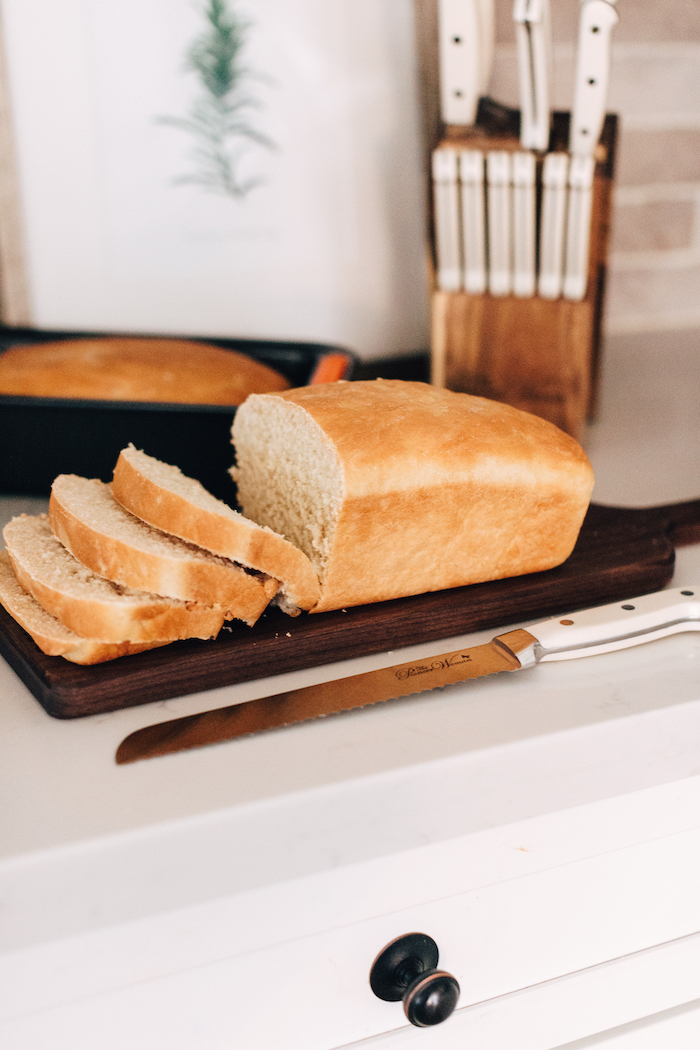
Breadmaking from Scratch
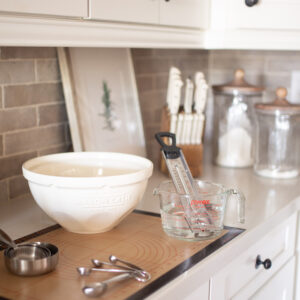
Now after that experience I put my cooking skills, rolled up my sleeves and made bread from scratch. Kneading and rising and punching and proofing. I did it all! But not without all the proper tools!
Making bread from scratch does require a few extra steps so I was hoping it will be worth it. Spoiler alert: it was!

The first step involves dissolving the yeast and water and sugar. From what I’ve read this is sort of an activation stage! The water needs to be around 100-110 degrees. No hotter or you can kill the yeast!
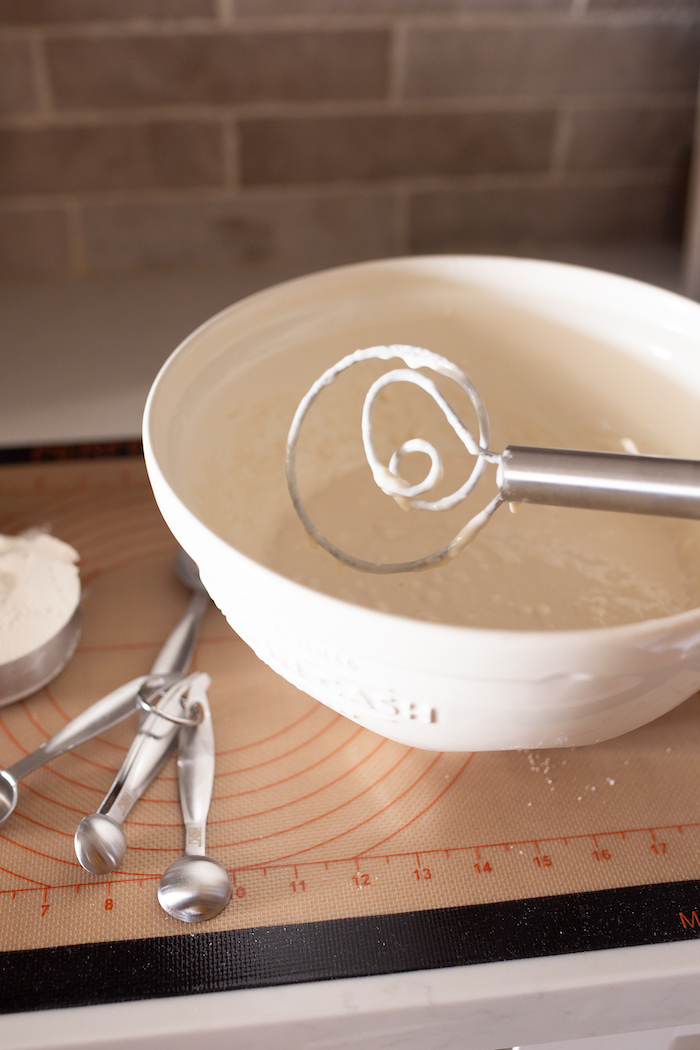
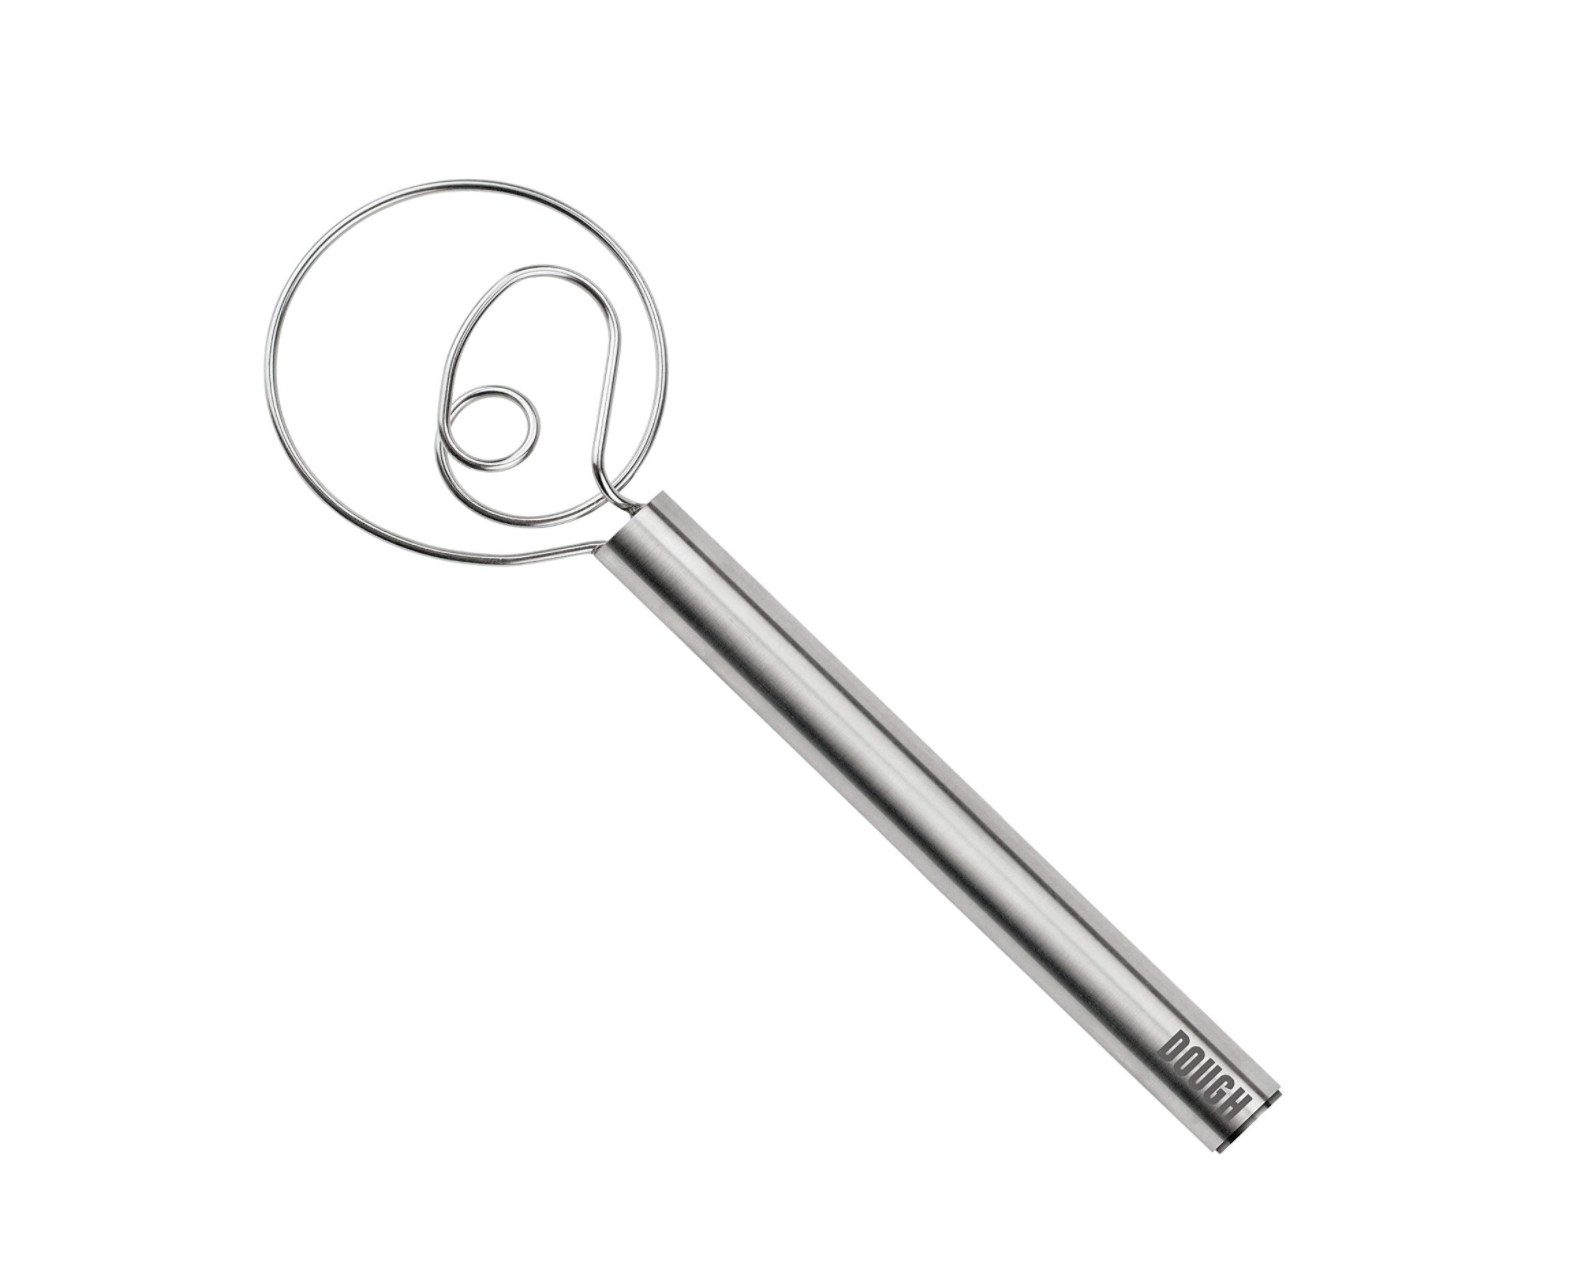
You will add the flour in until it’s no longer sticky but comes together easily. But too much flour and it will be tough. So add the flour slowly. The same goes if you are using a mixer or kneading it by hand! Use a dough whisk like this one from Tovolo to help make mixing the dough easier!
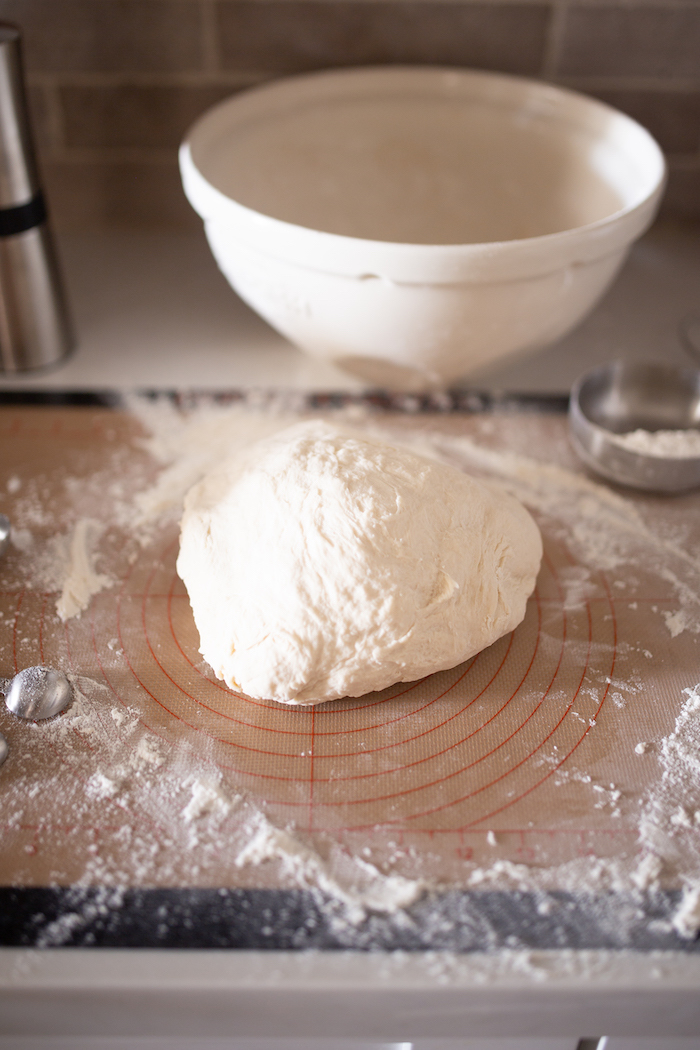
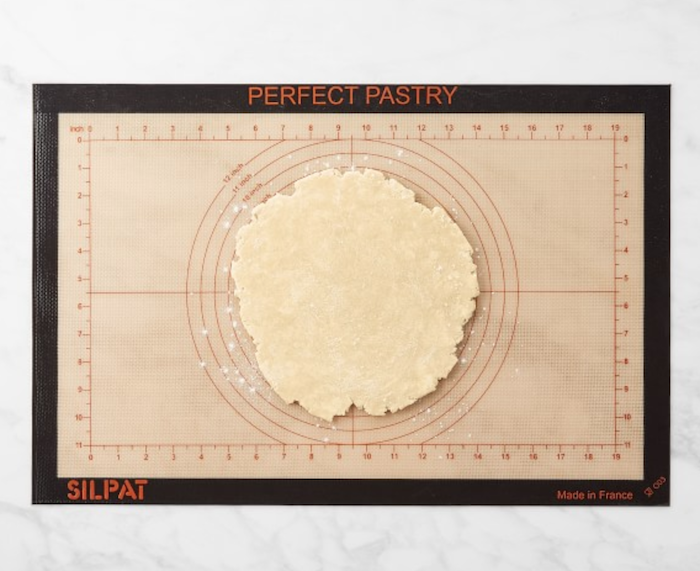
Once you’ve mixed it you are going to want to knead it so the dough comes together nice and smoothly. I like to use a Silpat mat for any pastry or dough creations that are going to be messy. The clean up is so much easier and you don’t have to worry about sticky dough on your countertops.
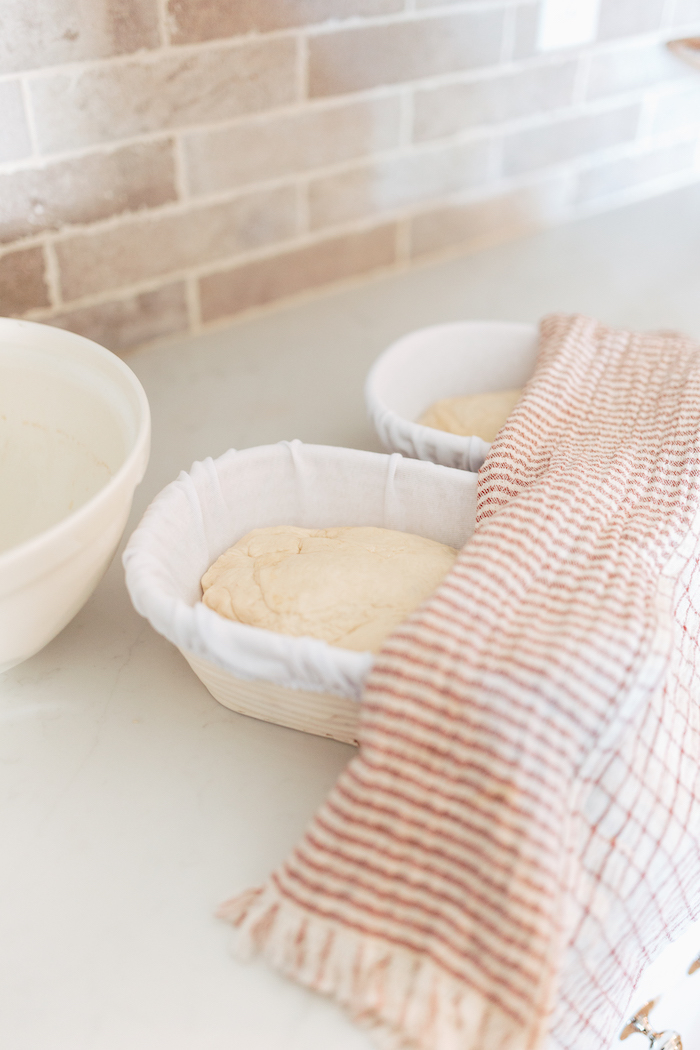
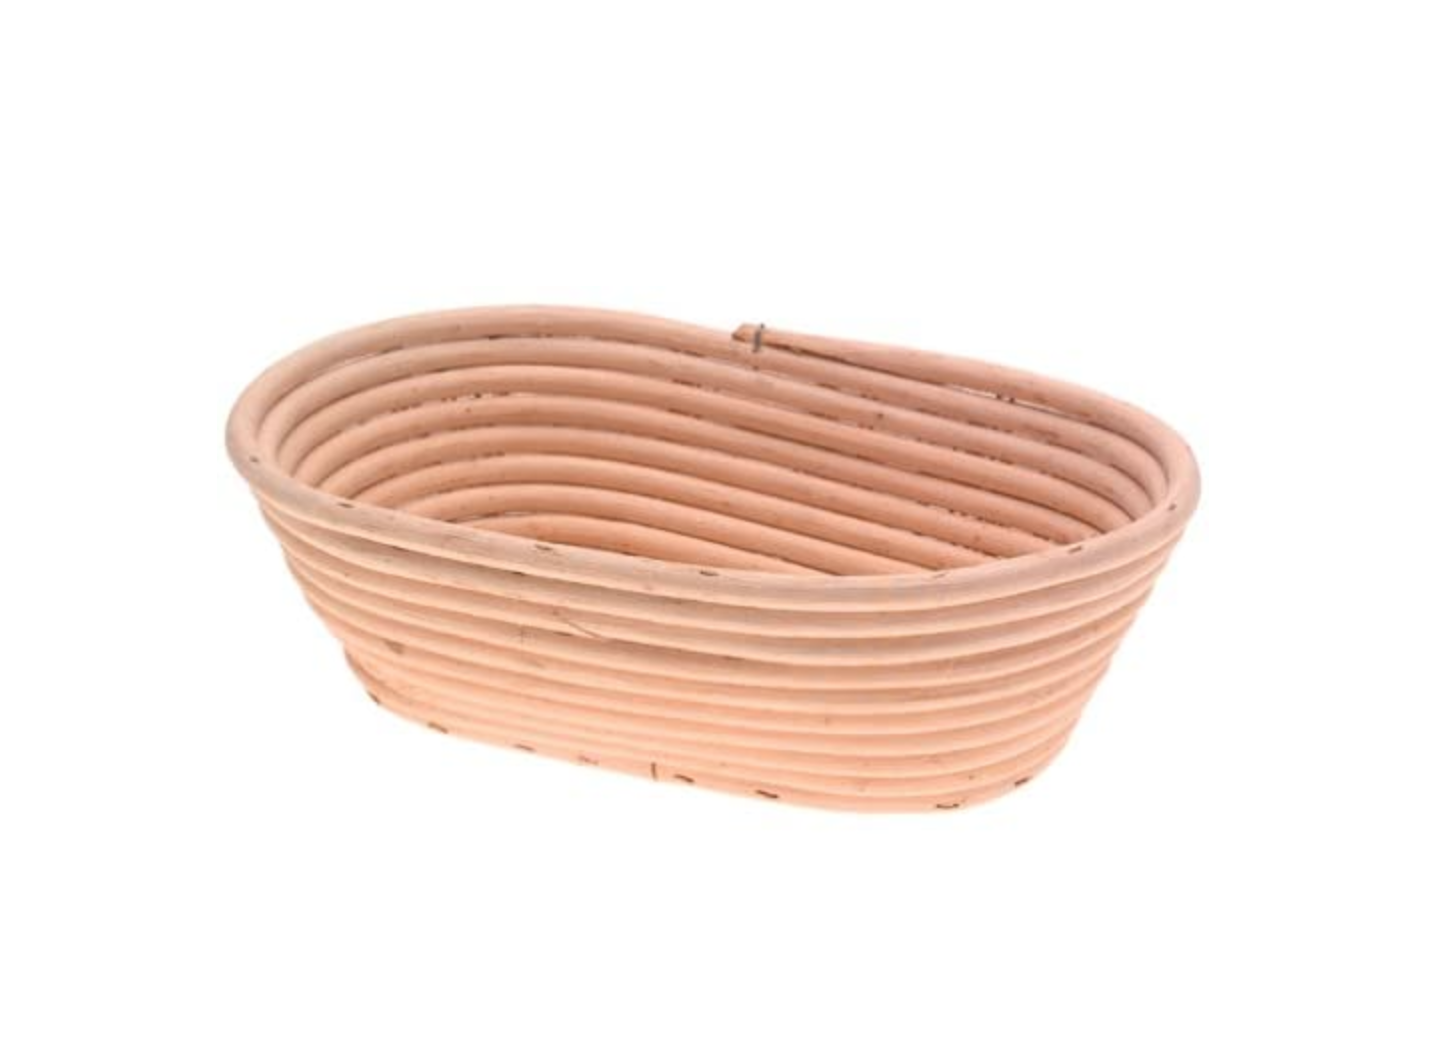
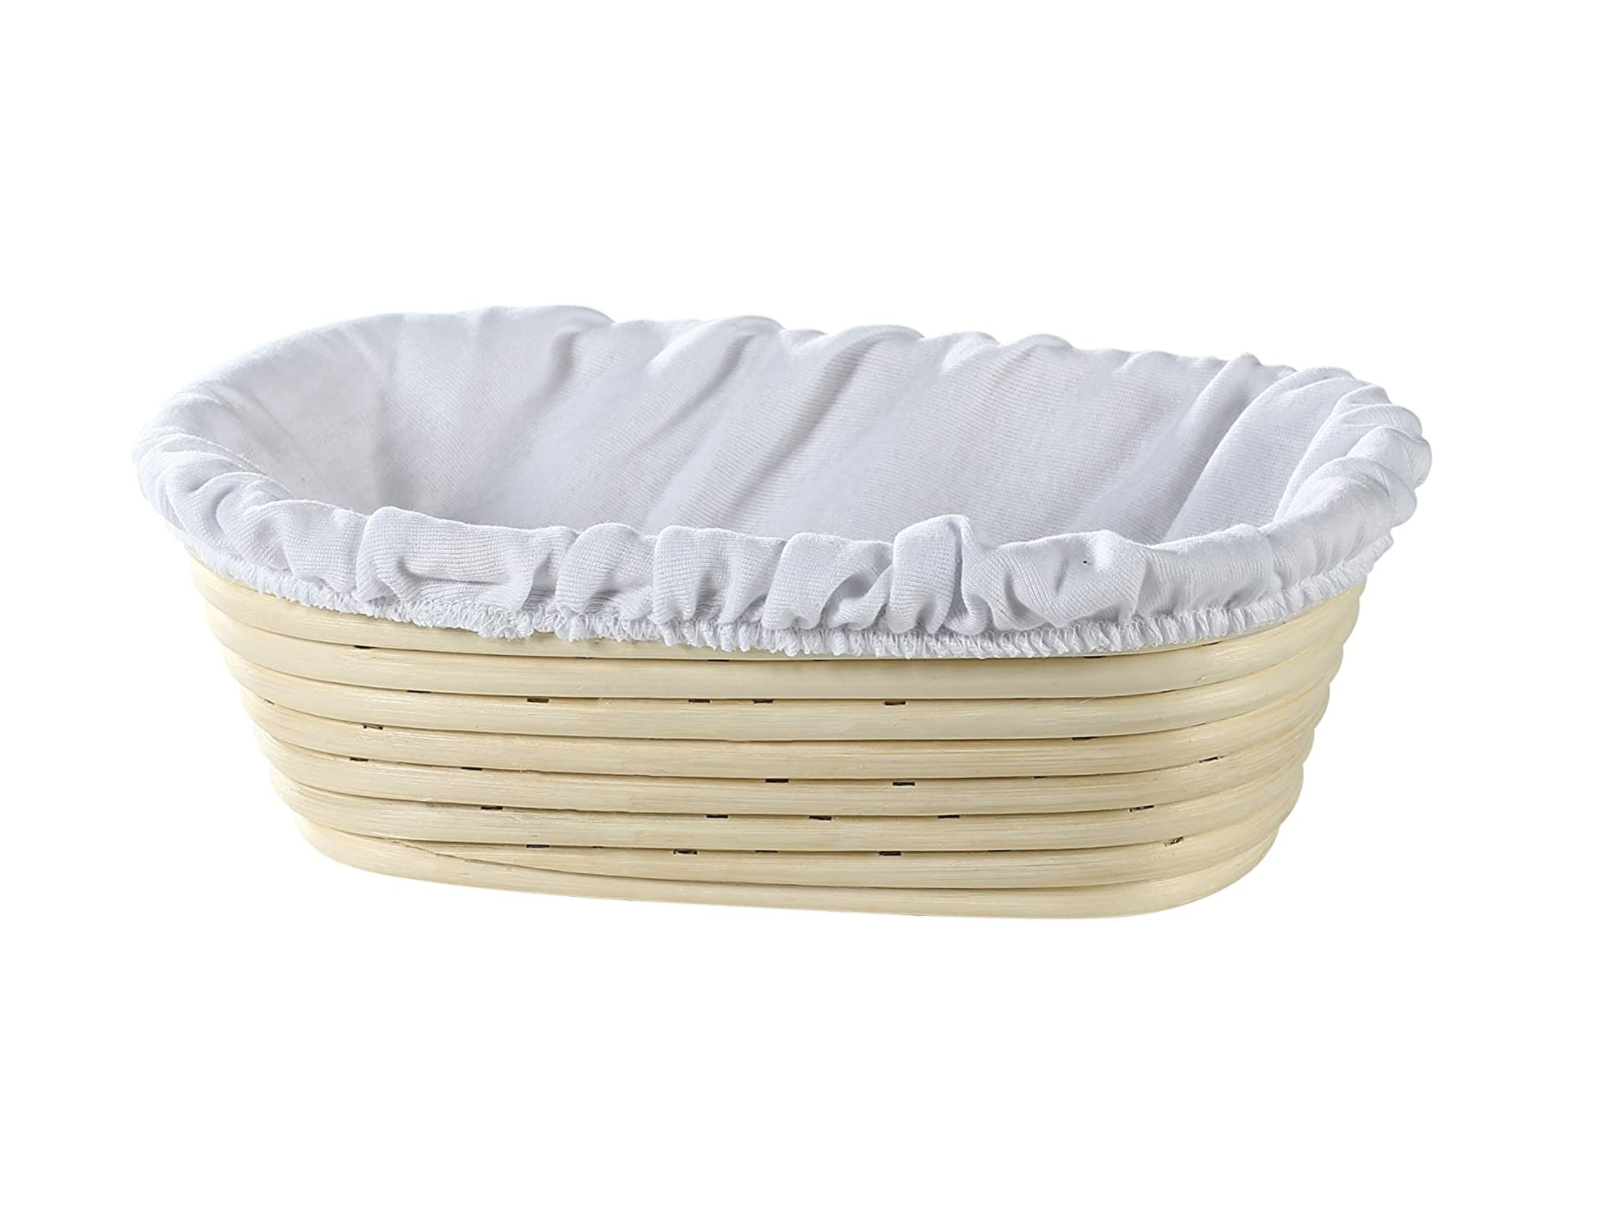
I used a proofing basket to help the loaves keep their shape and structure through their final rise. This seems like a step you can skip but don’t it truly gives your bread amazing shape if you choose not to use a loaf pan!
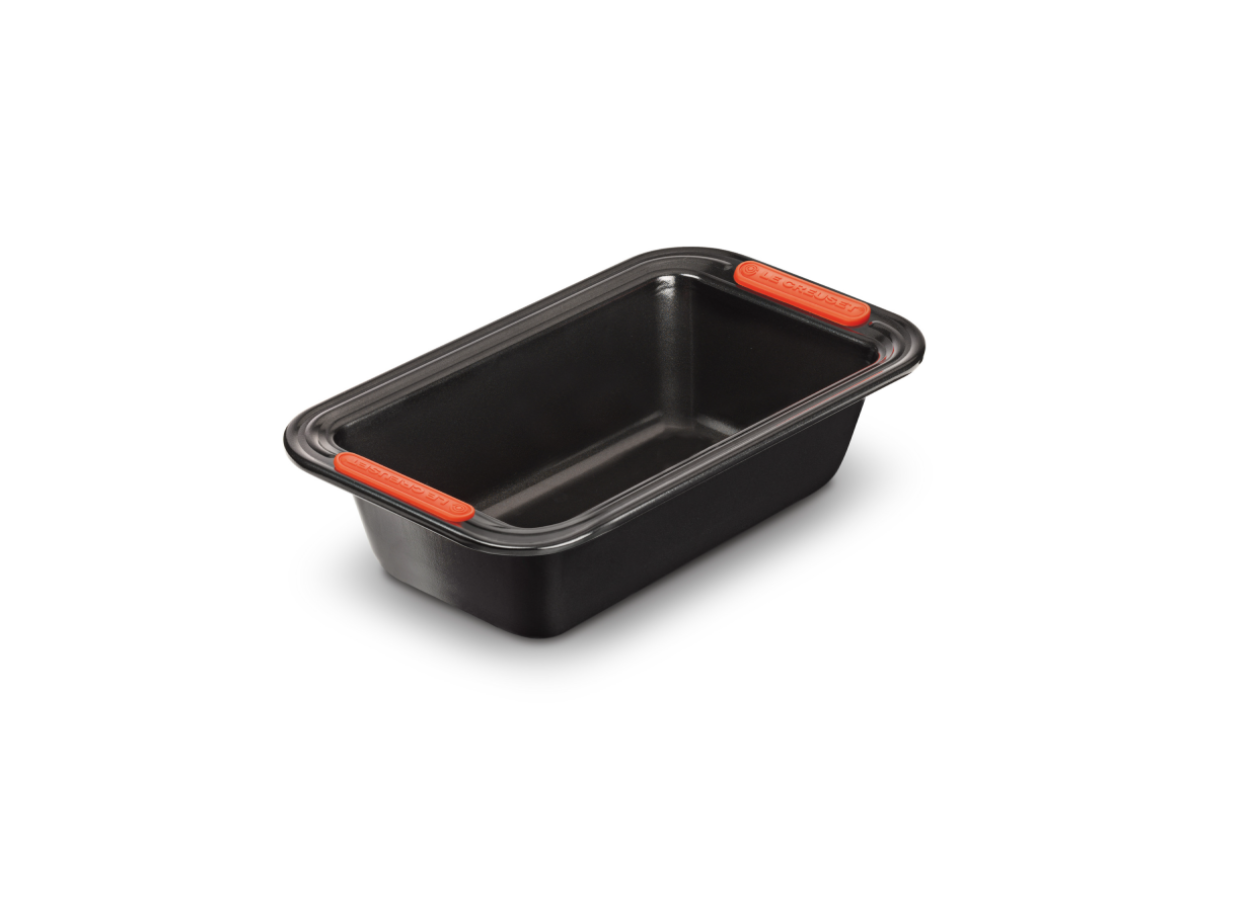
But I still used a couple of metal loaf pans from Le Creuset. A staple for any home chef for sure. It’s coated with a nonstick surface that makes the removal from the pan a breeze.

Once you’ve don’t the final rise, stick it in the oven and wait while your entire home fills with the aroma of fresh bread. Kids, husbands, neighbors the UPS man all will start to come. Just watch.
Basic White Bread
Ingredients
- 2 cups warm water (100-110 degrees)
- 2.5 tsp active dry yeast
- 0.5 tbsp sugar
- 0.25 cups melted butter
- 1 tbsp salt
- 0.5 cups milk
- 6 cups bread flour (approximately 5-7 cups)
- 1 tbsp shortening
- 1 tbsp butter, melted
Instructions
- Place the yeast and sugar in a small bowl. Pour warm water over the yeast mixture and let it sit for about 10 minutes.
- Combine butter, sugar, milk, and salt into a large mixing bowl. When your yeast mixture is ready, add them together and mix.
- If you are using a stand mixer put on your bread hook and then pour in 3 cups of flour. If you aren’t, knead it by hand. Then add in 1 cup of flour at a time and mix. When you get to 5 cups of flour in the bowl, add in ½ cup of flour at a time. Stop when the dough doesn’t stick to the sides or your fingers.
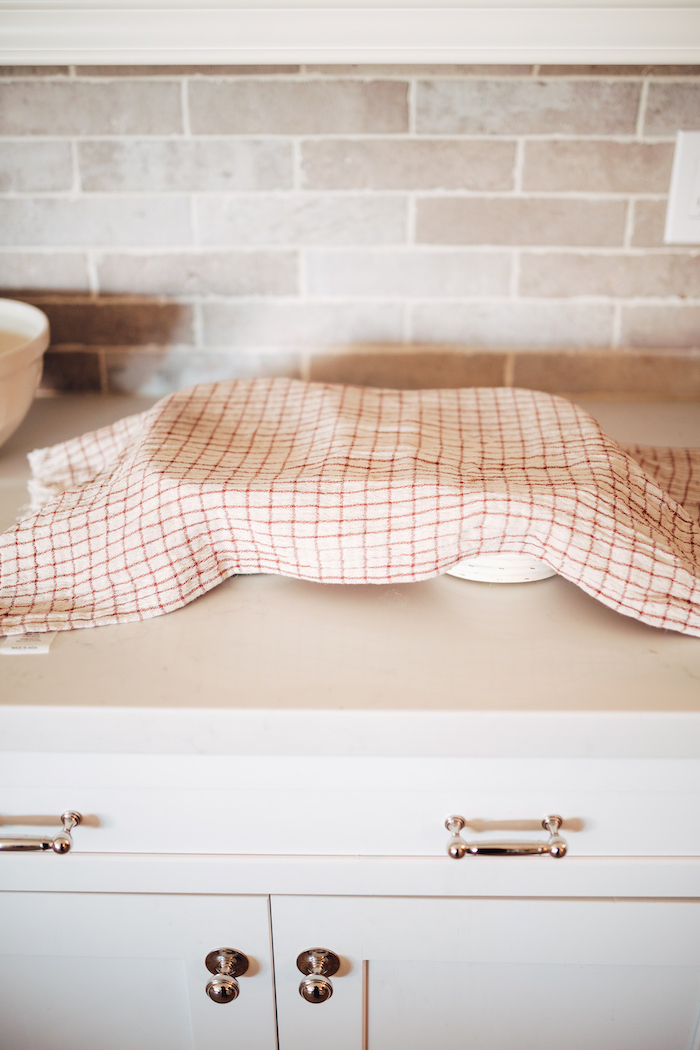
- Then cover the sides of the bowl with shortening and cover the bowl with a warm towel. Let it rise for about 1.5 hours). When it has risen over the bowl, punch it down and place on a floured surface.
- Knead the dough for 2-3 minutes.
- Cut dough into two pieces and place them into the proofing baskets.
- Let the bread rise again in the proofing baskets, and when it looks like a good loaf of bread, place them into the loaf pans. Put them into the oven at 375 degrees for 25 minutes.
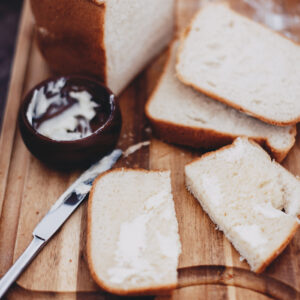
- When you remove the bread from the oven, coat the top with butter. Wait about 5 minutes and remove it from the pan.
Nutrition
So that’s breadmaking two ways. Which one is easier? The bread maker for sure. Which one is better? Honestly, BOTH. Both loaves of bread were equally as delicious.
Now it’s just up to you and how much time you have into crafting a perfect loaf of homemade bread! Either way, you’ll be winning!