
Making sushi at home is fun and simple! It’s a great way to customize your rolls to your taste and save a bundle!
Putting sushi together at home doesn’t have to be complicated or expensive! Today we are going to be making some basic California rolls at home together. Many people put cream cheese in their California rolls too which you will notice we omitted. That is one of the beauties of doing it at home, you can make your sushi just how you like it!
Before we get started I do have to give a disclaimer. I am not a sushi expert. There are a ton of ways to make sushi and lots of people who are far more skilled than I am at this craft. This post is my very basic method of eating sushi more frequently than I could afford to if I only ate it made by master sushi makers. With that covered let’s dive in!
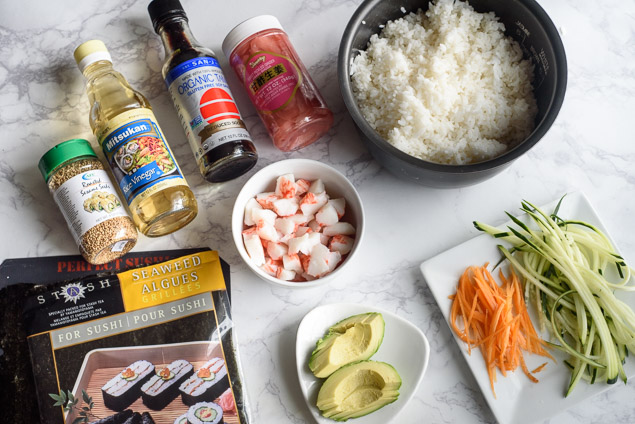
First off we want to start off with our rice. Sushi rice is a requirement here as it is extra sticky. In some places it will be labeled as glutinous white rice.

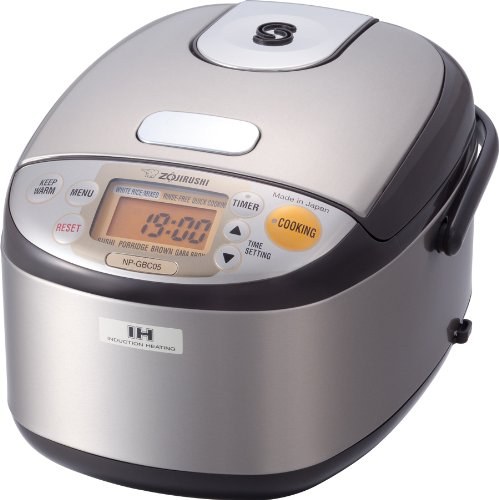
We use our Zojirushi Rice Maker on the sushi setting and the rice always comes out PERFECT! I have owned a ton of rice makers over the years but this one continues to impress me almost a year later with its quality and consistency. I really love that it never over cooks the bottom of the rice too and holds it hot so well.
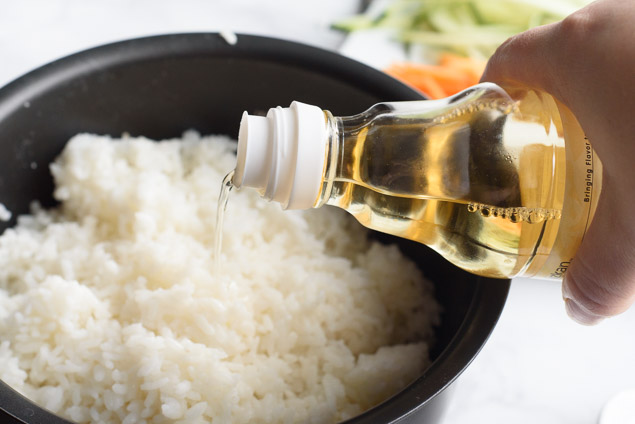
Then I like to add in rice vinegar. There are a lot of opinions on this part. Some say to use a hot mixture of sugar, salt and rice vinegar. We’ve done that and it was a bit overpowering for our tastes so now I just add in ¼ cup of rice vinegar to a big pot of hot rice and stir until it’s cool enough to roll.
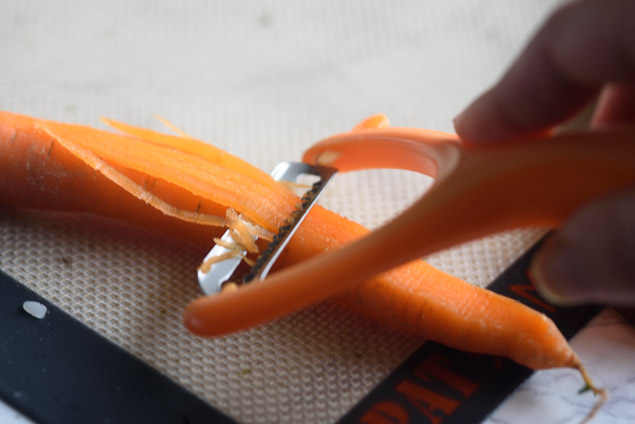
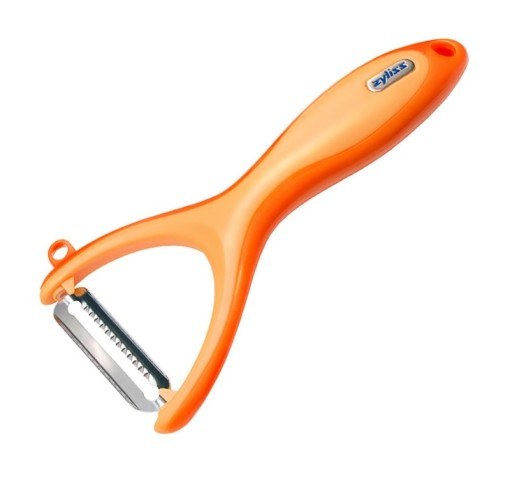
We used this Zyliss Julienne Peeler for making the carrot julienne and I just loved it! It took me a minute to figure out how to use the thing but a quick tutorial on their site got me up and running. It makes quick work of turning a carrot into thin strips perfect for sushi in no time.
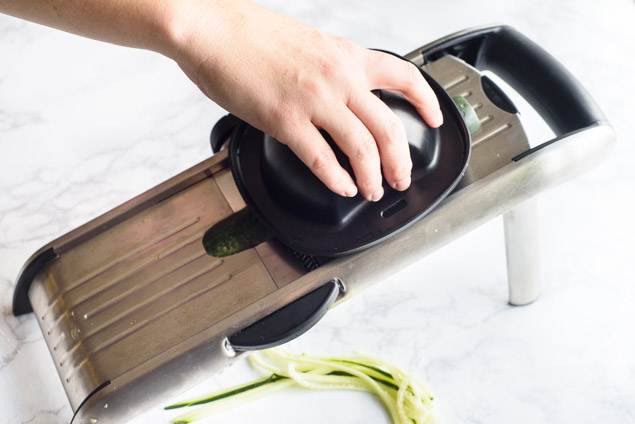
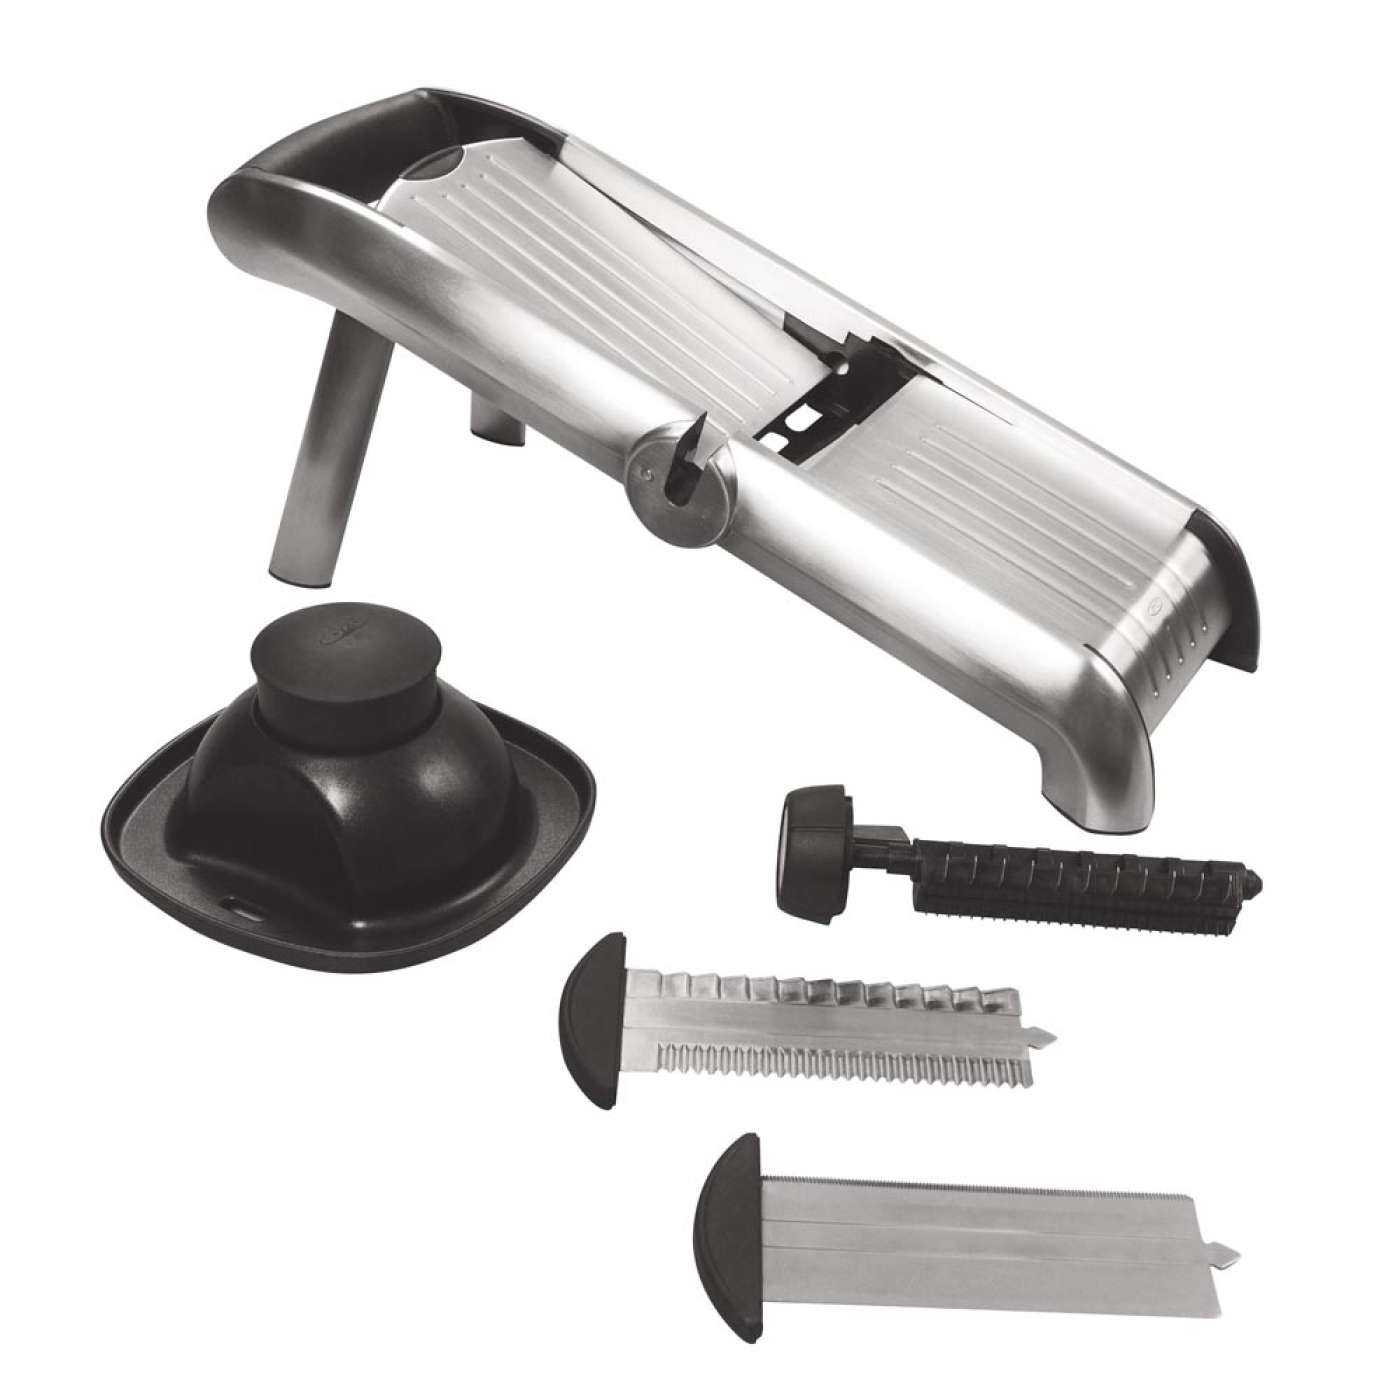
For the cucumber my favorite tool to use is the Oxo Mandolin. It’s fast, and the tiny julienne on it is the perfect thickness for just the right size of thickness on the cucumber. I find that for sushi that this cut is a bit large for carrots and the julienne peeler tends to make the cucumber too thin for my tastes, so we use both of these kitchen tools to get our favorite texture.
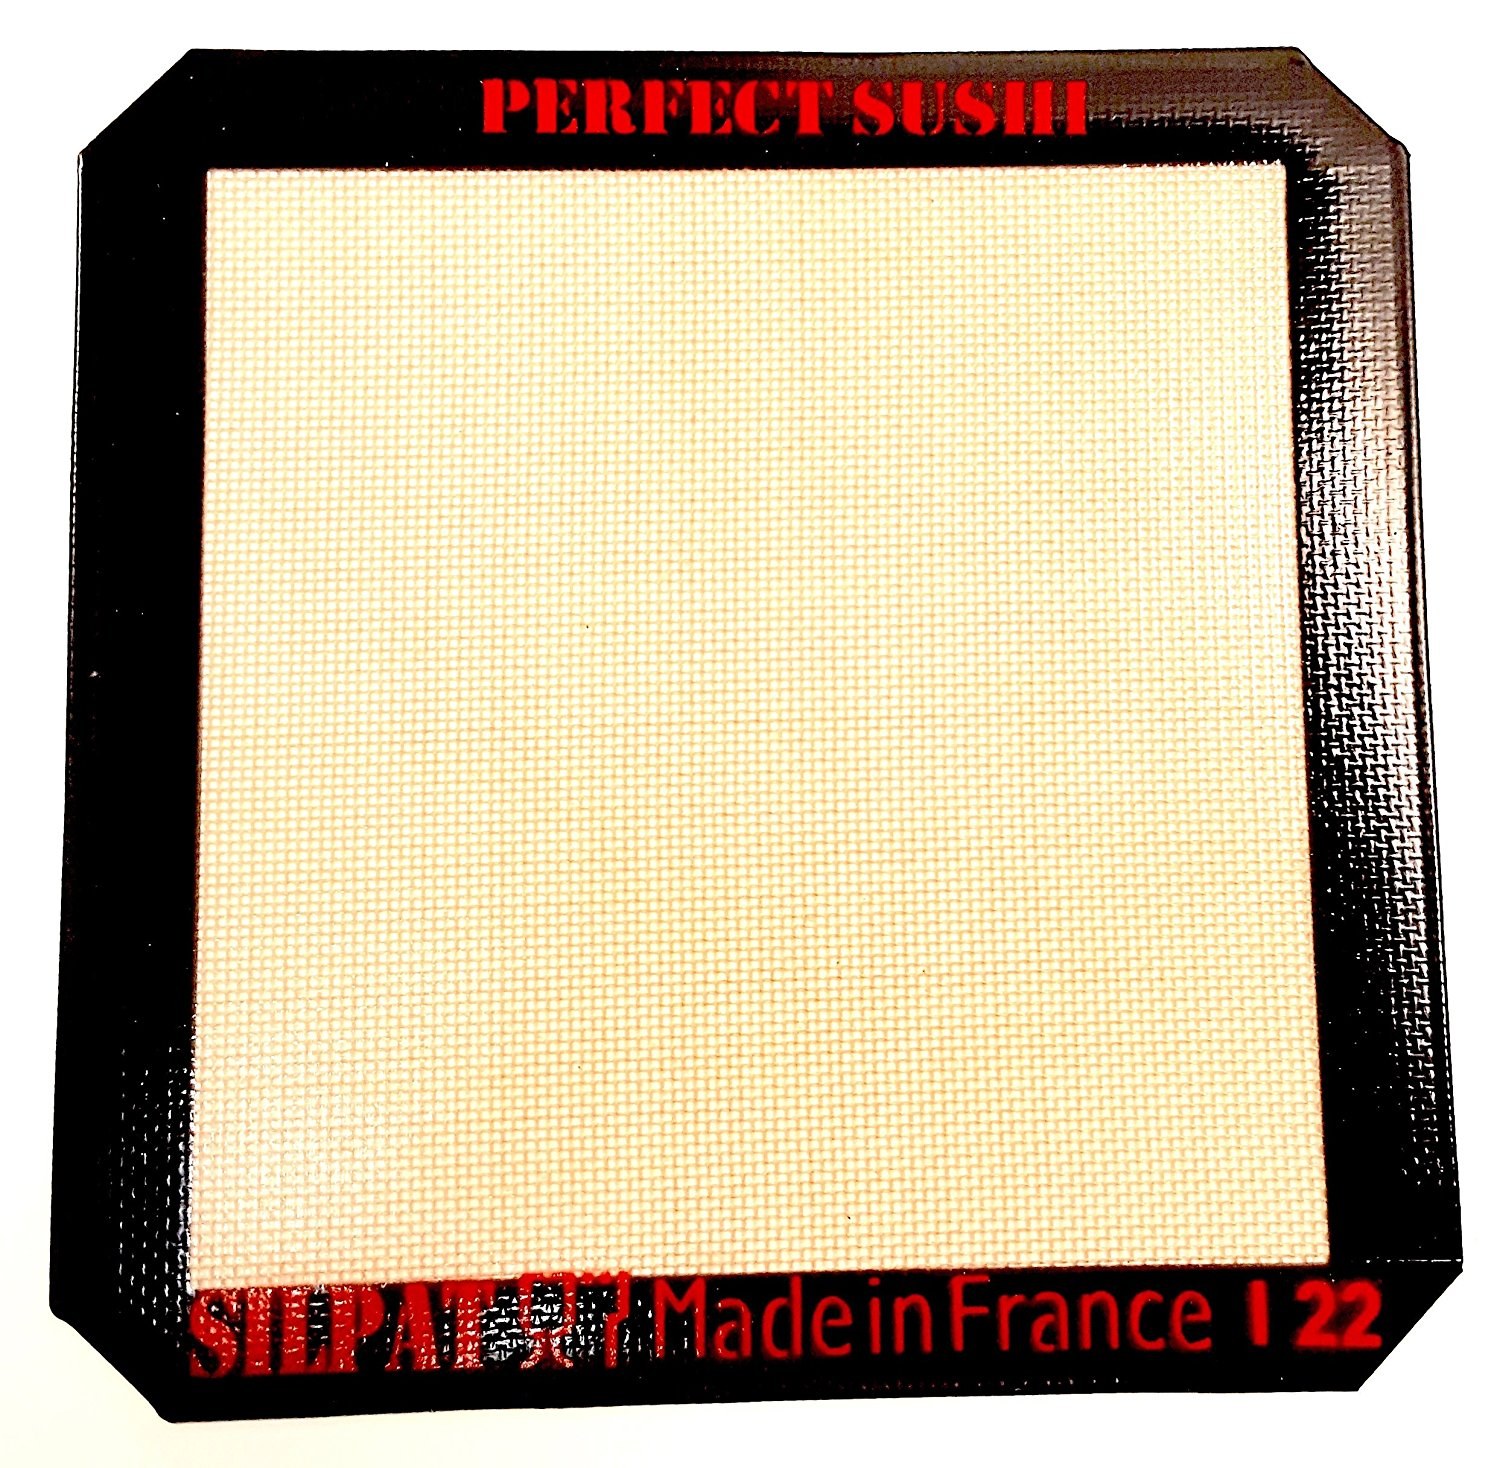
Lay out the nori paper onto your sushi mat, you can use a traditional rolling mat or give this Silpat Perfect Sushi Mat a try. It’s non stick silicone just like their baking mats and it worked fantastically (and there are no holes for rice to get stuck in if your plastic wrap slips). Your nori has a shiny side and a rough side. You always want the rice to be on the rough side so it sticks to it.
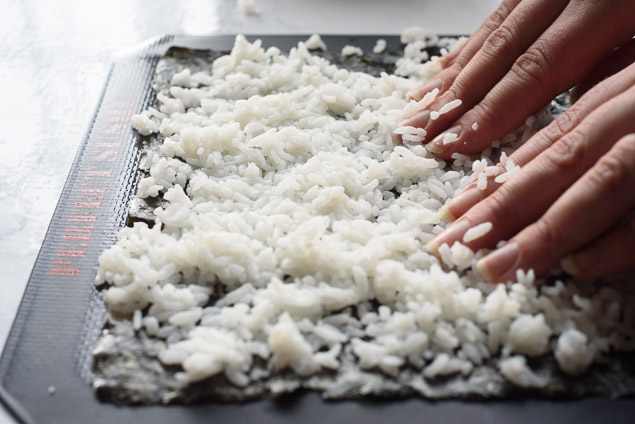
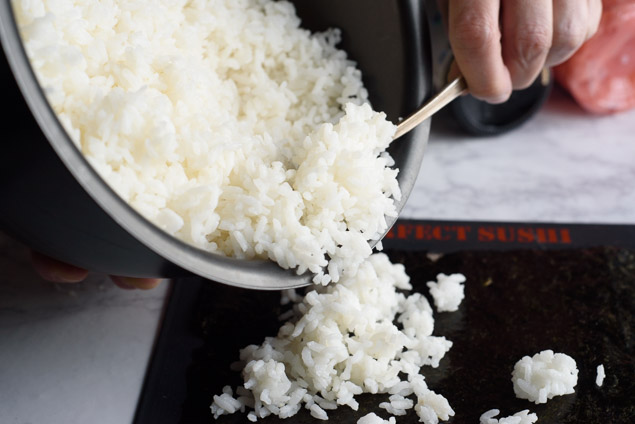
You then press it onto the nori. You can use lightly moistened hands or use the back of a spoon. I have grown to prefer using the spoon method as I find I can get the rice in a thinner layer. Leave about ½ inch of the nori on the edge farthest from you with no rice. This helps the roll seal onto itself.

Lay out all of your filling ingredients on the mat close to the edge nearest to you and pull it to the edge of your mat. Using one hand tuck the roll over the ingredients as you begin to pull the mat over the sushi. Once you get it rolling keep one hand on the roll while you pull the mat with your other hand.
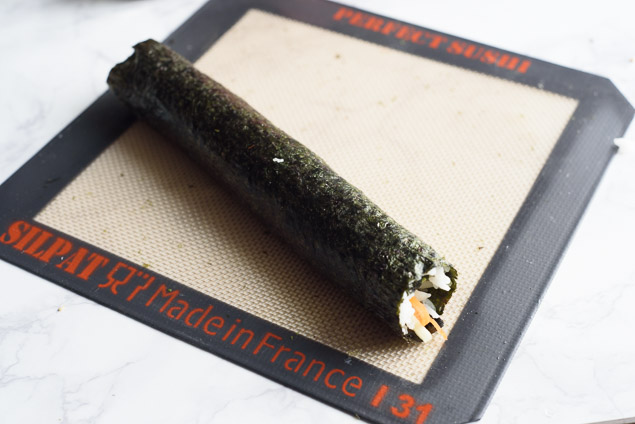
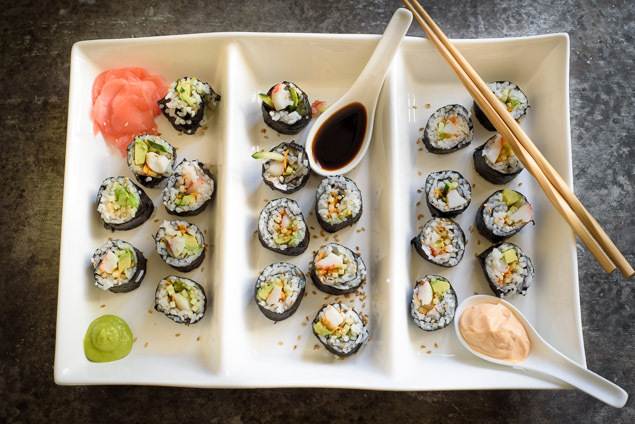
Tada! It’s a beautiful thing. Use a knife dipped in hot water to slice it into 8 slices. Top with sesame seeds and dig in!
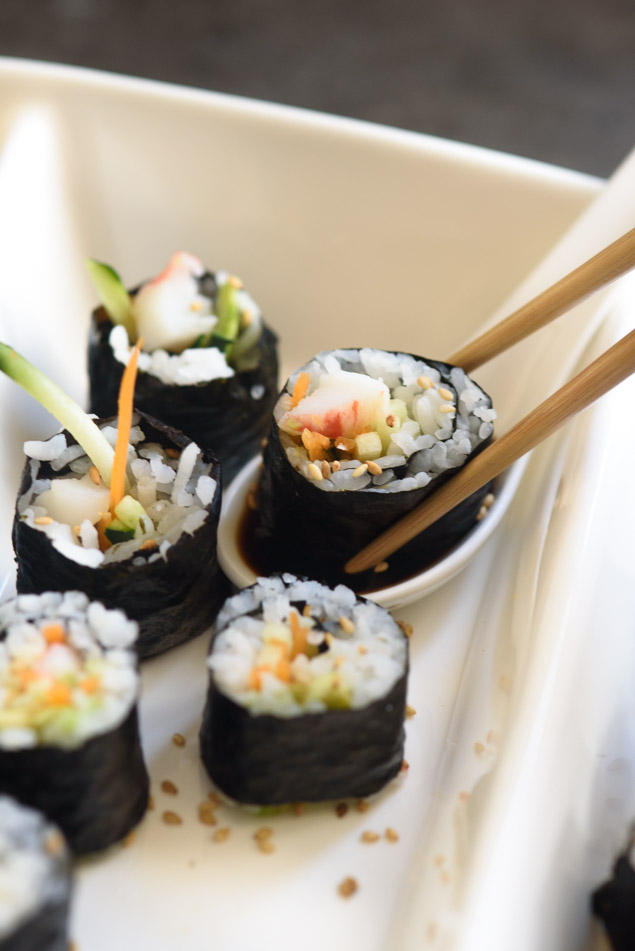
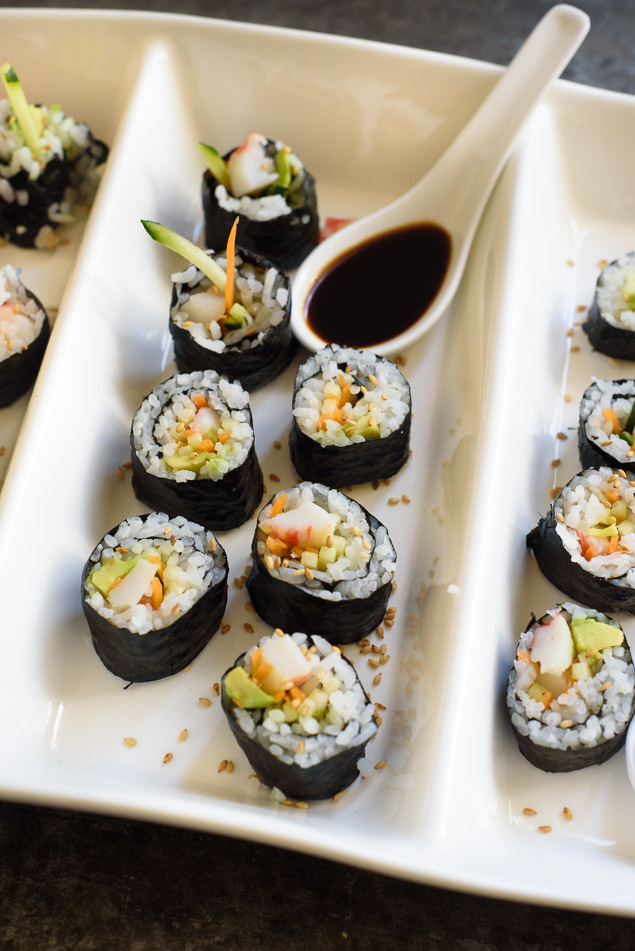
I like to serve our sushi with wasabi, pickled ginger, soy sauce and a bit of Sriracha mayonnaise. I’m also a big fan of thinly sliced jalapeno on mine. I hope this inspires you to get out and make some sushi at home!