
Cleaning is something most of us do on autopilot; it never feels that important, and more meaningful moments in our lives tend to take up more of our mental energy, as they should! However, when our spaces feel cluttered or dusty, it’s time to freshen up. After all, cleaning serves not only to maintain our earthly possessions; sprucing up our spaces also can give a boost to our mood and our overall emotional health. I find that clearing the cobwebs of my home helps to sharpen my mind and actually lets me more fully enjoy the finer moments of my day.
I’m supposed to clean … that. But how? Most of us know the basics: how to clean floors, wipe down kitchen counters, and launder clothing. But there are other items around the house that still need love, and they require a bit more cleaning know-how. Since I’ve spent the majority of my career studying all things cleaning-related and I am not one for wasting time, I’m going to show you how to clean some of these less-attended-to objects using extraordinarily simple cleaning methods.
Using simple, step-by-step cleaning techniques and easy-to-find tools and products makes cleaning these obscure household objects seem less like a dreaded chore and more like a goal to smash. Plus, there’s nothing quite like admiring a sparkling properly cleaned item—even a toilet.
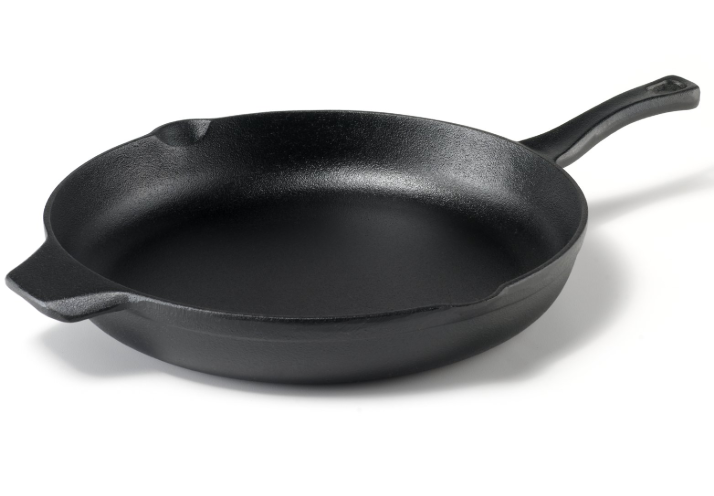
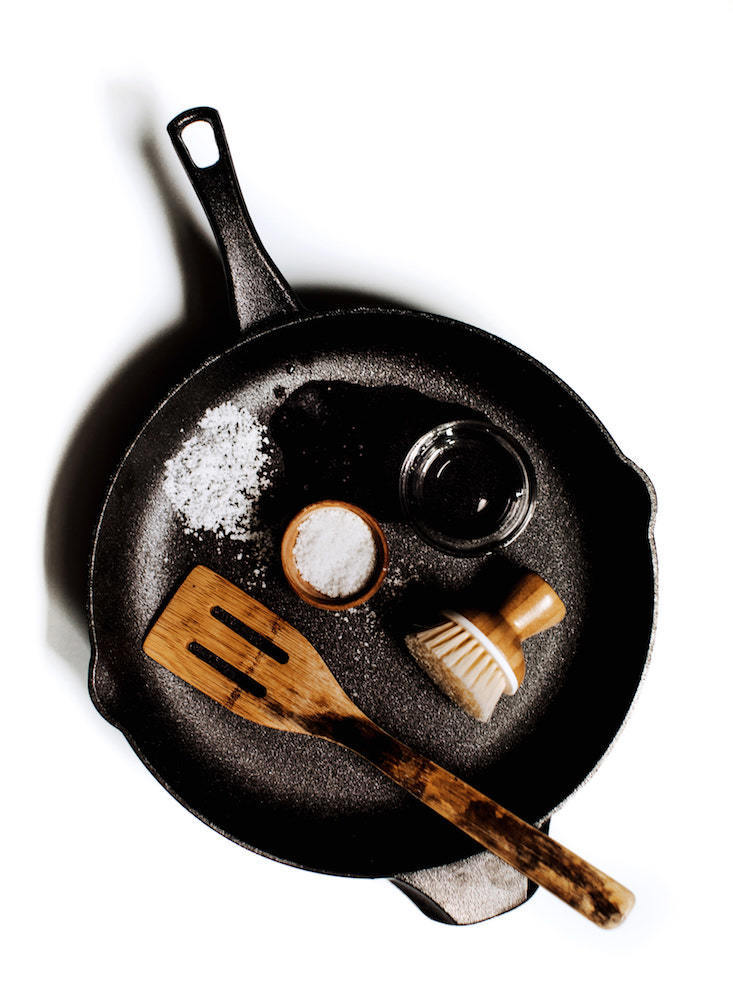
1. Cast Iron Pan
I held off on purchasing my cast iron pan mostly because I was concerned about cleaning it—it seemed dreadful. As time progressed, my desire for a wicked sear on my steak was more important than my fear of cleaning the pan. Today, it’s my pan of choice and cleaning it happens to be a breeze. Simply:
1. Remove food and if nothing stubborn remains behind, wipe pan with paper towel once cooled. When you heat the pan again, bacteria will burn off. A patina, which is a build up of cooking flavors and a naturally non-stick coating, is developed over time using this method.
If baked-on food remains after going through the previous steps:
2. Maintain a low to medium heat and fill pan with an inch of water and a quarter cup of coarse salt.
3. Allow to simmer slightly and scrape bottom with a wooden spoon to ‘deglaze’ pan. Turn off heat and allow to cool.
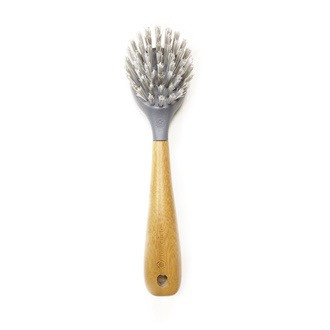
4. For any remaining bits, gently scrub with a palm brush—no dish soap needed—and rinse well. Towel dry.
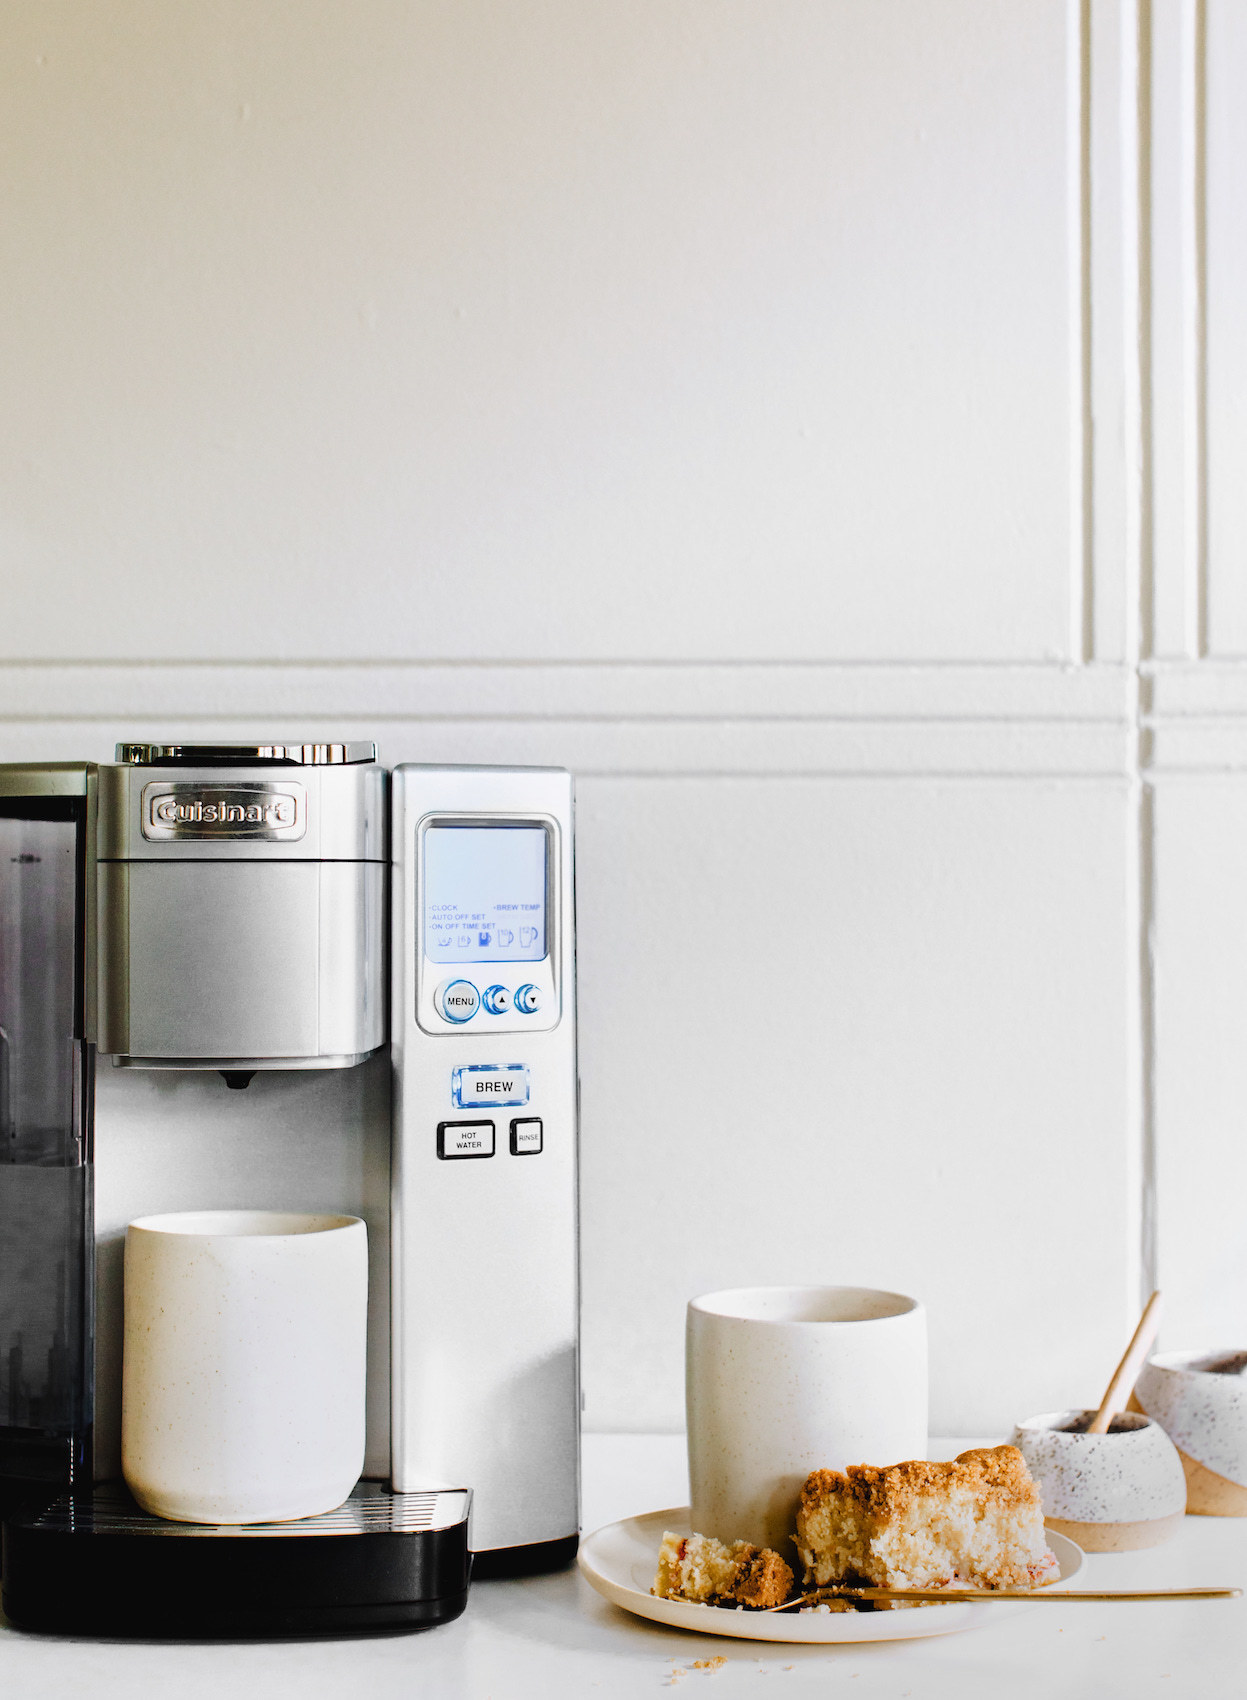
2. Coffee Maker
There’s a reason why the teeth whitening industry is so big—we’ve got a serious love affair with java. Preparing it daily takes a toll on our coffee implements of choice, too. Over time, coffee grinds leave behind an oily residue and limescale can build up in the coffee maker’s machinery and carafe. To break free of coffee stains and freshen up your brew:
1. Empty your old paper filter and coffee grinds.
2. Fill your coffee pot with plain, 5% white vinegar where you would normally pour
your water.
3. Place your carafe where it normally belongs and run a cycle’ through, allowing all of the vinegar to work through the machine.
4. Repeat steps two and three a few times,
unless you enjoy the taste of a vinegar-
latteÃÅ (trust me, you don’t).
5. Rinse the carafe with soapy water.
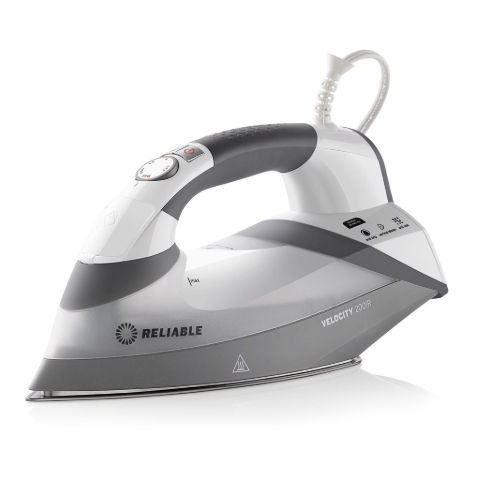
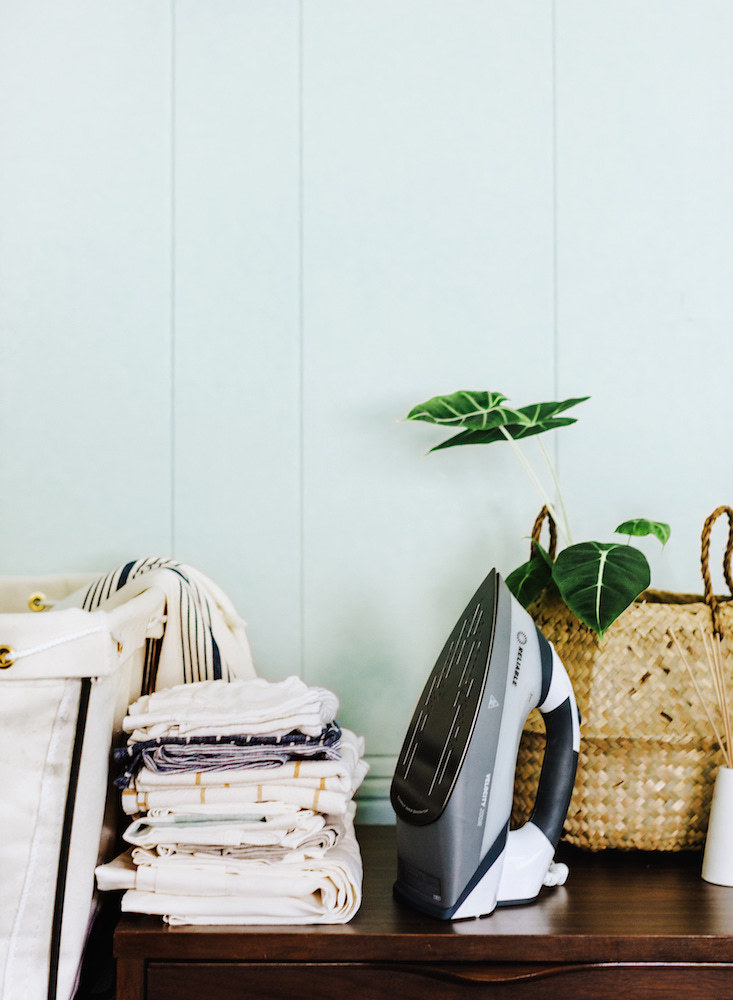
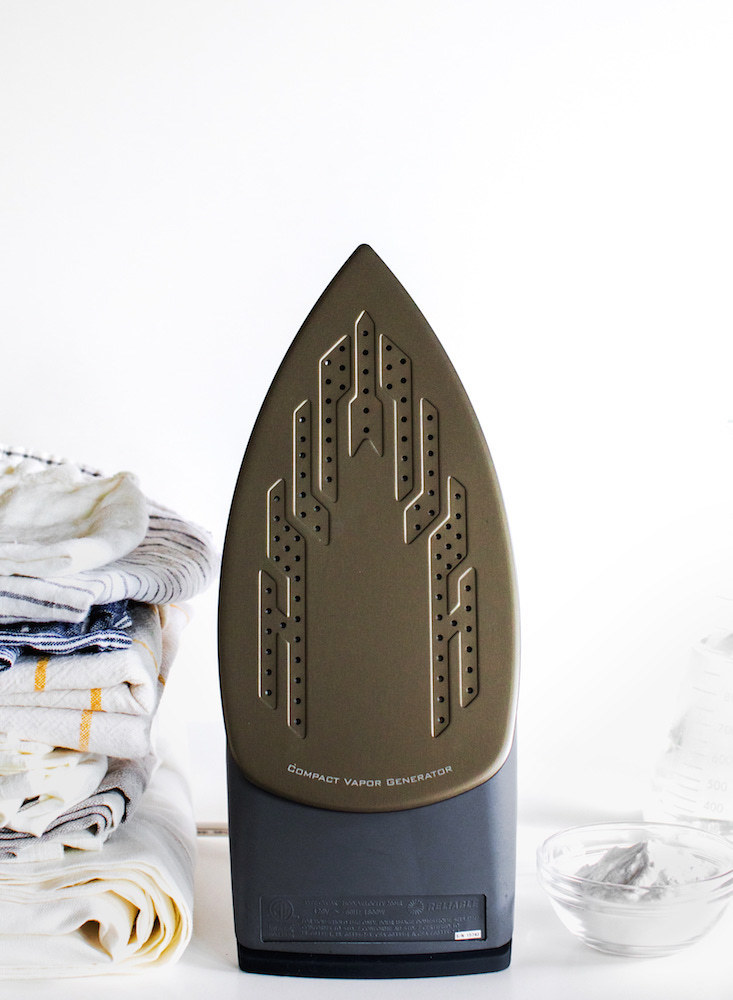
3. Iron
There’s nothing quite like a properly pressed shirt. Irons get zero attention post-use, but over time can build up starch or dirt on the soleplate and accumulate limescale, which clogs up the steam holes. Depending on your iron, distilled water use can solve the limescale issue (check your user manual). Regardless of the water you use, follow these steps to get your iron back into like-new condition:
1. Remove chalky build-up clogging the
steam holes with a toothpick or cleaning
toothbrush (once cooled, of course). After,
apply a paste of two parts baking soda and
one part water using a soft cloth. Scrub
with a cleaning toothbrush to remove
starchy buildup and residue. Wipe clean
and dry.
2. Clean the water reservoir. Add equal
parts 5 % white vinegar and water to the
reservoir and bring the iron up to its hottest
setting. Once there, use the steam blast
function up to 10 times to allow the solution to work through steam holes. Allow to
cool and wipe dry. Empty remaining liquid
and remember to empty the iron of all
water after each use.
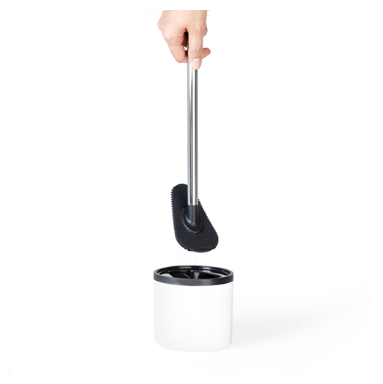
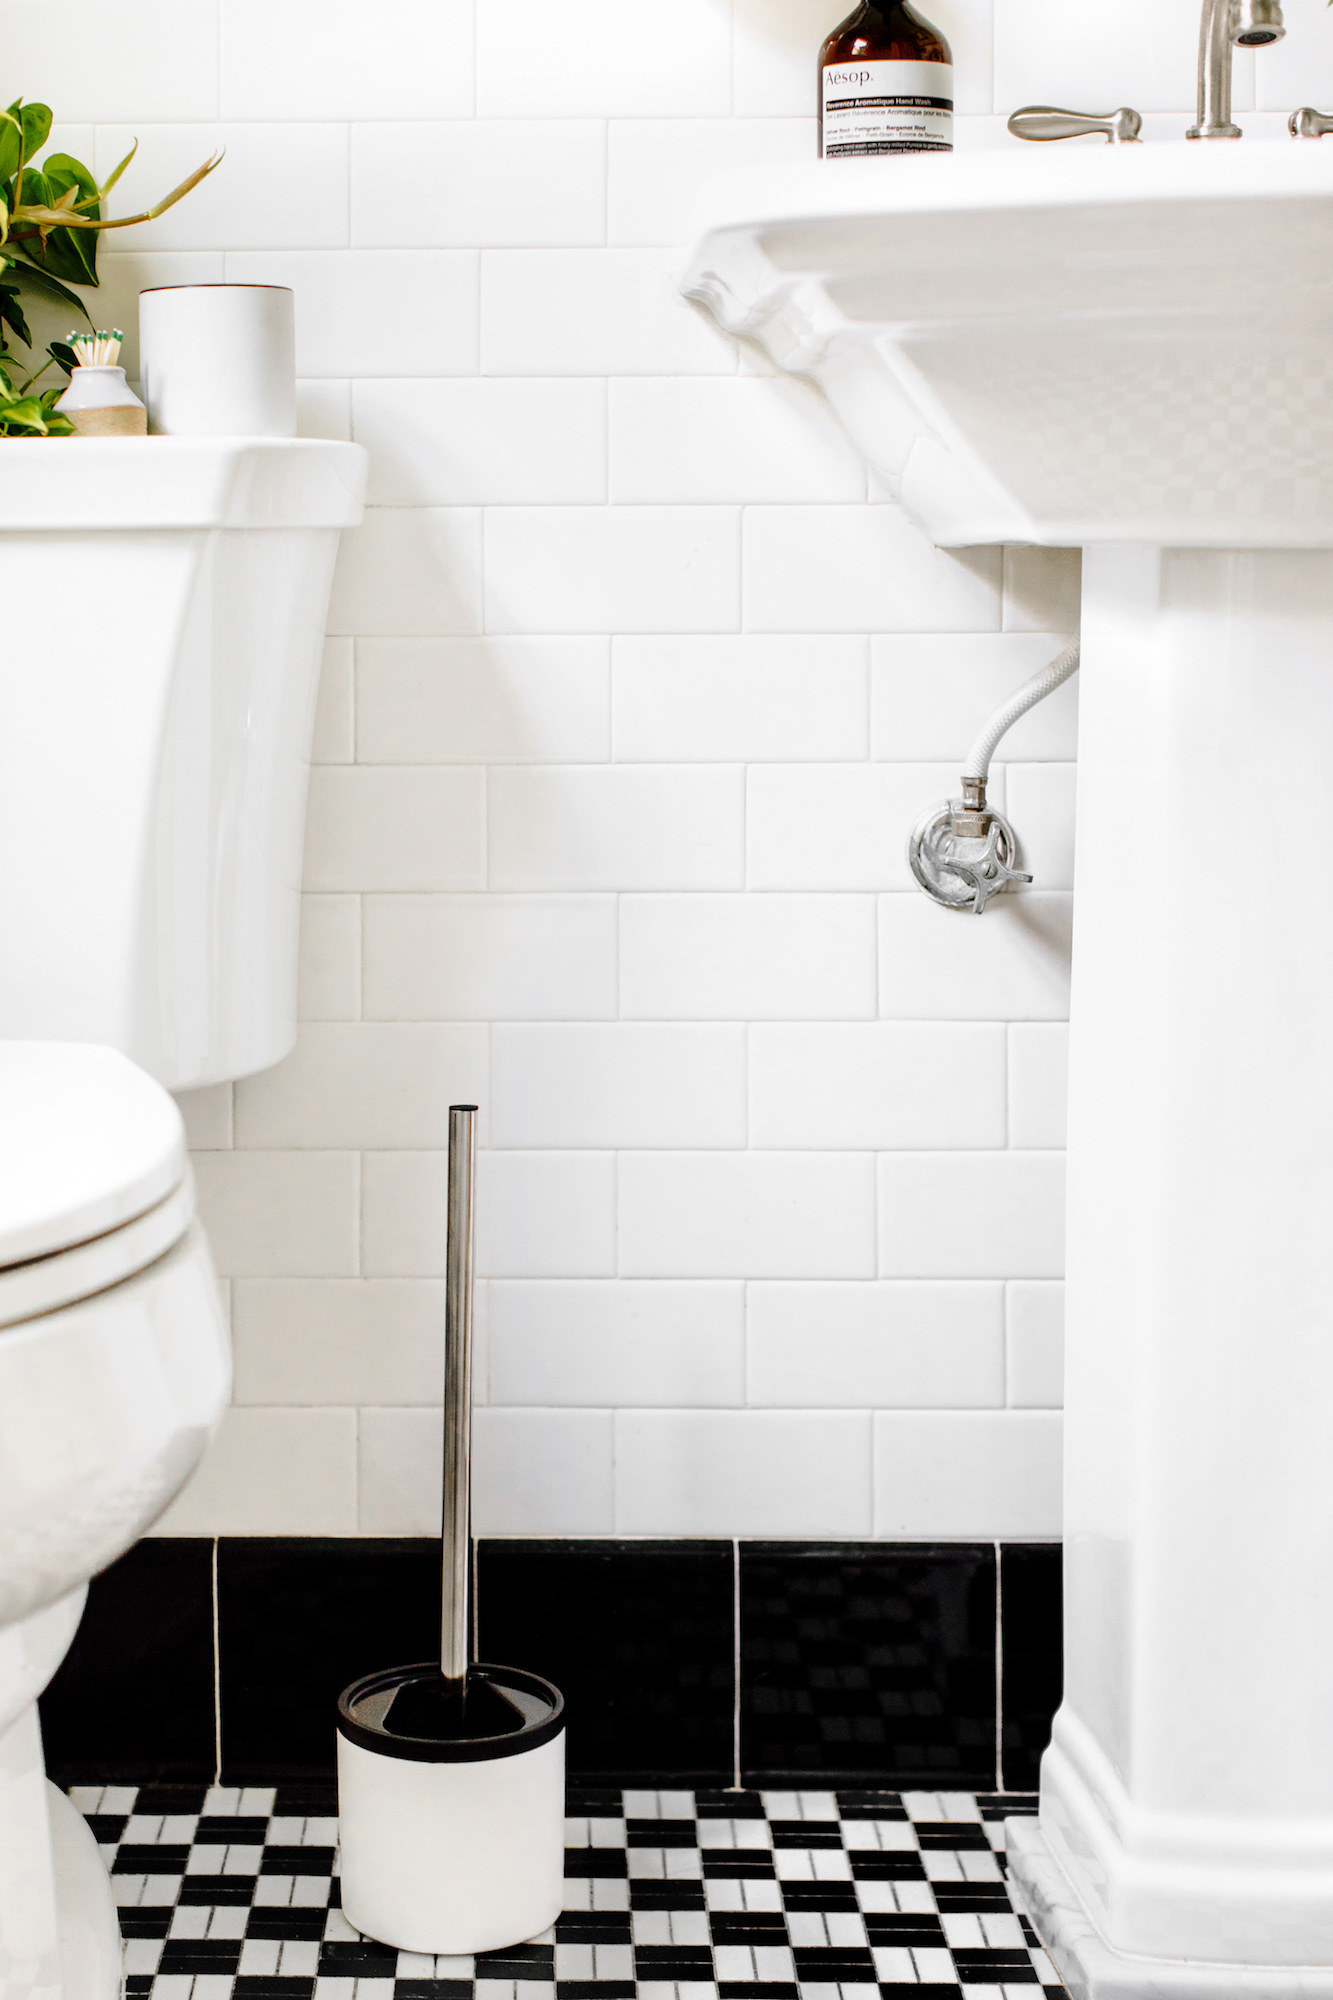
4. Toilet
This is a job most people dread, but it can be done effectively in under three minutes with the right products, tools, and techniques. In fact, my video on how to clean a toilet remains one of the most popular on my YouTube channel. There’s certainly something to this very simple method.
1. Spray the exterior of the toilet with
all-purpose disinfecting cleaner
including the flusher, tank, lid, seat, and
base. Work your way from the top to the
bottom with your spray pattern. The
disinfectant will need a few minutes to
loosen dirt and disinfect.
2. While the product is sitting, apply
toilet bowl cleaner to interior bowl and
underside of rim.
3. Wipe the exterior clean using
heavy-duty paper towels following the
same top to bottom approach you took
with your spray pattern.
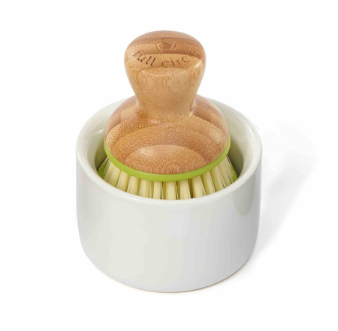
4. Scrub bowl and under toilet rim using
toilet bowl brush; a silicone brush can
be used for this and will stay clean and
bacteria-free after use. Flush the toilet
and leave the brush under the seat to
drip dry. Place back in brush container
an hour later or when the brush has
fully dried.
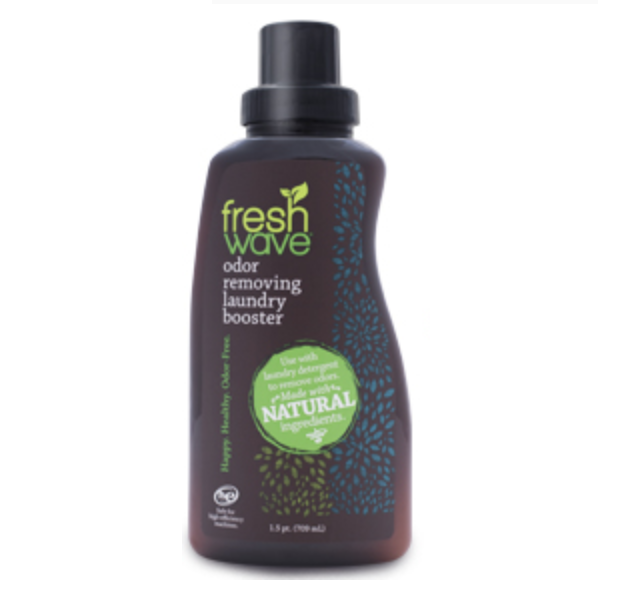
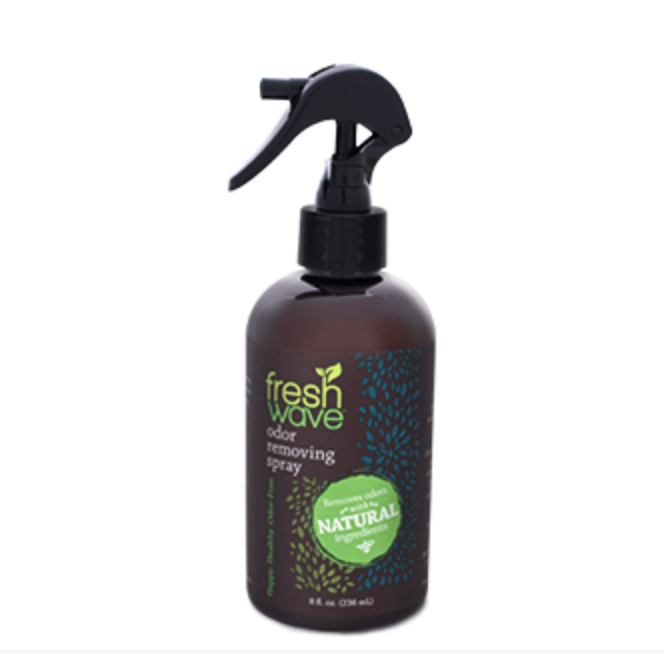
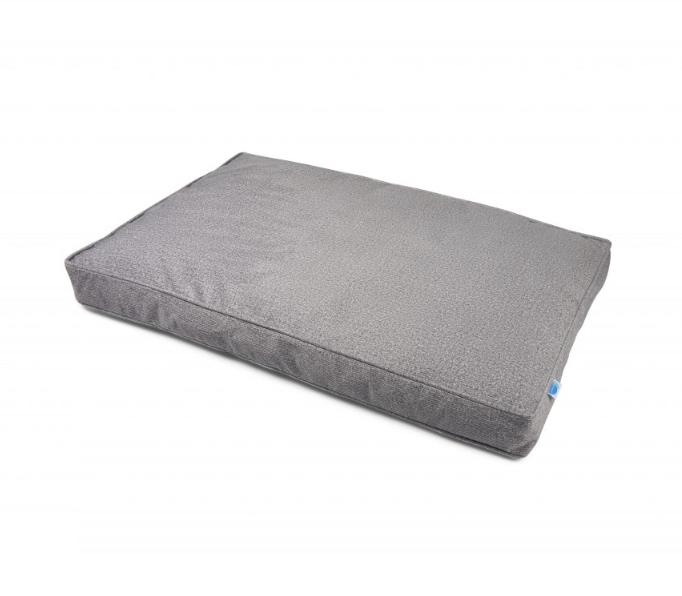
5. Pet Beds
Pet owners know the perils of a pet bed: they stink. While it is better than the alternative—your pet stinking up your own bed—keeping them clean is the best way to reduce odors. Always start by checking your fabric care label. Then:
1. Put pet bed cover or entire pet bed
into washing machine (depending
on style). Use regular, unscented
laundry detergent and add two to
four capfuls of laundry booster—this
enzyme-based concoction helps
remove odors and pet dander.
2. Remove from machine and allow to dry according to care label, typically using a drying rack or placing on a low-heat tumble cycle in the dryer.
3. For on-the-go odor management, spray a pet safe odor-eliminating spray onto affected areas and allow to dry.

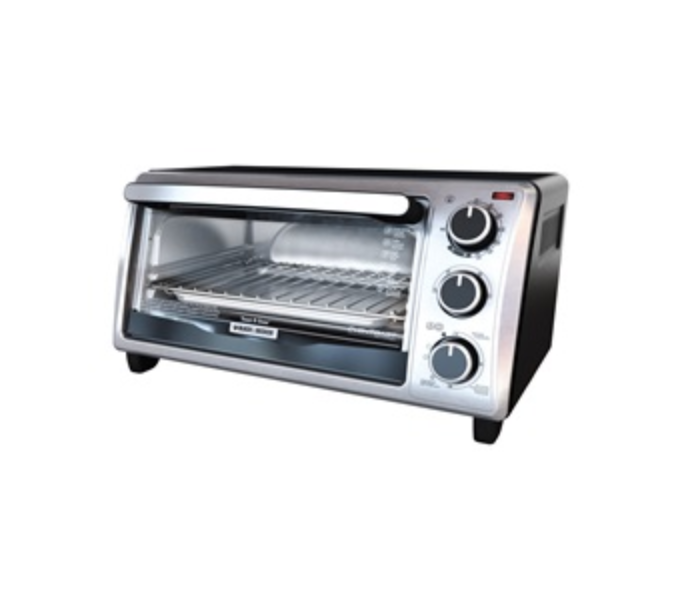
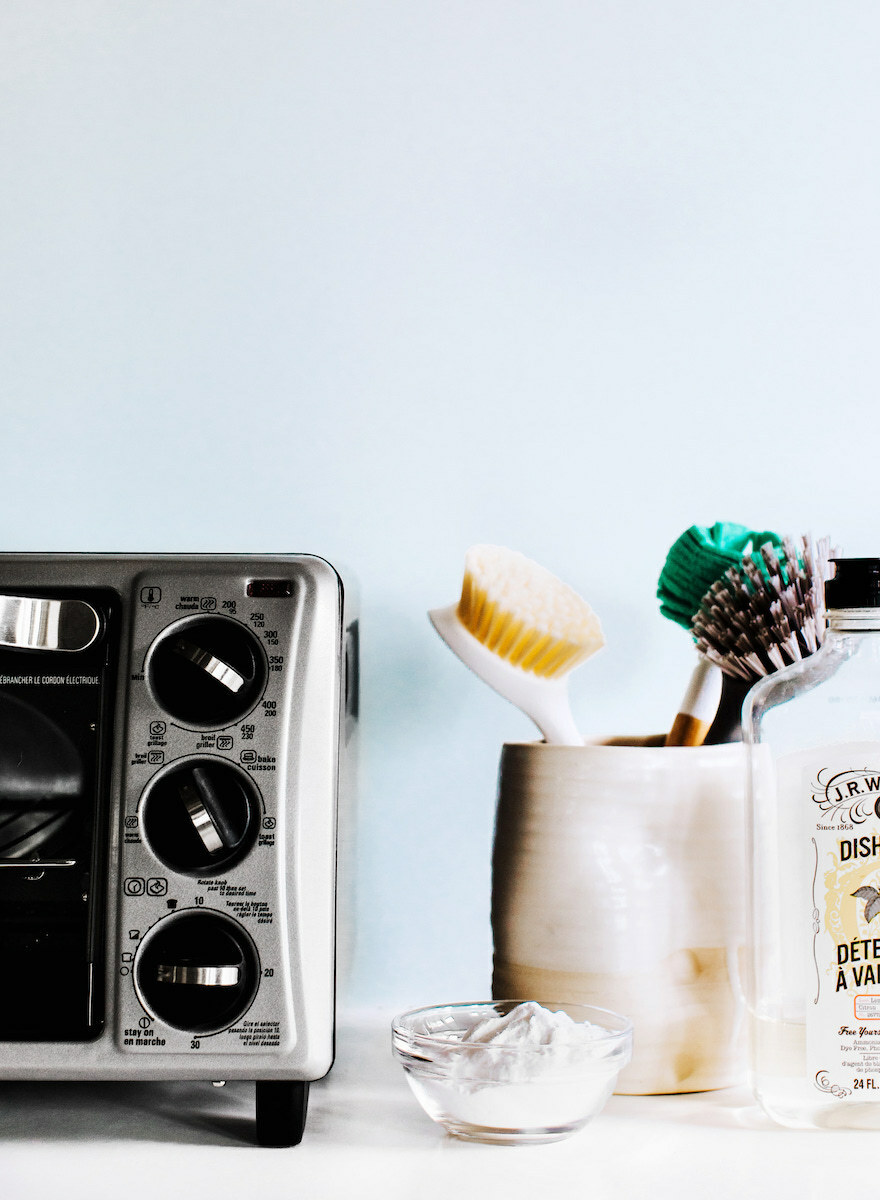
6. Toaster Oven
Even when our brioche comes out perfectly browned, the unmistakable smell of burnt toast can be blamed squarely on the small bits at the bottom of the toaster oven that continues to singe. The fix? Clean that toaster. Here’s how:
1. Remove rack and crumb tray and
soak in hot, soapy water. Scrub well,
using baking soda as needed for extra
abrasion on tough areas. Rinse well
and dry.
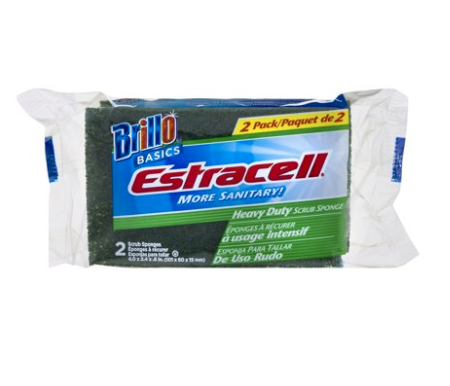
2. Wet a non-scratching sponge or pad
and apply a few drops of dish soap.
Clean the interior glass door with the
sponge, and for tough areas, use a
pinch of baking soda to help remove
sticky spots. Scrub well and rinse suds
away with a clean damp cloth. If the
sticky spots persist, soak the area with
water, dish soap and baking soda for
an hour and then scrub again.
3. Wipe exterior with soapy non-scratching sponge, and then rinse suds away
with a clean, damp cloth and buff dry.
Photography by Constance Mariena / Text by Melissa Maker
This story originally appeared in the Fall/Winter 2018 issue of The Inspired Home Journal, titled “How to Clean Everything.”