
When faced with an abundance of summer vegetables, be they from your garden, your CSA box or your local farmers market, one delicious option is to turn them into tangy, flavorful pickles. This intro to pickling is a great, basic resource for those looking to get started! The pickled carrots recipe included is a delicious treat for anyone who loves pickled produce!
While we tend to think of pickles as only pickled cucumbers, many of our favorite vegetables — from green beans to cauliflower to carrots — make outstanding pickles. And, if you are new to preserving, pickled vegetables are an easy and forgiving first project.
Vegetables pickled in a vinegar-based brine are important ingredients in many world cuisines. Think about the pickled carrots and Daikon radishes tucked into a Vietnamese banh mi or the pickled red onions garnishing your favorite taco. In Chicago, where I live, you simply cannot eat an Italian beef sandwich without giardiniera, a mix of pickled pepper, carrots, celery and cauliflower.
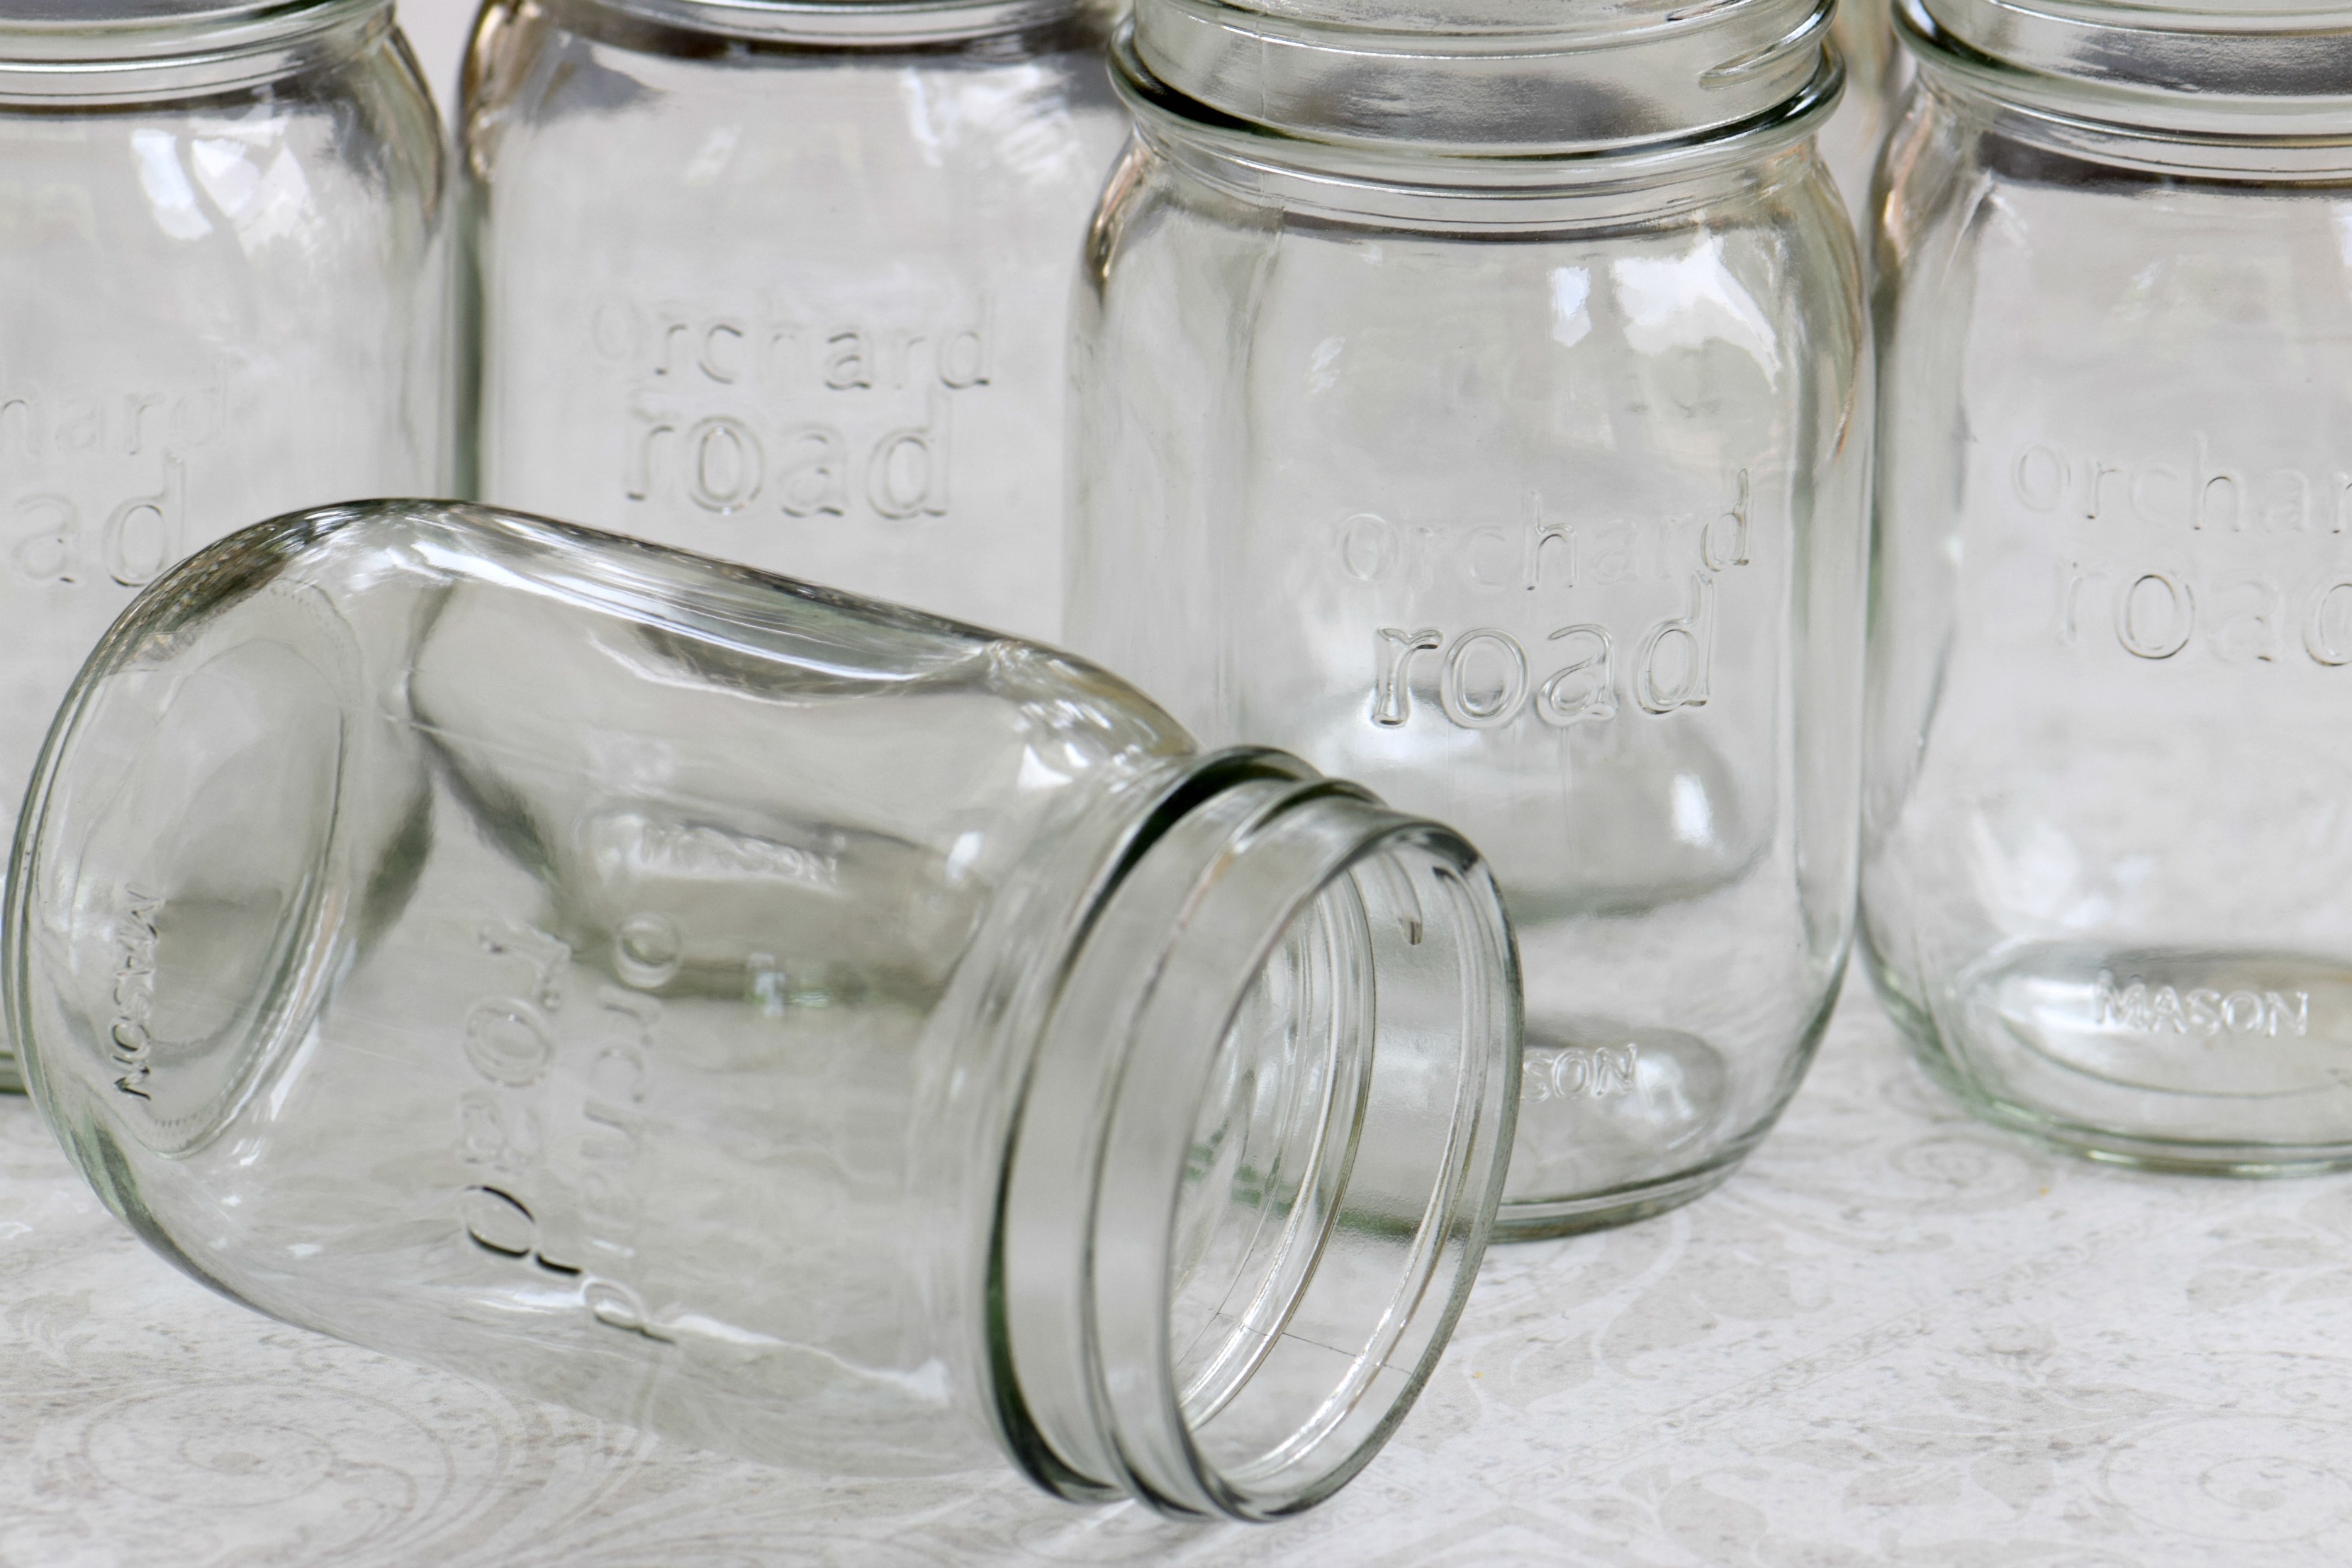
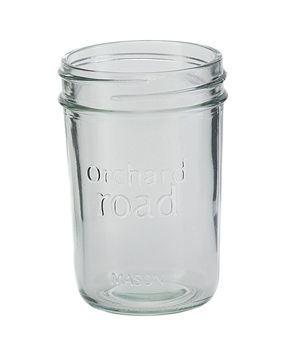
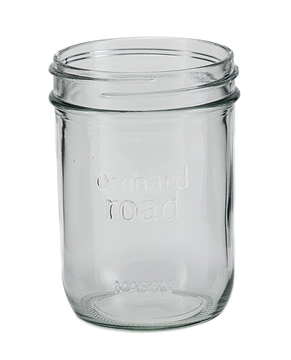
The basic method for canning pickled vegetables is as follows. First, place glass canning jars — pint jars are typically used for pickles — in a canning pot outfitted with a rack so that the jars are not sitting directly on the bottom of the pot. Fill the pot with water and heat to a boil.
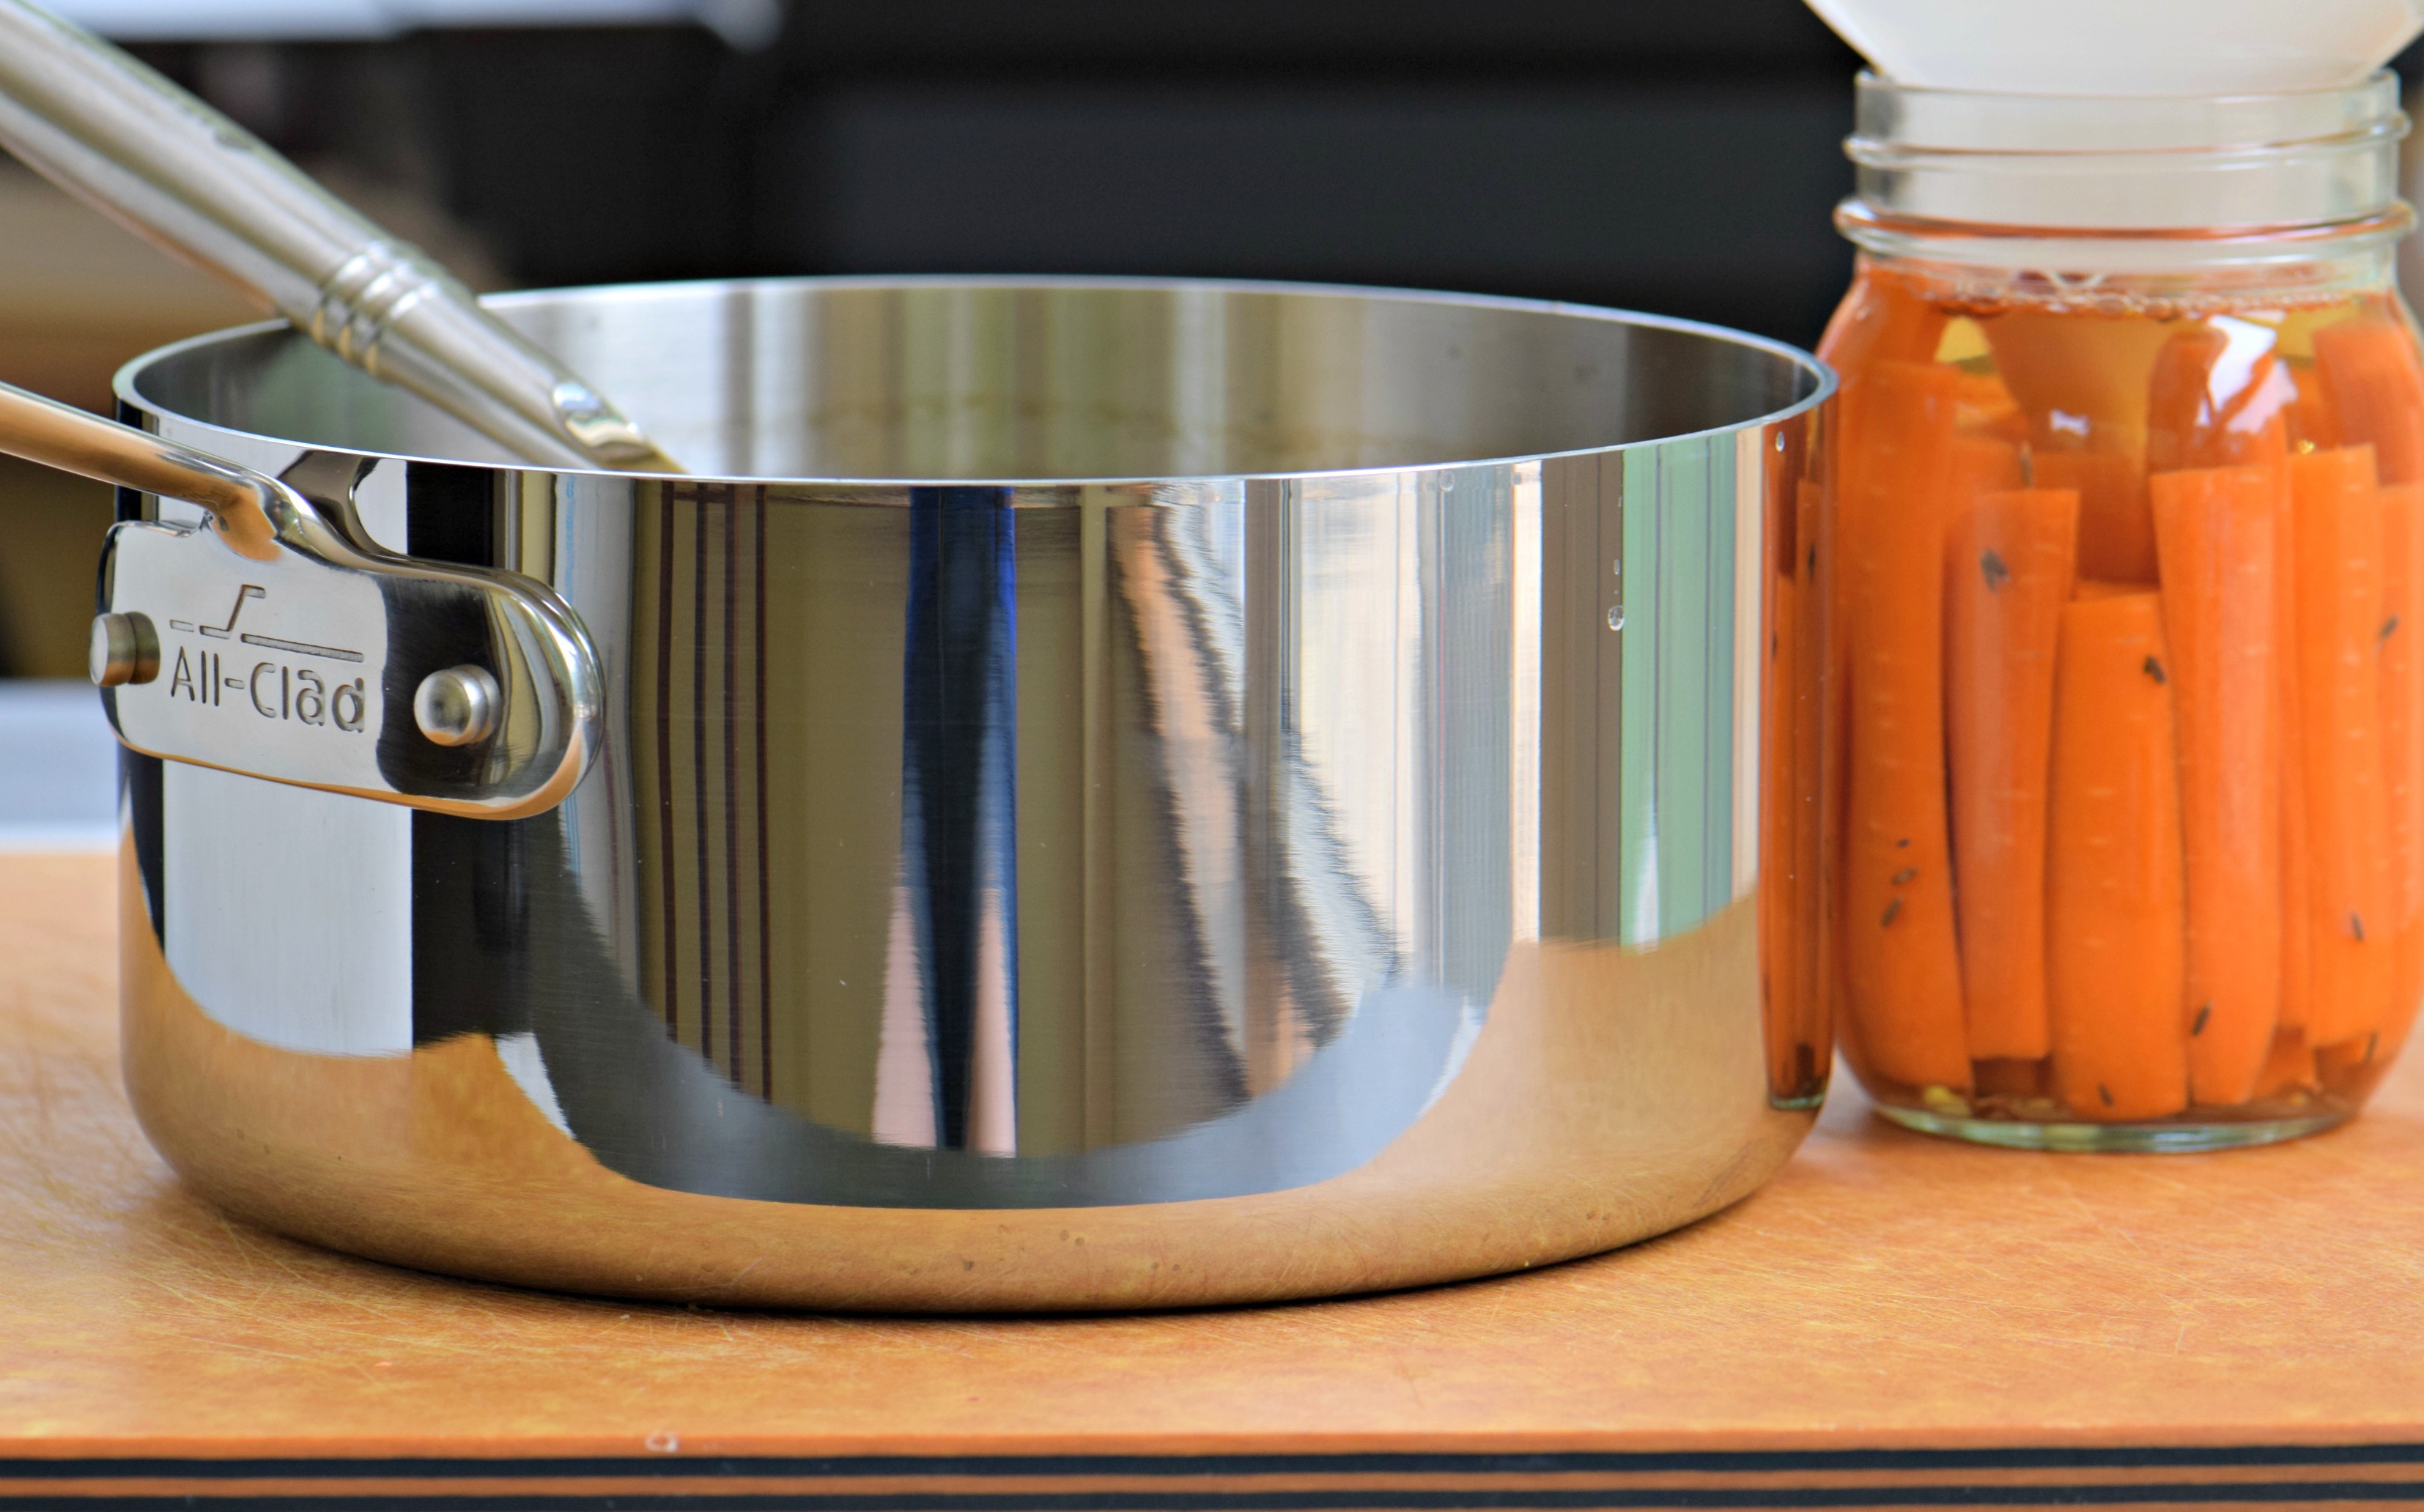
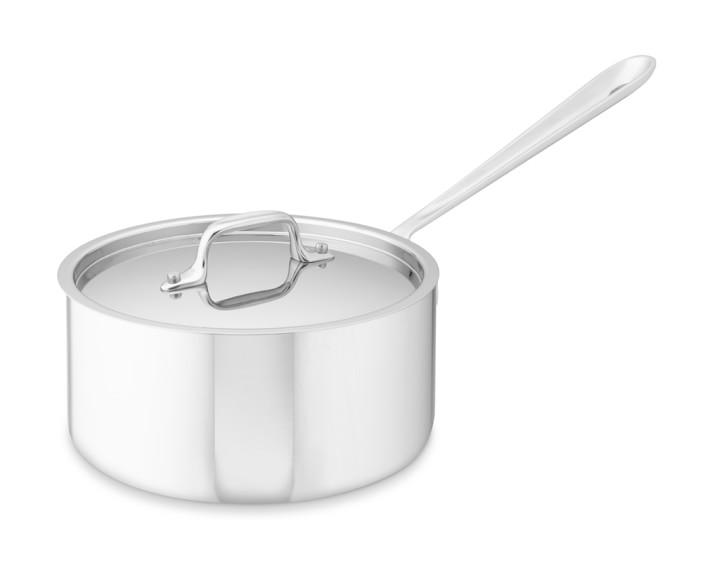
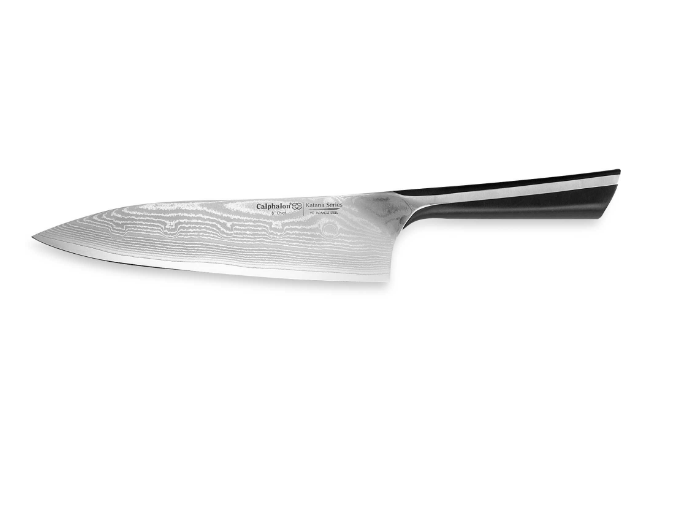
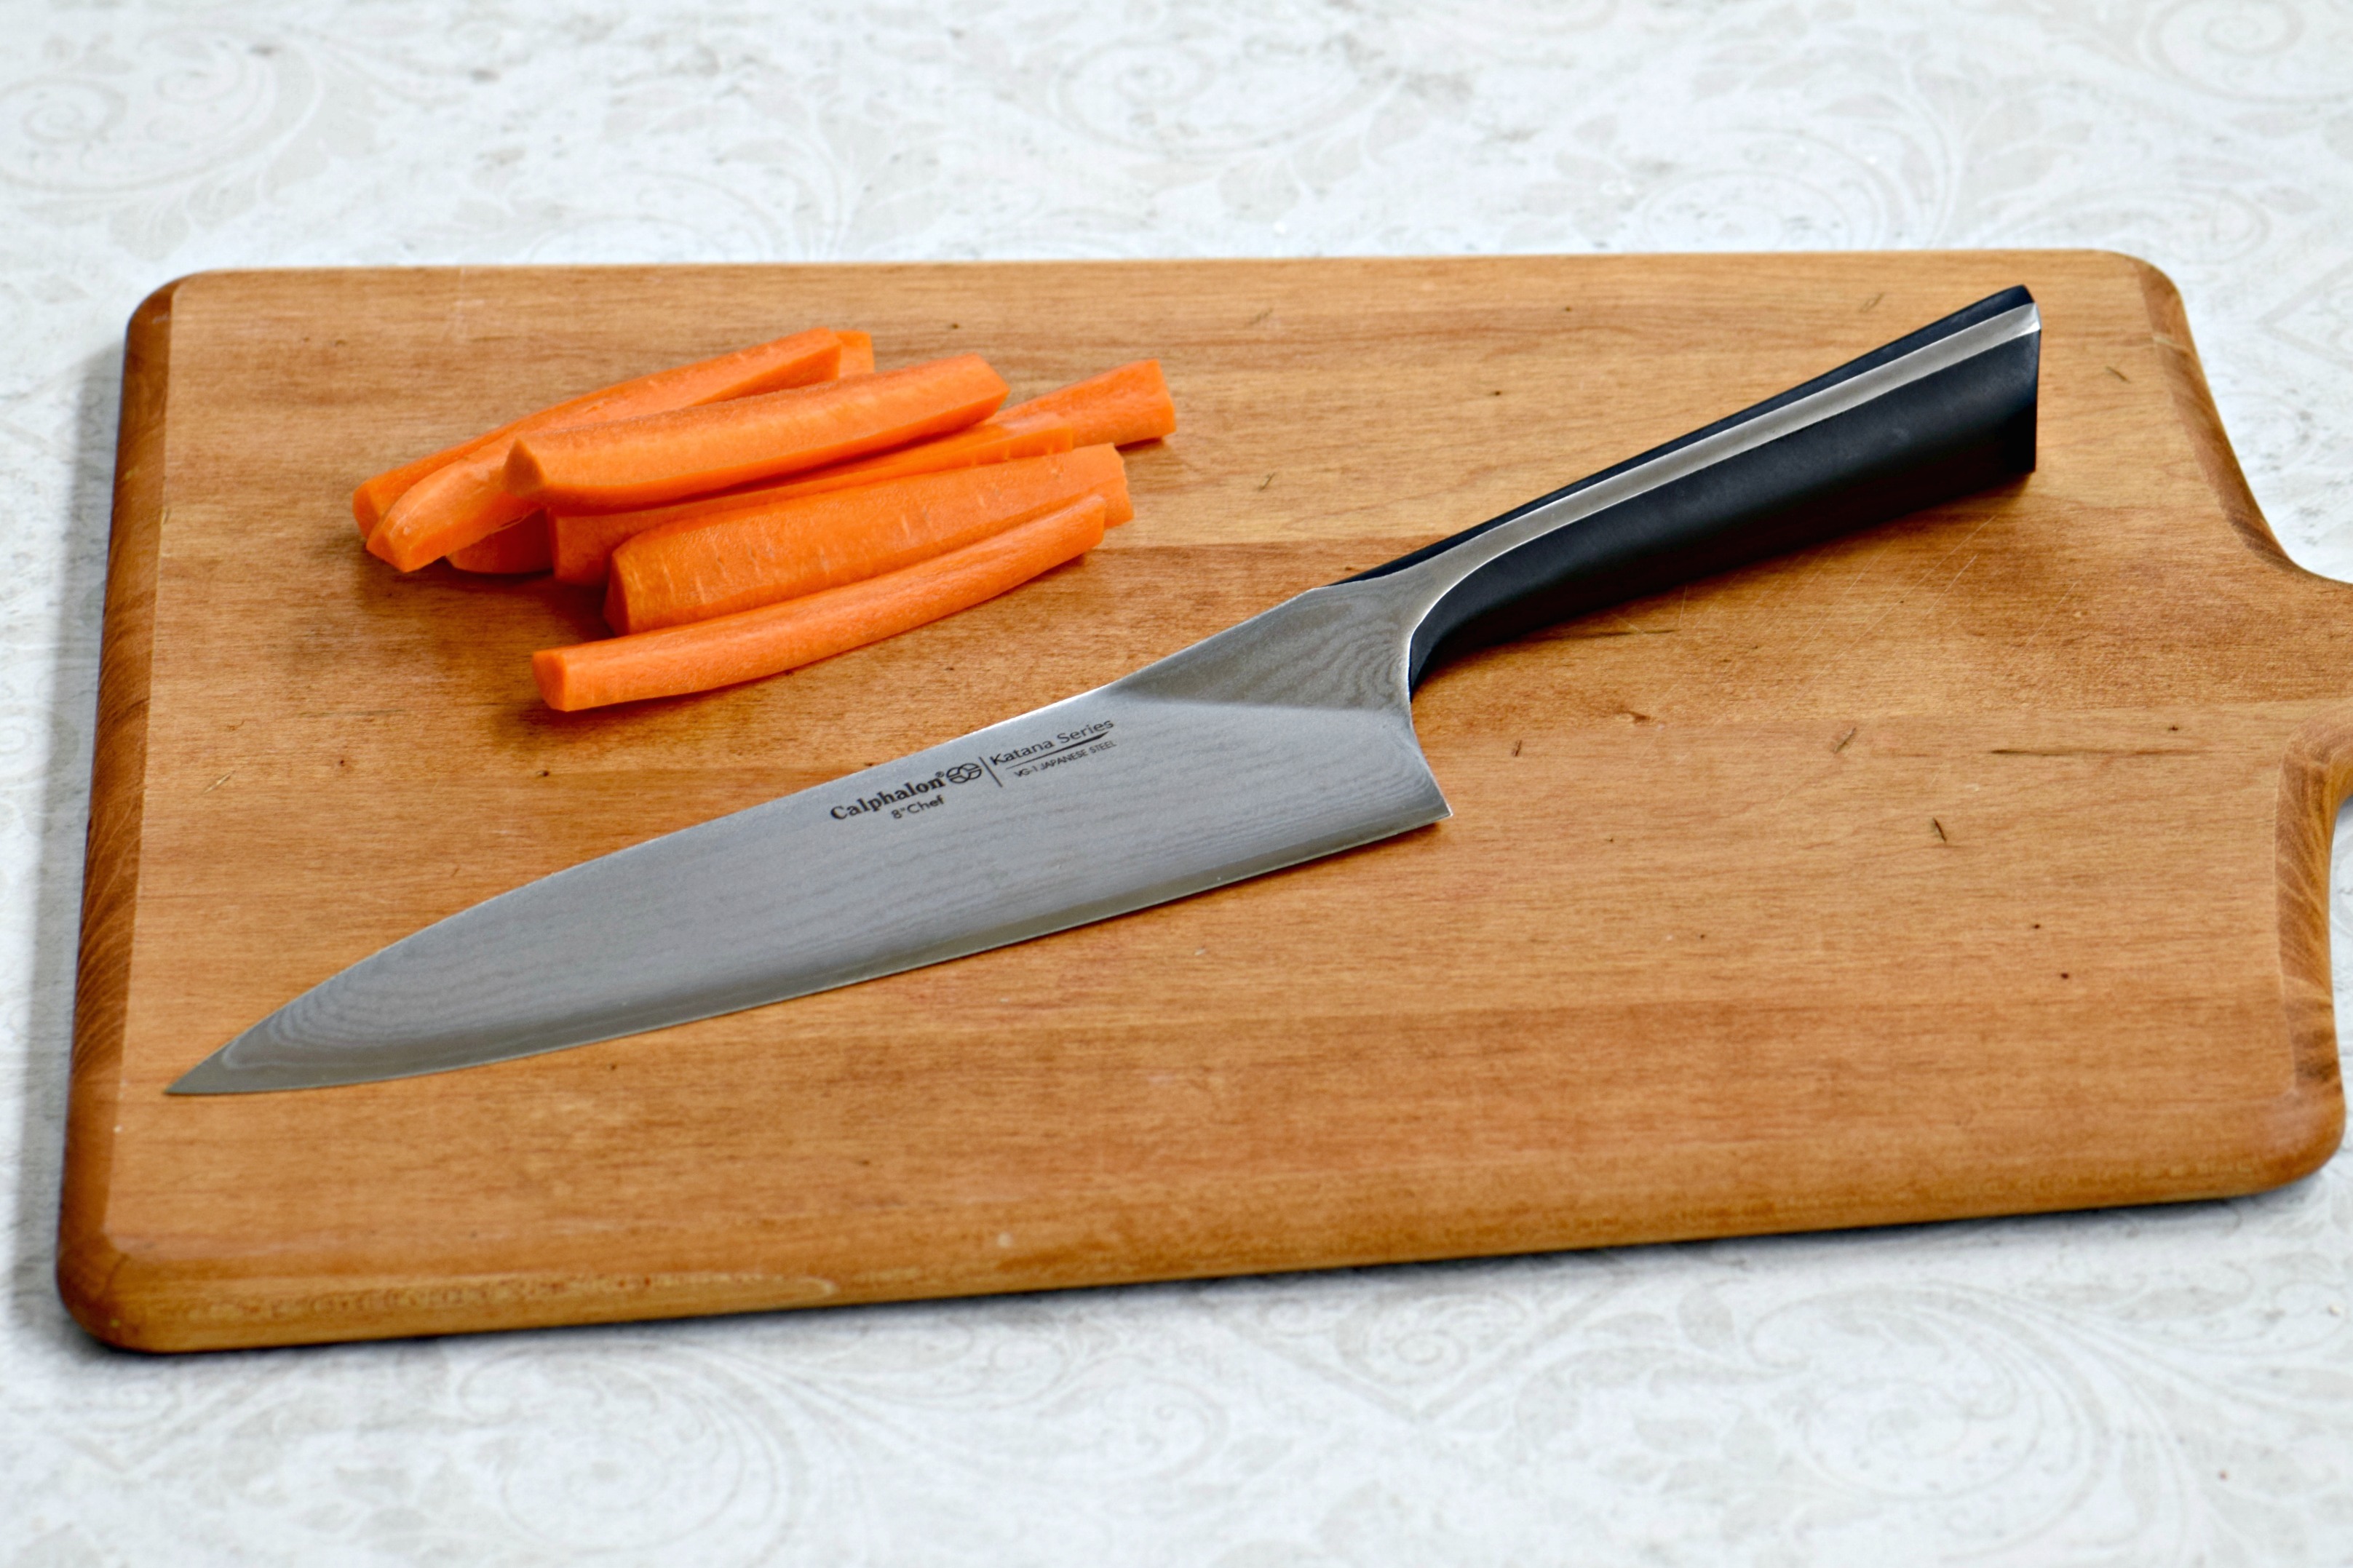
While the water is heating, prepare your vegetables. Using a sharp chef’s knife, trim your vegetables into spears, slices or florets to fit comfortably in the jar. Next, combine vinegar, salt — sometimes sugar depending on your recipe — and water in a medium-sized saucepan to create a brine. Bring the brine to a boil, stirring to dissolve the salt and sugar.
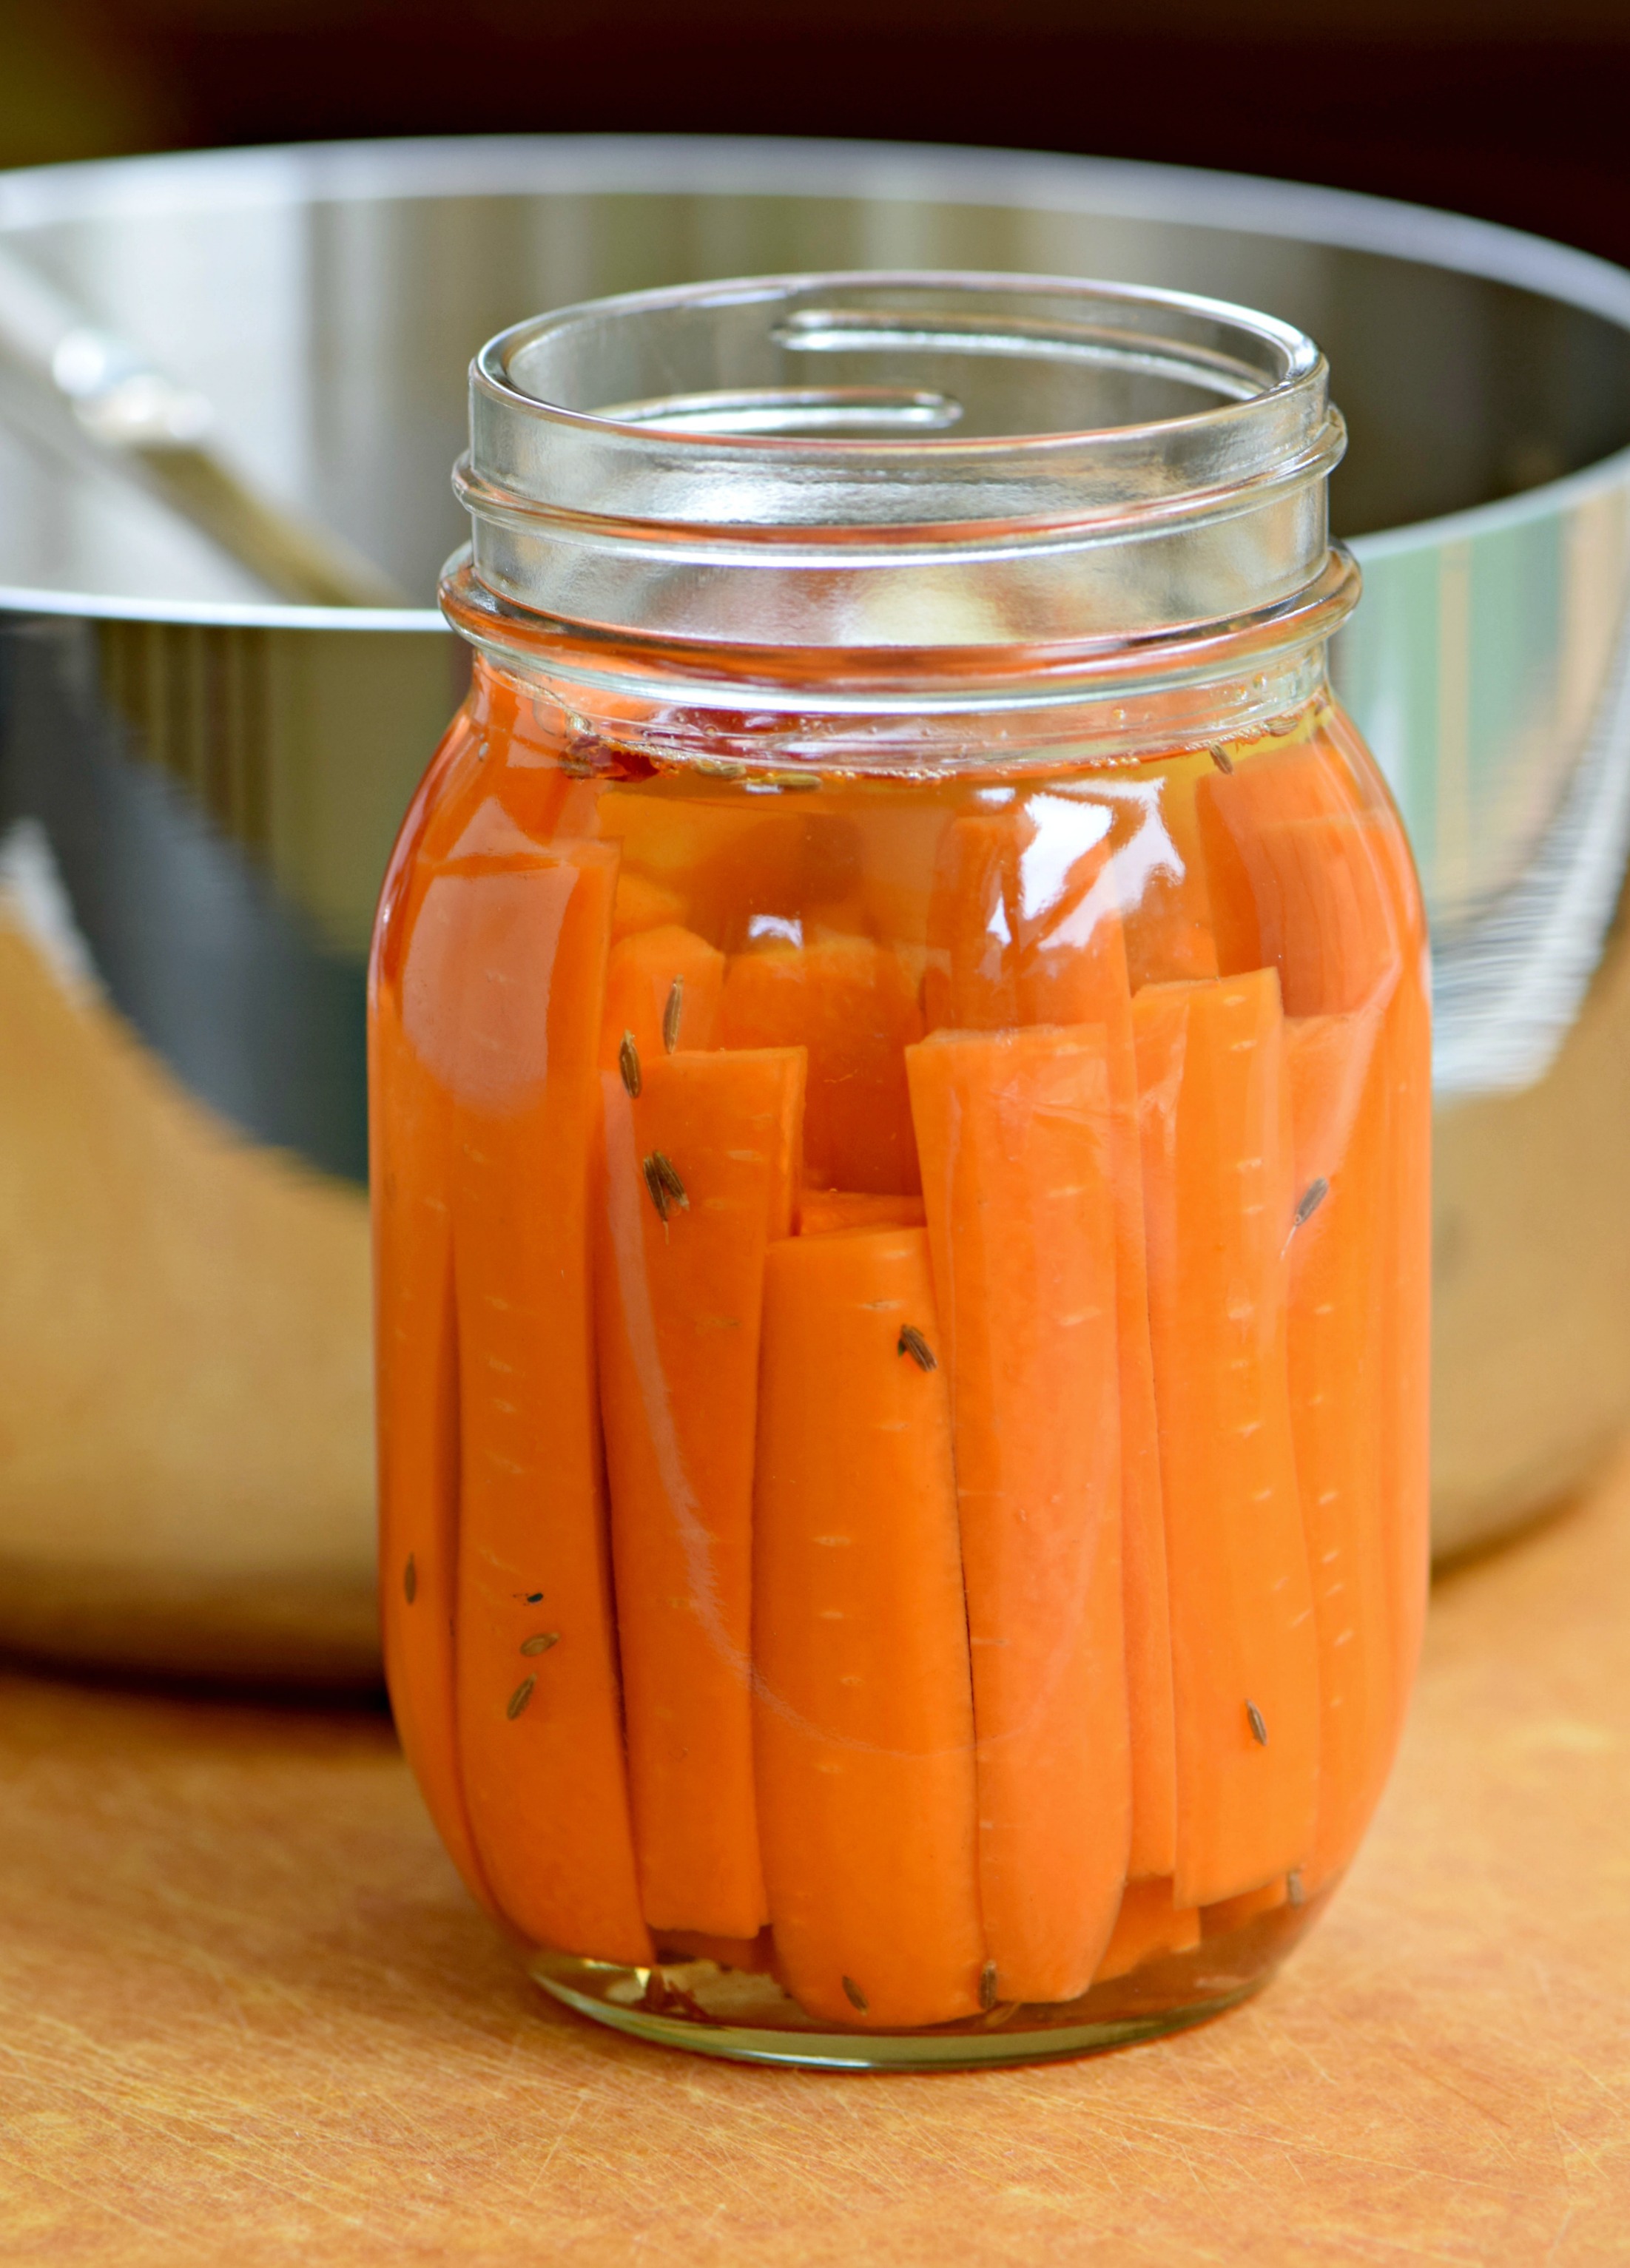
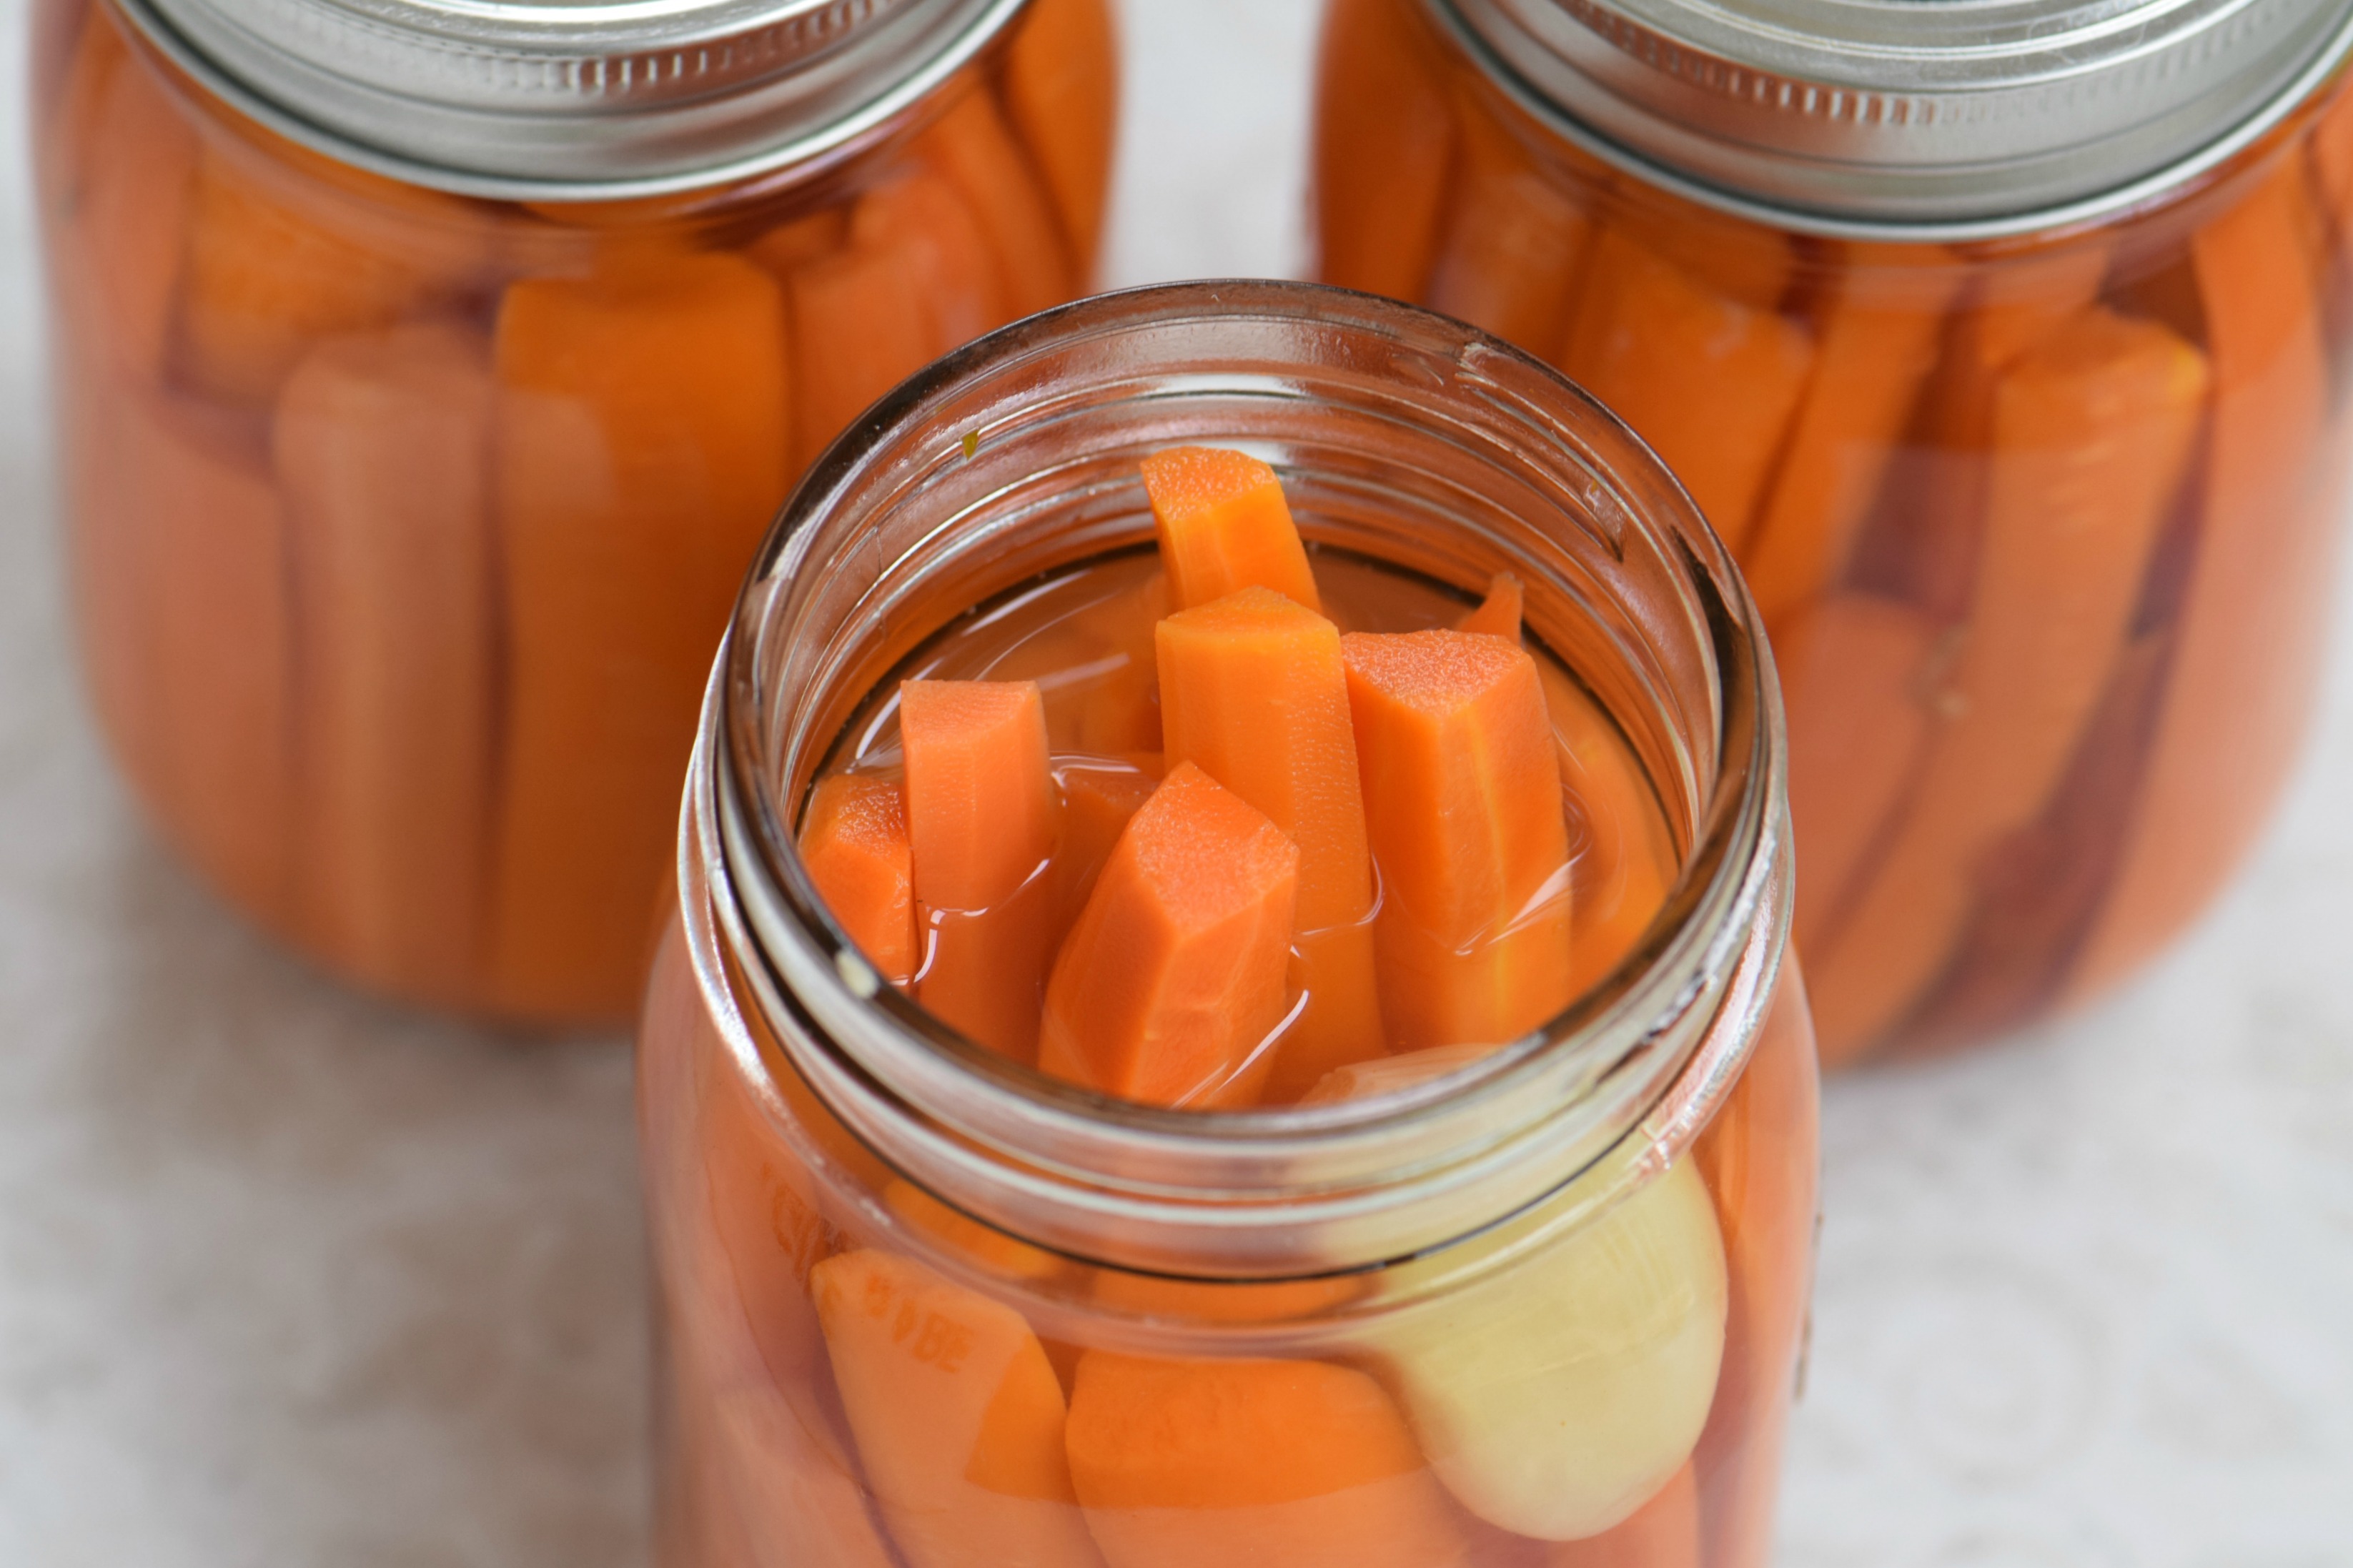
Pack prepared vegetables and any desired seasoning, such as garlic, chiles or spices, into the warm preserving jars. Pack them as tightly as possible without damaging them. Then ladle the brine over the vegetables, leaving a half inch of headspace at the top. You then remove any air bubbles from the jars, wipe any residue off the rims, add lids and gently screw on the rings. The filled jars are then placed on a rack in a pot filled with boiling water.
The jars remain in a boiling water bath for ten to fifteen minutes, depending on your recipe, to allow the heat of the water to penetrate to the center of the jars. In addition, any air trapped inside the jars will escape, allowing the lids to create a vacuum seal.
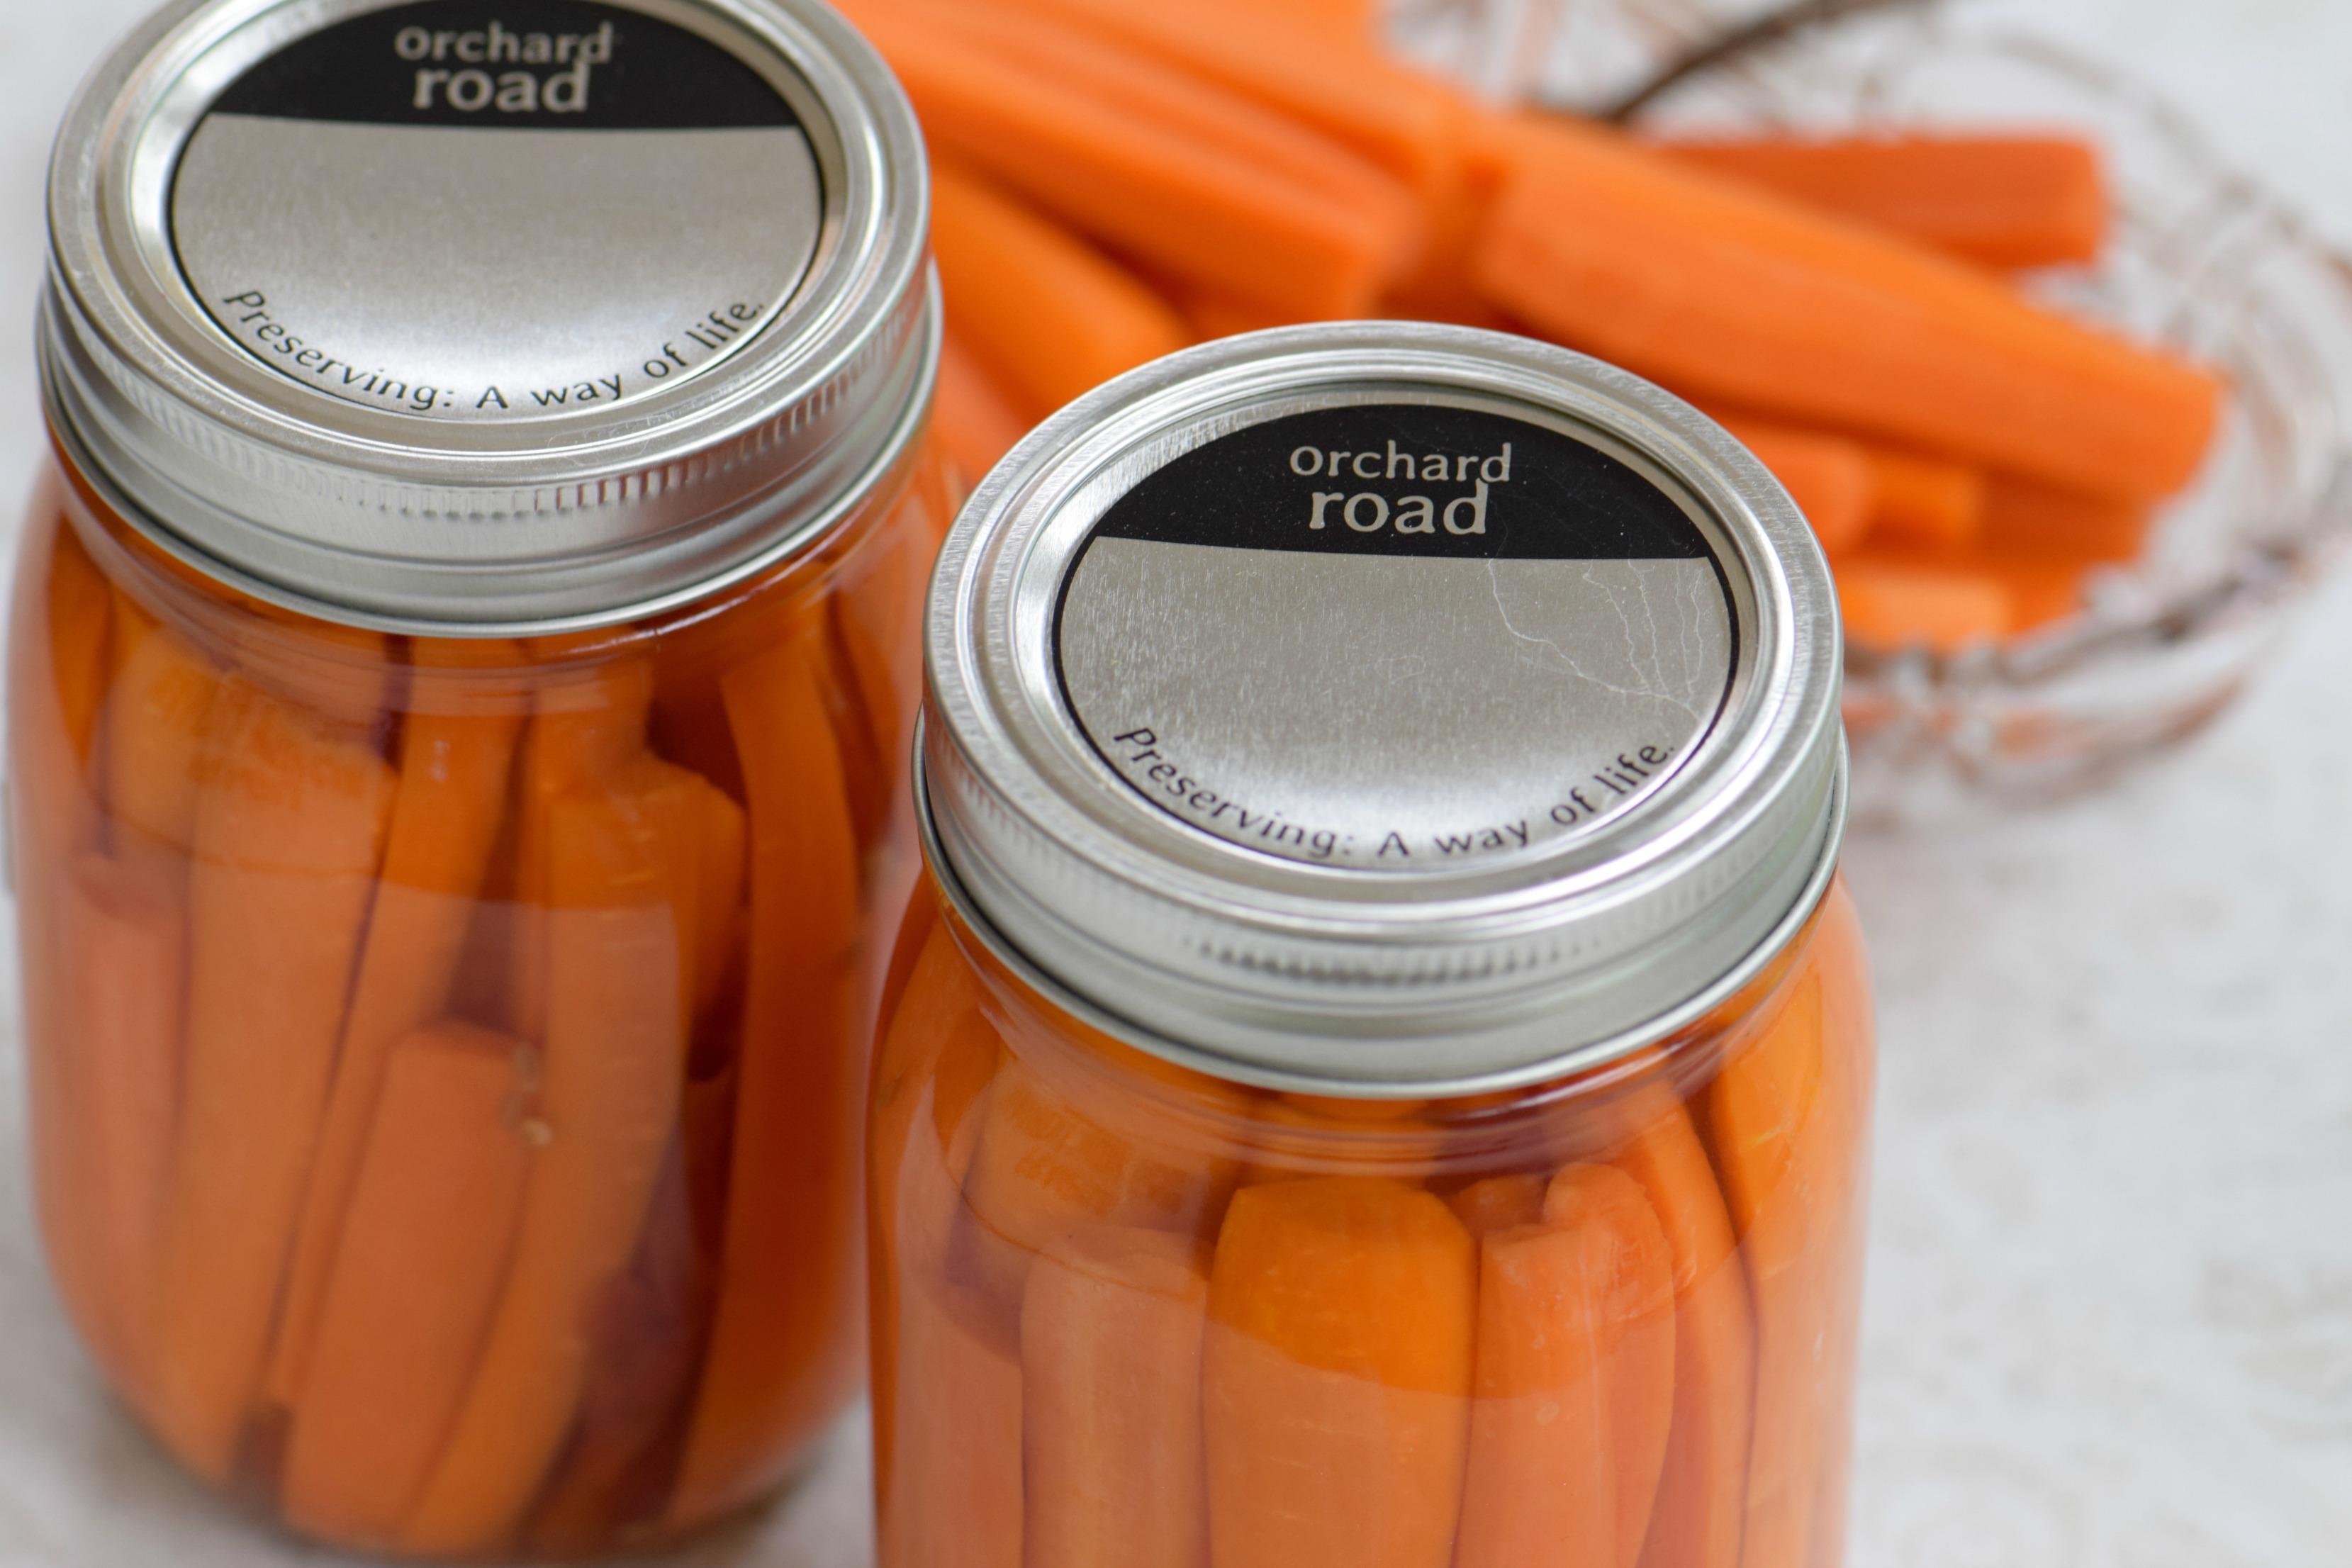
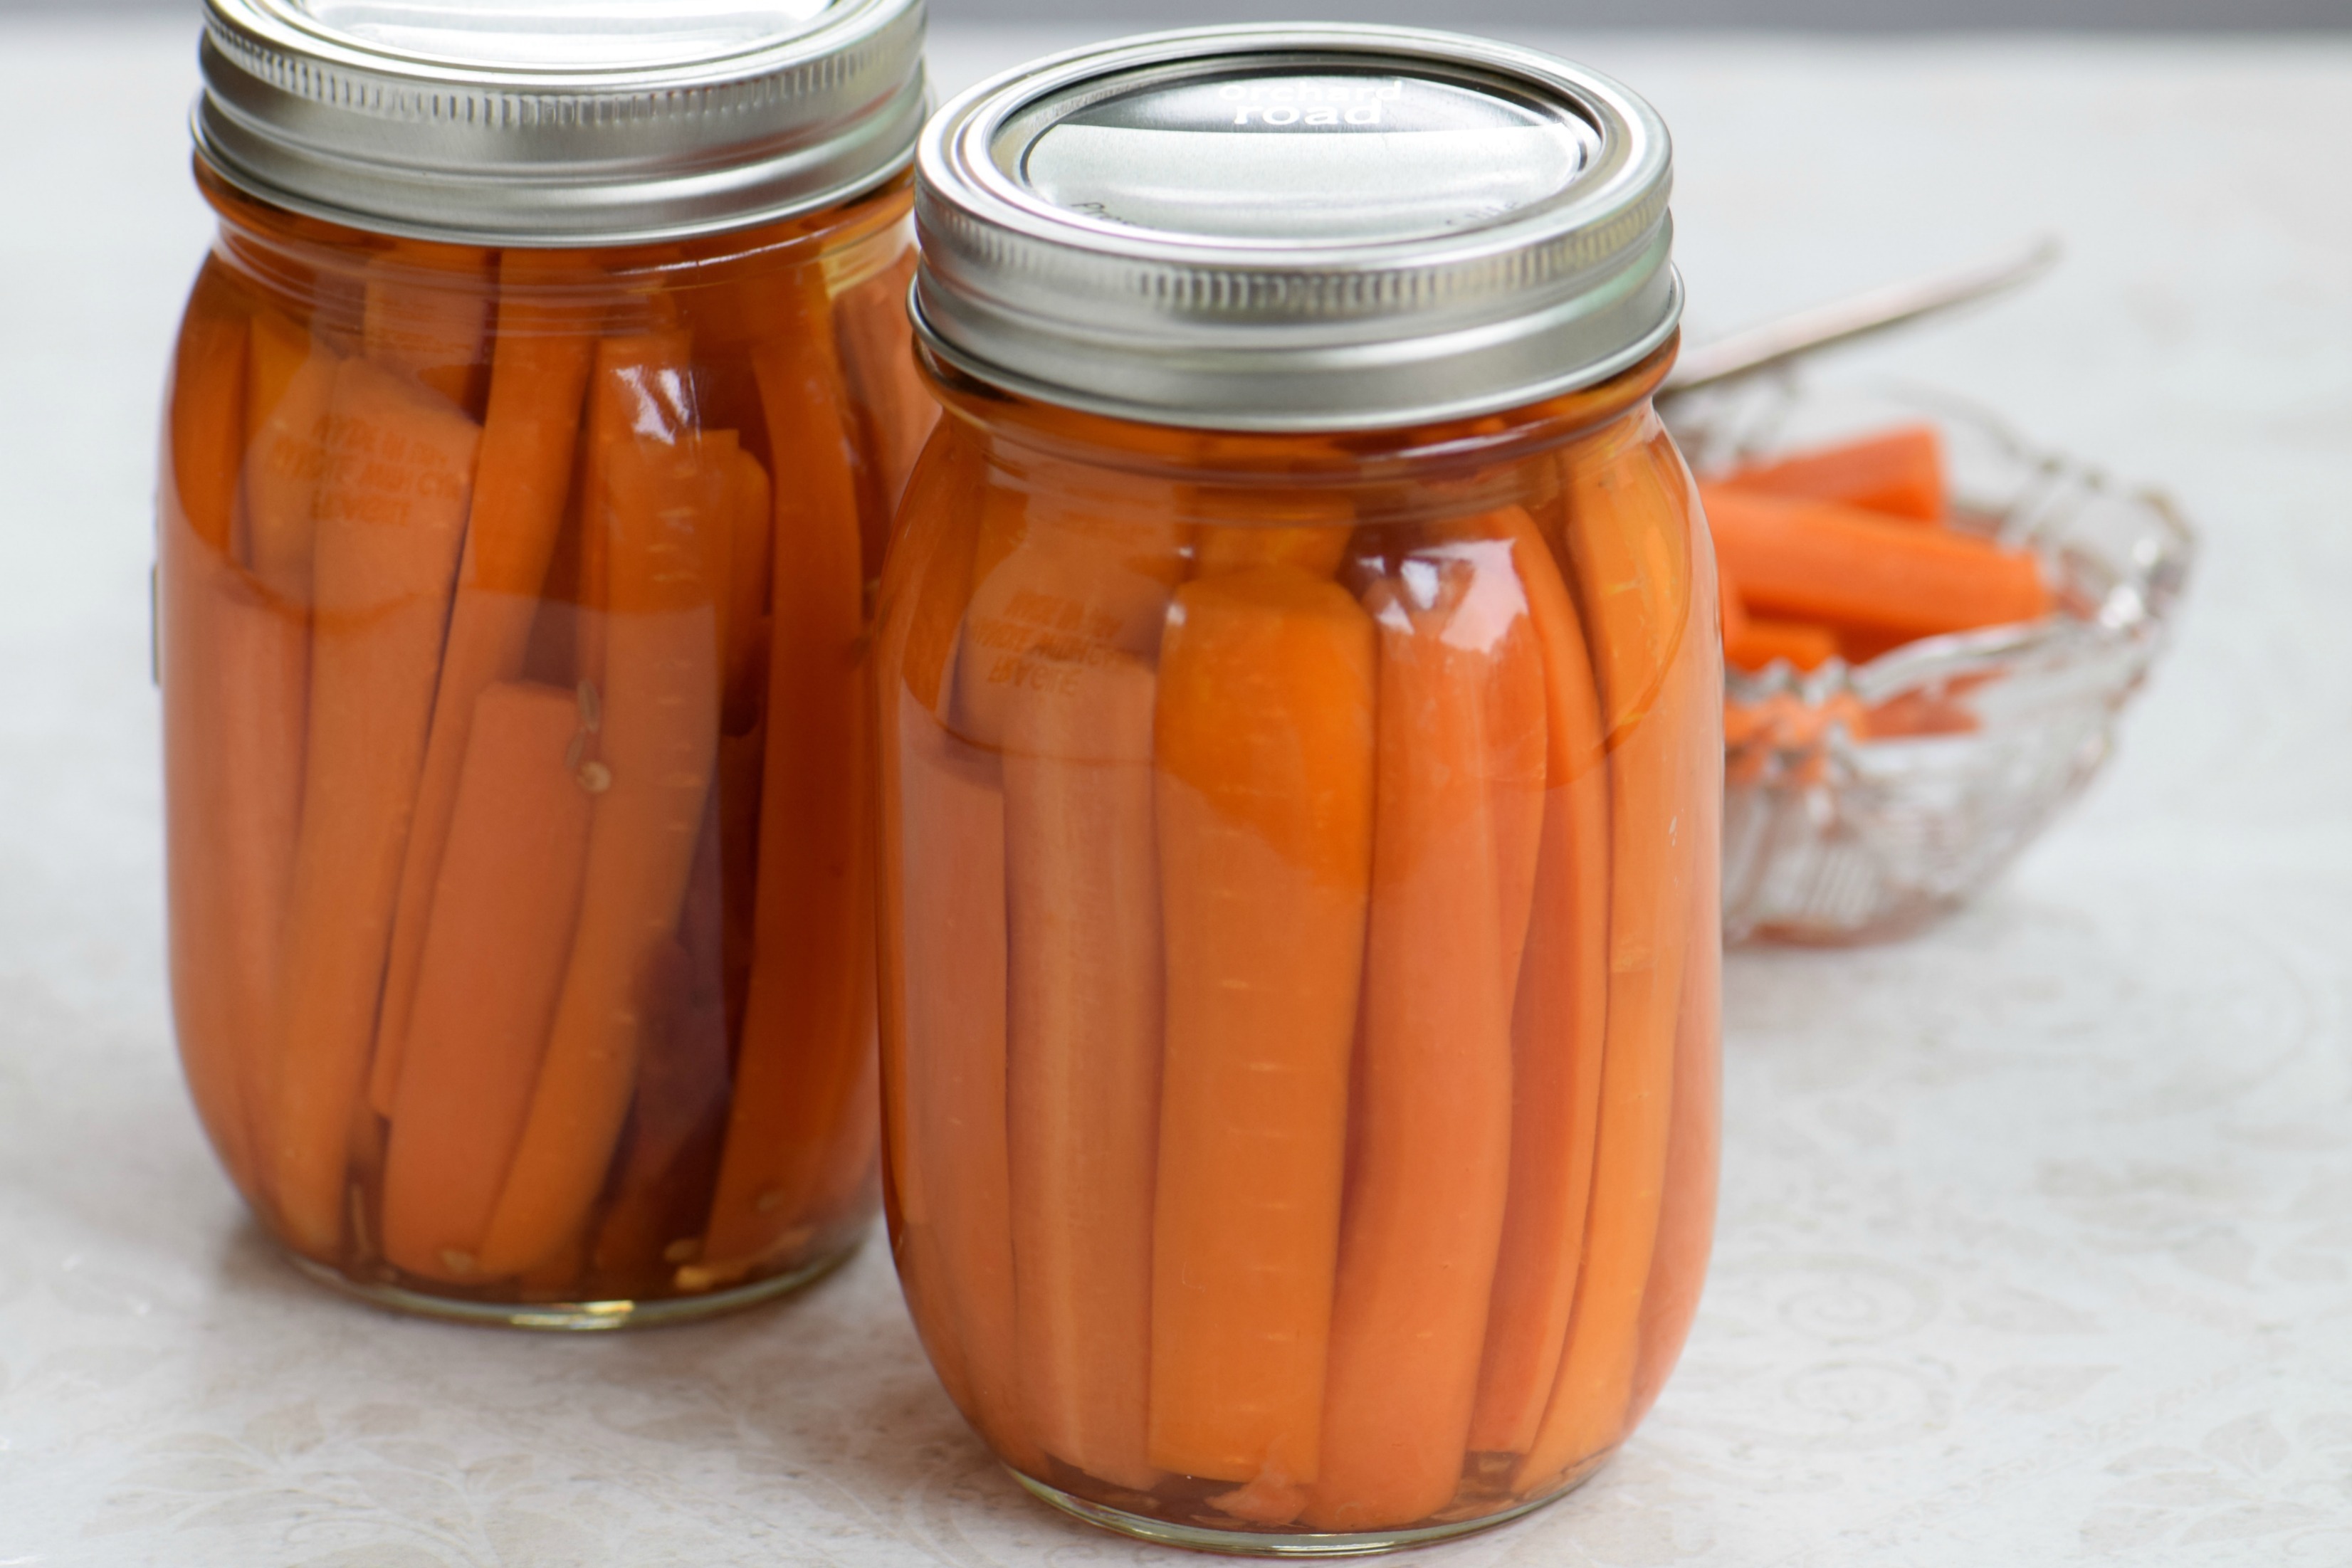
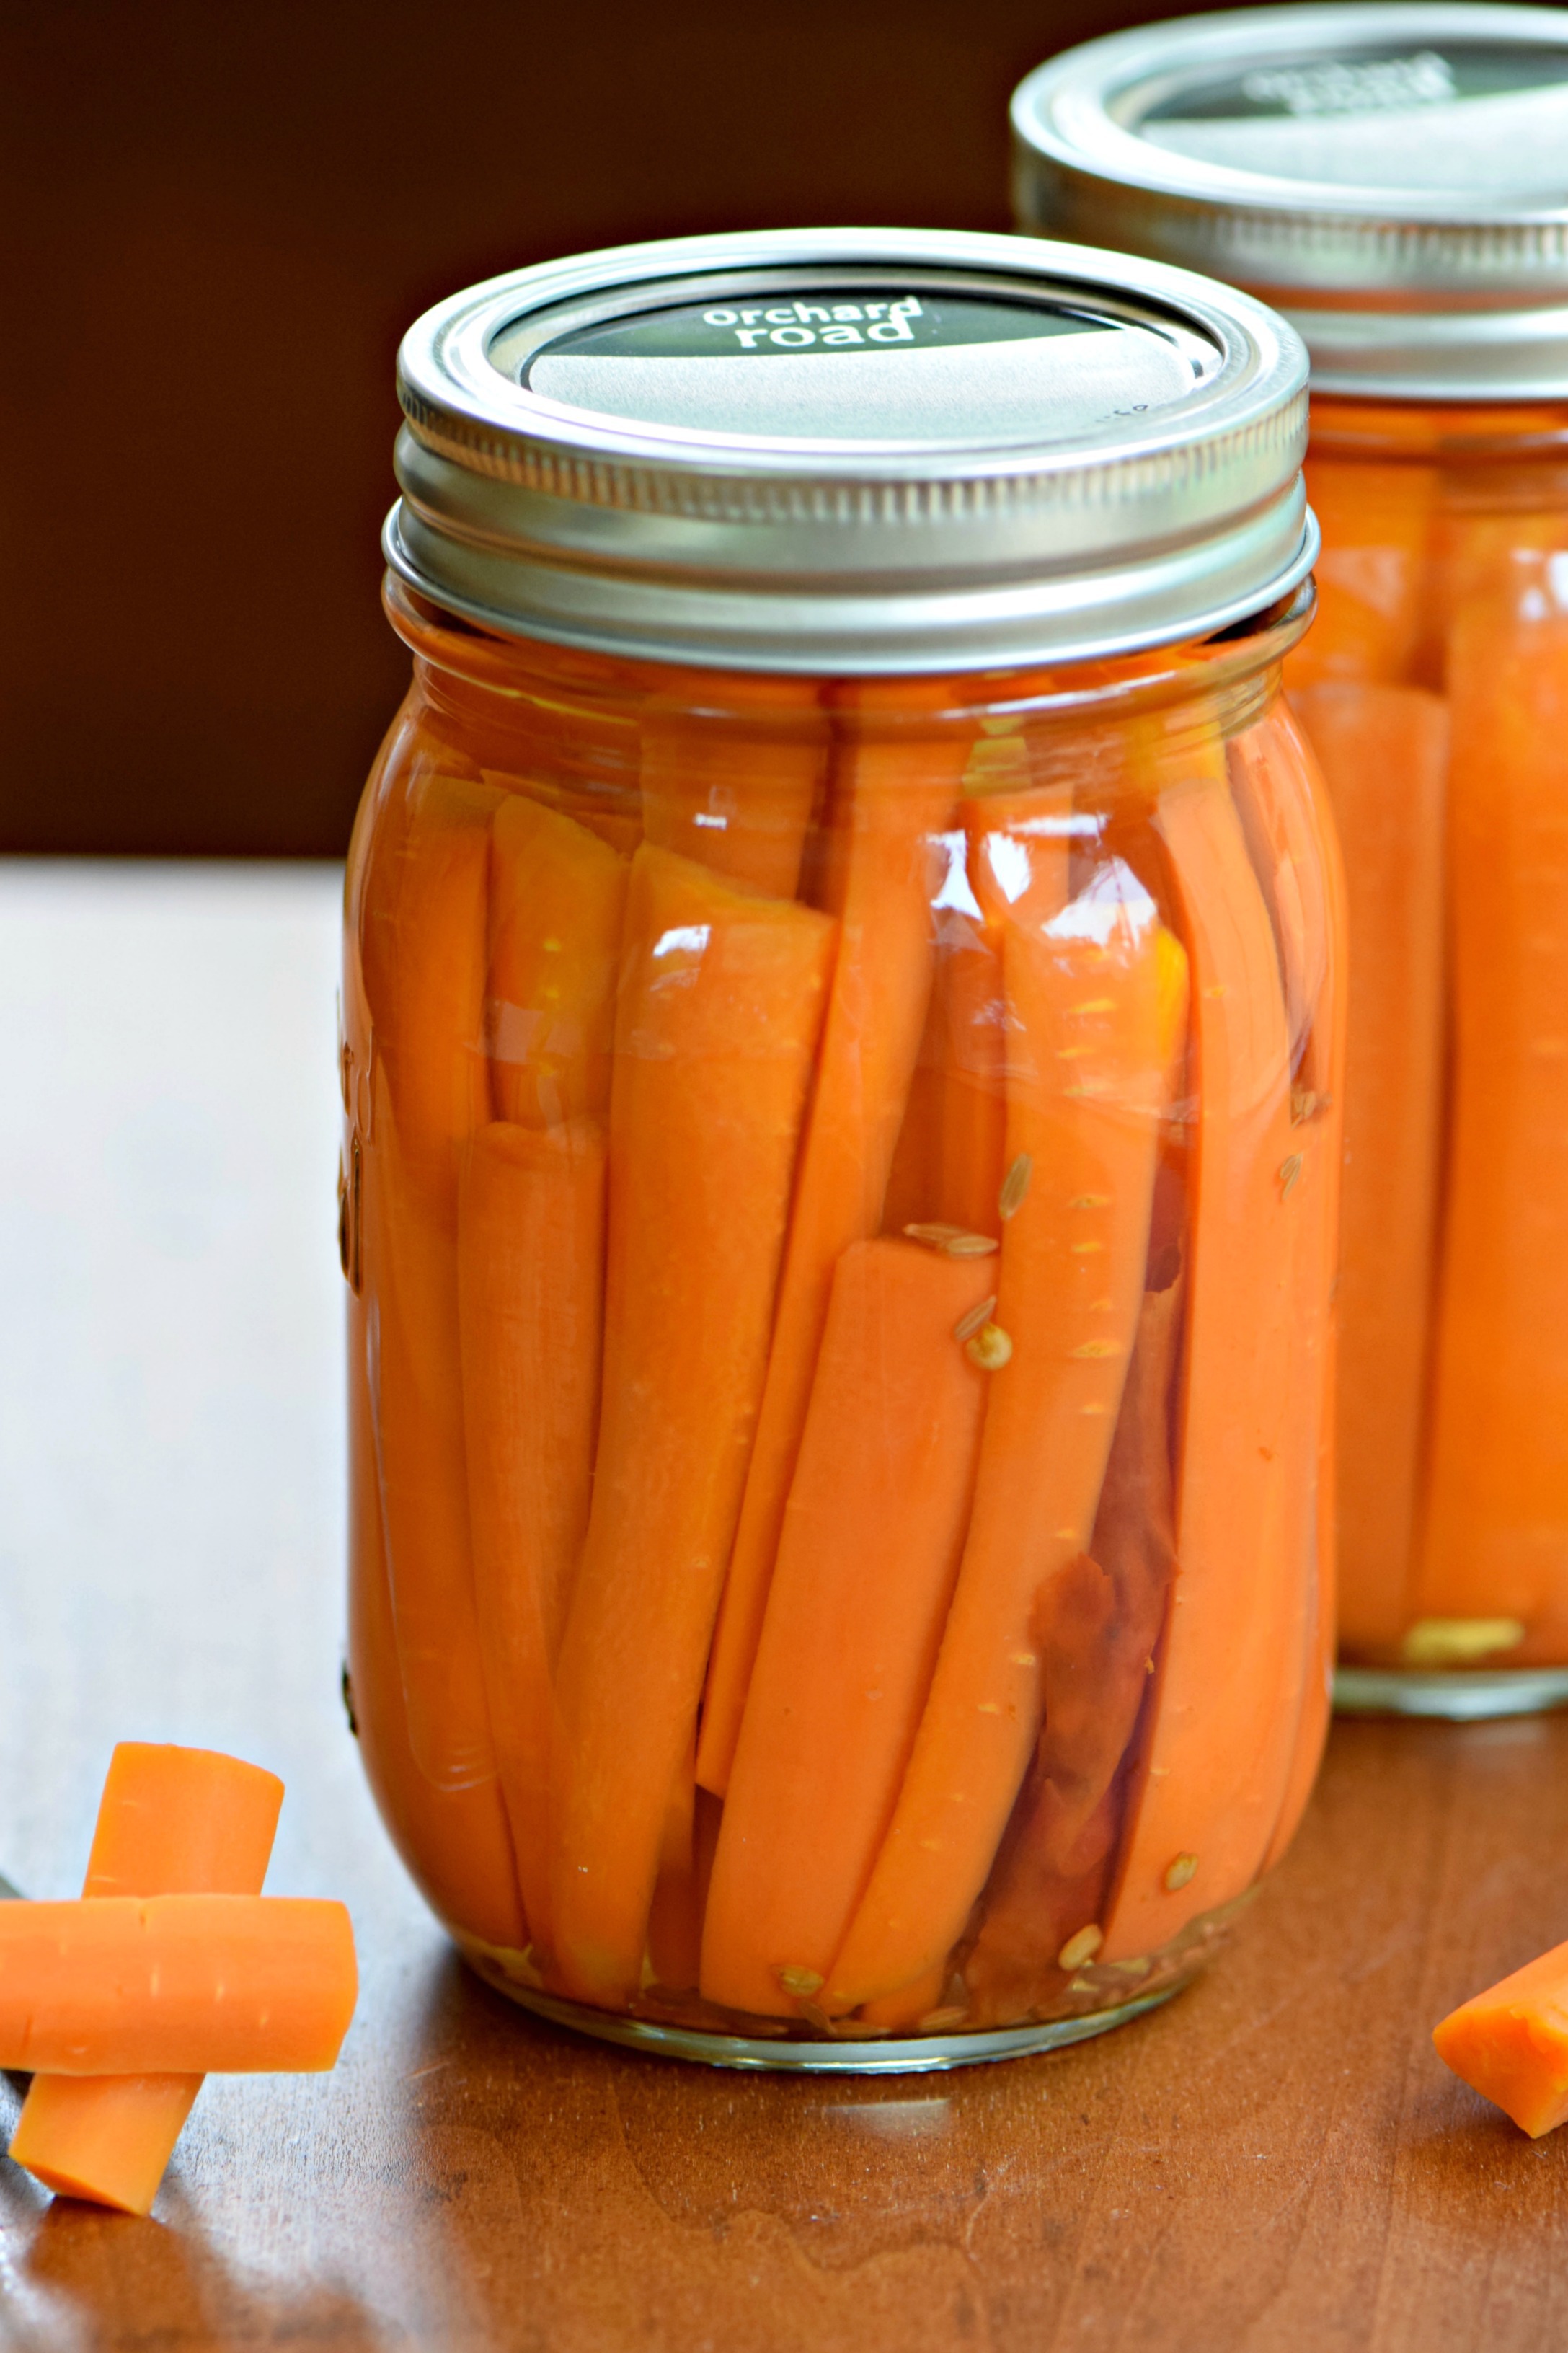
At the end of the process, remove the jars from the boiling water and allow them to cool. Check the lids to ensure that your jars have sealed. If they have, then your pickles are now shelf-stable for up to one year — although I doubt that you will be able to wait that long to eat them. However, while you may be anxious to dig into your homemade pickles, do allow them to cure for a week or two for the best flavor.

When heirloom carrots start to appear at the farmers market, I love to make these spicy pickled carrots laced with North African flavors like cumin and garlic. Pickled carrots make a wonderful accompaniment to your favorite sandwich, or serve them alongside marinated peppers as part of an antipasto platter. This project is a terrific introduction to the world of pickling.
Pickled Carrots

INGREDIENTS
- 3 lbs carrots, preferably with the green tops on
- 2 cups apple cider vinegar
- 2 cups water
- 2 TB pickling salt
- 1 TB sugar
- 1½ tsp whole cumin seeds
- 3 small dried red chili peppers
- 3 garlic cloves, peeled
INSTRUCTIONS
- Prepare a boiling water bath and heat three pint jars.
- Peel the carrots and cut them into sticks 3-4 inches long.
- Combine vinegar, water, salt and sugar in a large saucepan. Stir to dissolve the salt and sugar, and bring the mixture to a boil over high heat. Once it boils, turn off the burner and remove the brine from the heat.
- Pack the blanched carrots into the warm jars as tightly as they will fit.
- Add seasonings to each jar: ½ tsp cumin seeds, one chili pepper, and one garlic clove per jar.
- Ladle the hot brine over the carrots in the jars leaving 1/2 inch headspace at the top of the jar.
- Bubble the jar well and remeasure the headspace, adding more brine if necessary. Wipe the rims with a damp cloth to remove any residue.
- Place the lids on the jar and screw on the ring just until you feel resistance.
- Repeat with the remaining jars.
- Process the jars in a boiling water bath for ten minutes. Allow to cool in the water for five minutes before removing.
- Allow the carrots to cure for one weeks before opening.
- Store unopened jars in a cool, dark place for up to one year.